


【第23-26讲】Vue-Router 详解
一、Vue3.x中的路由
路由可以让应用程序根据用户输入的不同地址动态挂载不同的组件。
https://next.router.vuejs.org/
npm install vue-router@next --save二、Vue3.x路由的基本配置
1、安装路由模块
npm install vue-router@next --save2、新建组件
components/Home.vue
<template>
<div>
    Home组件
</div>
</template>

<script lang="ts">
import {
    defineComponent,
} from 'vue';

export default defineComponent({
    name: 'Home',
});
</script>

<style>
</style>
components/News.vue
<template>
<div>
    News组件
</div>
</template>

<script lang="ts">
import {
    defineComponent,
} from 'vue';

export default defineComponent({
    name: 'News',
});
</script>

<style>
</style>
3、配置路由
新建src/routes.ts 配置路由
import {createRouter,createWebHashHistory} from 'vue-router'

import Home from "./components/Home.vue"
import News from "./components/News.vue"

const router = createRouter({
  // 4. Provide the history implementation to use. We are using the hash history for simplicity here.
  history: createWebHashHistory(),
  routes: [
    { path: '/', component: Home },
    { path: '/news', component: News }
  ],
})

export default router
4、挂载路由
在main.ts中挂载路由
import { createApp } from 'vue'
import App from './App.vue'
import router from './routes'

// createApp(App).mount('#app')

const app = createApp(App)
//挂载路由
app.use(router)

app.mount('#app')
5、渲染组件
App.vue中通过router-view渲染组件
<template>
<ul>
    <li>
        <router-link to="/">首页</router-link>
    </li>
    <li>
        <router-link to="/news">新闻</router-link>
    </li>
</ul>
<router-view></router-view>
</template>

<script lang="ts">
import {
    defineComponent
} from 'vue';
export default defineComponent({
    name: 'App',
});
</script>

<style>

</style>
三、Vue3.x动态路由
1、配置动态路由
const router = createRouter({
  // 4. Provide the history implementation to use. We are using the hash history for simplicity here.
  history: createWebHashHistory(),
  routes: [
    { path: '/', component: Home },
    { path: '/news', component: News },
    { path: '/newsContent/:id', component: NewsContent },
  ],
})
2、路由跳转
<li v-for="(item,index) in list" :key="index">
	<router-link :to="`/newsContent/${index}`">{{item}}</router-link>
</li>
3、获取路由
this.$route.params四、Vue3.x Get传值
<router-link to="/newsContent?id=2">Get传值</router-link>this.$route.query五、Vue3.x路由编程式导航(Js跳转路由)
this.$router.push({ path: 'news' })this.$router.push({
path: '/newsContent/495'
});this.$router.push({ path: '/newscontent', query:{aid:14} }this.$router.push({ path: '/newscontent/123'})六、Vue3.x路由HTML5 History 模式和 hash 模式
6.1、 hash 模式
import { createRouter, createWebHashHistory } from 'vue-router'

const router = createRouter({
  history: createWebHashHistory(),
  routes: [
    //...
  ],
})http://localhost:8080/#/user
http://localhost:8080/#/news如果想把上面的路由改变成下面方式:
http://localhost:8080/news

http://localhost:8080/user
我们就可以使用HTML5 History 模式
6.2、 HTML5 History 模式
import { createRouter, createWebHistory } from 'vue-router'

const router = createRouter({
  history: createWebHistory(),
  routes: [
    //...
  ]
})
**注意:**开启Html5 History模式后,发布到服务器需要配置伪静态:
https://router.vuejs.org/zh/guide/essentials/history-mode.html
七、Vue3.x命名路由
有时候,通过一个名称来标识一个路由显得更方便一些,特别是在链接一个路由,或者是执行一些跳转的时候。你可以在创建 Router 实例的时候,在 routes 配置中给某个路由设置名称。
const router = new VueRouter({
  routes: [
    {
      path: '/user/:userId',
      name: 'user',
      component: User
    }
  ]
})
要链接到一个命名路由,可以给 router-link 的 to 属性传一个对象:
<router-link :to="{ name: 'user', params: { userId: 123 }}">User</router-link>这跟代码调用 router.push() 是一回事:
this.$router.push({ name: 'user', params: { userId: 123 }})这两种方式都会把路由导航到 /user/123 路径。
this.$router.push({name:'content',query:{aid:222}})八、路由重定向
重定向也在routes配置中完成。要从重定向/a到/b:
const routes = [{ path: '/home', redirect: '/' }]重定向也可以针对命名路由:
const routes = [{ path: '/home', redirect: { name: 'homepage' } }]甚至使用函数进行动态重定向:
const routes = [
  {
    // /search/screens -> /search?q=screens
    path: '/search/:searchText',
    redirect: to => {
      // the function receives the target route as the argument
      // we return a redirect path/location here.
      return { path: '/search', query: { q: to.params.searchText } }
    },
  },
  {
    path: '/search',
    // ...
  },
]
相对重定向
也可以重定向到相对位置:
const routes = [
  {
    path: '/users/:id/posts',
    redirect: to => {
      // the function receives the target route as the argument
      // return redirect path/location here.
    },
  },
]
九、路由别名
重定向是指用户访问时/home,URL将被替换/,然后与匹配/。但是什么是别名?
别名/as/home表示用户访问时/home,URL保持不变/home,但将被匹配,就像用户正在访问时一样/。
以上内容可以在路由配置中表示为:
const routes = [{ path: '/', component: Homepage, alias: '/home' }]别名使您可以自由地将UI结构映射到任意URL,而不受配置的嵌套结构的约束。使别名以a开头,/以使路径在嵌套路由中是绝对的。您甚至可以将两者结合起来,并为数组提供多个别名:
const routes = [
  {
    path: '/users',
    component: UsersLayout,
    children: [
      // this will render the UserList for these 3 URLs
      // - /users
      // - /users/list
      // - /people
      { path: '', component: UserList, alias: ['/people', 'list'] },
    ],
  },
]
如果您的路线包含参数,请确保将其包含在任何绝对别名中:
const routes = [
  {
    path: '/users/:id',
    component: UsersByIdLayout,
    children: [
      // this will render the UserDetails for these 3 URLs
      // - /users/24
      // - /users/24/profile
      // - /24
      { path: 'profile', component: UserDetails, alias: ['/:id', ''] },
    ],
  },
]
十、嵌套路由
配置News组件的子组件
1、新建news/Add.vue
<template>
    <div>
      增加新闻
    </div>
</template>

<script lang="ts">
import { defineComponent } from 'vue';
export default defineComponent({
    data(){
        return{}
    },methods:{

    }
})
</script>
2、新建news/Edit.vue
<template>
    <div>
      修改新闻
    </div>
</template>

<script lang="ts">
import { defineComponent } from 'vue';
export default defineComponent({
    data(){
        return{
        }
    },methods:{
    }
})
</script>
3、配置嵌套路由
import { createRouter, createWebHistory } from 'vue-router'
//引入组件
import Home from "./components/Home.vue"

import News from "./components/News.vue"
import NewsAdd from "./components/News/Add.vue"
import NewsEdit from "./components/News/Edit.vue"

import User from "./components/User.vue"

//配置路由
const router = createRouter({
    history: createWebHistory(),
    routes: [
        { path: '/', component: Home, alias: '/home' },
        {
            path: '/news', component: News,
            children: [  //子路由
                { path: '', redirect:"/news/add"},
                { path: 'add', component: NewsAdd },
                { path: 'edit', component: NewsEdit },
            ]
        },
        { path: '/user', component: User },
    ],
})
export default router
4、News.vue中挂载路由
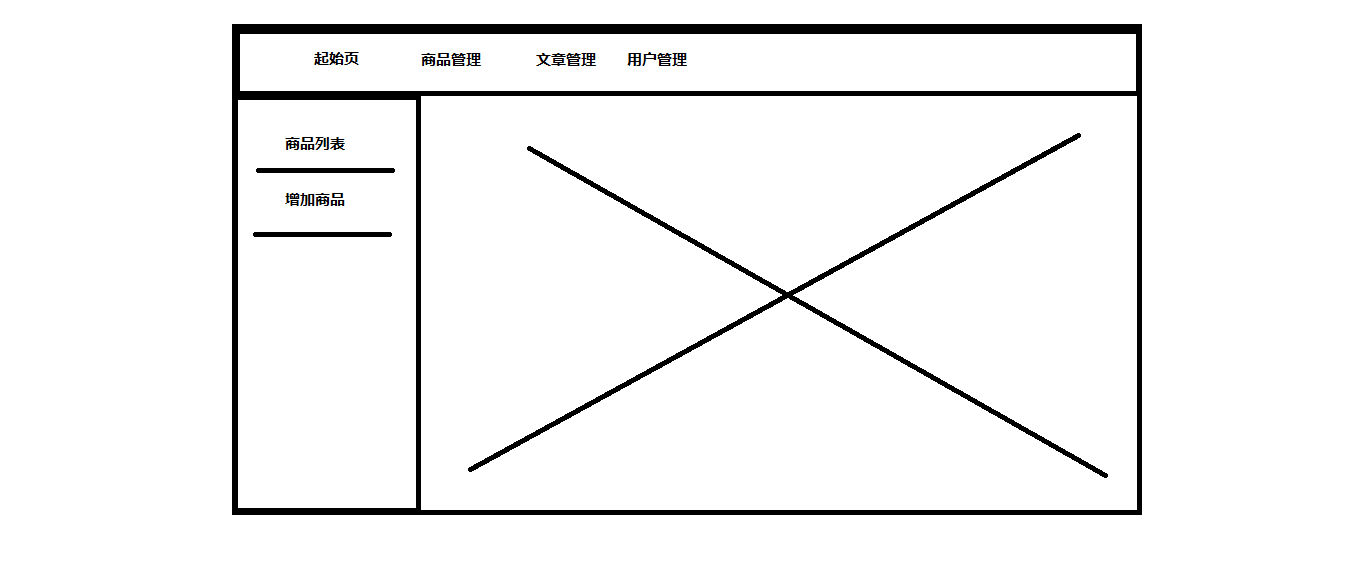
<template>
  <div class="content">
    <div class="left">
      <ul>
        <li><router-link to="/news/add">增加新闻</router-link></li>
        <li><router-link to="/news/edit">修改新闻</router-link></li>
      </ul>
    </div>
    <div class="right">
          <router-view></router-view>
    </div>
  </div>
</template>

<script lang="ts">
import { defineComponent } from "vue";
export default defineComponent({
  data() {
    return {};
  },
});
</script>

<style lang="scss">
.content {
  display: flex;
  padding: 20px;
  .left {
    width: 200px;
    border-right: 1px solid #ddd;
    min-height: 400px;
  }
  .right {
    flex: 1;
  }
}
</style>