TextInput如何实现选中后改变边框颜色?HarmonyOS 鸿蒙Next
TextInput如何实现选中后改变边框颜色?HarmonyOS 鸿蒙Next


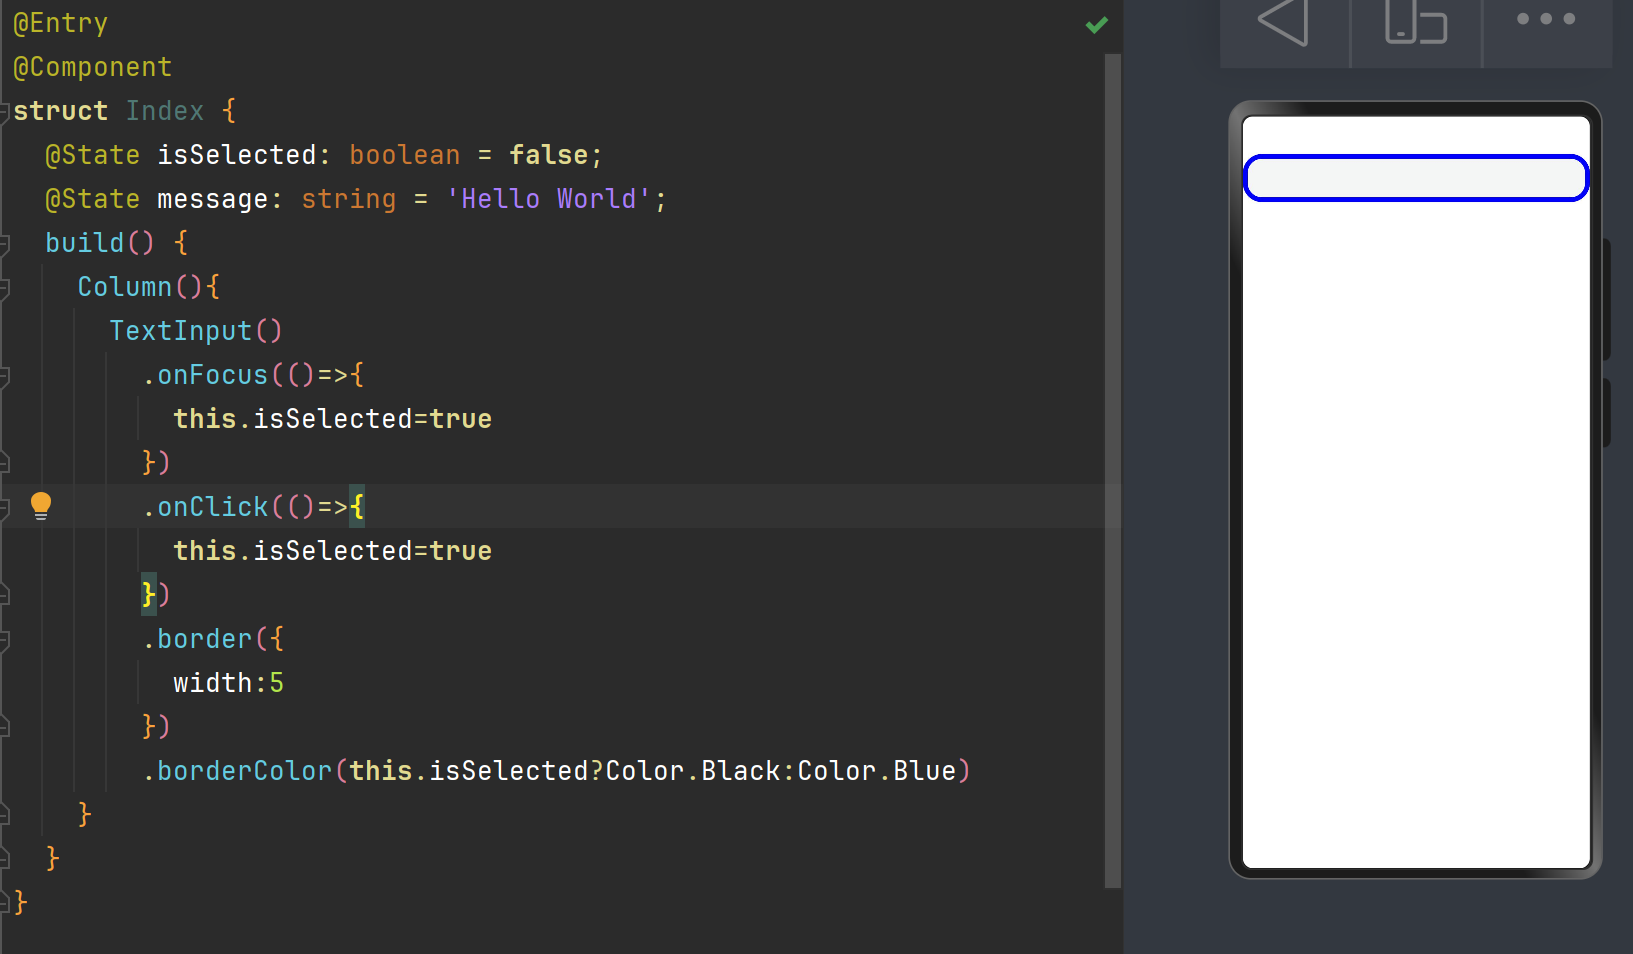
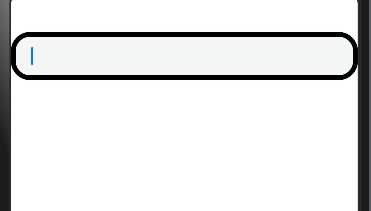
点击后边框从蓝色变为黑色
[@Entry](/user/Entry)
[@Component](/user/Component)
struct Index {
  [@State](/user/State) isSelected: boolean = false;
  [@State](/user/State) message: string = 'Hello World';
  build() {
    Column(){
      TextInput()
        .onFocus(()=>{
          this.isSelected=true
        })
        .onClick(()=>{
          this.isSelected=true
        })
        .border({
          width:5
        })
        .borderColor(this.isSelected?Color.Black:Color.Blue)
    }
  }
}<button style="position: absolute; padding: 4px 8px 0px; cursor: pointer; top: 8px; right: 8px; font-size: 14px;">复制</button>
更多关于TextInput如何实现选中后改变边框颜色?HarmonyOS 鸿蒙Next的实战系列教程也可以访问 https://www.itying.com/category-93-b0.html
1、定义 isSelected: boolean = false;
2、TextInput().onFocus() 事件中 this.isSelected = true; .onBlue()事件中 this.isSelected = true;
3、用 TextInput().borderColor(this.isSelected ? Color.A : Color.B)。
在HarmonyOS中,如果你想要实现TextInput组件在被选中后改变边框颜色的效果,你可以通过自定义样式或使用状态监听来达成。一种常见的方式是使用TextInput的focused状态结合CSS样式。例如,你可以在你的资源文件中定义一个样式,该样式在TextInput聚焦(即被选中)时应用不同的边框颜色。
在XML布局文件中,你可以这样设置:
<TextInput
    ...
    ohos:focused_background_element="#FF0000"  <!-- 假设你通过某种方式设置聚焦时的背景来模拟边框颜色变化 -->
    ohos:normal_background_element="#000000"   <!-- 正常状态下的背景 -->
    ...
/>注意:TextInput直接改变边框颜色的属性可能不存在,这里使用背景颜色变化作为示例。具体实现可能需要根据你的布局和样式需求进行调整。
如果问题依旧没法解决请加我微信,我的微信是itying888。
更多关于TextInput如何实现选中后改变边框颜色?HarmonyOS 鸿蒙Next的实战系列教程也可以访问 https://www.itying.com/category-93-b0.html


