HarmonyOS 鸿蒙Next 如何实现Scroll容器组件中子组件吸顶效果
HarmonyOS 鸿蒙Next 如何实现Scroll容器组件中子组件吸顶效果
【关键字】
Scroll / 子组件 / 吸顶
【问题描述】
垂直滑动的Scroll容器组件中,自上而下依次包含Text1、Text2、List三个子组件,然后上滑Scroll组件,滑至Text2子组件处,Text2吸顶,List子组件中内容可继续滑动。
请问此场景下Text2吸顶效果可如何实现?鸿蒙原生有提供吸顶效果的API吗?
【解决方案】
暂时没有原生的吸顶效果API,可以通过偏移量来实现相同效果。
具体Demo如下:
enum ScrollPosition {
start,
center,
end
}

class ItemClass {
content: string = '';
color: Color = Color.White;
}

@Entry
@Component
struct NestedScrollDemo {
@State listPosition: number = ScrollPosition.start; // 0代表滚动到List顶部,1代表中间值,2代表滚动到List底部。
@State scrollPosition: number = ScrollPosition.start; // 0代表滚动到页面顶部,1代表中间值,2代表滚动到页面底部。
@State showTitle: boolean = false;
@State currentYOffset: number = 0;
private arr: ItemClass[] = [];
private colorArr: Color[] = [Color.White, Color.Blue, Color.Brown, Color.Green, Color.Gray];
private scrollerForScroll: Scroller = new Scroller();
private scrollerForList: Scroller = new Scroller();
private scrollerForTitle: Scroller = new Scroller();
@State currentIndex: number = 0;

aboutToAppear() {
for (let i = 0; i < 6; i++) {
let data: ItemClass = {
content: i.toString(),
color: this.colorArr[i % 5]
}
this.arr.push(data);
}
}

@Builder
myBuilder() {
Row() {
List({ space: 2, initialIndex: 0, scroller: this.scrollerForTitle }) {
ForEach(this.arr, (item: ItemClass, index) => {
ListItem() {
Column() {
Text(item.content);
Divider()
.color('#000000')
.strokeWidth(5)
.visibility(index == this.currentIndex ? Visibility.Visible : Visibility.Hidden)
}
.width('25%')
.height(50)
.onClick(() => {
this.scrollerForList.scrollToIndex(index)
this.scrollerForScroll.scrollEdge(Edge.Bottom)
})
}
})
}
.listDirection(Axis.Horizontal)
.scrollBar(BarState.Off)
}
.backgroundColor('#ffe2d0d0')
.alignItems(VerticalAlign.Center)
}


build() {
Stack({ alignContent: Alignment.Top }) {
Scroll(this.scrollerForScroll) {
Column() {
Image($r('app.media.app_icon'))
.width("100%")
.height("40%")
this.myBuilder();

List({ space: 10, scroller: this.scrollerForList }) {
ForEach(this.arr, (item: ItemClass, index) => {
ListItem() {
Column() {
Text(item.content)
//添加其他内容
}
.width('100%')
.height(500)
.backgroundColor(item.color)
}.width("100%").height(500)
.onVisibleAreaChange([0.8], (isVisible) => {
if (isVisible) {
this.currentIndex = index;
this.scrollerForTitle.scrollToIndex(this.currentIndex);
}
})
}, (item: ItemClass) => item.content)
}
.padding({ left: 10, right: 10 })
.width("100%")
.edgeEffect(EdgeEffect.None)
.scrollBar(BarState.Off)
.onReachStart(() => {
this.listPosition = ScrollPosition.start
})
.onReachEnd(() => {
this.listPosition = ScrollPosition.end
})
.onScrollFrameBegin((offset: number, state: ScrollState) => {
// 滑动到列表中间时
if (!((this.listPosition == ScrollPosition.start && offset < 0)
|| (this.listPosition == ScrollPosition.end && offset > 0))) {
this.listPosition = ScrollPosition.center
}

// 如果页面已滚动到底部,列表不在顶部或列表有正向偏移量
if (this.scrollPosition == ScrollPosition.end
&& (this.listPosition != ScrollPosition.start || offset > 0)) {
return { offsetRemain: offset };
} else {
this.scrollerForScroll.scrollBy(0, offset)
return { offsetRemain: 0 };
}
})
.width("100%")
.height("calc(100% - 50vp)")
.backgroundColor('#F1F3F5')
}
}
.scrollBar(BarState.Off)
.width("100%")
.height("100%")
.onScroll((xOffset: number, yOffset: number) => {
this.currentYOffset = this.scrollerForScroll.currentOffset().yOffset;

// 非(页面在顶部或页面在底部),则页面在中间
if (!((this.scrollPosition == ScrollPosition.start && yOffset < 0)
|| (this.scrollPosition == ScrollPosition.end && yOffset > 0))) {
this.scrollPosition = ScrollPosition.center
}
})
.onScrollEdge((side: Edge) => {
if (side == Edge.Top) {
// 页面在顶部
this.scrollPosition = ScrollPosition.start
} else if (side == Edge.Bottom) {
// 页面在底部
this.scrollPosition = ScrollPosition.end
}
})
.onScrollFrameBegin(offset => {
if (this.scrollPosition == ScrollPosition.end) {
return { offsetRemain: 0 };
} else {
return { offsetRemain: offset };
}
})
}
.width('100%')
.height('100%')
.backgroundColor(0xDCDCDC)
}
}
更多关于HarmonyOS 鸿蒙Next 如何实现Scroll容器组件中子组件吸顶效果的实战系列教程也可以访问 https://www.itying.com/category-93-b0.html
用 ListItemGroup 的自定义组头就能吧,也就是 Text1 是ListItem Text2 是LIstItemGroup 的头
不知道是不是你要的效果,就是根组件不用 Scroll 用 List
[@Entry](/user/Entry)
[@Component](/user/Component)
struct Index {
   @Builder
   CustomHeader() {
       Text('2222222')
           .height(30)
           .backgroundColor(Color.Gray)
           .width('100%')
   }

   build() {
       List({
           space: 10
       }) {
           ListItem() {
               Text('111111')
                   .height(30)
                   .backgroundColor(Color.Gray)
                   .width('100%')
           }

           ListItemGroup({
               header: this.CustomHeader,
               space: 10
           }) {
               ForEach(Array.from({
                   length: 20
               }), (item: void, index: number) => {
                   ListItem() {
                       Text(index + '')
                           .height(30)
                           .backgroundColor('#f00')
                           .width('100%')
                   }
               })
           }
       }
       .width('100%')
       .height(200)
       .sticky(StickyStyle.Header)
   }
}

export default Index
更多关于HarmonyOS 鸿蒙Next 如何实现Scroll容器组件中子组件吸顶效果的实战系列教程也可以访问 https://www.itying.com/category-93-b0.html

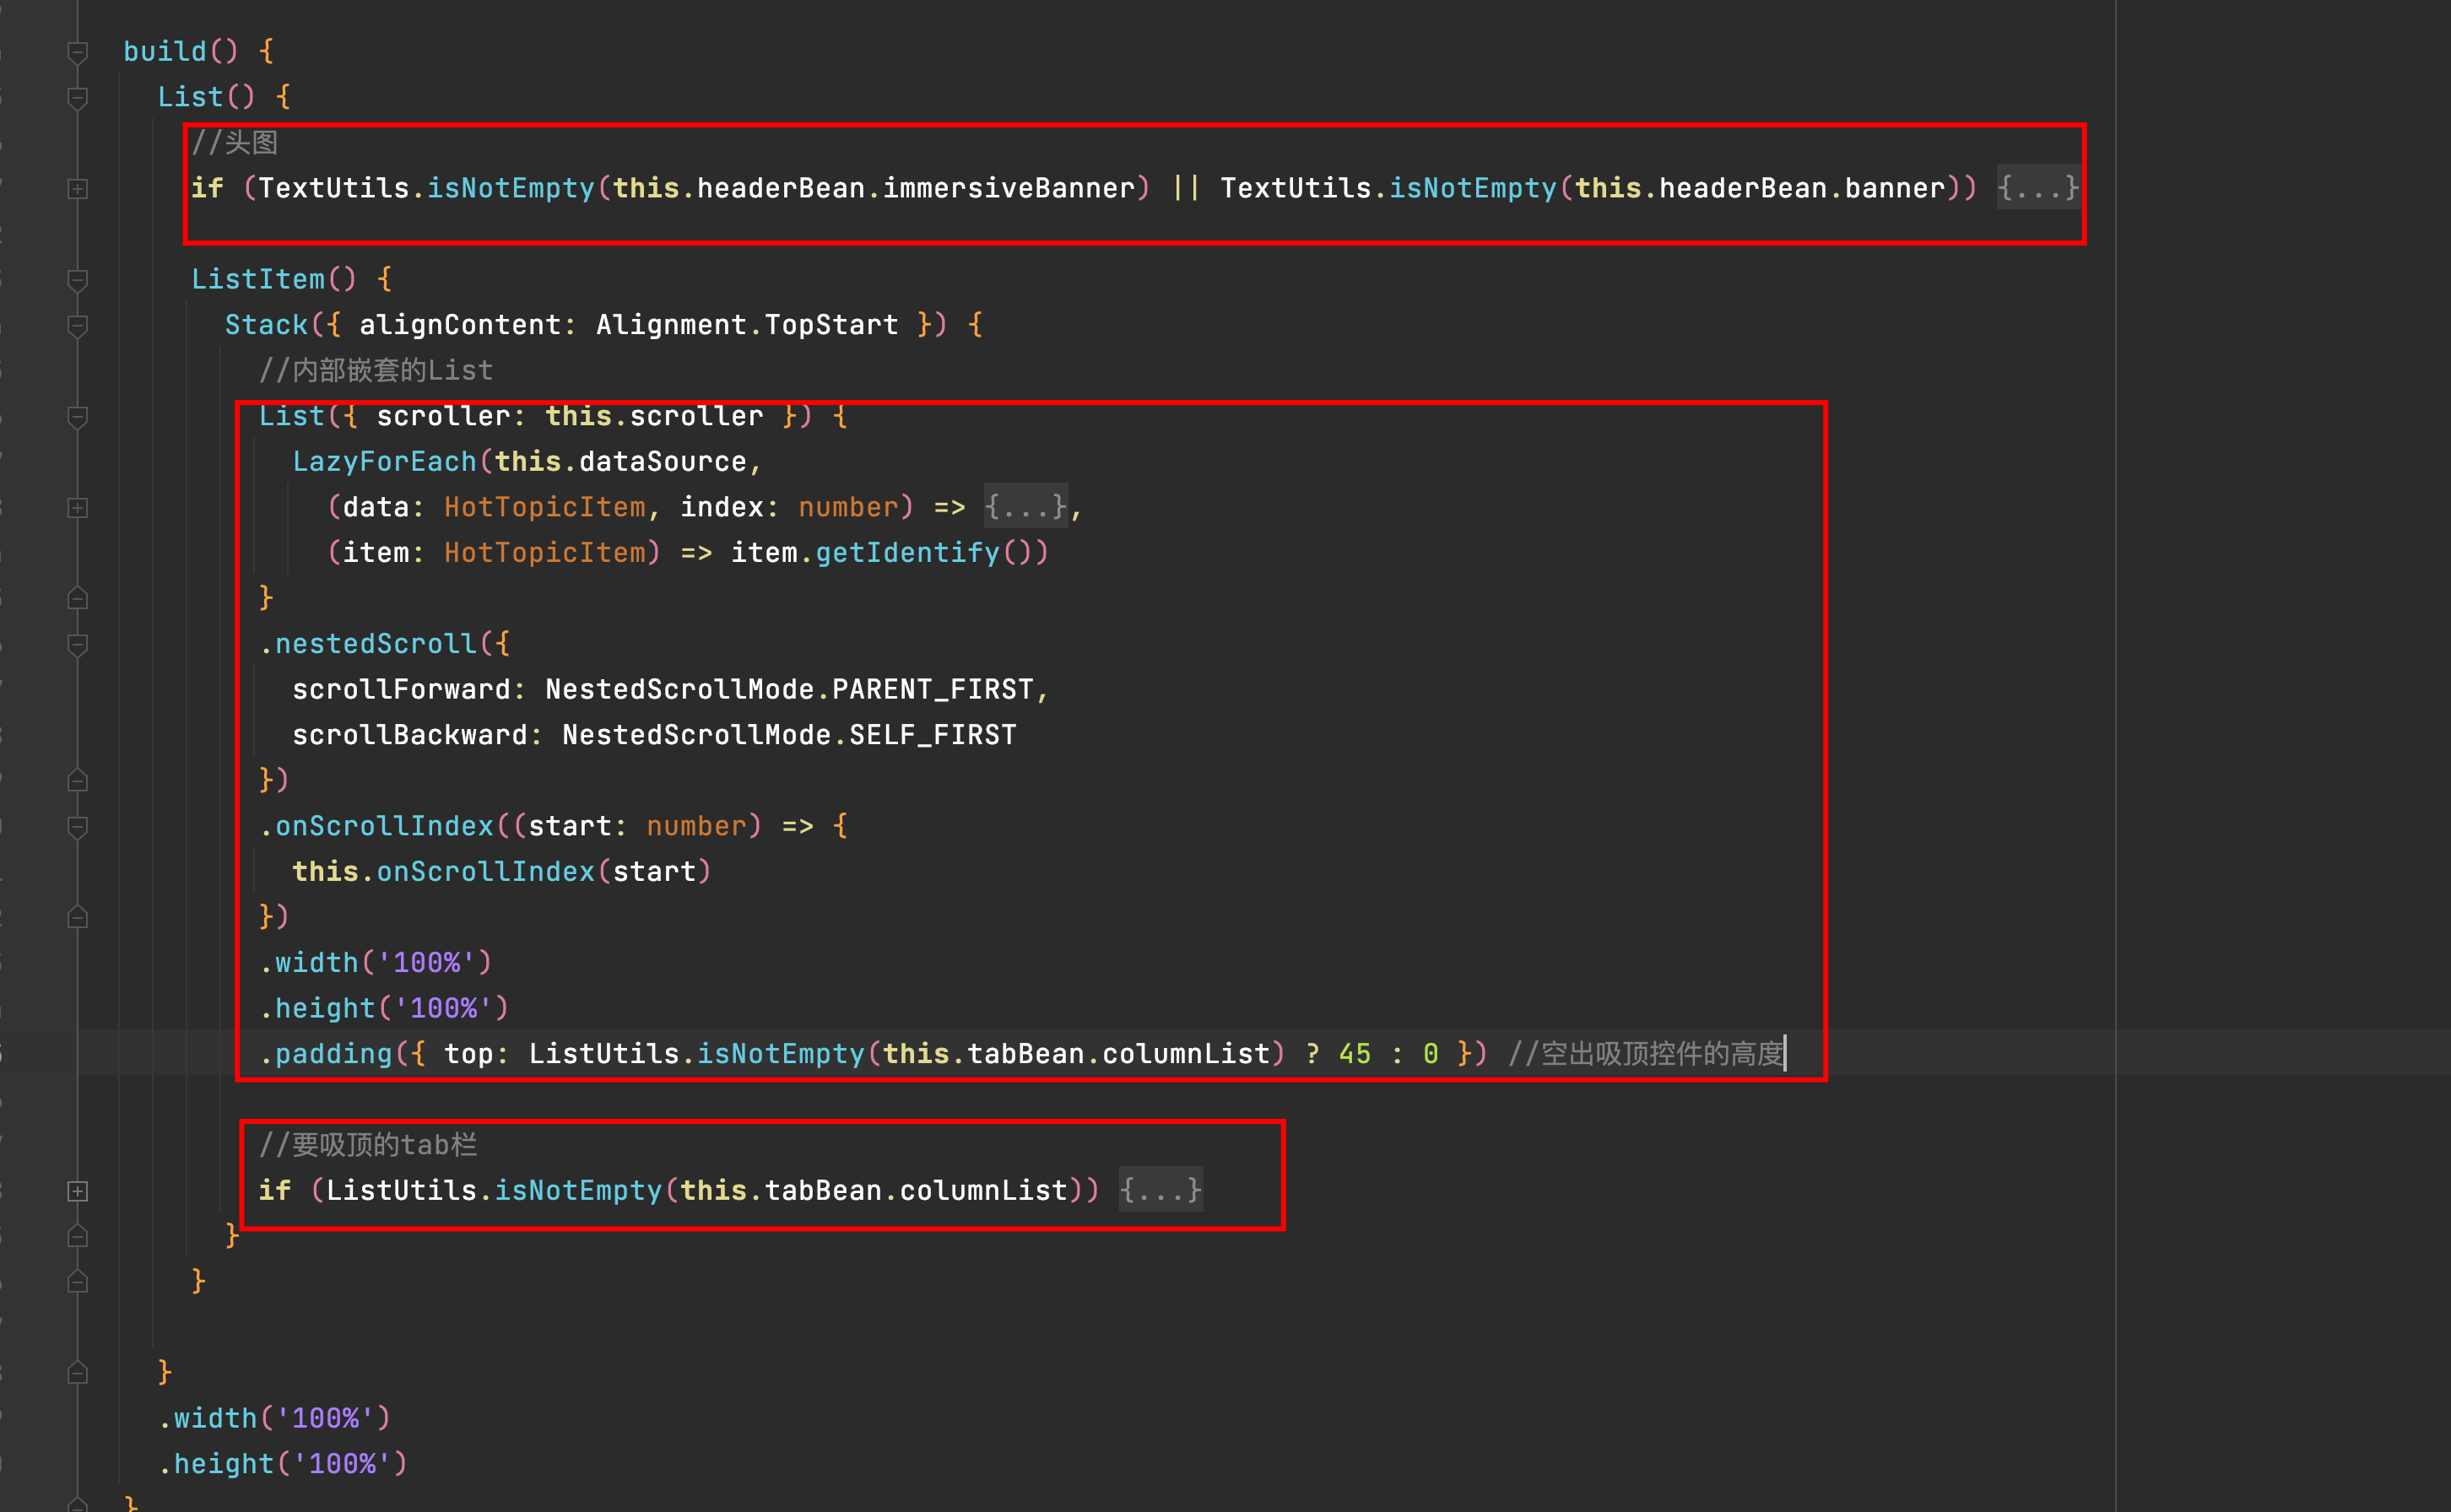
另一种实现吸顶的思路,两个嵌套的滑动控件,其中内部的List跟要吸顶的控件放到一个Stack中,List通过paddingTop空出吸顶控件的位置。
在HarmonyOS鸿蒙Next系统中,实现Scroll容器组件中子组件吸顶效果,通常可以通过监听滚动事件并动态调整子组件的位置和属性来实现。以下是一个简要的技术思路:
-
使用Scroll组件:首先,确保你的布局中使用了Scroll组件,并包含需要吸顶的子组件。
-
监听滚动事件:通过监听Scroll组件的滚动事件(如
onScroll),获取当前的滚动位置。 -
判断并设置吸顶:在滚动事件的回调中,判断子组件是否已滚动到顶部附近。如果是,则通过修改子组件的布局参数(如使用绝对定位),将其固定在屏幕顶部。
-
恢复子组件位置:当用户继续滚动,子组件需要恢复原来的位置时,通过监听滚动位置的变化,适时移除吸顶效果。
-
优化性能:在实现过程中,注意优化性能,避免频繁布局调整导致的性能问题。
实现这一功能可能需要结合具体的UI框架和布局方式,具体代码实现会有所不同。如果问题依旧没法解决请联系官网客服,官网地址是:https://www.itying.com/category-93-b0.html。这样可以获得更专业的技术支持和解决方案。


