Flutter卡片轮播插件flutter_card_swiper的使用
Flutter卡片轮播插件flutter_card_swiper的使用
flutter_card_swiper

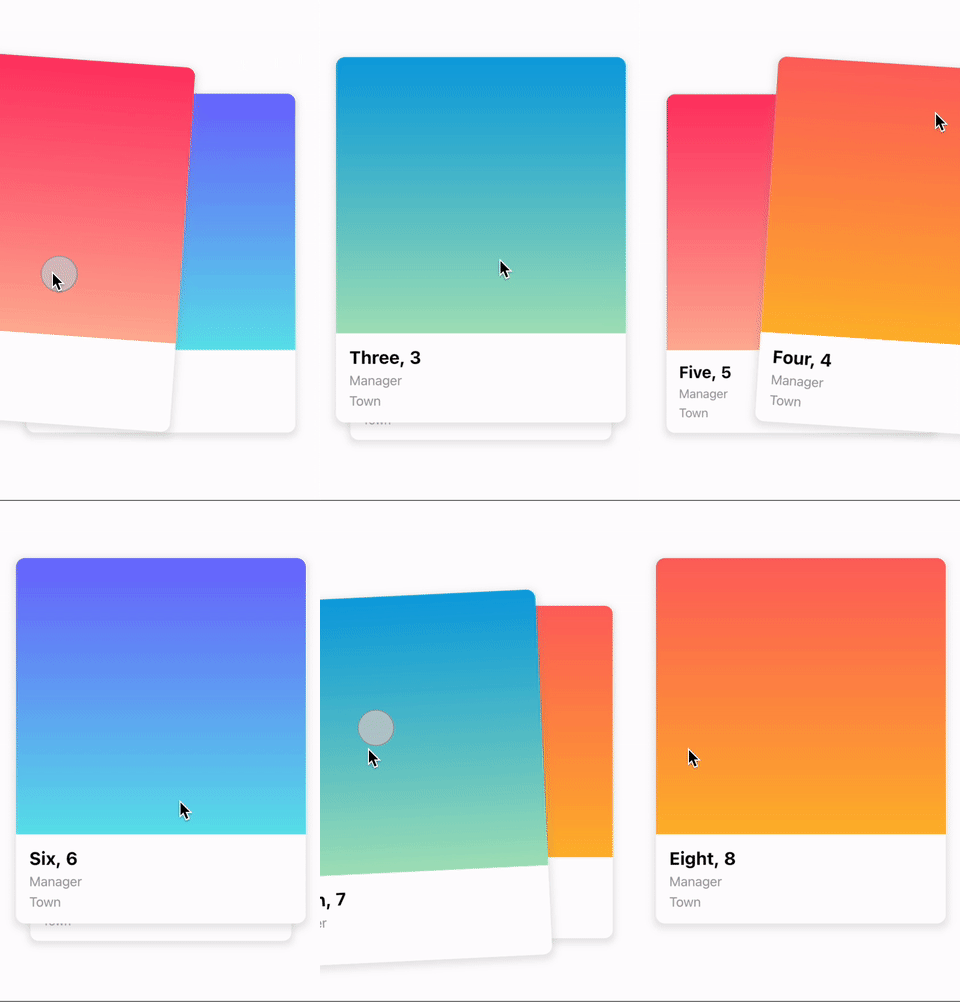
这是一个为Flutter提供的Tinder风格卡片轮播插件。它允许用户向左、右、上、下滑动卡片,并且可以自定义每个方向的业务逻辑。动画非常流畅,支持Android、iOS、Web和桌面应用。
特性
- 支持任意方向滑动
- 可以无限次撤销滑动操作
- 自定义设置如持续时间、角度、内边距等
- 通过控制器触发滑动
- 滑动时、结束时或禁用时添加回调
- 检测卡片滑动的方向(左、右、上、下)
展示案例
| 功能 | 展示 |
|---|---|
| 在任何方向滑动 |  |
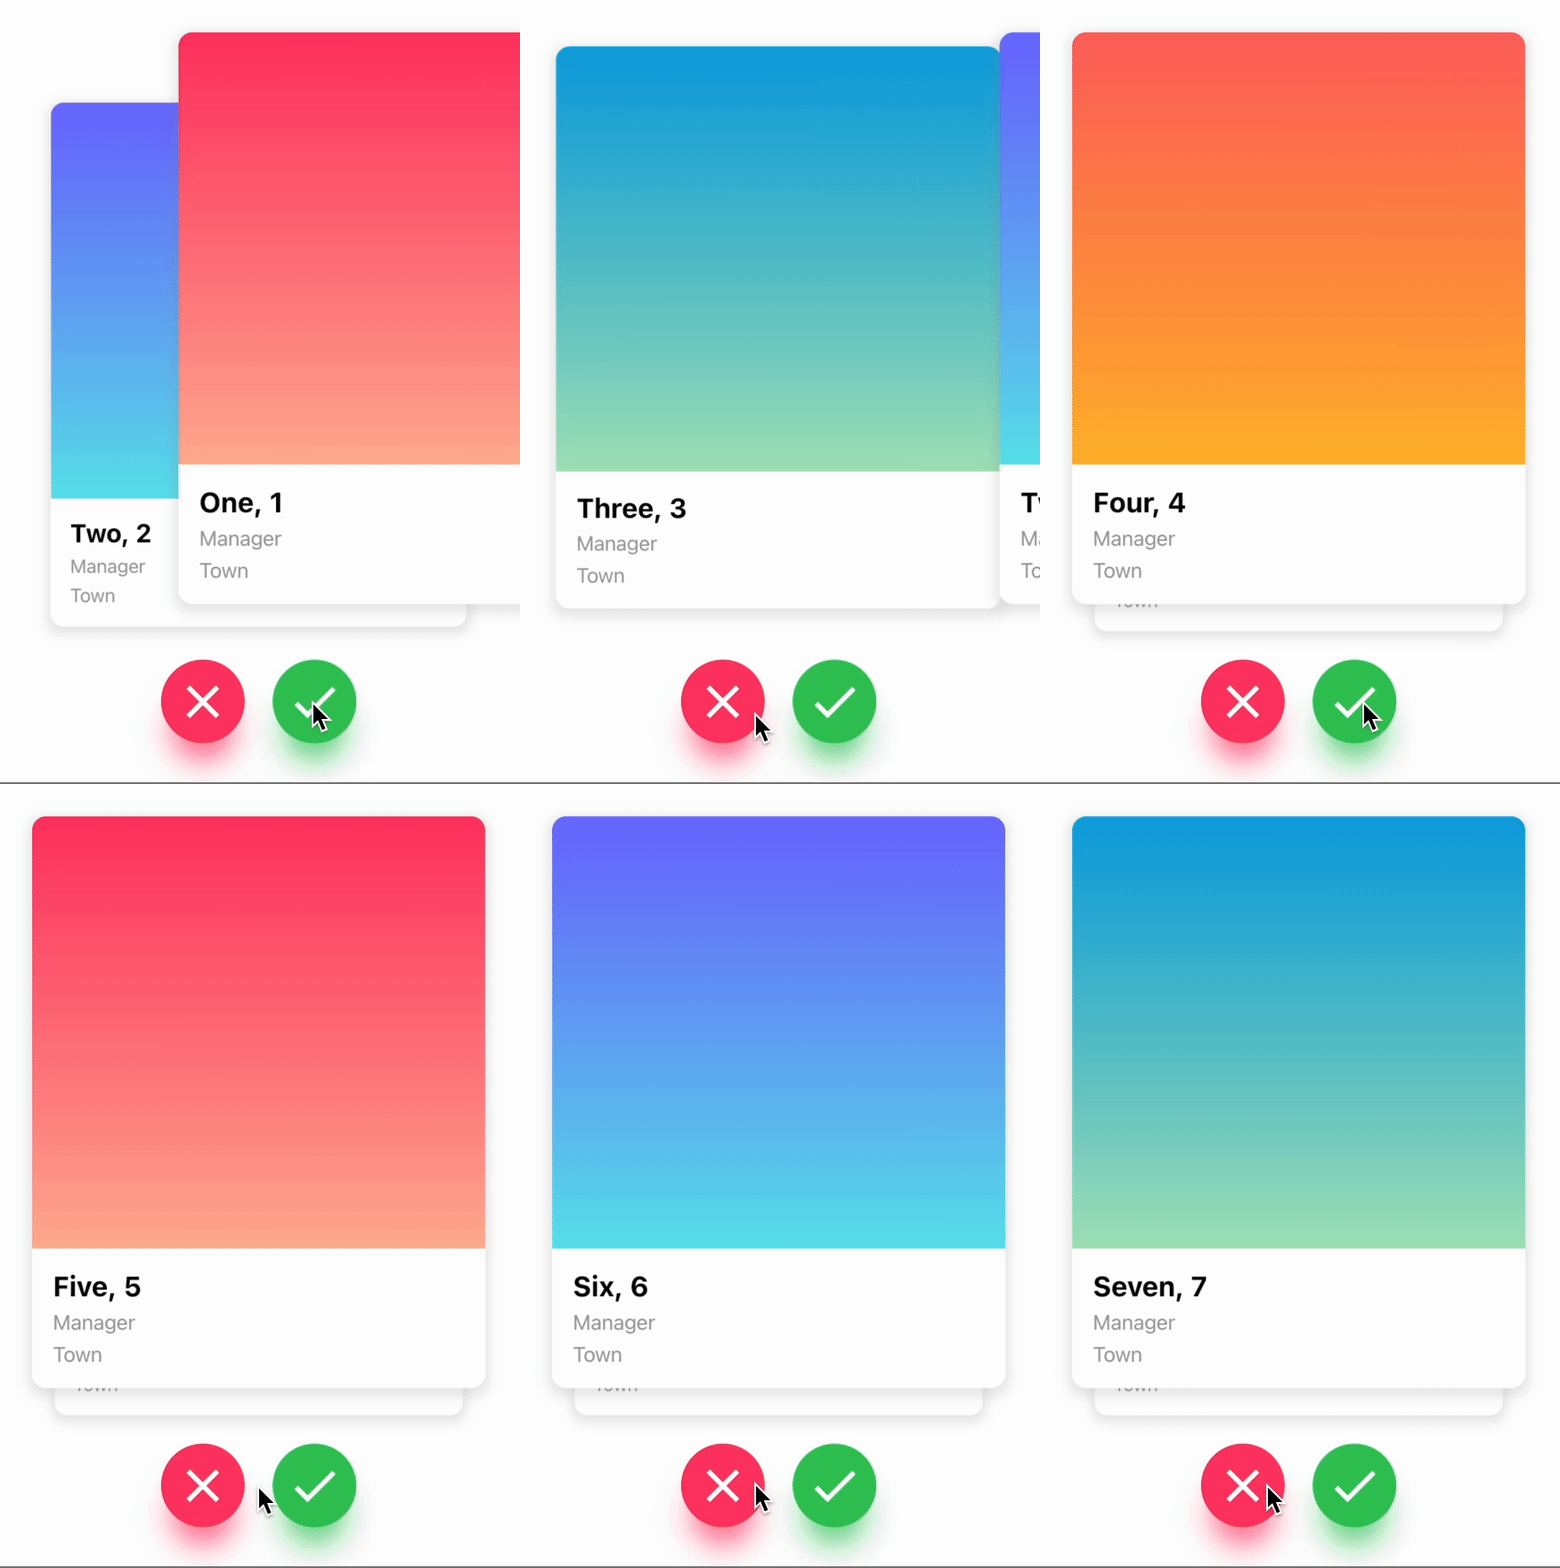
| 触发滑动 |  |
| 撤销卡片滑动 |  |
安装
在pubspec.yaml文件中添加以下内容:
dependencies:
  flutter_card_swiper: ^latest_version
或者在项目根目录运行命令:
flutter pub add flutter_card_swiper
使用示例
下面是一个完整的示例代码,展示了如何使用flutter_card_swiper插件创建一个简单的卡片轮播应用。
import 'package:flutter/material.dart';
import 'package:flutter_card_swiper/flutter_card_swiper.dart';

void main() {
  runApp(
    const MaterialApp(
      debugShowCheckedModeBanner: false,
      home: Example(),
    ),
  );
}

class Example extends StatefulWidget {
  const Example({super.key});

  @override
  State<Example> createState() => _ExamplePageState();
}

class _ExamplePageState extends State<Example> {
  final CardSwiperController controller = CardSwiperController();

  final List<Container> cards = [
    Container(
      alignment: Alignment.center,
      child: const Text('1'),
      color: Colors.blue,
    ),
    Container(
      alignment: Alignment.center,
      child: const Text('2'),
      color: Colors.red,
    ),
    Container(
      alignment: Alignment.center,
      child: const Text('3'),
      color: Colors.purple,
    )
  ];

  @override
  void dispose() {
    controller.dispose();
    super.dispose();
  }

  @override
  Widget build(BuildContext context) {
    return Scaffold(
      appBar: AppBar(title: const Text('Card Swiper Example')),
      body: SafeArea(
        child: Column(
          children: [
            Flexible(
              child: CardSwiper(
                controller: controller,
                cardsCount: cards.length,
                onSwipe: _onSwipe,
                onUndo: _onUndo,
                numberOfCardsDisplayed: 3,
                backCardOffset: const Offset(40, 40),
                padding: const EdgeInsets.all(24.0),
                cardBuilder: (
                  context,
                  index,
                  horizontalThresholdPercentage,
                  verticalThresholdPercentage,
                ) =>
                    cards[index],
              ),
            ),
            Padding(
              padding: const EdgeInsets.all(16.0),
              child: Row(
                mainAxisAlignment: MainAxisAlignment.spaceEvenly,
                children: [
                  FloatingActionButton(
                    onPressed: controller.undo,
                    child: const Icon(Icons.rotate_left),
                  ),
                  FloatingActionButton(
                    onPressed: () => controller.swipe(CardSwiperDirection.left),
                    child: const Icon(Icons.keyboard_arrow_left),
                  ),
                  FloatingActionButton(
                    onPressed: () => controller.swipe(CardSwiperDirection.right),
                    child: const Icon(Icons.keyboard_arrow_right),
                  ),
                  FloatingActionButton(
                    onPressed: () => controller.swipe(CardSwiperDirection.top),
                    child: const Icon(Icons.keyboard_arrow_up),
                  ),
                  FloatingActionButton(
                    onPressed: () => controller.swipe(CardSwiperDirection.bottom),
                    child: const Icon(Icons.keyboard_arrow_down),
                  ),
                ],
              ),
            ),
          ],
        ),
      ),
    );
  }

  bool _onSwipe(
    int previousIndex,
    int? currentIndex,
    CardSwiperDirection direction,
  ) {
    debugPrint(
      'The card $previousIndex was swiped to the ${direction.name}. Now the card $currentIndex is on top',
    );
    return true;
  }

  bool _onUndo(
    int? previousIndex,
    int currentIndex,
    CardSwiperDirection direction,
  ) {
    debugPrint(
      'The card $currentIndex was undid from the ${direction.name}',
    );
    return true;
  }
}
构造函数参数
| 参数 | 默认值 | 描述 | 是否必需 |
|---|---|---|---|
cardBuilder |
- | 渲染卡片的Widget构建器 | 是 |
cardsCount |
- | 卡片数量 | 是 |
controller |
- | 控制器,用于触发滑动动作 | 否 |
duration |
200ms | 动画持续时间 | 否 |
initialIndex |
0 | 初始化时显示的第一张卡片索引 | 否 |
isDisabled |
false | 是否禁用滑动 | 否 |
isLoop |
true | 是否循环 | 否 |
maxAngle |
30 | 最大旋转角度 | 否 |
allowedSwipeDirection |
AllowedSwipeDirection.all |
允许的滑动方向 | 否 |
numberOfCardsDisplayed |
2 | 同时显示的卡片数量 | 否 |
onEnd |
- | 没有更多卡片时的回调 | 否 |
onSwipe |
- | 用户滑动卡片时的回调 | 否 |
onTapDisabled |
- | 点击卡片且isDisabled为true时的回调 |
否 |
onUndo |
- | 撤销操作时的回调 | 否 |
padding |
EdgeInsets.symmetric(horizontal: 20, vertical: 25) |
卡片周围的内边距 | 否 |
scale |
0.9 | 后面卡片的比例 | 否 |
threshold |
50 | 卡片滑动阈值 | 否 |
onSwipeDirectionChange |
- | 滑动方向变化时的回调 | 否 |
控制器方法
| 方法 | 描述 |
|---|---|
swipe |
将卡片滑动到指定方向 |
undo |
恢复最后一张被滑走的卡片 |
moveTo |
将顶部卡片切换到指定索引 |
希望这个示例能帮助你更好地理解和使用flutter_card_swiper插件。如果你有任何问题或需要进一步的帮助,请随时提问!
更多关于Flutter卡片轮播插件flutter_card_swiper的使用的实战系列教程也可以访问 https://www.itying.com/category-92-b0.html
更多关于Flutter卡片轮播插件flutter_card_swiper的使用的实战系列教程也可以访问 https://www.itying.com/category-92-b0.html
当然,以下是如何在Flutter项目中使用flutter_card_swiper插件来实现卡片轮播的示例代码。这个插件非常适合用于展示图片轮播、产品推荐等场景。
首先,确保你的Flutter项目中已经添加了flutter_card_swiper依赖。在pubspec.yaml文件中添加以下依赖:
dependencies:
  flutter:
    sdk: flutter
  flutter_card_swiper: ^x.y.z  # 请替换为最新版本号
然后运行flutter pub get来安装依赖。
接下来,你可以在你的Dart文件中使用flutter_card_swiper来实现卡片轮播。以下是一个完整的示例代码:
import 'package:flutter/material.dart';
import 'package:flutter_card_swiper/flutter_card_swiper.dart';

void main() {
  runApp(MyApp());
}

class MyApp extends StatelessWidget {
  @override
  Widget build(BuildContext context) {
    return MaterialApp(
      title: 'Flutter Card Swiper Demo',
      theme: ThemeData(
        primarySwatch: Colors.blue,
      ),
      home: CardSwiperDemo(),
    );
  }
}

class CardSwiperDemo extends StatefulWidget {
  @override
  _CardSwiperDemoState createState() => _CardSwiperDemoState();
}

class _CardSwiperDemoState extends State<CardSwiperDemo> {
  final List<String> imageUrls = [
    'https://via.placeholder.com/350x150?text=Image+1',
    'https://via.placeholder.com/350x150?text=Image+2',
    'https://via.placeholder.com/350x150?text=Image+3',
    // 添加更多图片URL
  ];

  @override
  Widget build(BuildContext context) {
    return Scaffold(
      appBar: AppBar(
        title: Text('Flutter Card Swiper Demo'),
      ),
      body: Center(
        child: Container(
          height: 200,
          child: CardSwiper(
            swiperOptions: SwiperOptions(
              autoplay: true,
              autoplayDelay: 3000,
              loop: true,
              pagination: Pagination.dots,
              itemBuilder: (BuildContext context, int index) {
                return Image.network(
                  imageUrls[index],
                  fit: BoxFit.cover,
                );
              },
              itemCount: imageUrls.length,
            ),
          ),
        ),
      ),
    );
  }
}
在这个示例中:
CardSwiperDemo是一个包含卡片轮播功能的页面。imageUrls列表包含了一些图片的URL,这些图片将被用于轮播展示。CardSwiper组件用于实现卡片轮播,其中swiperOptions配置了各种轮播参数,比如自动播放、循环播放、分页指示器等。itemBuilder回调函数用于构建每个轮播项,这里简单地使用了Image.network来加载网络图片。
你可以根据自己的需求调整swiperOptions中的参数,以及itemBuilder中的UI布局。这样,你就可以在你的Flutter应用中轻松实现卡片轮播功能了。


