Flutter自定义底部导航栏插件buttons_tabbar的使用
Flutter自定义底部导航栏插件buttons_tabbar的使用
Buttons TabBar简介
Buttons TabBar 是一个开源的Flutter包,它提供的TabBar中的每个标签指示器都是一个切换按钮。通过这个插件,你可以为你的Flutter应用程序创建交互式和可定制的标签栏。

功能特性
- ✨ 每个标签指示器是一个切换按钮
- 🎨 可定制外观和行为
- 🖌️ 支持多种样式选项,包括背景颜色、边框颜色、标签样式、图标颜色等
- 🚀 平滑过渡动画
- 📱 类似原生的TabBar工作方式
- ⚙️ 简单易用的配置,支持广泛的参数设置
安装步骤
-
在
pubspec.yaml文件中添加依赖:dependencies: flutter: sdk: flutter buttons_tabbar: ^1.3.14 -
运行
flutter pub get安装包。
使用方法
在Dart文件中导入包并根据需要自定义标签栏:
import 'package:buttons_tabbar/buttons_tabbar.dart';

DefaultTabController(
  length: ...,
  child: Column(
    children: <Widget>[
      ButtonsTabBar(
        // 自定义标签栏的外观和行为
        backgroundColor: Colors.red,
        borderWidth: 2,
        borderColor: Colors.black,
        labelStyle: TextStyle(
          color: Colors.white,
          fontWeight: FontWeight.bold,
        ),
        unselectedLabelStyle: TextStyle(
          color: Colors.black,
          fontWeight: FontWeight.bold,
        ),
        // 添加你的标签在这里
        tabs: ...,
      ),
      Expanded(
        child: TabBarView(
          children: ...,
        ),
      ),
    ],
  ),
)
示例代码
以下是一些使用Buttons TabBar的例子:
Example #1
DefaultTabController(
  length: ...,
  child: Column(
    children: <Widget>[
      ButtonsTabBar(
        backgroundColor: Colors.red,
        tabs: ...,
      ),
      Expanded(
        child: TabBarView(
          children: ...,
        ),
      ),
    ],
  ),
)

Example #2
DefaultTabController(
  length: ...,
  child: Column(
    children: <Widget>[
      ButtonsTabBar(
        backgroundColor: Colors.blue[600],
        unselectedBackgroundColor: Colors.white,
        labelStyle: TextStyle(
          color: Colors.white,
          fontWeight: FontWeight.bold,
        ),
        unselectedLabelStyle: TextStyle(
          color: Colors.blue[600],
          fontWeight: FontWeight.bold,
        ),
        borderWidth: 1,
        unselectedBorderColor: Colors.blue[600],
        radius: 100,
        tabs: ...,
      ),
      Expanded(
        child: TabBarView(
          children: ...,
        ),
      ),
    ],
  ),
)

Example #3
DefaultTabController(
  length: 6,
  child: Column(
    children: <Widget>[
      ButtonsTabBar(
        radius: 12,
        contentPadding: EdgeInsets.symmetric(horizontal: 12),
        borderWidth: 2,
        borderColor: Colors.transparent,
        center: true,
        decoration: BoxDecoration(
          gradient: LinearGradient(
            colors: <Color>[
              Color(0xFF0D47A1),
              Color(0xFF1976D2),
              Color(0xFF42A5F5),
            ],
          ),
        ),
        unselectedLabelStyle: TextStyle(color: Colors.black),
        labelStyle: TextStyle(color: Colors.white),
        height: 56,
        tabs: ...,
      ),
      Expanded(
        child: TabBarView(
          children: ...,
        ),
      ),
    ],
  ),
)

更多示例,请参阅example.dart文件。
属性列表
以下是可用于自定义ButtonsTabBar的属性。详细信息请查阅API参考。
| Property | Type | Description | Default |
|---|---|---|---|
| backgroundColor | Color |
选中状态下按钮的背景色 | Theme.of(context).accentColor |
| borderColor | Color |
选中状态下按钮的边框颜色 | Colors.black |
| borderWidth | double |
每个按钮的实线边框宽度 | 0 |
| buttonMargin | EdgeInsets |
按钮的外边距 | EdgeInsets.all(4.0) |
| center | bool |
是否居中显示标签按钮 | false |
| contentPadding | EdgeInsets |
按钮内容的内边距 | EdgeInsets.symmetric(horizontal: 4.0) |
| controller | TabController |
此小部件的选择和动画状态 | DefaultTabController.of |
| decoration | BoxDecoration |
选中状态下按钮的BoxDecoration |
null |
| duration | int |
过渡动画的持续时间(毫秒) | 250 |
| elevation | double |
应用于每个按钮的阴影值 | 0 |
| height | double? |
覆盖默认高度 | 46.0 |
| labelSpacing | double |
图标和文本之间的间距。如果只提供其中一个,则不应用间距。 | 4.0 |
| labelStyle | TextStyle |
选中状态下按钮文本的TextStyle。提供的颜色将用于图标的颜色。 |
TextStyle(color: Colors.white) |
| onTap | void Function(int)? |
当TabBar被点击时调用的可选回调 | null |
| physics | ScrollPhysics |
Tabs列表使用的ScrollController的物理效果 |
BouncingScrollPhysics() |
| radius | double |
应用于每个按钮的BorderRadius.circular的值 |
7.0 |
| splashColor | Color? |
按钮的涟漪颜色 | null |
| tabs | List<Widget> |
要显示的标签。通常是一个包含两个或更多Tab小部件的列表。 |
@required |
| unselectedBackgroundColor | Color |
未选中状态下按钮的背景色 | Colors.grey[300] |
| unselectedBorderColor | Color |
未选中状态下按钮的边框颜色。如果其值为null,则使用borderColor的颜色。 |
null |
| unselectedDecoration | BoxDecoration |
未选中状态下按钮的BoxDecoration |
null |
| unselectedLabelStyle | TextStyle |
未选中状态下按钮文本的TextStyle。提供的颜色将用于图标的颜色。 |
TextStyle(color: Colors.black) |
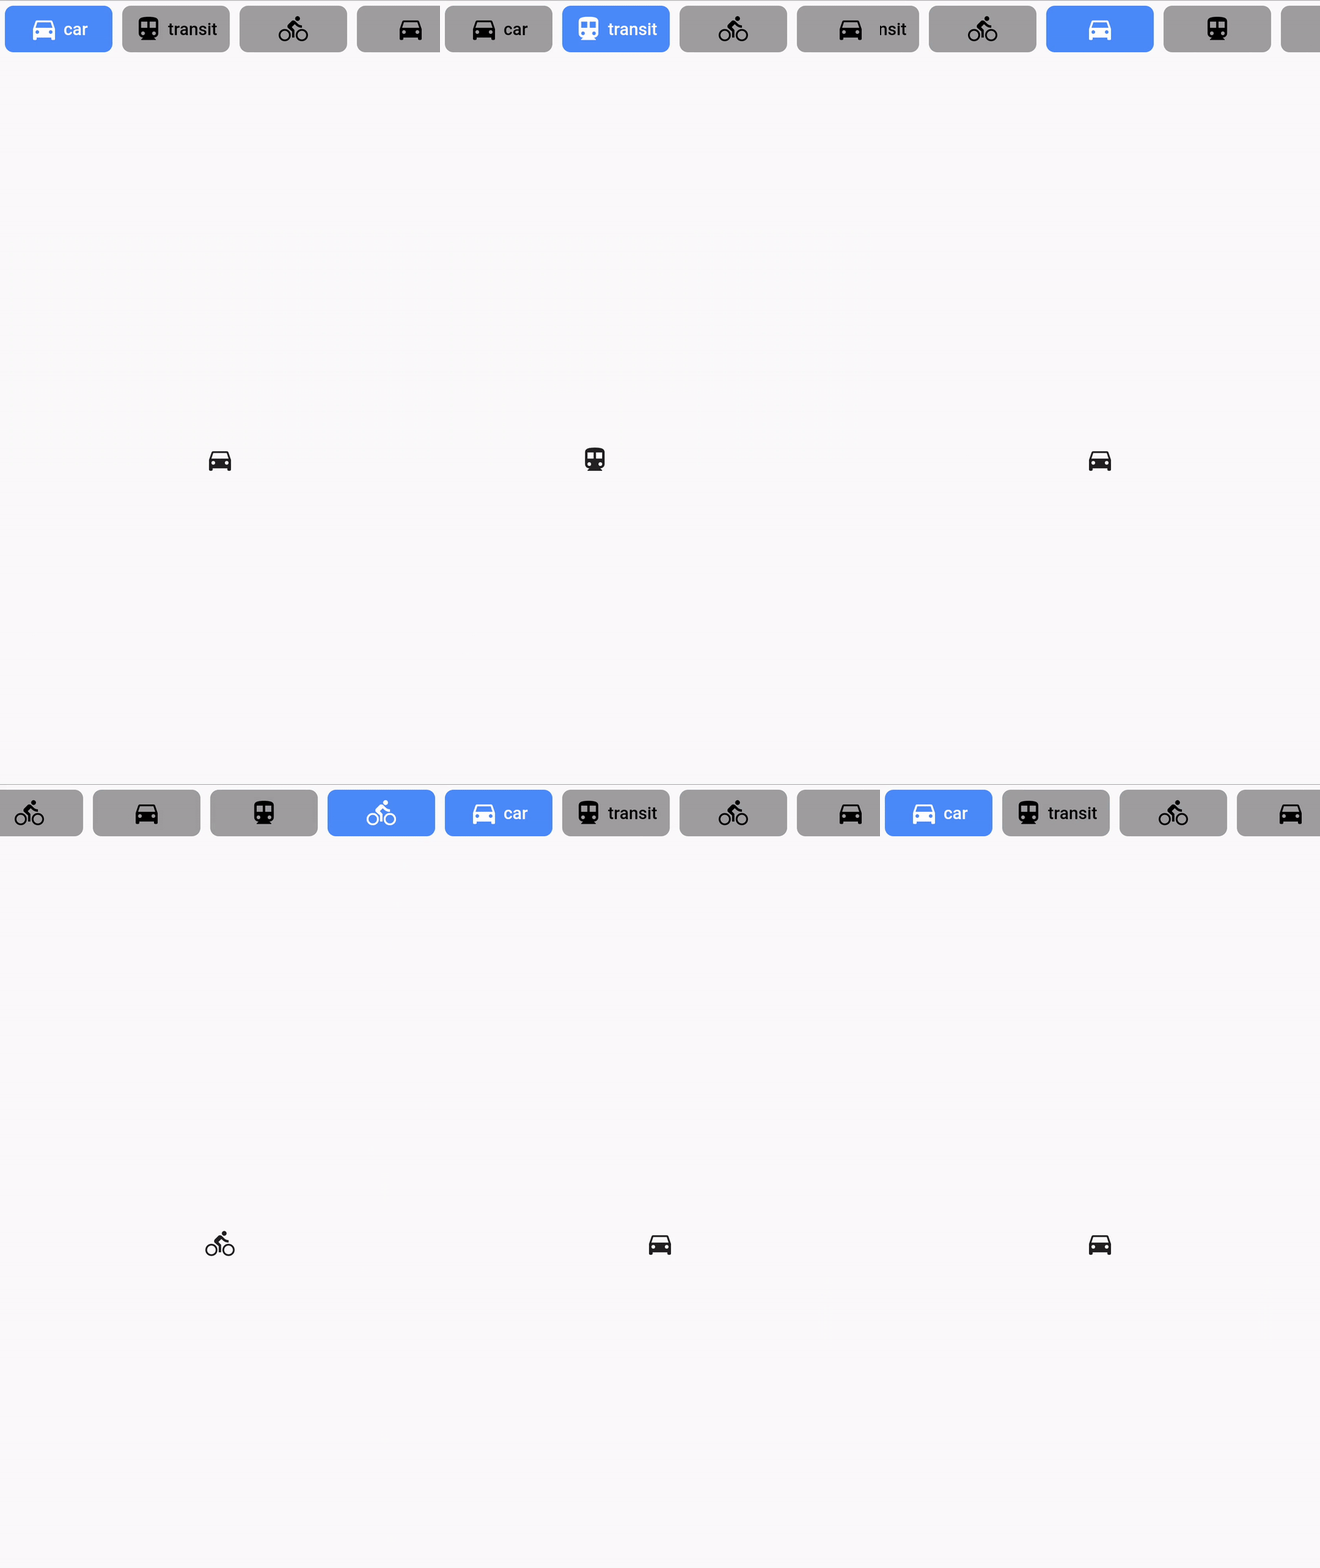
使用实例
import 'package:buttons_tabbar/buttons_tabbar.dart';
import 'package:flutter/material.dart';

void main() => runApp(MyApp());

class MyApp extends StatelessWidget {
  @override
  Widget build(BuildContext context) {
    return MaterialApp(
      home: Example(),
    );
  }
}

class Example extends StatefulWidget {
  Example({Key? key}) : super(key: key);

  @override
  _ExampleState createState() => _ExampleState();
}

class _ExampleState extends State<Example> {
  @override
  Widget build(BuildContext context) {
    return Scaffold(
      body: SafeArea(
        child: DefaultTabController(
          length: 6,
          child: Column(
            children: <Widget>[
              ButtonsTabBar(
                backgroundColor: Colors.red,
                unselectedBackgroundColor: Colors.grey[300],
                unselectedLabelStyle: TextStyle(color: Colors.black),
                labelStyle: TextStyle(color: Colors.white, fontWeight: FontWeight.bold),
                tabs: [
                  Tab(
                    icon: Icon(Icons.directions_car),
                    text: "car",
                  ),
                  Tab(
                    icon: Icon(Icons.directions_transit),
                    text: "transit",
                  ),
                  Tab(icon: Icon(Icons.directions_bike)),
                  Tab(icon: Icon(Icons.directions_car)),
                  Tab(icon: Icon(Icons.directions_transit)),
                  Tab(icon: Icon(Icons.directions_bike)),
                ],
              ),
              Expanded(
                child: TabBarView(
                  children: <Widget>[
                    Center(
                      child: Icon(Icons.directions_car),
                    ),
                    Center(
                      child: Icon(Icons.directions_transit),
                    ),
                    Center(
                      child: Icon(Icons.directions_bike),
                    ),
                    Center(
                      child: Icon(Icons.directions_car),
                    ),
                    Center(
                      child: Icon(Icons.directions_transit),
                    ),
                    Center(
                      child: Icon(Icons.directions_bike),
                    ),
                  ],
                ),
              ),
            ],
          ),
        ),
      ),
    );
  }
}
以上是关于如何在Flutter项目中使用buttons_tabbar插件的详细介绍。希望这些信息能帮助你在自己的项目中实现美观且功能丰富的底部导航栏!如果你有任何问题或需要进一步的帮助,请随时提问。
更多关于Flutter自定义底部导航栏插件buttons_tabbar的使用的实战系列教程也可以访问 https://www.itying.com/category-92-b0.html
更多关于Flutter自定义底部导航栏插件buttons_tabbar的使用的实战系列教程也可以访问 https://www.itying.com/category-92-b0.html
当然,以下是一个使用 buttons_tabbar 插件来自定义 Flutter 底部导航栏的示例代码。buttons_tabbar 是一个流行的 Flutter 插件,允许你使用自定义按钮来创建底部导航栏。
首先,你需要在 pubspec.yaml 文件中添加 buttons_tabbar 依赖:
dependencies:
  flutter:
    sdk: flutter
  buttons_tabbar: ^x.y.z  # 请将 x.y.z 替换为最新版本号
然后,运行 flutter pub get 来获取依赖。
接下来,在你的 Flutter 项目中,你可以使用以下代码来创建自定义底部导航栏:
import 'package:flutter/material.dart';
import 'package:buttons_tabbar/buttons_tabbar.dart';

void main() {
  runApp(MyApp());
}

class MyApp extends StatelessWidget {
  @override
  Widget build(BuildContext context) {
    return MaterialApp(
      home: MyHomePage(),
    );
  }
}

class MyHomePage extends StatefulWidget {
  @override
  _MyHomePageState createState() => _MyHomePageState();
}

class _MyHomePageState extends State<MyHomePage> with SingleTickerProviderStateMixin {
  int _selectedIndex = 0;
  final List<Widget> _children = [
    Center(child: Text('Home')),
    Center(child: Text('Search')),
    Center(child: Text('Profile')),
    Center(child: Text('Settings')),
  ];

  void _onTabSelected(int index) {
    setState(() {
      _selectedIndex = index;
    });
  }

  @override
  Widget build(BuildContext context) {
    return Scaffold(
      body: _children[_selectedIndex],
      bottomNavigationBar: ButtonsTabBar(
        items: [
          ButtonsTabBarItem(
            icon: Icon(Icons.home),
            title: Text('Home'),
            activeColor: Colors.blue,
            inactiveColor: Colors.grey,
          ),
          ButtonsTabBarItem(
            icon: Icon(Icons.search),
            title: Text('Search'),
            activeColor: Colors.blue,
            inactiveColor: Colors.grey,
          ),
          ButtonsTabBarItem(
            icon: Icon(Icons.person),
            title: Text('Profile'),
            activeColor: Colors.blue,
            inactiveColor: Colors.grey,
          ),
          ButtonsTabBarItem(
            icon: Icon(Icons.settings),
            title: Text('Settings'),
            activeColor: Colors.blue,
            inactiveColor: Colors.grey,
          ),
        ],
        selectedIndex: _selectedIndex,
        onTabSelected: _onTabSelected,
        backgroundColor: Colors.white,
      ),
    );
  }
}
在这个示例中,我们创建了一个 MyHomePage 类,它包含一个 Scaffold,其 body 部分根据 _selectedIndex 显示不同的页面内容,而 bottomNavigationBar 部分则使用 ButtonsTabBar 来创建自定义底部导航栏。
ButtonsTabBar 接受一个 items 列表,每个 ButtonsTabBarItem 代表一个导航项,包括图标、标题、激活颜色和未激活颜色。我们还设置了 selectedIndex 和 onTabSelected 回调,以便在点击导航项时更新当前选中的索引。
这样,你就可以使用 buttons_tabbar 插件来创建自定义的底部导航栏了。希望这个示例对你有帮助!


