Flutter轮盘抽奖插件roulette的使用
Flutter轮盘抽奖插件roulette的使用
Flutter中的roulette插件提供了创建轮盘抽奖功能的简单方法,可以用于各种抽奖、游戏等场景。本文将详细介绍如何使用该插件,并提供一个完整的示例demo。
Features
- 快速构建可定制的轮盘
- 支持基于指定权重的不同大小的部分
- 轻松控制旋转动画和最终停止位置
- 支持文本、图标和图片作为轮盘部分的内容
不同类型的轮盘
-
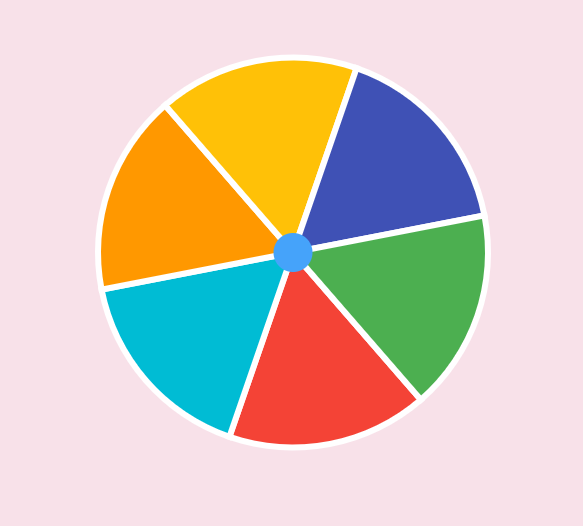
Uniformed roulette:

-
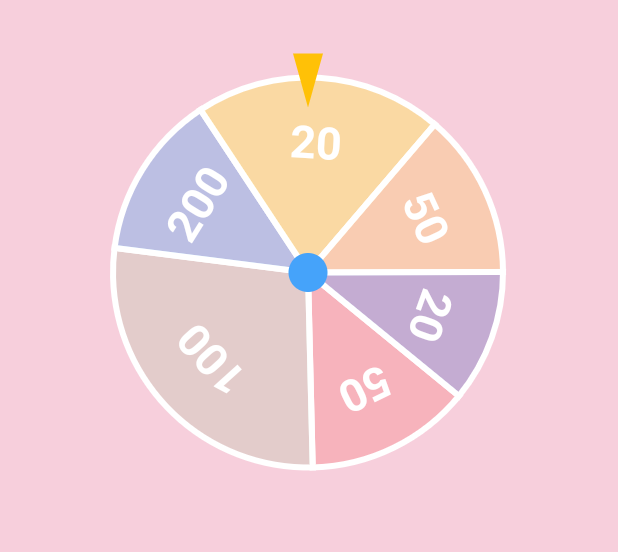
Weight-based roulette:

-
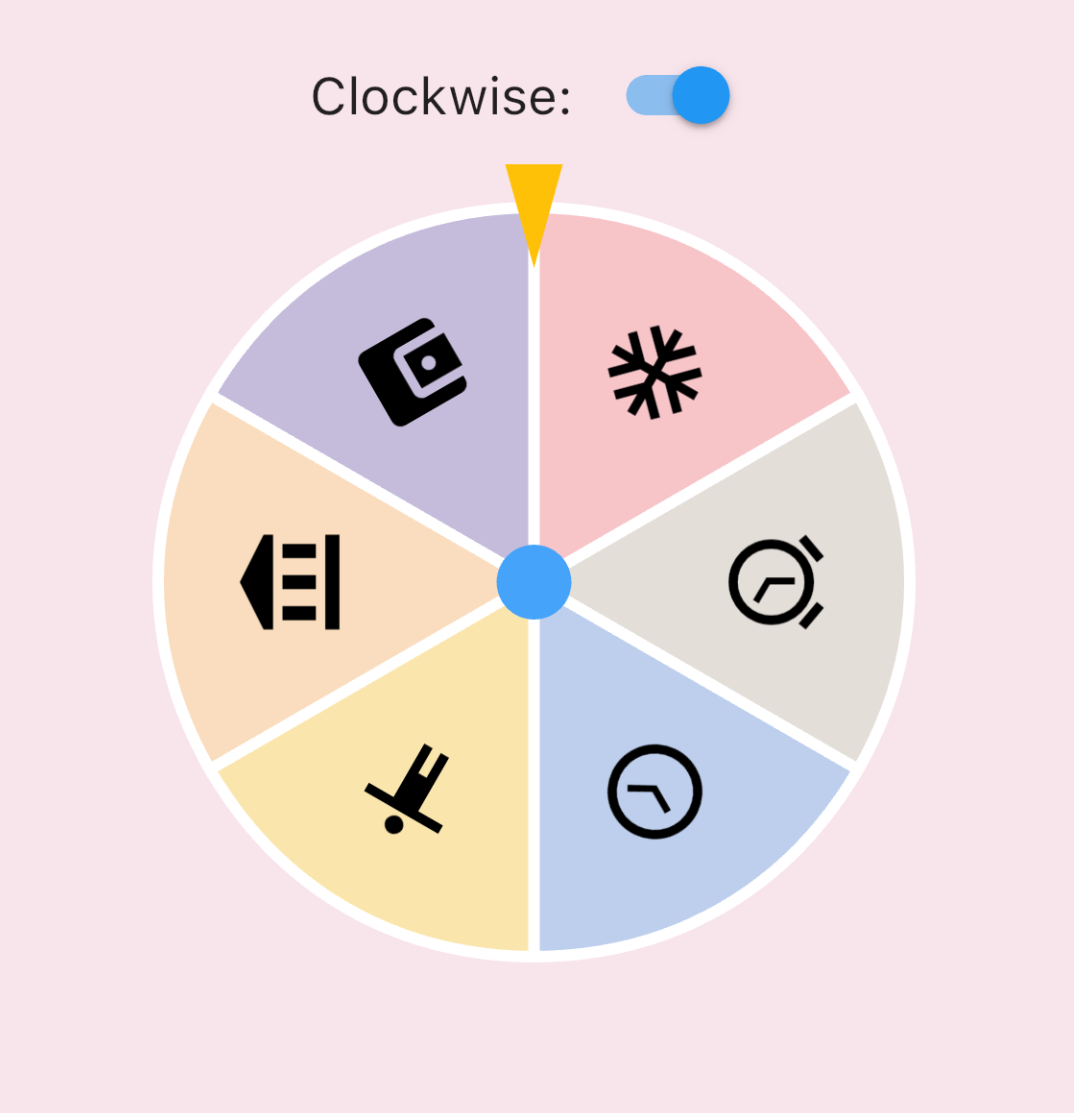
IconData roulette (available in 0.1.4):

-
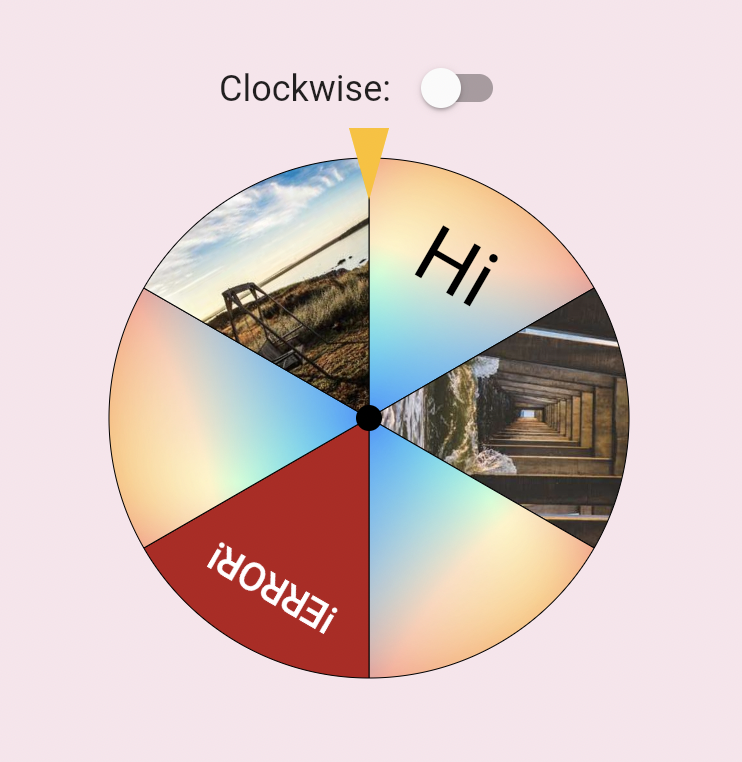
Image roulette (available in 0.1.5):

Getting Started
首先,在你的pubspec.yaml文件中添加依赖:
dependencies:
  roulette: ^0.1.5
Usage
创建RouletteController
首先,创建一个RouletteController实例:
// 创建轮盘单元
final units = [
  RouletteUnit.noText(color: Colors.red),
  RouletteUnit.noText(color: Colors.green),
  // ...其他单元
];

// 初始化控制器
final controller = RouletteController();
对于均匀分布的轮盘,可以从列表中构建:
// 源数据
final values = <int>[1, 2, 3, 4];

// 构建均匀分组
final group = RouletteGroup.uniform(
  values.length,
  colorBuilder: (index) => Colors.blue,
  textBuilder: (index) => values[index].toString(),
  textStyleBuilder: (index) {
    // 自定义文本样式,不要忘记返回它
  },
);

// 创建控制器
controller = RouletteController();
添加Roulette Widget
有了控制器后,添加一个Roulette widget:
@override
Widget build(BuildContext context) {
  return Roulette(
    group: group,
    controller: controller,
    style: RouletteStyle(
      // 自定义外观
    ),
  );
}
控制动画
使用rollTo方法来旋转轮盘:
ElevatedButton(
  onPressed: () async {
    // 旋转到索引2
    await controller.rollTo(2);
    // 动画结束后执行某些操作
  },
  child: Text('Roll!'),
);
rollTo允许一些选项,例如随机化停止位置:
// 生成随机偏移量
final random = Random();
final offset = random.nextDouble();

// 带有偏移量旋转
await controller.rollTo(2, offset: offset);
请参考API文档获取更多详细信息。
示例代码
以下是一个完整的示例代码,展示了如何在Flutter应用中使用roulette插件:
import 'dart:math';

import 'package:flutter/material.dart';
import 'package:roulette/roulette.dart';
import 'arrow.dart'; // 自定义箭头组件

void main() {
  runApp(const MyApp());
}

class MyApp extends StatelessWidget {
  const MyApp({Key? key}) : super(key: key);

  @override
  Widget build(BuildContext context) {
    return MaterialApp(
      title: 'Roulette',
      theme: ThemeData(
        primarySwatch: Colors.blue,
      ),
      home: const HomePage(),
    );
  }
}

class MyRoulette extends StatelessWidget {
  const MyRoulette({
    Key? key,
    required this.controller,
    required this.group,
  }) : super(key: key);

  final RouletteGroup group;
  final RouletteController controller;

  @override
  Widget build(BuildContext context) {
    return Stack(
      alignment: Alignment.topCenter,
      children: [
        SizedBox(
          width: 260,
          height: 260,
          child: Padding(
            padding: const EdgeInsets.only(top: 30),
            child: Roulette(
              group: group,
              controller: controller,
              style: const RouletteStyle(
                dividerThickness: 0.0,
                dividerColor: Colors.black,
                centerStickSizePercent: 0.05,
                centerStickerColor: Colors.black,
              ),
            ),
          ),
        ),
        const Arrow(), // 自定义箭头组件
      ],
    );
  }
}

class HomePage extends StatefulWidget {
  const HomePage({Key? key}) : super(key: key);

  @override
  State<HomePage> createState() => _HomePageState();
}

class _HomePageState extends State<HomePage> {
  static final _random = Random();

  final _controller = RouletteController();
  bool _clockwise = true;

  final colors = <Color>[
    Colors.red.withAlpha(50),
    Colors.green.withAlpha(30),
    Colors.blue.withAlpha(70),
    Colors.yellow.withAlpha(90),
    Colors.amber.withAlpha(50),
    Colors.indigo.withAlpha(70),
  ];

  final icons = <IconData>[
    Icons.ac_unit,
    Icons.access_alarm,
    Icons.access_time,
    Icons.accessibility,
    Icons.account_balance,
    Icons.account_balance_wallet,
  ];

  final images = <ImageProvider>[
    const ExactAssetImage("asset/gradient.jpg"),
    const NetworkImage("https://picsum.photos/seed/example1/400"),
    const ExactAssetImage("asset/gradient.jpg"),
    const NetworkImage("https://bad.link.to.image"),
    const ExactAssetImage("asset/gradient.jpg"),
    const NetworkImage("https://picsum.photos/seed/example5/400"),
  ];

  late final group = RouletteGroup.uniformImages(
    colors.length,
    colorBuilder: (index) => colors[index],
    imageBuilder: (index) => images[index],
    textBuilder: (index) {
      if (index == 0) return 'Hi';
      return '';
    },
    styleBuilder: (index) {
      return const TextStyle(color: Colors.black);
    },
  );

  @override
  Widget build(BuildContext context) {
    return Scaffold(
      appBar: AppBar(
        title: const Text('Roulette'),
      ),
      body: Container(
        padding: const EdgeInsets.all(16),
        child: Center(
          child: Column(
            mainAxisAlignment: MainAxisAlignment.start,
            crossAxisAlignment: CrossAxisAlignment.stretch,
            mainAxisSize: MainAxisSize.min,
            children: [
              MyRoulette(
                group: group,
                controller: _controller,
              ),
              const SizedBox(height: 40),
              Row(
                mainAxisSize: MainAxisSize.min,
                children: [
                  const Text(
                    "Clockwise: ",
                    style: TextStyle(fontSize: 18),
                  ),
                  Checkbox(
                    value: _clockwise,
                    onChanged: (onChanged) {
                      setState(() {
                        _controller.resetAnimation();
                        _clockwise = !_clockwise;
                      });
                    },
                  ),
                ],
              ),
              FilledButton(
                onPressed: () async {
                  final completed = await _controller.rollTo(
                    3,
                    clockwise: _clockwise,
                    offset: _random.nextDouble(),
                  );

                  if (completed) {
                    ScaffoldMessenger.of(context).showSnackBar(
                      const SnackBar(content: Text('Animation completed')),
                    );
                  } else {
                    ScaffoldMessenger.of(context).showSnackBar(
                      const SnackBar(content: Text('Animation cancelled')),
                    );
                  }
                },
                child: const Text('ROLL'),
              ),
              FilledButton(
                onPressed: () {
                  _controller.stop();
                },
                child: const Text('CANCEL'),
              ),
            ],
          ),
        ),
        decoration: BoxDecoration(
          color: Colors.pink.withOpacity(0.1),
        ),
      ),
    );
  }

  @override
  void dispose() {
    _controller.dispose();
    super.dispose();
  }
}
在这个示例中,我们创建了一个带有图片和文本的轮盘,并提供了开始和取消动画的功能。你可以根据需要自定义轮盘的样式和内容。
Legal Statement
此库的创建者不支持或鼓励任何非法赌博活动。请负责任地使用此库,并遵守您所在司法管辖区的所有适用法律。作者不对软件的任何误用承担责任。
希望这篇文章能帮助你理解和使用Flutter中的roulette插件。如果有任何问题或建议,请随时提问!
更多关于Flutter轮盘抽奖插件roulette的使用的实战系列教程也可以访问 https://www.itying.com/category-92-b0.html
更多关于Flutter轮盘抽奖插件roulette的使用的实战系列教程也可以访问 https://www.itying.com/category-92-b0.html
当然,以下是如何在Flutter中使用roulette插件来实现轮盘抽奖功能的代码示例。首先,你需要确保已经在你的pubspec.yaml文件中添加了roulette插件的依赖:
dependencies:
  flutter:
    sdk: flutter
  roulette: ^最新版本号  # 请替换为实际的最新版本号
然后,运行flutter pub get来安装该插件。
接下来,我们可以创建一个简单的Flutter应用,并在其中实现轮盘抽奖功能。以下是一个完整的示例代码:
import 'package:flutter/material.dart';
import 'package:roulette/roulette.dart';

void main() {
  runApp(MyApp());
}

class MyApp extends StatelessWidget {
  @override
  Widget build(BuildContext context) {
    return MaterialApp(
      title: 'Flutter Roulette Demo',
      theme: ThemeData(
        primarySwatch: Colors.blue,
      ),
      home: MyHomePage(),
    );
  }
}

class MyHomePage extends StatefulWidget {
  @override
  _MyHomePageState createState() => _MyHomePageState();
}

class _MyHomePageState extends State<MyHomePage> {
  late RouletteController _rouletteController;

  @override
  void initState() {
    super.initState();
    // 初始化RouletteController,设置奖品和概率
    _rouletteController = RouletteController(
      segments: [
        RouletteSegment(
          title: '奖品1',
          probability: 1, // 概率,可以调整以影响中奖率
        ),
        RouletteSegment(
          title: '奖品2',
          probability: 2,
        ),
        RouletteSegment(
          title: '奖品3',
          probability: 3,
        ),
        // 可以添加更多奖品
      ],
    );
  }

  @override
  Widget build(BuildContext context) {
    return Scaffold(
      appBar: AppBar(
        title: Text('Flutter Roulette Demo'),
      ),
      body: Center(
        child: Column(
          mainAxisAlignment: MainAxisAlignment.center,
          children: <Widget>[
            RouletteWheel(
              controller: _rouletteController,
              width: 300,
              height: 300,
              segmentTextStyle: TextStyle(fontSize: 24),
              segmentBackgroundColor: Colors.grey.withOpacity(0.6),
              segmentActiveColor: Colors.blue,
              segmentInactiveColor: Colors.white,
              segmentBorderRadius: 20,
              segmentSeparatorWidth: 2,
              segmentSeparatorColor: Colors.black,
              centerPieceColor: Colors.red,
              centerPieceWidth: 10,
              centerPieceRadius: 10,
            ),
            SizedBox(height: 20),
            ElevatedButton(
              onPressed: () {
                // 启动轮盘
                _rouletteController.spin();

                // 监听结果
                _rouletteController.resultStream.listen((result) {
                  // 显示结果
                  ScaffoldMessenger.of(context).showSnackBar(
                    SnackBar(
                      content: Text('你抽中了: ${result?.title}'),
                      duration: Duration(seconds: 2),
                    ),
                  );
                });
              },
              child: Text('开始抽奖'),
            ),
          ],
        ),
      ),
    );
  }
}
解释
-
依赖添加:确保在
pubspec.yaml文件中添加了roulette插件的依赖。 -
初始化:在
_MyHomePageState的initState方法中,初始化RouletteController,并设置奖品和对应的概率。 -
UI构建:使用
RouletteWheel组件来显示轮盘,并通过ElevatedButton来触发抽奖动作。 -
结果监听:使用
_rouletteController.resultStream.listen来监听抽奖结果,并在用户抽中奖品后显示一个SnackBar通知。
这个示例展示了如何使用roulette插件在Flutter应用中实现一个简单的轮盘抽奖功能。你可以根据需求进一步自定义和扩展。


