Flutter应用自动更新插件auto_updater的使用
Flutter应用自动更新插件auto_updater的使用
简介
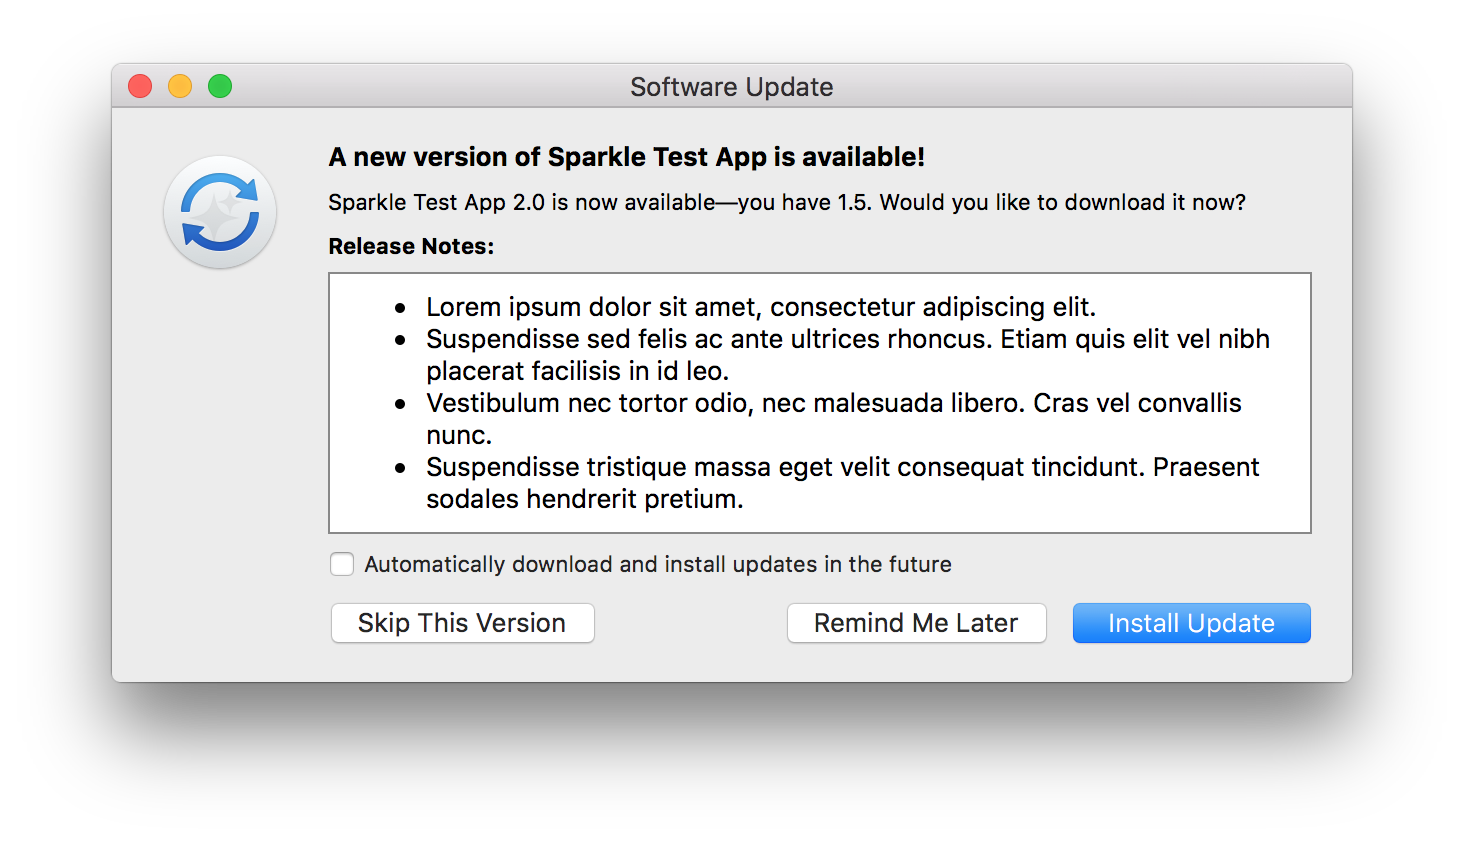
auto_updater 是一个用于Flutter桌面应用程序(基于 sparkle 和 winsparkle)的自动更新插件。它支持macOS和Windows平台,使您的应用能够自动检查并安装最新版本。

平台支持
| 平台 | 支持情况 |
|---|---|
| Linux | ❌ 不支持 |
| macOS | ✔️ 支持 |
| Windows | ✔️ 支持 |
快速开始
安装
在你的 pubspec.yaml 文件中添加以下内容:
dependencies:
  auto_updater: ^0.2.0
或者使用git路径:
dependencies:
  auto_updater:
    git:
      path: packages/auto_updater
      url: https://github.com/leanflutter/auto_updater.git
      ref: main
注意:Windows用户需要安装openssl
通过Chocolatey安装:
choco install openssl
使用示例
下面是一个简单的使用示例,演示如何设置更新源、检查更新以及设置自动检查间隔:
import 'package:auto_updater/auto_updater.dart';
import 'package:flutter/material.dart';

void main() async {
  // 确保初始化Flutter绑定
  WidgetsFlutterBinding.ensureInitialized();

  String feedURL = 'http://localhost:5002/appcast.xml';
  await autoUpdater.setFeedURL(feedURL);
  await autoUpdater.checkForUpdates();
  await autoUpdater.setScheduledCheckInterval(3600); // 设置每小时检查一次更新

  runApp(MyApp());
}

class MyApp extends StatelessWidget {
  @override
  Widget build(BuildContext context) {
    return MaterialApp(
      title: 'Auto Updater Demo',
      theme: ThemeData(
        primarySwatch: Colors.blue,
      ),
      home: Scaffold(
        appBar: AppBar(
          title: Text('Auto Updater Demo'),
        ),
        body: Center(
          child: Column(
            mainAxisAlignment: MainAxisAlignment.center,
            children: <Widget>[
              Text(
                '等待更新...',
              ),
            ],
          ),
        ),
      ),
    );
  }
}
发布你的应用
生成私钥
运行以下命令来为macOS和Windows分别生成私钥:
dart run auto_updater:generate_keys
对于macOS,你需要将生成的公钥添加到项目的 Info.plist 文件中:
<key>SUPublicEDKey</key>
<string>bHaXClrRGMmKoKP/3HJnr/jn2ODTRPAM3VZhhkI9ZvY=</string>
对于Windows,你需要将生成的公钥添加到项目的资源文件中:
+/////////////////////////////////////////////////////////////////////////////
+//
+// WinSparkle
+//

+// And verify signature using DSA public key:
+DSAPub      DSAPEM      "../../dsa_pub.pem"
打包
为了简化打包过程,推荐使用 Flutter Distributor 工具。你可以在项目根目录下创建一个 distribute_options.yaml 文件,并配置如下:
output: dist/
releases:
  - name: prod
    jobs:
      - name: macos-zip
        package:
          platform: macos
          target: zip
          build_args:
            dart-define:
              APP_ENV: dev
      # See full documentation: https://distributor.leanflutter.org/configuration/makers/exe
      - name: windows-exe
        package:
          platform: windows
          target: exe
          build_args:
            dart-define:
              APP_ENV: dev
然后根据不同的平台运行相应的打包命令:
-
macOS:
flutter_distributor release --name prod --jobs macos-zip -
Windows:
flutter_distributor release --name prod --jobs windows-exe
获取签名
根据不同的平台获取更新包的签名:
-
macOS:
dart run auto_updater:sign_update dist/1.1.0+2/auto_updater_example-1.1.0+2-macos.zip输出结果中的
sparkle:edSignature将用于更新appcast.xml文件中的相应属性。 -
Windows:
dart run auto_updater:sign_update dist/1.1.0+2/auto_updater_example-1.1.0+2-windows-setup.exe同样地,输出结果中的
sparkle:dsaSignature将用于更新appcast.xml文件中的相应属性。
分发
将 appcast.xml 文件放置在项目的 dist/ 目录下,并确保其中包含了正确的签名信息。例如:
<?xml version="1.0" encoding="UTF-8"?>
<rss version="2.0" xmlns:sparkle="http://www.andymatuschak.org/xml-namespaces/sparkle">
    <channel>
        <title>auto_updater_example</title>
        <description>Most recent updates to auto_updater_example</description>
        <language>en</language>
        <item>
            <title>Version 1.1.0</title>
            <sparkle:version>2</sparkle:version>
            <sparkle:shortVersionString>1.1.0</sparkle:shortVersionString>
            <sparkle:releaseNotesLink>
                https://your_domain/your_path/release_notes.html
            </sparkle:releaseNotesLink>
            <pubDate>Sun, 16 Feb 2022 12:00:00 +0800</pubDate>
            <enclosure url="1.1.0+2/auto_updater_example-1.1.0+2-macos.zip"
                       sparkle:edSignature="pbdyPt92pnPkzLfQ7BhS9hbjcV9/ndkzSIlWjFQIUMcaCNbAFO2fzl0tISMNJApG2POTkZY0/kJQ2yZYOSVgAA=="
                       sparkle:os="macos"
                       length="13400992"
                       type="application/octet-stream" />
        </item>
        <item>
            <title>Version 1.1.0</title>
            <sparkle:releaseNotesLink>
                https://your_domain/your_path/release_notes.html
            </sparkle:releaseNotesLink>
            <pubDate>Sun, 16 Feb 2022 12:00:00 +0800</pubDate>
            <enclosure url="1.1.0+2/auto_updater_example-1.1.0+2-windows.exe"
                       sparkle:dsaSignature="MEUCIQCVbVzVID7H3aUzAY5znpi+ySZKznkukV8whlMFzKh66AIgREUGOmvavlcg6hwAwkb2o4IqVE/D56ipIBshIqCH8rk="
                       sparkle:version="1.1.0+2"
                       sparkle:os="windows"
                       length="0"
                       type="application/octet-stream" />
        </item>
    </channel>
</rss>
启动测试更新服务器:
cd dist/
serve -l 5002
故障排除
macOS
- 确保你已经按照 Sparkle文档 添加了Sparkle Pod。
- 确保你已经在entitlement文件中添加并启用了网络权限,并且禁用了沙箱模式:
<key>com.apple.security.network.client</key>
  <true/>
<key>com.apple.security.network.server</key>
  <true/>
<key>com.apple.security.app-sandbox</key>
  <false/>
API
AutoUpdater
- setFeedURL: 设置更新源URL并初始化自动更新器。
- checkForUpdates: 检查是否有可用更新。调用此API前必须先调用
setFeedURL。 - setScheduledCheckInterval: 设置自动检查更新的时间间隔,默认为86400秒(一天),最小值为3600秒(一小时),设置为0则禁用自动检查。
相关链接
许可证
本项目采用 MIT许可证 开源。
以上就是关于auto_updater插件的详细介绍和使用方法,希望对你有所帮助!如果你有任何问题或建议,请随时提出。
更多关于Flutter应用自动更新插件auto_updater的使用的实战系列教程也可以访问 https://www.itying.com/category-92-b0.html


