Flutter生物识别功能插件widget_toolkit_biometrics的使用
Flutter生物识别功能插件widget_toolkit_biometrics的使用
简介
Widget Toolkit Biometrics 插件利用了 local_auth 包,以提供一个简单易用的 Material Design 开关,用于在应用级别启用或禁用生物识别。
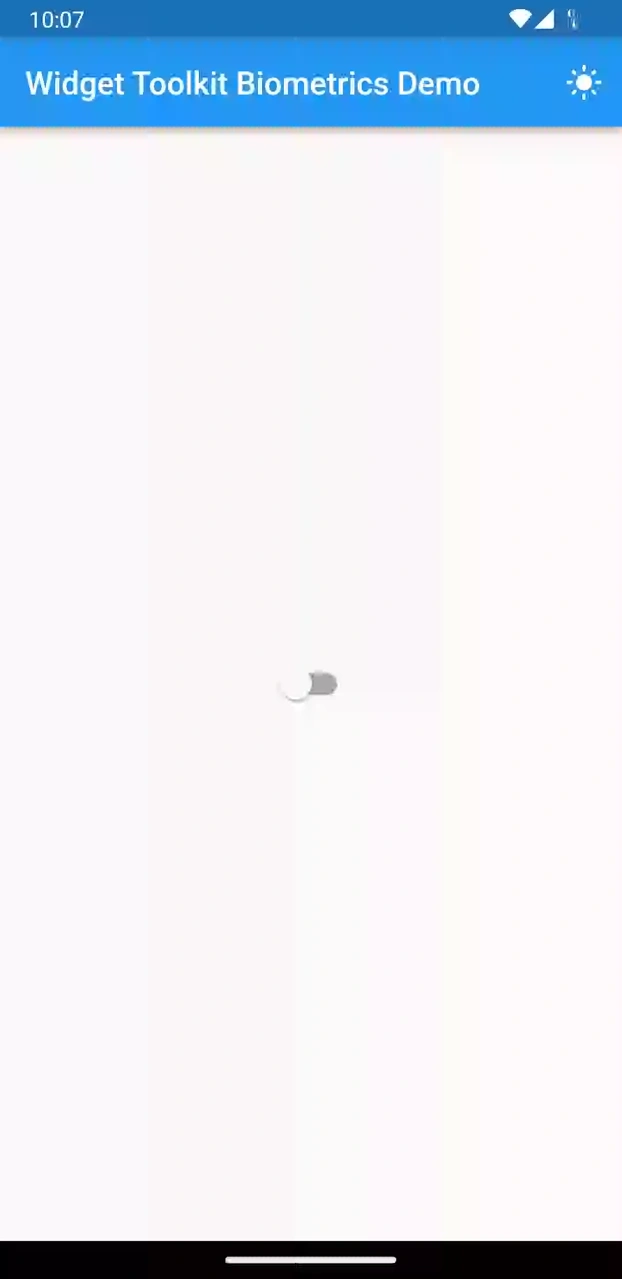
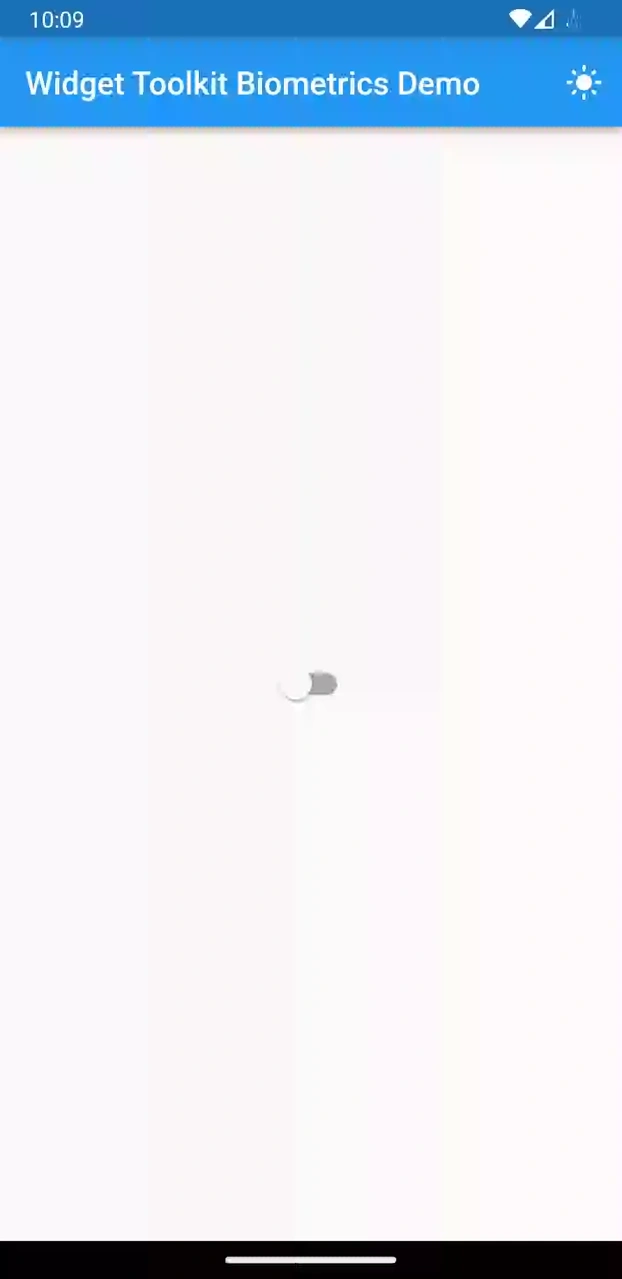
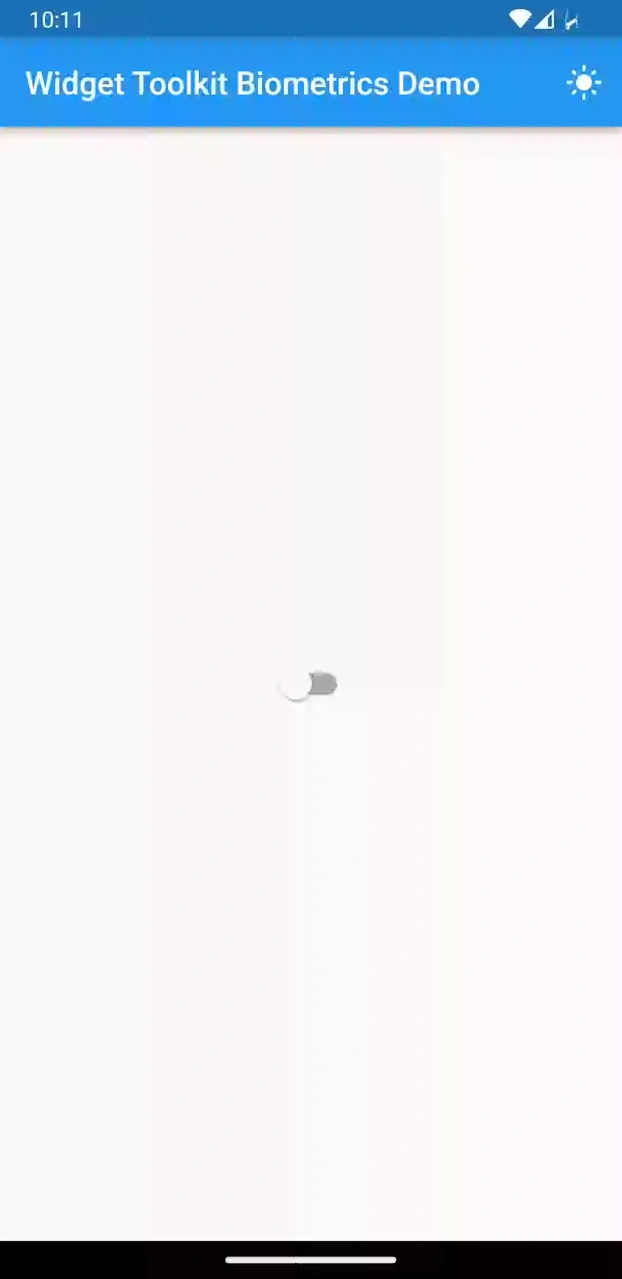
Demo
| Enable/Disable | Not Supported | Not Setup |
|---|---|---|
 |
 |
 |
安装
步骤1:添加依赖
在您的 pubspec.yaml 文件中添加以下依赖:
$ flutter pub add widget_toolkit widget_toolkit_biometrics
步骤2:集成 local_auth 包
请遵循 local_auth 包的集成指南,以便该插件可以在您期望的平台上工作。
步骤3:传递 WidgetToolkitTheme 扩展到应用的主题配置
MaterialApp(
  theme: ThemeData.light().copyWith(
    colorScheme: ColorScheme.fromSwatch(),
    extensions: [
      WidgetToolkitTheme.light(),
    ],
  ),
  darkTheme: ThemeData.dark().copyWith(
    colorScheme: ColorScheme.fromSwatch(),
    extensions: [
      WidgetToolkitTheme.dark(),
    ],
  ),
);
步骤4:创建 BiometricsLocalDataSource 的实现
class ProfileLocalDataSource implements BiometricsLocalDataSource {
  static const _areBiometricsEnabled = 'areBiometricsEnabled';

  Future<SharedPreferences> get _storageInstance => SharedPreferences.getInstance();

  @override
  Future<bool> areBiometricsEnabled() async {
    final storage = await _storageInstance;
    return storage.getBool(_areBiometricsEnabled) ?? false;
  }

  @override
  Future<void> setBiometricsEnabled(bool enable) async {
    final storage = await _storageInstance;
    await storage.setBool(_areBiometricsEnabled, enable);
  }
}
步骤5:在您的组件树中使用 BiometricsSwitch 组件
//...
BiometricsSwitch(
  biometricsLocalDataSource: ProfileLocalDataSource(),
),
//...
自定义
-
localizedReason: 提供一个本地化的字符串,在用户被提示确认是否要启用生物识别时显示。localizedReason: 'Activate the biometrics of your device', -
mapMessageToString: 将BiometricsMessage转换为人类可读的文本,并用于默认通知。mapMessageToString: (message) { switch (message) { case BiometricsMessage.notSetup: return 'To use biometrics, you need to turn it on in your device settings!'; case BiometricsMessage.notSupported: return 'You don\'t have biometric feature on your device!'; case BiometricsMessage.enabled: return 'Your biometrics are enabled!'; case BiometricsMessage.disabled: return 'Your biometrics are disabled!'; } }, -
builder: 如果你想根据实现的业务逻辑自定义构建元素,则可以提供此属性。builder: (context, enabled, setBiometrics) { return Switch( value: enabled, onChanged: setBiometrics, ); }, -
onStateChanged: 当生物识别成功启用或禁用时执行自定义回调或向用户展示自定义通知。如果定义了mapMessageToString,则会将结果作为localizedMessage传递。onStateChanged: (context, message, localizedMessage) { showBlurredBottomSheet( context: context, configuration: const ModalConfiguration( safeAreaBottom: false, ), builder: (context) => MessagePanelWidget( message: localizedMessage, messageState: message.state(), ), ); }, -
onError: 处理包外的错误,或者展示通知。这通常只会在BiometricsLocalDataSource.areBiometricsEnabled()或BiometricsLocalDataSource.setBiometricsEnabled(enable)抛出异常时调用。onError: (error) { showBlurredBottomSheet( context: context, configuration: const ModalConfiguration(safeAreaBottom: false), builder: (context) => const MessagePanelWidget( message: 'We\'re sorry we couldn\'t enable biometric authentication at this time', messageState: MessagePanelState.important, ), ); },
示例代码
下面是一个完整的示例,展示了如何在Flutter项目中使用 widget_toolkit_biometrics 插件:
import 'package:app_settings/app_settings.dart';
import 'package:flutter/material.dart';
import 'package:shared_preferences/shared_preferences.dart';
import 'package:widget_toolkit/widget_toolkit.dart';
import 'package:widget_toolkit_biometrics/widget_toolkit_biometrics.dart';
void main() {
runApp(const MyApp());
}
class MyApp extends StatelessWidget {
const MyApp({super.key});
@override
Widget build(BuildContext context) {
return MaterialApp(
title: 'Widget Toolkit Biometrics Demo',
theme: ThemeData.light().copyWith(
colorScheme: ColorScheme.fromSwatch(),
// You have to provide the [WidgetToolkitTheme]s in order for the
// [BiometricsSwitch] to work
extensions: [
WidgetToolkitTheme.light(),
],
),
darkTheme: ThemeData.dark().copyWith(
colorScheme: ColorScheme.fromSwatch(),
extensions: [
// You have to provide the [WidgetToolkitTheme]s in order for the
// [BiometricsSwitch] to work
WidgetToolkitTheme.dark(),
],
),
home: const MyHomePage(title: 'Widget Toolkit Biometrics Demo'),
);
}
}
class MyHomePage extends StatelessWidget {
const MyHomePage({super.key, required this.title});
final String title;
@override
Widget build(BuildContext context) => Scaffold(
appBar: AppBar(
title: Text(title),
),
body: SafeArea(
child: Center(
child: BiometricsSwitch(
// You are required to provide an implementation of [BiometricsLocalDataSource]
biometricsLocalDataSource: ProfileLocalDataSource(),
// optionally you can provide a [localizedReason], this should be
// a localized message, which would get shown to the user when they
// are prompted to confirm that they want to enable biometrics
localizedReason: 'Activate the biometrics of your device',
// optionally you can provide [mapMessageToString],
// which will be used to translate the [BiometricsMessage]
// to human readable text and will be used in the default notification
mapMessageToString: _exampleMapMessageToString,
// Optionally, use [onStateChanged] to execute custom callback or present custom notification
// to the user whenever the biometrics are enabled or disabled successfully.
//
// If you have defined [mapMessageToString] the result from that would be
// passed in as [localizedMessage], otherwise the default mapping of the
// message to an English string would be passed in.
//
// However if you do override this, you will have to handle
// the case where the user hasn't setup their biometrics,
// and needs to be led to the settings page to set them up,
// for example by using the app_settings library.
onStateChanged: _exampleOnStateChanged,
// Optionally provide [builder] if you want to build the element
// in your own way using the implemented business logic.
builder: (context, enabled, setBiometrics) {
  return Switch(
    value: enabled,
    onChanged: setBiometrics,
  );
},
// Optionally you can provide [onError] to handle errors out of the
// package, or to show a notification, in practice this would only
// get called if the implementations of
// [BiometricsLocalDataSource.areBiometricsEnabled()] or
// [BiometricsLocalDataSource.setBiometricsEnabled(enable)]
// throw
onError: (error) => _exampleOnError(context, error),
),
),
),
);
String _exampleMapMessageToString(BiometricsMessage message) {
switch (message) {
case BiometricsMessage.notSetup:
return 'To use biometrics, you need to turn it on in your device settings!';
case BiometricsMessage.notSupported:
return 'You don\'t have biometric feature on your device!';
case BiometricsMessage.enabled:
return 'Your biometrics are enabled!';
case BiometricsMessage.disabled:
return 'Your biometrics are disabled!';
}
}
void _exampleOnStateChanged(
BuildContext context,
BiometricsMessage message,
String localizedMessage,
) {
showBlurredBottomSheet(
context: context,
configuration: const ModalConfiguration(
safeAreaBottom: false,
showCloseButton: false,
),
builder: (context) => Padding(
padding: context.widgetToolkitTheme.bottomSheetPaddingAlternative,
child: Column(
mainAxisSize: MainAxisSize.min,
crossAxisAlignment: CrossAxisAlignment.stretch,
children: [
MessagePanelWidget(
message: localizedMessage,
messageState: message.state(),
),
Padding(
padding: context.widgetToolkitTheme.bottomSheetCloseButtonPadding,
child: Row(
mainAxisAlignment: MainAxisAlignment.spaceEvenly,
children: [
SmallButton(
onPressed: () => Navigator.of(context).pop(),
icon: Icons.close,
type: SmallButtonType.outline,
colorStyle: ButtonColorStyle.fromContext(
context,
activeGradientColorStart: context.widgetToolkitTheme
.disabledFilledButtonBackgroundColor,
activeGradientColorEnd:
context.widgetToolkitTheme.primaryGradientEnd,
),
),
if (message == BiometricsMessage.notSetup)
SmallButton(
onPressed: () {
AppSettings.openAppSettings(
type: AppSettingsType.security,
);
Navigator.of(context).pop();
},
icon: Icons.settings,
type: SmallButtonType.outline,
colorStyle: ButtonColorStyle.fromContext(
context,
activeGradientColorStart: context.widgetToolkitTheme
.disabledFilledButtonBackgroundColor,
activeGradientColorEnd:
context.widgetToolkitTheme.primaryGradientEnd,
),
),
],
),
)
],
),
),
);
}
void _exampleOnError(BuildContext context, ErrorModel error) {
showBlurredBottomSheet(
context: context,
configuration: const ModalConfiguration(safeAreaBottom: false),
builder: (context) => const MessagePanelWidget(
message: 'We\'re sorry we couldn\'t enable biometric'
'authentication at this time',
messageState: MessagePanelState.important,
),
);
}
}
/// You have to implement and provide a [BiometricsLocalDataSource]
/// you can use this to store the value, for example in [SharedPreferences]
class ProfileLocalDataSource implements BiometricsLocalDataSource {
static const _areBiometricsEnabled = 'areBiometricsEnabled';
Future<SharedPreferences> get _storageInstance =>
SharedPreferences.getInstance();
@override
Future<bool> areBiometricsEnabled() async {
final storage = await _storageInstance;
return storage.getBool(_areBiometricsEnabled) ?? false;
}
@override
Future<void> setBiometricsEnabled(bool enable) async {
final storage = await _storageInstance;
await storage.setBool(_areBiometricsEnabled, enable);
}
}
通过以上步骤和代码示例,您可以轻松地在Flutter应用程序中集成并使用 widget_toolkit_biometrics 插件来实现生物识别功能。
更多关于Flutter生物识别功能插件widget_toolkit_biometrics的使用的实战系列教程也可以访问 https://www.itying.com/category-92-b0.html
更多关于Flutter生物识别功能插件widget_toolkit_biometrics的使用的实战系列教程也可以访问 https://www.itying.com/category-92-b0.html
当然,以下是如何在Flutter应用中使用widget_toolkit_biometrics插件来实现生物识别功能的示例代码。
首先,确保你已经在pubspec.yaml文件中添加了widget_toolkit_biometrics依赖项:
dependencies:
  flutter:
    sdk: flutter
  widget_toolkit_biometrics: ^最新版本号  # 请替换为最新版本号
然后运行flutter pub get来安装依赖。
接下来,在你的Flutter应用中,你可以按照以下步骤使用生物识别功能:
- 导入必要的包:
import 'package:flutter/material.dart';
import 'package:widget_toolkit_biometrics/widget_toolkit_biometrics.dart';
- 创建一个用于处理生物识别的Widget:
class BiometricsScreen extends StatefulWidget {
  @override
  _BiometricsScreenState createState() => _BiometricsScreenState();
}

class _BiometricsScreenState extends State<BiometricsScreen> {
  late Biometrics _biometrics;
  bool _isAuthenticated = false;

  @override
  void initState() {
    super.initState();
    _biometrics = Biometrics();
    _checkBiometricsAvailability();
  }

  Future<void> _checkBiometricsAvailability() async {
    bool canAuthenticate = await _biometrics.canAuthenticate;
    if (!canAuthenticate) {
      // 显示无法使用生物识别的信息
      ScaffoldMessenger.of(context).showSnackBar(
        SnackBar(content: Text('生物识别不可用')),
      );
    }
  }

  Future<void> _authenticateUser() async {
    try {
      bool authenticated = await _biometrics.authenticate(
        localizedReason: '请通过生物识别验证您的身份',
        stickyAuth: false,
      );
      setState(() {
        _isAuthenticated = authenticated;
      });

      if (authenticated) {
        ScaffoldMessenger.of(context).showSnackBar(
          SnackBar(content: Text('身份验证成功')),
        );
      } else {
        ScaffoldMessenger.of(context).showSnackBar(
          SnackBar(content: Text('身份验证失败')),
        );
      }
    } catch (e) {
      ScaffoldMessenger.of(context).showSnackBar(
        SnackBar(content: Text('发生错误: ${e.message}')),
      );
    }
  }

  @override
  Widget build(BuildContext context) {
    return Scaffold(
      appBar: AppBar(title: Text('生物识别示例')),
      body: Center(
        child: ElevatedButton(
          onPressed: _authenticateUser,
          child: Text('进行生物识别'),
        ),
      ),
    );
  }
}
- 在你的应用的主文件中使用这个Widget:
import 'package:flutter/material.dart';
import 'biometrics_screen.dart'; // 假设你将上面的代码保存在这个文件中

void main() {
  runApp(MyApp());
}

class MyApp extends StatelessWidget {
  @override
  Widget build(BuildContext context) {
    return MaterialApp(
      title: 'Flutter Demo',
      theme: ThemeData(
        primarySwatch: Colors.blue,
      ),
      home: BiometricsScreen(),
    );
  }
}
这个示例代码展示了如何使用widget_toolkit_biometrics插件来检查设备是否支持生物识别,以及如何进行生物识别身份验证。_authenticateUser方法会触发生物识别认证流程,并根据认证结果更新UI。
请确保在实际应用中处理更多的错误情况和用户体验细节,例如多次尝试失败后的处理,以及根据平台特性进行适配。


