Flutter堆叠列表轮播插件stacked_list_carousel的使用
Flutter堆叠列表轮播插件stacked_list_carousel的使用
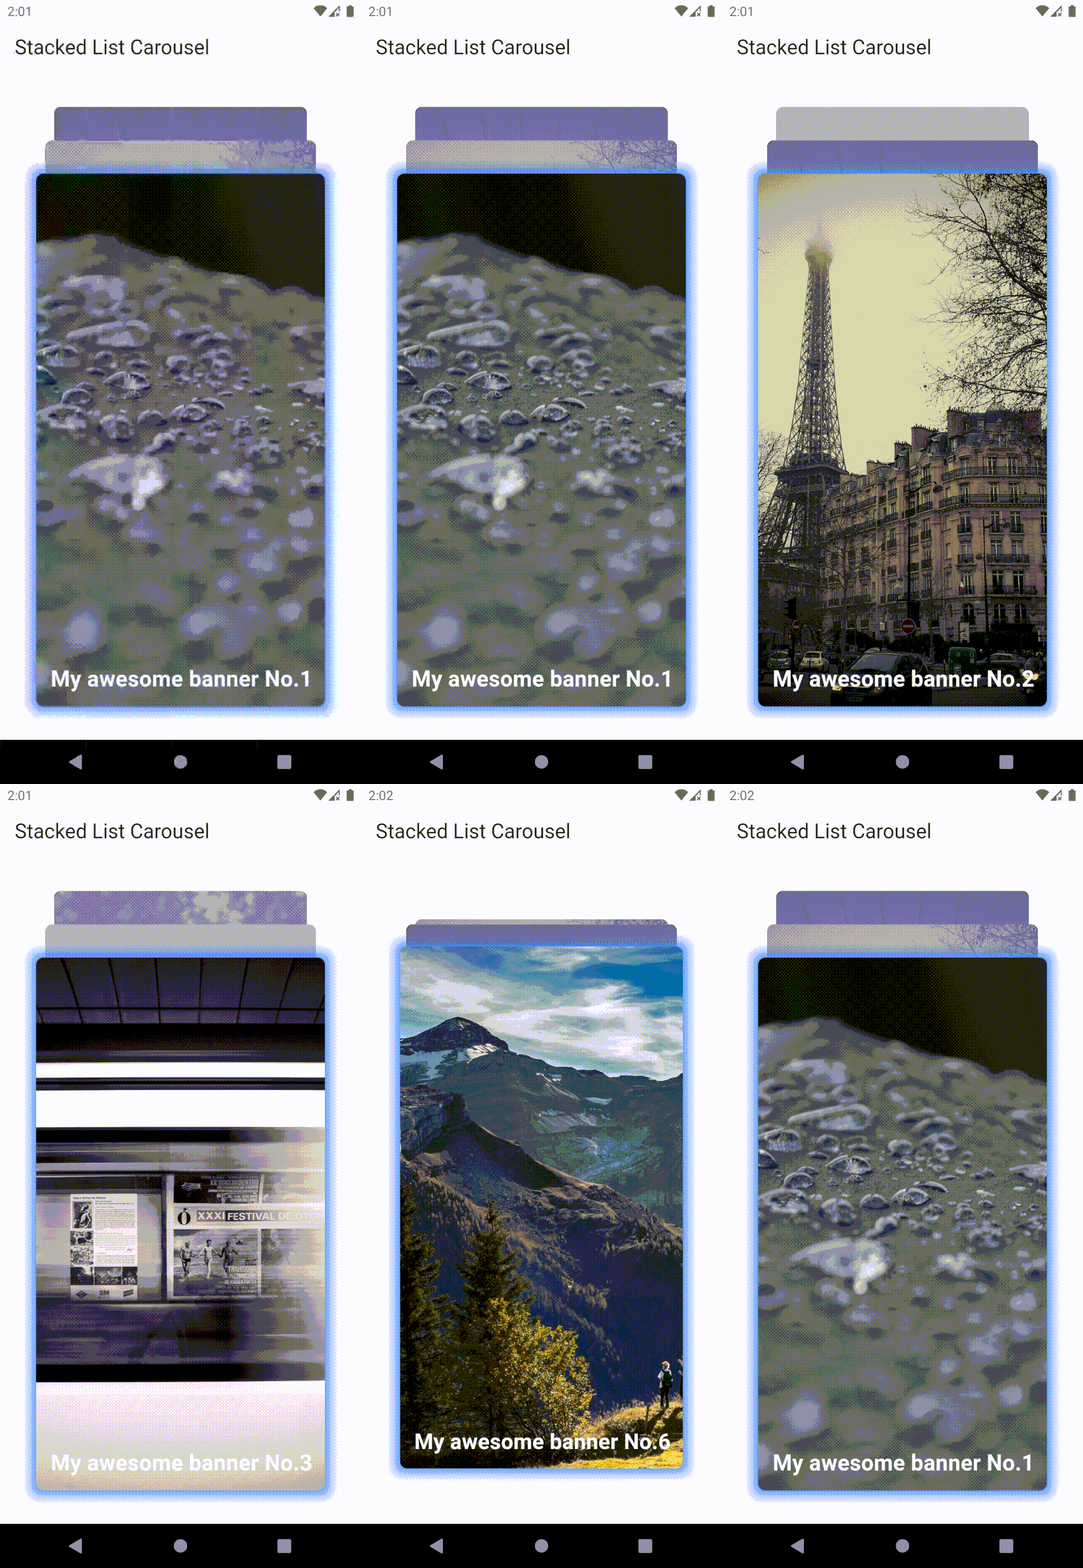
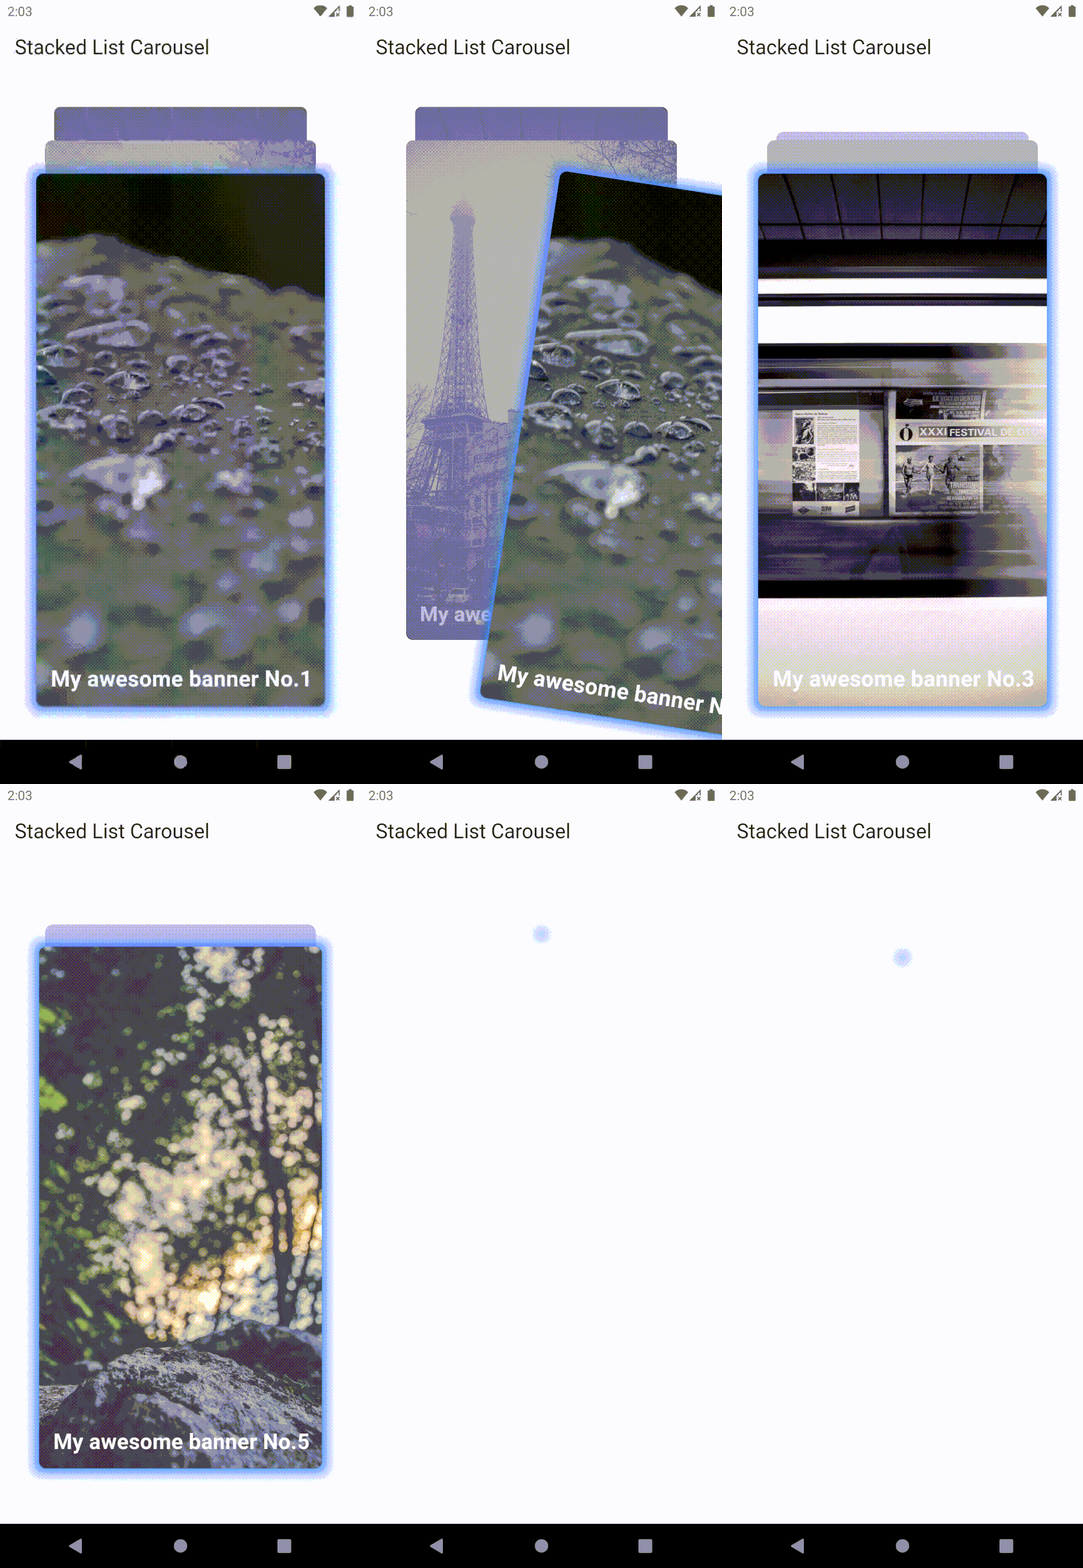
stacked_list_carousel 是一个允许创建高度可定制和交互式的堆叠项目轮播的Flutter插件。它特别适用于特定的应用场景,例如应用内横幅或类似Tinder卡片滑动效果。
功能特性
- 创建垂直对齐子项的轮播组件,并提供良好的动画效果和平滑的过渡。
- 提供项目丢弃动作监听器,提供丢弃的方向信息。
模式介绍
Loop模式
在Loop模式下,被滑动后的项目不会从列表中移除,而是插入到列表的最后位置。此外,该模式支持自动滑动功能,可在设定的时间间隔内自动切换显示内容。

Consume模式
Consume模式下,项目被滑动后将直接从列表中移除,且不支持自动滑动功能。当所有卡片都被消费完时,需要提供一个空UI构建器来展示相应界面。

使用方法
安装配置
首先,在你的pubspec.yaml文件中添加依赖:
dependencies:
  flutter:
    sdk: flutter

  stacked_list_carousel: ^latest_version # 请替换为最新版本号
然后执行flutter pub get以下载并安装依赖包。
示例代码
下面是一个完整的示例demo,展示了如何使用StackedListCarousel widget创建一个具有循环模式的堆叠卡片轮播效果:
import 'package:flutter/material.dart';
import 'package:stacked_list_carousel/stacked_list_carousel.dart';

void main() {
  WidgetsFlutterBinding.ensureInitialized();
  runApp(const MyApp());
}

class MyApp extends StatelessWidget {
  const MyApp({super.key});

  @override
  Widget build(BuildContext context) {
    return MaterialApp(
      debugShowCheckedModeBanner: false,
      title: 'Stacked Cards Example',
      theme: ThemeData(
        useMaterial3: true,
        primarySwatch: Colors.blue,
      ),
      home: const Home(title: 'Awesome Card Carousel'),
    );
  }
}

class Home extends StatefulWidget {
  const Home({Key? key, required this.title}) : super(key: key);
  final String title;

  @override
  State<Home> createState() => _HomeState();
}

class _HomeState extends State<Home> {
  @override
  Widget build(BuildContext context) {
    return Scaffold(
      appBar: AppBar(
        title: Text(widget.title),
      ),
      body: Padding(
        padding: EdgeInsets.all(20),
        child: ColoredBox(
          color: Colors.black12,
          child: StackedListCarousel<AwesomeInAppBanner>(
            items: banners,
            behavior: CarouselBehavior.loop,
            cardBuilder: (context, item, size) {
              return GestureDetector(
                onTap: () {
                  print("Visiting ${item.imgUrl}");
                },
                child: ClipRRect(
                  borderRadius: BorderRadius.circular(10.0),
                  child: Stack(
                    children: [
                      Image.network(
                        item.imgUrl,
                        width: size.width,
                        height: size.height,
                        fit: BoxFit.cover,
                      ),
                      Align(
                        alignment: Alignment.bottomRight,
                        child: Padding(
                          padding: const EdgeInsets.all(16.0),
                          child: Text(
                            item.title,
                            style: TextStyle(
                              fontWeight: FontWeight.bold,
                              color: Colors.white,
                              fontSize: 30.0 * size.width / MediaQuery.of(context).size.width,
                            ),
                          ),
                        ),
                      ),
                    ],
                  ),
                ),
              );
            },
            outermostCardHeightFactor: 0.8,
            itemGapHeightFactor: 0.05,
            maxDisplayedItemCount: 3,
            animationDuration: const Duration(milliseconds: 550),
            autoSlideDuration: const Duration(seconds: 8),
            alignment: StackedListAxisAlignment.bottom,
            emptyBuilder: (context) => const Center(
              child: Text('You have consumed all cards!'),
            ),
            innerCardsWrapper: (child) {
              return Stack(
                children: [
                  child,
                  Positioned.fill(
                    child: DecoratedBox(
                      decoration: BoxDecoration(
                        color: const Color(0xffA6A3CC).withOpacity(0.64),
                        borderRadius: BorderRadius.circular(12),
                      ),
                    ),
                  ),
                ],
              );
            },
            outermostCardWrapper: (child) {
              return DecoratedBox(
                decoration: const BoxDecoration(
                  boxShadow: [
                    BoxShadow(
                      color: Colors.blueAccent,
                      blurRadius: 12,
                      blurStyle: BlurStyle.normal,
                      spreadRadius: 6,
                    ),
                  ],
                ),
                child: child,
              );
            },
            cardSwipedCallback: (item, direction) {
              debugPrint('card swiped: ${item.title}, $direction');
            },
            disableAutomaticLoop: false,
          ),
        ),
      ),
    );
  }
}

class AwesomeInAppBanner {
  final String imgUrl;
  final String title;
  final Color color;

  const AwesomeInAppBanner(this.imgUrl, this.title, this.color);
}

List<AwesomeInAppBanner> banners = <AwesomeInAppBanner>[
  AwesomeInAppBanner(
    'https://picsum.photos/id/123/1200/1800',
    'My awesome banner No.1',
    Colors.green.shade300,
  ),
  // 更多的AwesomeInAppBanner实例...
];
此代码段创建了一个包含多个AwesomeInAppBanner对象的列表,并通过StackedListCarousel进行展示。你可以根据自己的需求调整样式、行为以及其他属性设置。
更多关于Flutter堆叠列表轮播插件stacked_list_carousel的使用的实战系列教程也可以访问 https://www.itying.com/category-92-b0.html
更多关于Flutter堆叠列表轮播插件stacked_list_carousel的使用的实战系列教程也可以访问 https://www.itying.com/category-92-b0.html
当然,以下是如何在Flutter项目中使用stacked_list_carousel插件的示例代码。stacked_list_carousel是一个用于创建堆叠列表轮播效果的Flutter插件。
首先,确保在你的pubspec.yaml文件中添加该插件的依赖项:
dependencies:
  flutter:
    sdk: flutter
  stacked_list_carousel: ^x.y.z  # 替换为最新版本号
然后运行flutter pub get来获取该依赖项。
接下来,你可以在你的Flutter项目中使用StackedListCarousel组件。以下是一个完整的示例代码,展示了如何使用该插件来创建一个堆叠列表轮播:
import 'package:flutter/material.dart';
import 'package:stacked_list_carousel/stacked_list_carousel.dart';

void main() {
  runApp(MyApp());
}

class MyApp extends StatelessWidget {
  @override
  Widget build(BuildContext context) {
    return MaterialApp(
      title: 'Stacked List Carousel Demo',
      theme: ThemeData(
        primarySwatch: Colors.blue,
      ),
      home: StackedListCarouselDemo(),
    );
  }
}

class StackedListCarouselDemo extends StatelessWidget {
  @override
  Widget build(BuildContext context) {
    final List<String> items = List.generate(20, (index) => "Item ${index + 1}");

    return Scaffold(
      appBar: AppBar(
        title: Text('Stacked List Carousel Demo'),
      ),
      body: Padding(
        padding: const EdgeInsets.all(16.0),
        child: StackedListCarousel<String>(
          itemCount: items.length,
          itemBuilder: (context, index) {
            return Card(
              elevation: 4.0,
              child: Padding(
                padding: const EdgeInsets.all(16.0),
                child: Text(
                  items[index],
                  style: TextStyle(fontSize: 20, color: Colors.black),
                ),
              ),
            );
          },
          itemExtent: 150.0,
          viewportFraction: 0.7,
          dragAxis: Axis.horizontal,
          onPageChanged: (index) {
            print("Page changed to index: $index");
          },
        ),
      ),
    );
  }
}
在这个示例中,我们创建了一个简单的Flutter应用,并在主页中使用了StackedListCarousel组件:
- 数据准备:我们生成了一个包含20个字符串项的列表。
- StackedListCarousel组件:
itemCount:指定了轮播中的项数。itemBuilder:用于构建每个项的Widget。这里我们简单地使用了一个带有文本的卡片。itemExtent:每个项的高度。viewportFraction:可视区域占整个轮播宽度的比例。dragAxis:轮播的拖动方向,这里设置为水平方向。onPageChanged:页面改变时的回调函数,这里我们简单地打印了当前索引。
运行这个示例代码,你应该能看到一个水平滚动的堆叠列表轮播效果。
请确保你使用的stacked_list_carousel版本与代码兼容,并查阅插件的官方文档以获取最新的API信息和更多示例。


