Flutter响应式布局插件responsive_layout_grid的使用
Flutter响应式布局插件responsive_layout_grid的使用
引言
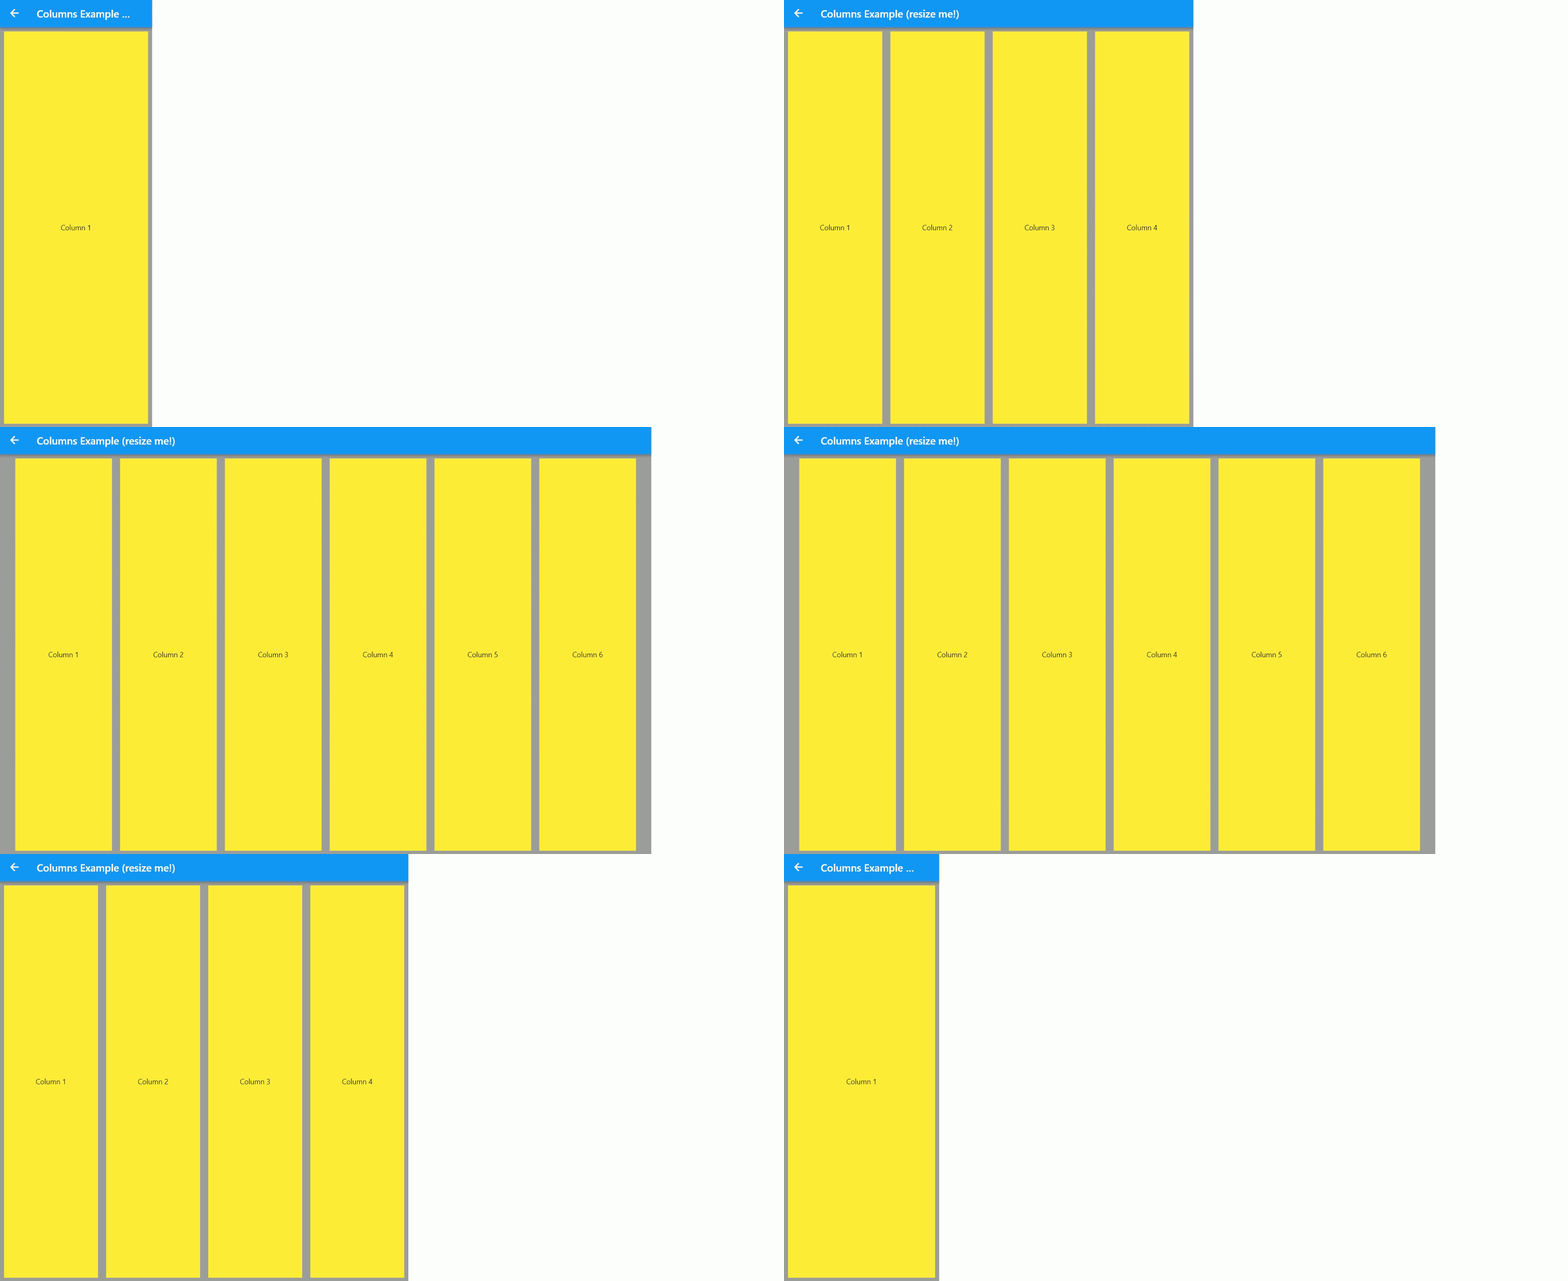
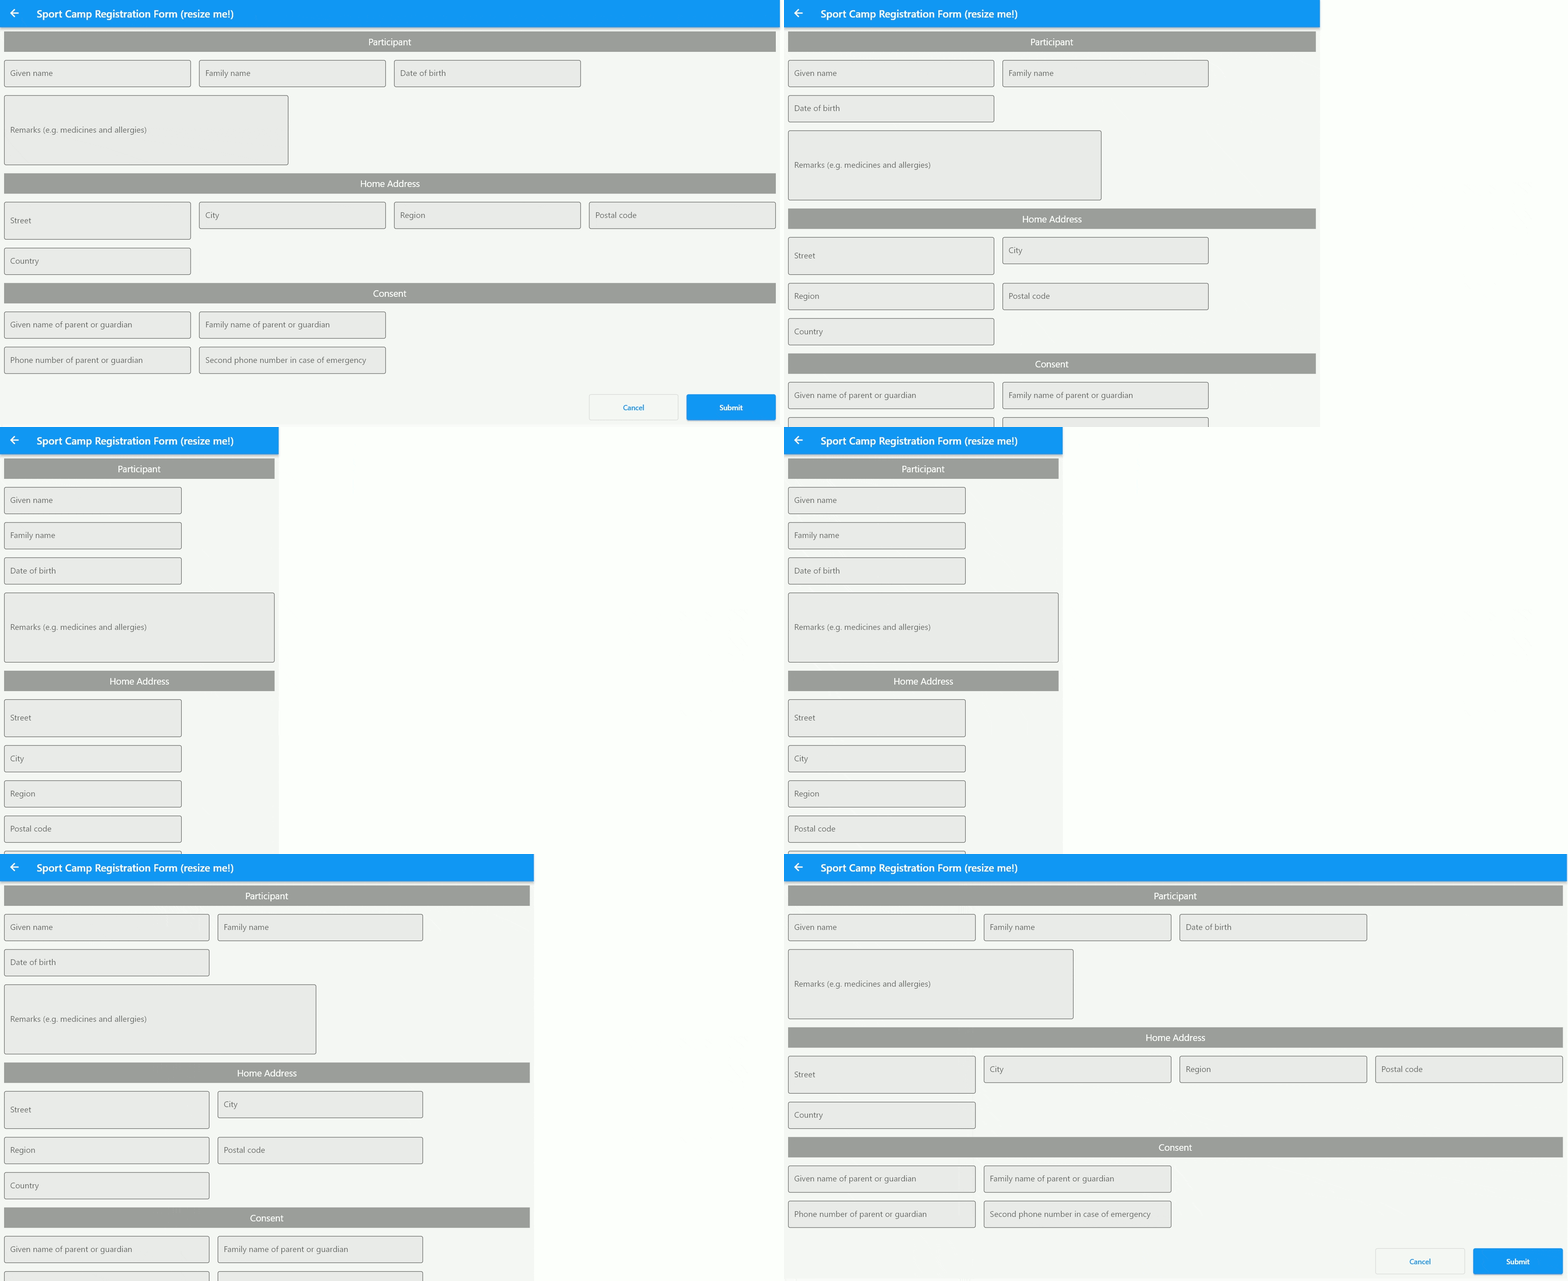
ResponsiveLayoutGrid 是一个基于Material设计指南创建的响应式布局网格。它由列和间隔组成,为body区域内的元素提供方便的布局结构。随着body区域宽度的增长或缩小,网格的列数和列宽也会相应变化。


ResponsiveLayoutGrid构造函数参数
minimumColumnWidth: 列的最小宽度。maxNumberOfColumns: 最大列数。columnGutterWidth: 列之间的间距宽度。rowGutterHeight: 行之间的间距高度。padding: 布局的内边距。children: 子组件(单元格)。layoutFactory: 确定单元格位置的工厂方法,默认是DefaultLayoutFactory。
ResponsiveLayoutCell
ResponsiveLayoutCell用于包装您的Widget,并提供以下信息:
ColumnSpan: 单元格跨越的列数,包括min、preferred和max三个值。CellPosition: 单元格的位置类型,有nextColumn和nextRow两种。
RowAlignment
当使用CellPosition.nextRow时可以设置行对齐方式:
left: 左对齐right: 右对齐center: 居中对齐justify: 两端对齐
RowHeight
行高有两种类型:
highestCell: 行的高度为最高的单元格高度。expanded: 行将占据剩余的所有可用空间,可以设置minHeight和maxHeight来限制高度。
示例代码
下面是一个简单的示例,展示了如何使用responsive_layout_grid插件创建响应式布局。
import 'package:flutter/material.dart';
import 'package:responsive_layout_grid/responsive_layout_grid.dart';

void main() {
  runApp(MyApp());
}

class MyApp extends StatelessWidget {
  @override
  Widget build(BuildContext context) {
    return MaterialApp(
      home: Scaffold(
        appBar: AppBar(title: Text('Responsive Layout Grid Example')),
        body: SingleChildScrollView(
          child: ResponsiveLayoutGrid(
            minimumColumnWidth: 100,
            maxNumberOfColumns: 12,
            columnGutterWidth: 16,
            rowGutterHeight: 16,
            padding: EdgeInsets.all(16),
            children: [
              ResponsiveLayoutCell(
                child: Container(color: Colors.red, height: 100),
                columnSpan: ColumnSpan(min: 4, preferred: 4, max: 4),
                position: CellPosition.nextColumn,
              ),
              ResponsiveLayoutCell(
                child: Container(color: Colors.green, height: 150),
                columnSpan: ColumnSpan(min: 4, preferred: 4, max: 4),
                position: CellPosition.nextColumn,
              ),
              ResponsiveLayoutCell(
                child: Container(color: Colors.blue, height: 100),
                columnSpan: ColumnSpan(min: 4, preferred: 4, max: 4),
                position: CellPosition.nextColumn,
              ),
              ResponsiveLayoutCell(
                child: Container(color: Colors.yellow, height: 100),
                columnSpan: ColumnSpan(min: 4, preferred: 4, max: 4),
                position: CellPosition.nextColumn,
              ),
              ResponsiveLayoutCell(
                child: Container(color: Colors.orange, height: 100),
                columnSpan: ColumnSpan(min: 4, preferred: 4, max: 4),
                position: CellPosition.nextRow,
              ),
            ],
          ),
        ),
      ),
    );
  }
}
在这个例子中,我们创建了一个包含多个颜色容器的响应式布局。每个容器都指定了其跨越的列数和位置。通过调整屏幕大小,可以看到布局会根据可用空间自动调整。
希望这个示例能帮助您更好地理解和使用responsive_layout_grid插件!如果您有任何问题或需要进一步的帮助,请随时提问。
更多关于Flutter响应式布局插件responsive_layout_grid的使用的实战系列教程也可以访问 https://www.itying.com/category-92-b0.html
更多关于Flutter响应式布局插件responsive_layout_grid的使用的实战系列教程也可以访问 https://www.itying.com/category-92-b0.html
当然,以下是一个关于如何使用Flutter中的responsive_layout_grid插件来实现响应式布局的示例代码。这个插件可以帮助你创建在不同屏幕尺寸和设备上都能良好显示的网格布局。
首先,你需要在你的pubspec.yaml文件中添加依赖:
dependencies:
  flutter:
    sdk: flutter
  responsive_layout_grid: ^x.y.z  # 请替换为最新版本号
然后运行flutter pub get来安装依赖。
接下来,你可以在你的Flutter应用中使用这个插件。以下是一个简单的示例:
import 'package:flutter/material.dart';
import 'package:responsive_layout_grid/responsive_layout_grid.dart';

void main() {
  runApp(MyApp());
}

class MyApp extends StatelessWidget {
  @override
  Widget build(BuildContext context) {
    return MaterialApp(
      home: Scaffold(
        appBar: AppBar(
          title: Text('Responsive Layout Grid Example'),
        ),
        body: ResponsiveLayoutGrid(
          columns: [
            // 定义网格列的配置
            ResponsiveLayoutGridColumn(flex: 1), // 占据1份宽度
            ResponsiveLayoutGridColumn(flex: 2), // 占据2份宽度
          ],
          rows: [
            // 定义网格行的内容
            ResponsiveLayoutGridRow(
              children: [
                // 第一个单元格内容
                GridItem(
                  child: Container(
                    color: Colors.red,
                    child: Center(child: Text('Red Cell')),
                  ),
                ),
                // 第二个单元格内容
                GridItem(
                  child: Container(
                    color: Colors.blue,
                    child: Center(child: Text('Blue Cell')),
                  ),
                ),
              ],
            ),
            ResponsiveLayoutGridRow(
              children: [
                // 第三个单元格内容,跨列
                GridItem(
                  span: 2, // 跨越两列
                  child: Container(
                    color: Colors.green,
                    child: Center(child: Text('Green Cell (Span 2)')),
                  ),
                ),
              ],
            ),
          ],
        ),
      ),
    );
  }
}
在这个示例中,我们创建了一个简单的网格布局,其中包含三行。前两行每行有两个单元格,分别占据不同的宽度比例(1:2)。第三行有一个单元格,它跨越了两列。
解释
ResponsiveLayoutGrid:定义整个响应式网格布局。ResponsiveLayoutGridColumn:定义每一列的宽度比例(使用flex属性)。ResponsiveLayoutGridRow:定义每一行的内容。GridItem:定义每个单元格的内容,可以通过span属性来设置单元格跨越的列数。
你可以根据需要调整列的flex值和GridItem的span值,以适应不同的布局需求。此外,responsive_layout_grid插件还提供了更多的配置选项,如边距、间距等,你可以参考其官方文档进行更详细的定制。


