Flutter仪表盘展示插件easy_dashboard的使用
Flutter仪表盘展示插件easy_dashboard的使用
Easy Dashboard
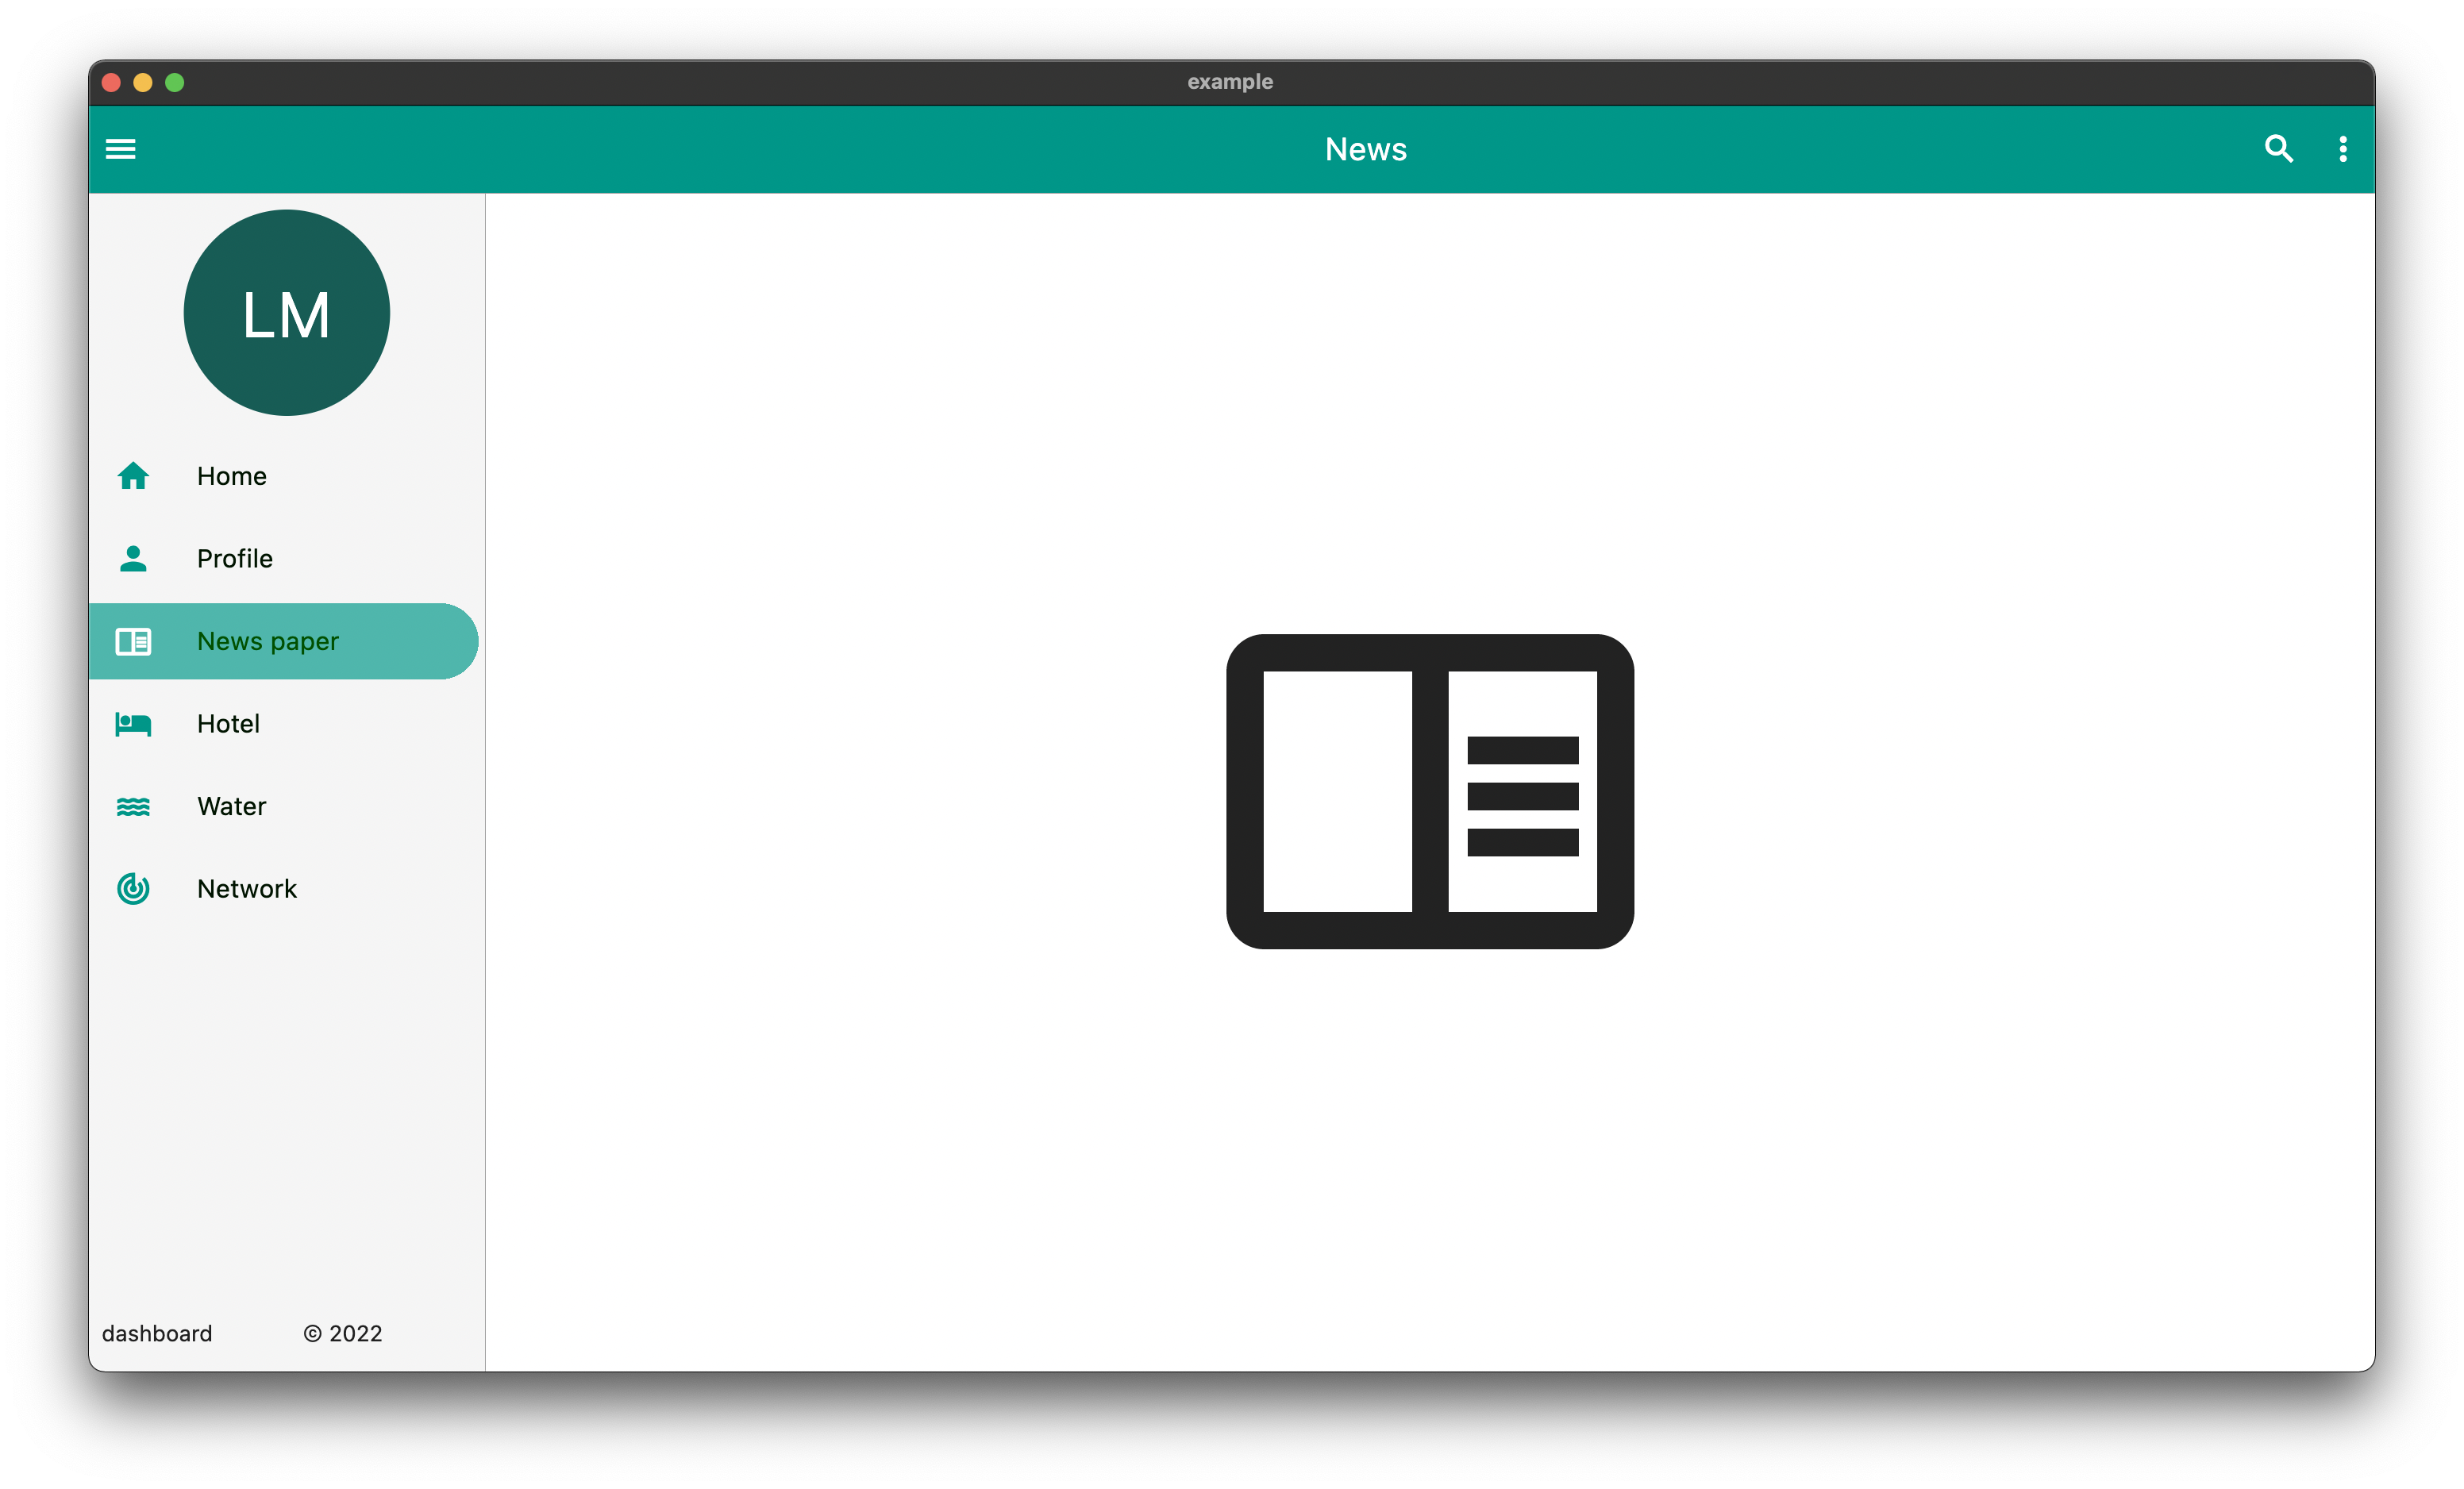
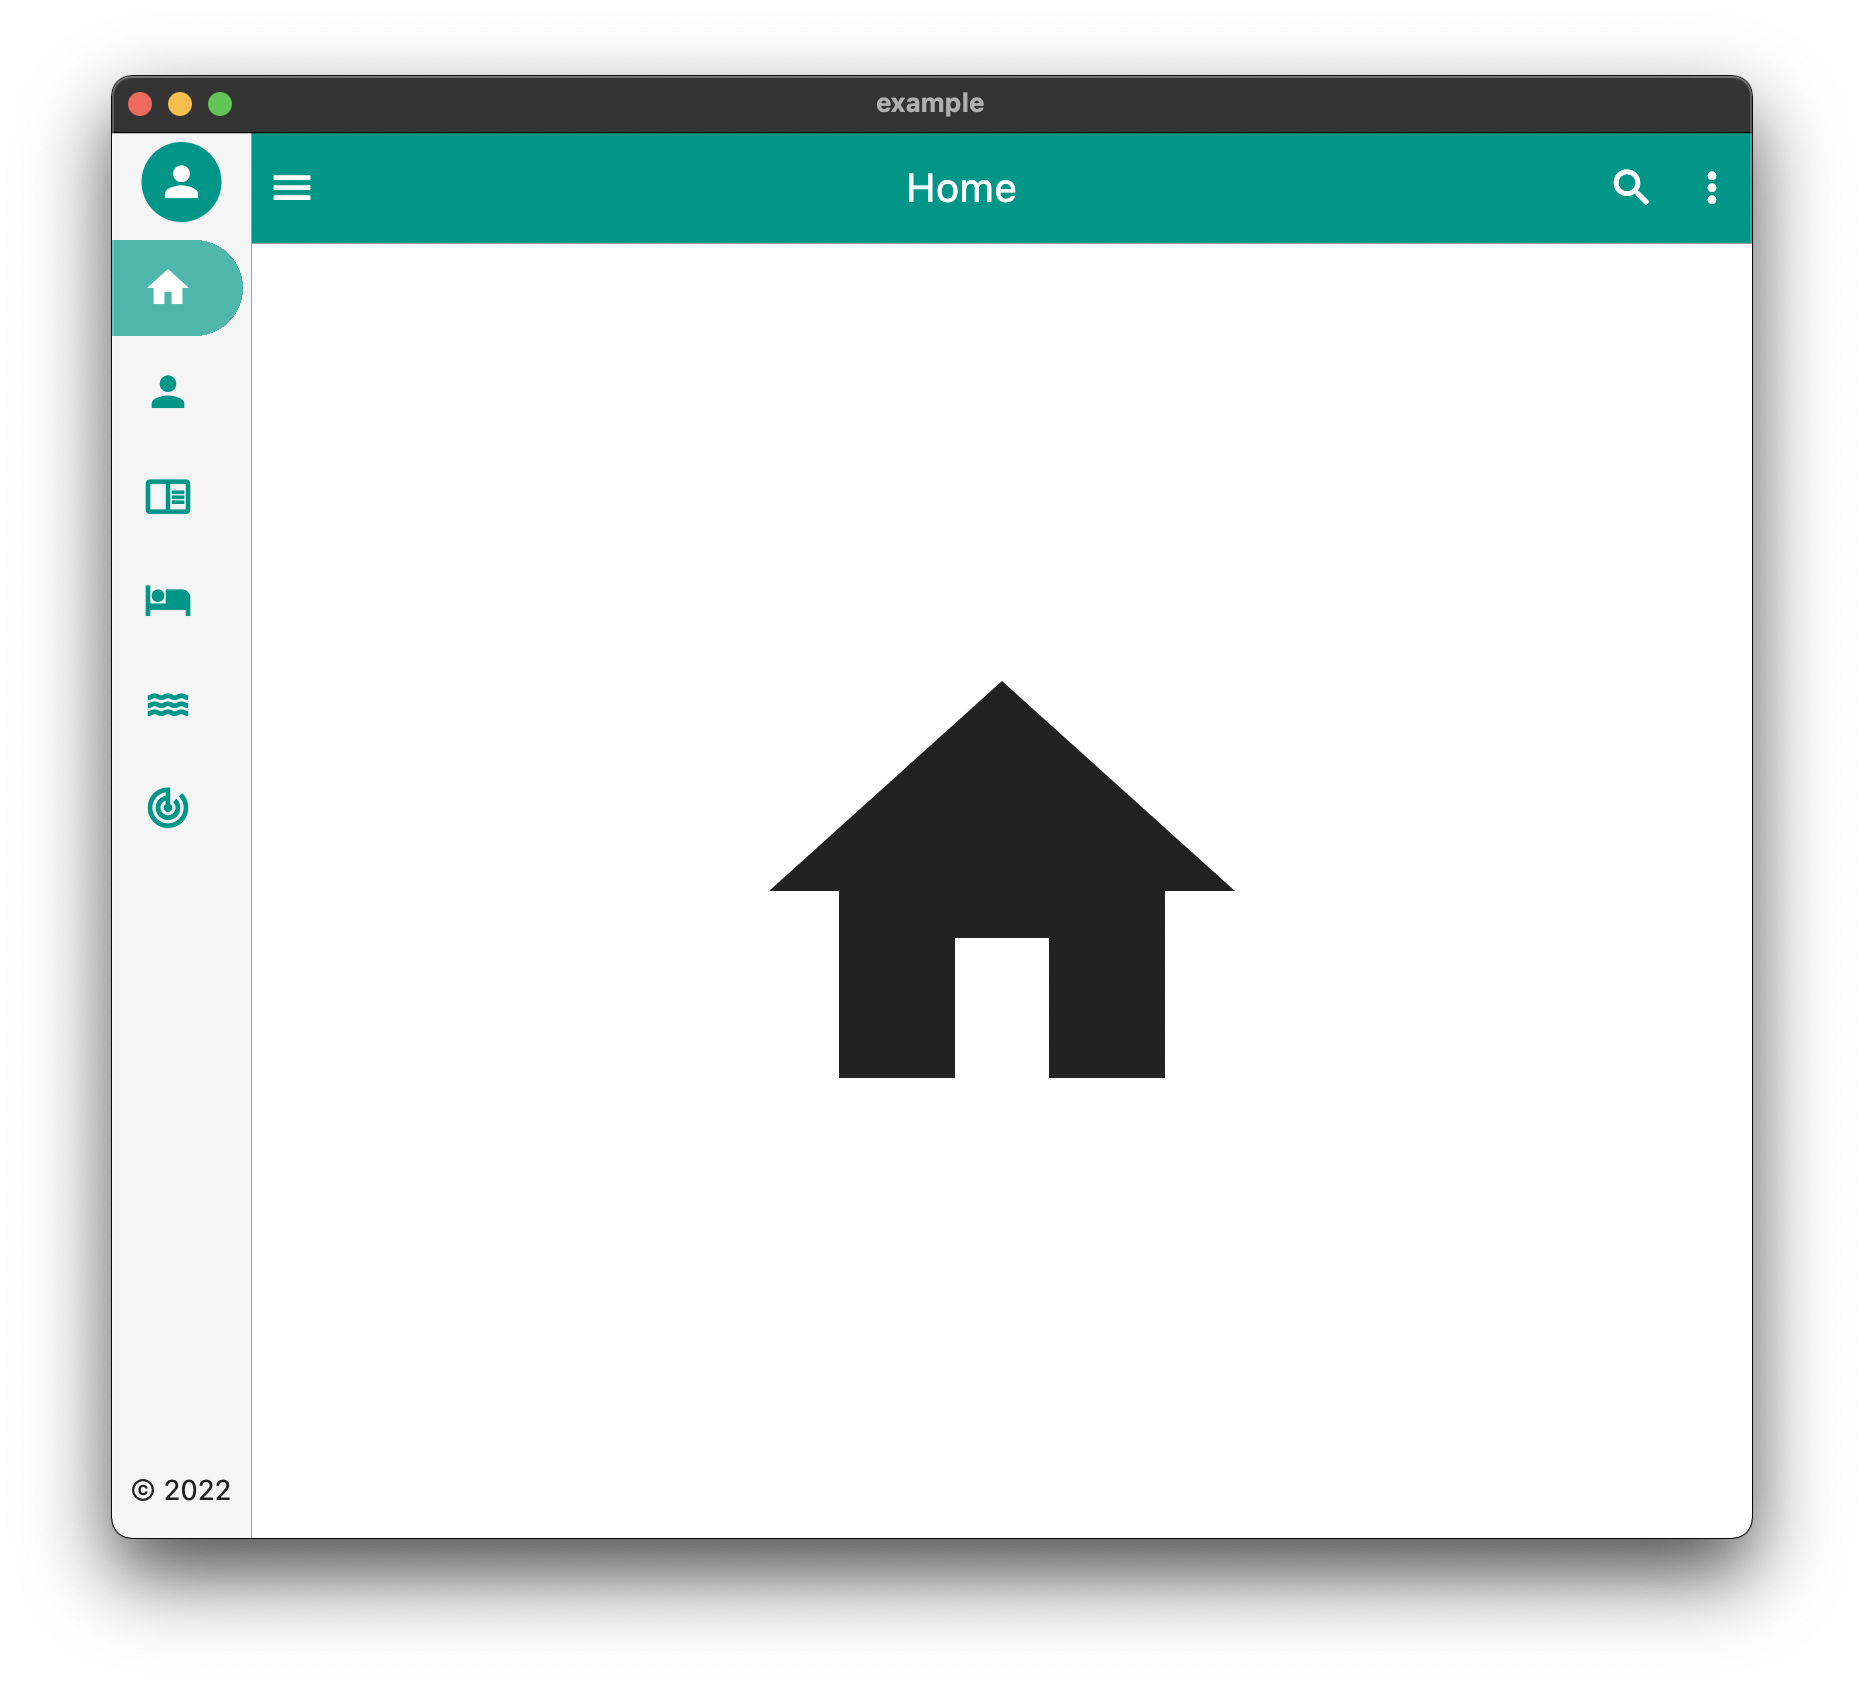
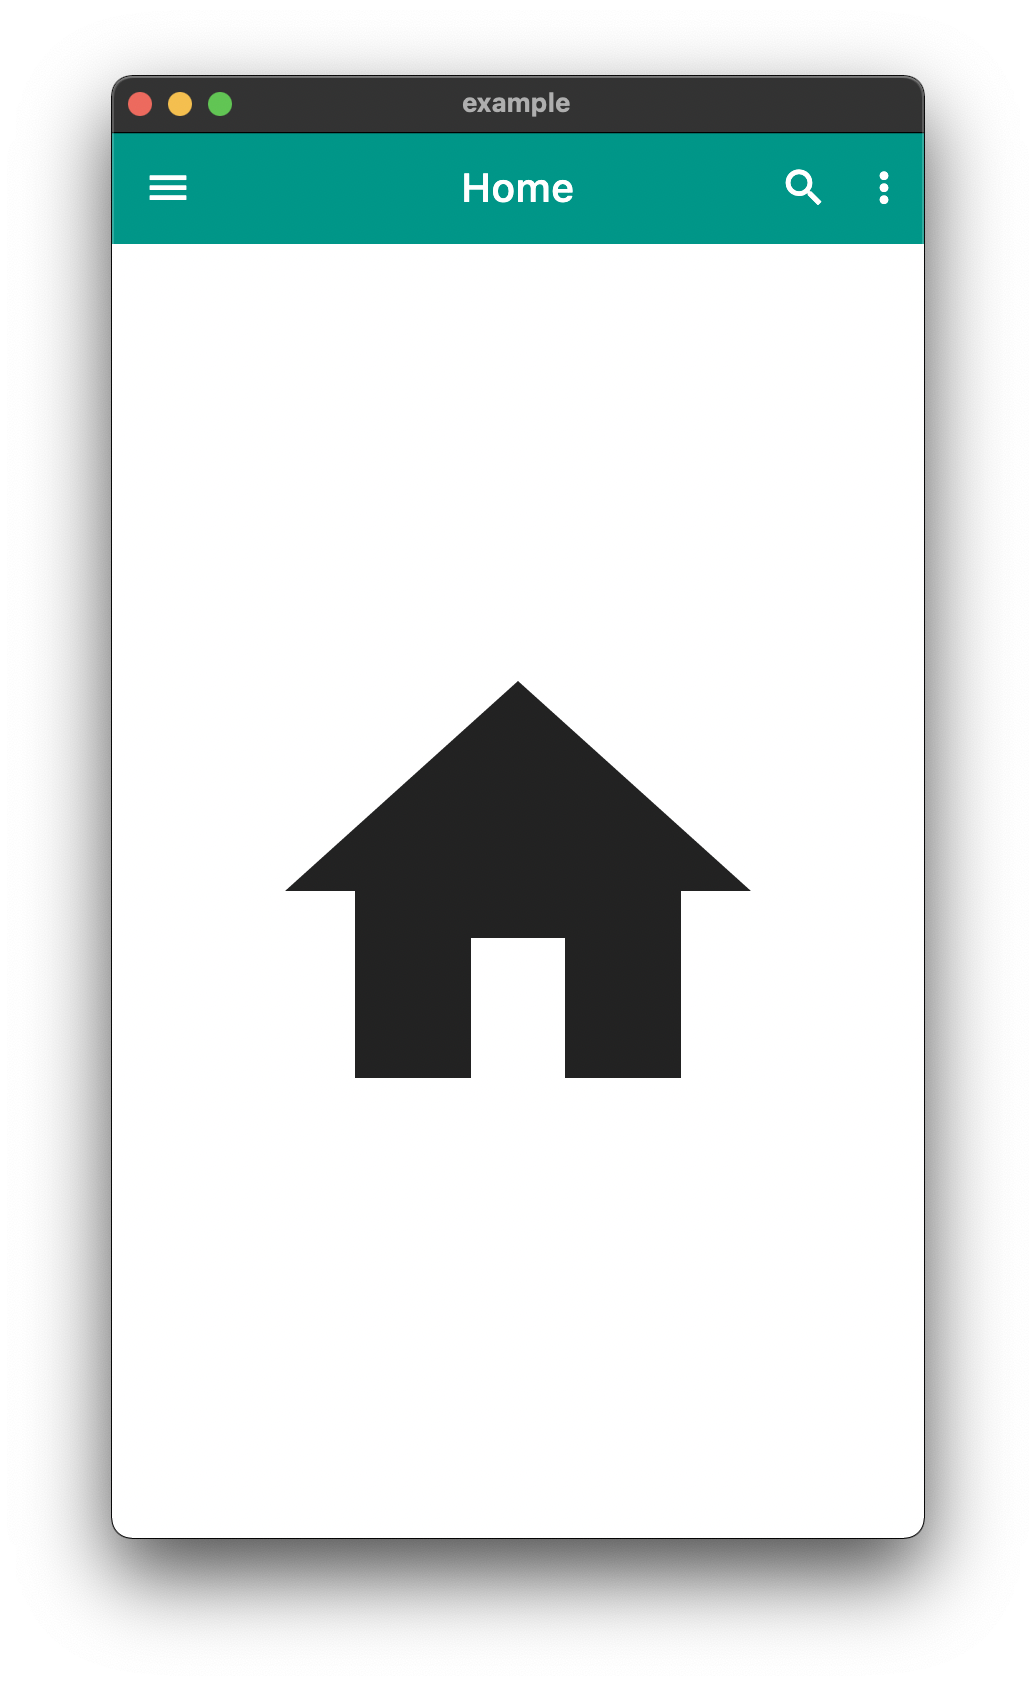
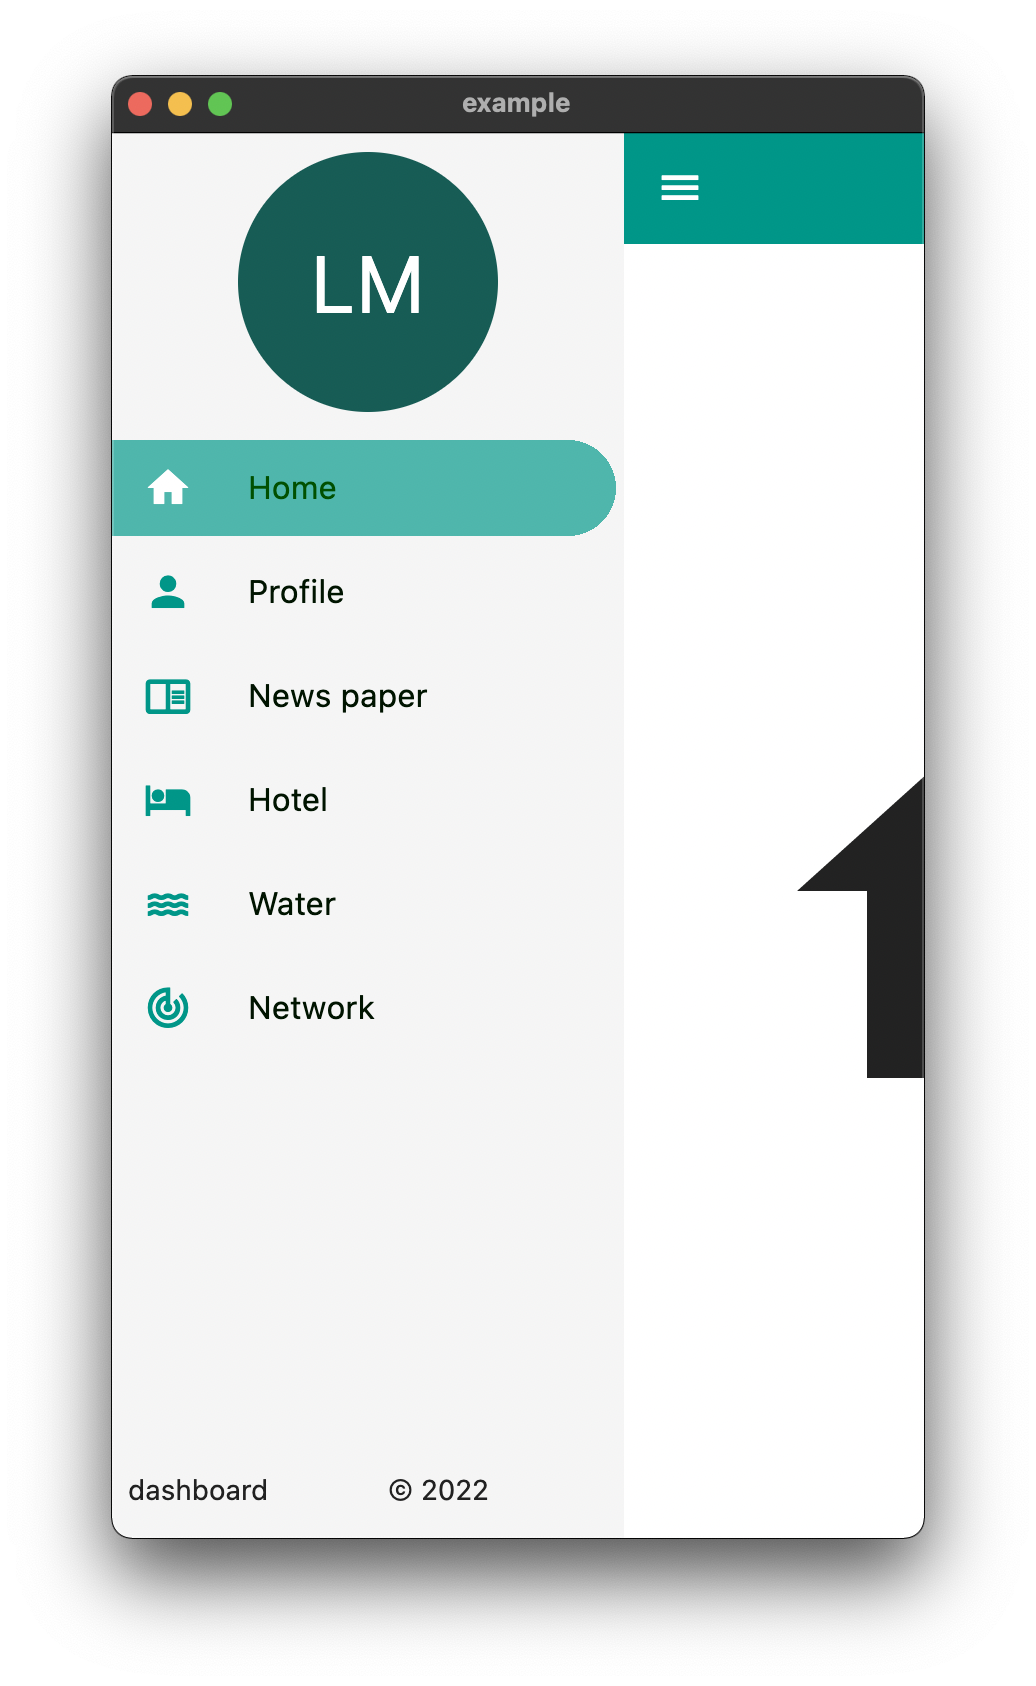
Easy Dashboard提供了一种简单的方法来为您的应用程序构建仪表板布局,但仍然非常可定制。
| DeskTop | Tablet | Mobile |
|---|---|---|
 |
 |
  |
以上是一个使用该包创建的应用程序示例。
示例用法
import 'package:easy_dashboard/easy_dashboard.dart';
import 'package:flutter/material.dart';

void main() {
  runApp(const MyApp());
}

class MyApp extends StatelessWidget {
  const MyApp({Key? key}) : super(key: key);

  @override
  Widget build(BuildContext context) {
    return MaterialApp(
      debugShowCheckedModeBanner: false,
      title: 'Easy Dashboard',
      theme: ThemeData(
        primarySwatch: Colors.blue,
      ),
      home: DashBoard(),
    );
  }
}

class DashBoard extends StatelessWidget {
  DashBoard({Key? key}) : super(key: key);

  late final EasyAppController controller = EasyAppController(
    intialBody: EasyBody(child: tile1.body, title: tile1.title),
  );

  @override
  Widget build(BuildContext context) {
    return EasyDashboard(
      controller: controller,
      navigationIcon: const Icon(Icons.menu, color: Colors.white),
      appBarActions: actions,
      centerTitle: true,
      appBarColor: Colors.teal,
      sideBarColor: Colors.grey.shade100,
      tabletView: const TabletView(
        fullAppBar: true,
        border: BorderSide(width: 0.5, color: Colors.grey),
      ),
      desktopView: const DesktopView(
        fullAppBar: true,
        border: BorderSide(width: 0.5, color: Colors.grey),
      ),
      drawer: (Size size, Widget? child) {
        return EasyDrawer(
          iconColor: Colors.teal,
          hoverColor: Colors.grey.shade300,
          tileColor: Colors.grey.shade100,
          selectedColor: Colors.black.withGreen(80),
          selectedIconColor: Colors.white,
          textColor: Colors.black.withGreen(20),
          selectedTileColor: Colors.teal.shade400.withOpacity(.8),
          tiles: tiles,
          topWidget: SideBox(
            scrollable: true,
            height: 150,
            child: topOpenWidget,
          ),
          bottomWidget: SideBox(
            scrollable: false,
            height: 50,
            child: bottomOpenWidget,
          ),
          bottomSmallWidget: SideBox(
            height: 50,
            child: bottomSmallWidget,
          ),
          topSmallWidget: SideBox(
            height: 50,
            child: topSmallWidget,
          ),
          size: size,
          onTileTapped: (body) {
            controller.switchBody(body);
          },
        );
      },
    );
  }
}
上述示例可以在/example文件夹中找到。
API
| 组件 | 用途 |
|---|---|
| body | 仪表板的默认主体 |
| duration | 动画时长,当EasyDashboard打开或关闭时 |
| mobileBreakpoint | UI在移动视图中断的像素数 |
| tabletBreakpoint | UI在平板视图中断的像素数 |
| mobileView | 在移动视图中的显示属性,如仪表板样式 |
| tabletView | 在平板视图中的显示属性,如仪表板样式 |
| desktopView | 在桌面视图中的显示属性,如仪表板样式 |
| tabletMode | 当达到移动断点时显示的内容 |
| mobileMode | 当达到平板断点时显示的内容 |
| desktopMode | 当达到桌面断点时显示的内容 |
| floatingActionButtonLocation | 浮动操作按钮位置 |
| floatingActionButton | 浮动操作按钮 |
| systemOverlayStyle | 系统覆盖样式 |
| floatingActionButtonAnimator | 浮动操作按钮动画器 |
| appBarHeight | 应用栏高度 |
| centerTitle | 应用栏标题是否居中 |
| backgroundColor | EasyDashboard的一般背景颜色 |
| navigationIcon | 控制EasyDashboard响应式导航的图标 |
| navigationIconSplashRadius | 导航图标被按下时的波纹半径 |
| appBarColor | 应用栏颜色 |
| sideBarColor | 侧边栏导航颜色 |
| appBarActions | AppBar动作列表 |
| drawer | 显示在EasyDashboard左侧的抽屉小部件。您可以使用预构建的EasyDrawer来更快更容易地创建抽屉 |
问题和反馈
这是一个相对较新的包,请随时报告您遇到的任何问题。此外,欢迎提交PR和提供更多反馈。
更多关于Flutter仪表盘展示插件easy_dashboard的使用的实战系列教程也可以访问 https://www.itying.com/category-92-b0.html
更多关于Flutter仪表盘展示插件easy_dashboard的使用的实战系列教程也可以访问 https://www.itying.com/category-92-b0.html
当然,以下是如何在Flutter项目中使用easy_dashboard插件来展示仪表盘的示例代码。easy_dashboard是一个用于创建和管理仪表盘的Flutter插件,尽管它不是官方广泛认知的插件(在撰写此回复时,该插件在pub.dev上可能不存在或知名度不高),但假设它类似于其他仪表盘插件,我们可以提供一个类似的实现思路和代码示例。
请注意,如果easy_dashboard实际上不存在,下面的代码将基于一个假设的仪表盘插件接口来编写,以展示如何使用此类插件。如果easy_dashboard确实存在,但接口不同,请根据官方文档调整代码。
首先,确保在pubspec.yaml文件中添加依赖项(假设插件名为easy_dashboard):
dependencies:
  flutter:
    sdk: flutter
  easy_dashboard: ^latest_version  # 替换为实际版本号
然后运行flutter pub get来安装依赖。
接下来,创建一个Flutter应用并在其中使用easy_dashboard插件。以下是一个简单的示例:
import 'package:flutter/material.dart';
import 'package:easy_dashboard/easy_dashboard.dart';  // 假设的导入路径

void main() {
  runApp(MyApp());
}

class MyApp extends StatelessWidget {
  @override
  Widget build(BuildContext context) {
    return MaterialApp(
      title: 'Flutter Dashboard Demo',
      theme: ThemeData(
        primarySwatch: Colors.blue,
      ),
      home: DashboardScreen(),
    );
  }
}

class DashboardScreen extends StatefulWidget {
  @override
  _DashboardScreenState createState() => _DashboardScreenState();
}

class _DashboardScreenState extends State<DashboardScreen> {
  @override
  Widget build(BuildContext context) {
    return Scaffold(
      appBar: AppBar(
        title: Text('Dashboard'),
      ),
      body: Padding(
        padding: const EdgeInsets.all(16.0),
        child: EasyDashboard(
          // 假设的仪表盘配置
          widgets: [
            DashboardWidget(
              title: 'CPU Usage',
              value: 75,
              icon: Icons.computer,
              color: Colors.blue,
            ),
            DashboardWidget(
              title: 'Memory Usage',
              value: 50,
              icon: Icons.memory,
              color: Colors.green,
            ),
            // 添加更多仪表盘小部件
          ],
        ),
      ),
    );
  }
}

// 假设的DashboardWidget类,实际使用时请根据插件文档调整
class DashboardWidget {
  final String title;
  final int value;
  final IconData icon;
  final Color color;

  DashboardWidget({required this.title, required this.value, required this.icon, required this.color});
}

// 假设的EasyDashboard类,用于展示仪表盘小部件的集合
class EasyDashboard extends StatelessWidget {
  final List<DashboardWidget> widgets;

  EasyDashboard({required this.widgets});

  @override
  Widget build(BuildContext context) {
    return Column(
      crossAxisAlignment: CrossAxisAlignment.start,
      children: widgets.map((widget) => Card(
        child: Padding(
          padding: const EdgeInsets.all(8.0),
          child: Row(
            children: [
              Icon(widget.icon, color: widget.color),
              SizedBox(width: 16),
              Expanded(
                child: Column(
                  crossAxisAlignment: CrossAxisAlignment.start,
                  children: [
                    Text(widget.title, style: TextStyle(fontSize: 18, fontWeight: FontWeight.bold)),
                    Text('${widget.value}%', style: TextStyle(fontSize: 16)),
                  ],
                ),
              ),
            ],
          ),
        ),
      )).toList(),
    );
  }
}
请注意,上面的DashboardWidget和EasyDashboard类是基于假设创建的,因为实际的easy_dashboard插件可能有自己的API和组件。在实际使用时,你应该参考插件的官方文档来配置和使用仪表盘。
如果easy_dashboard插件存在且有特定的API要求,你可能需要替换上述代码中的DashboardWidget和EasyDashboard类为插件提供的实际组件,并按照插件的文档进行配置。


