Flutter国际电话号码输入插件intl_phone_field的使用
Flutter国际电话号码输入插件intl_phone_field的使用
International Phone Field Package
这是一个定制化的Flutter TextFormField,用于输入国际电话号码并带有国家代码选择。
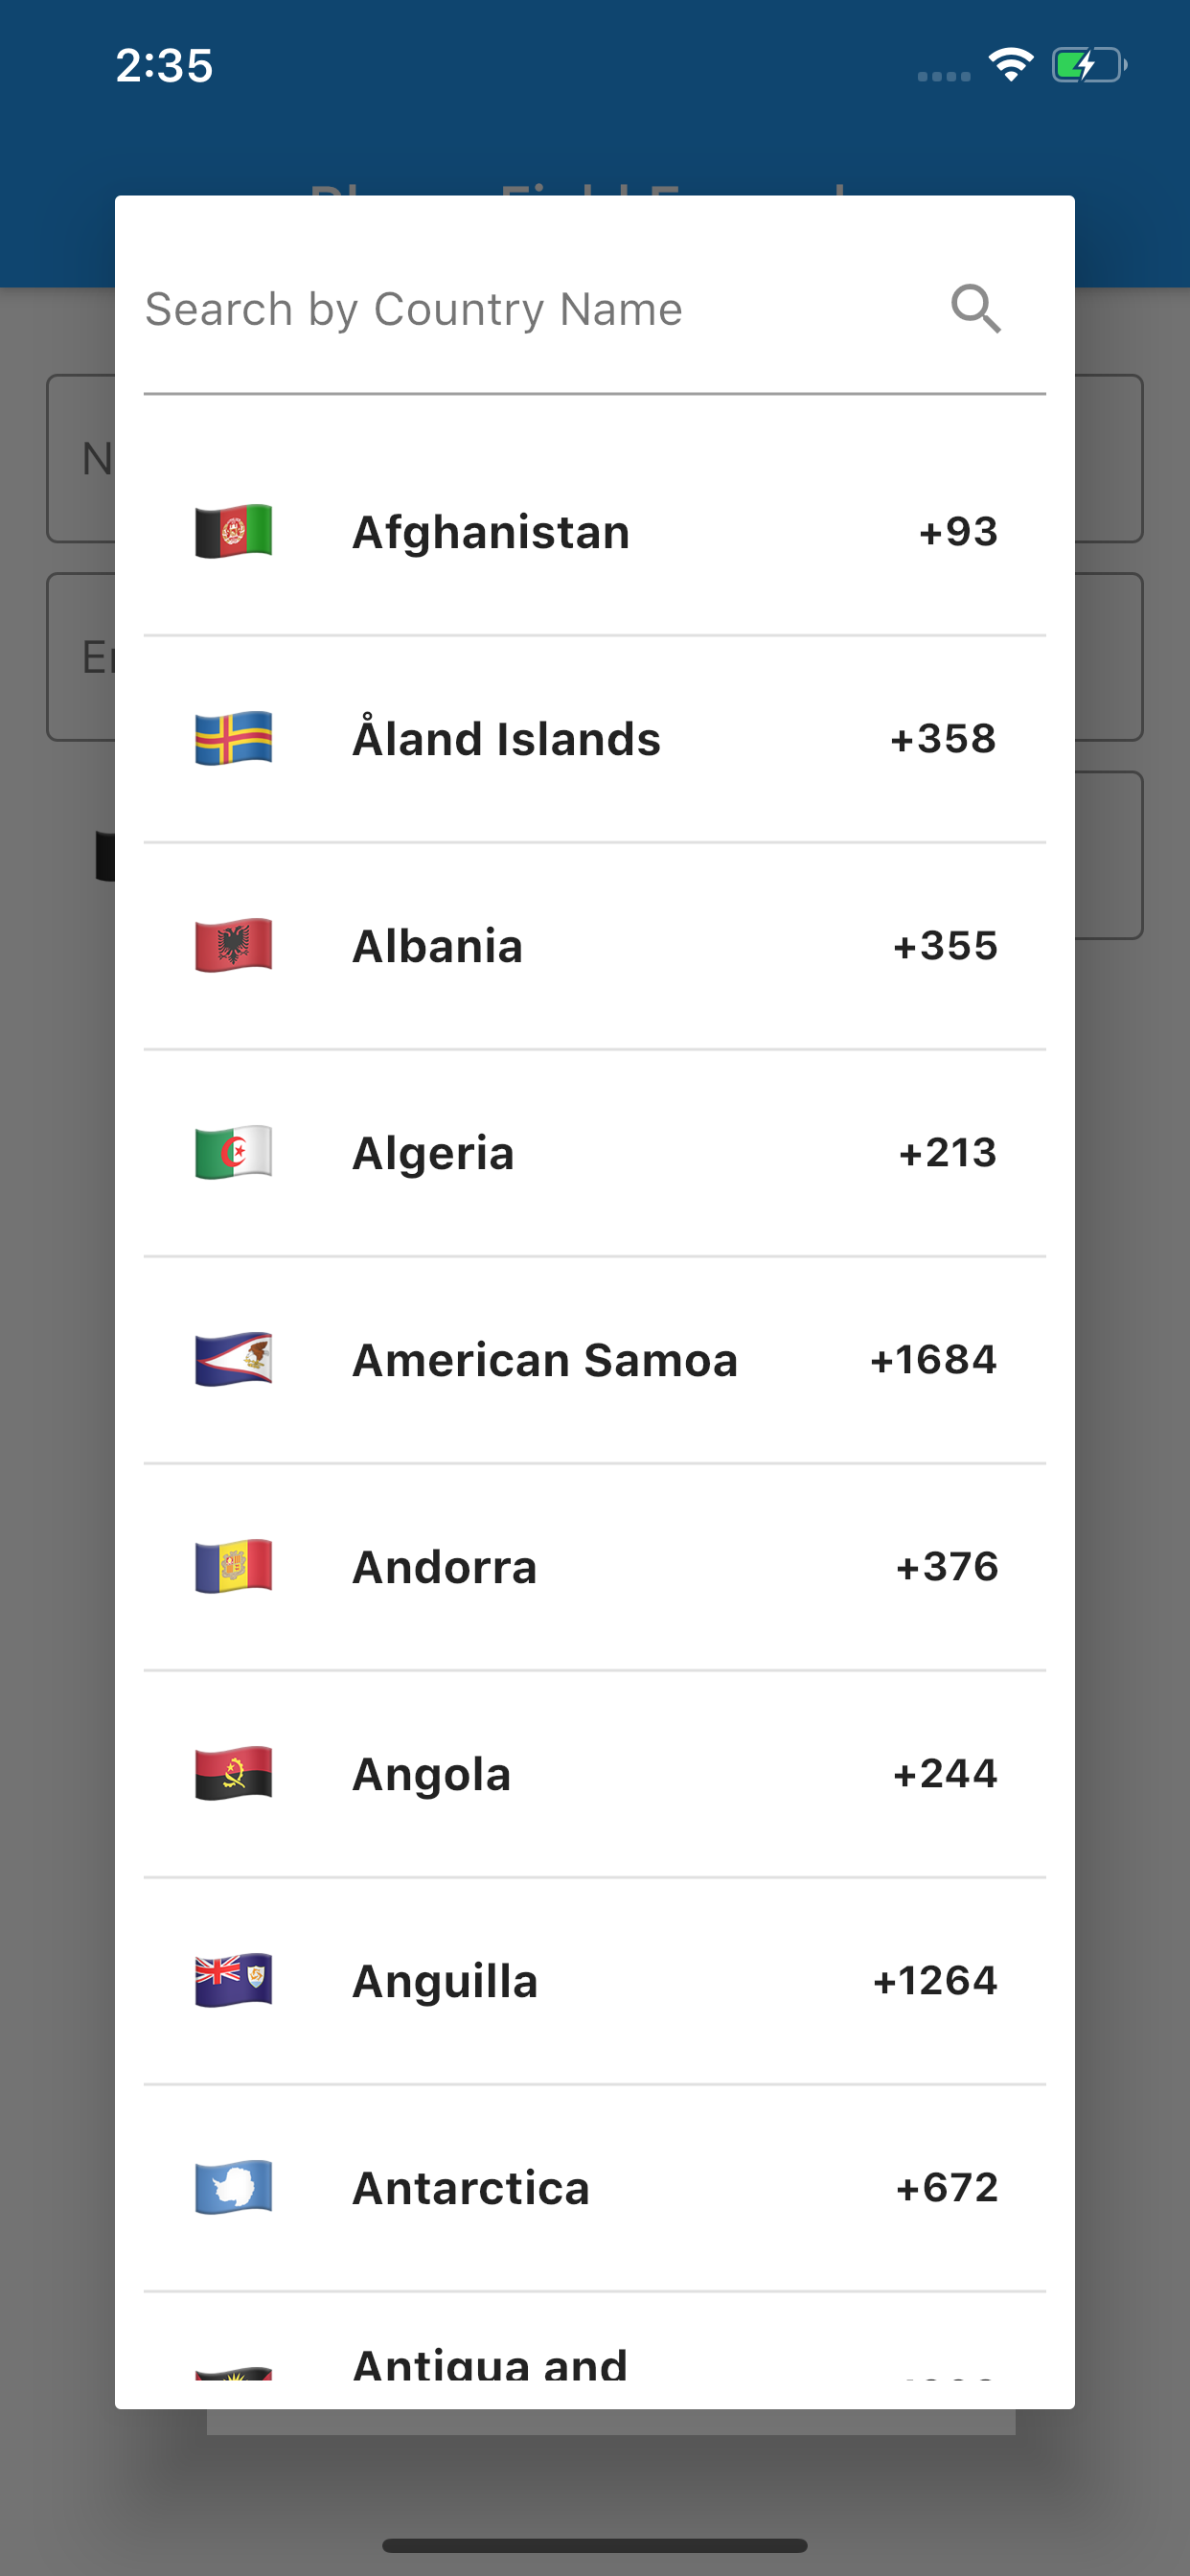
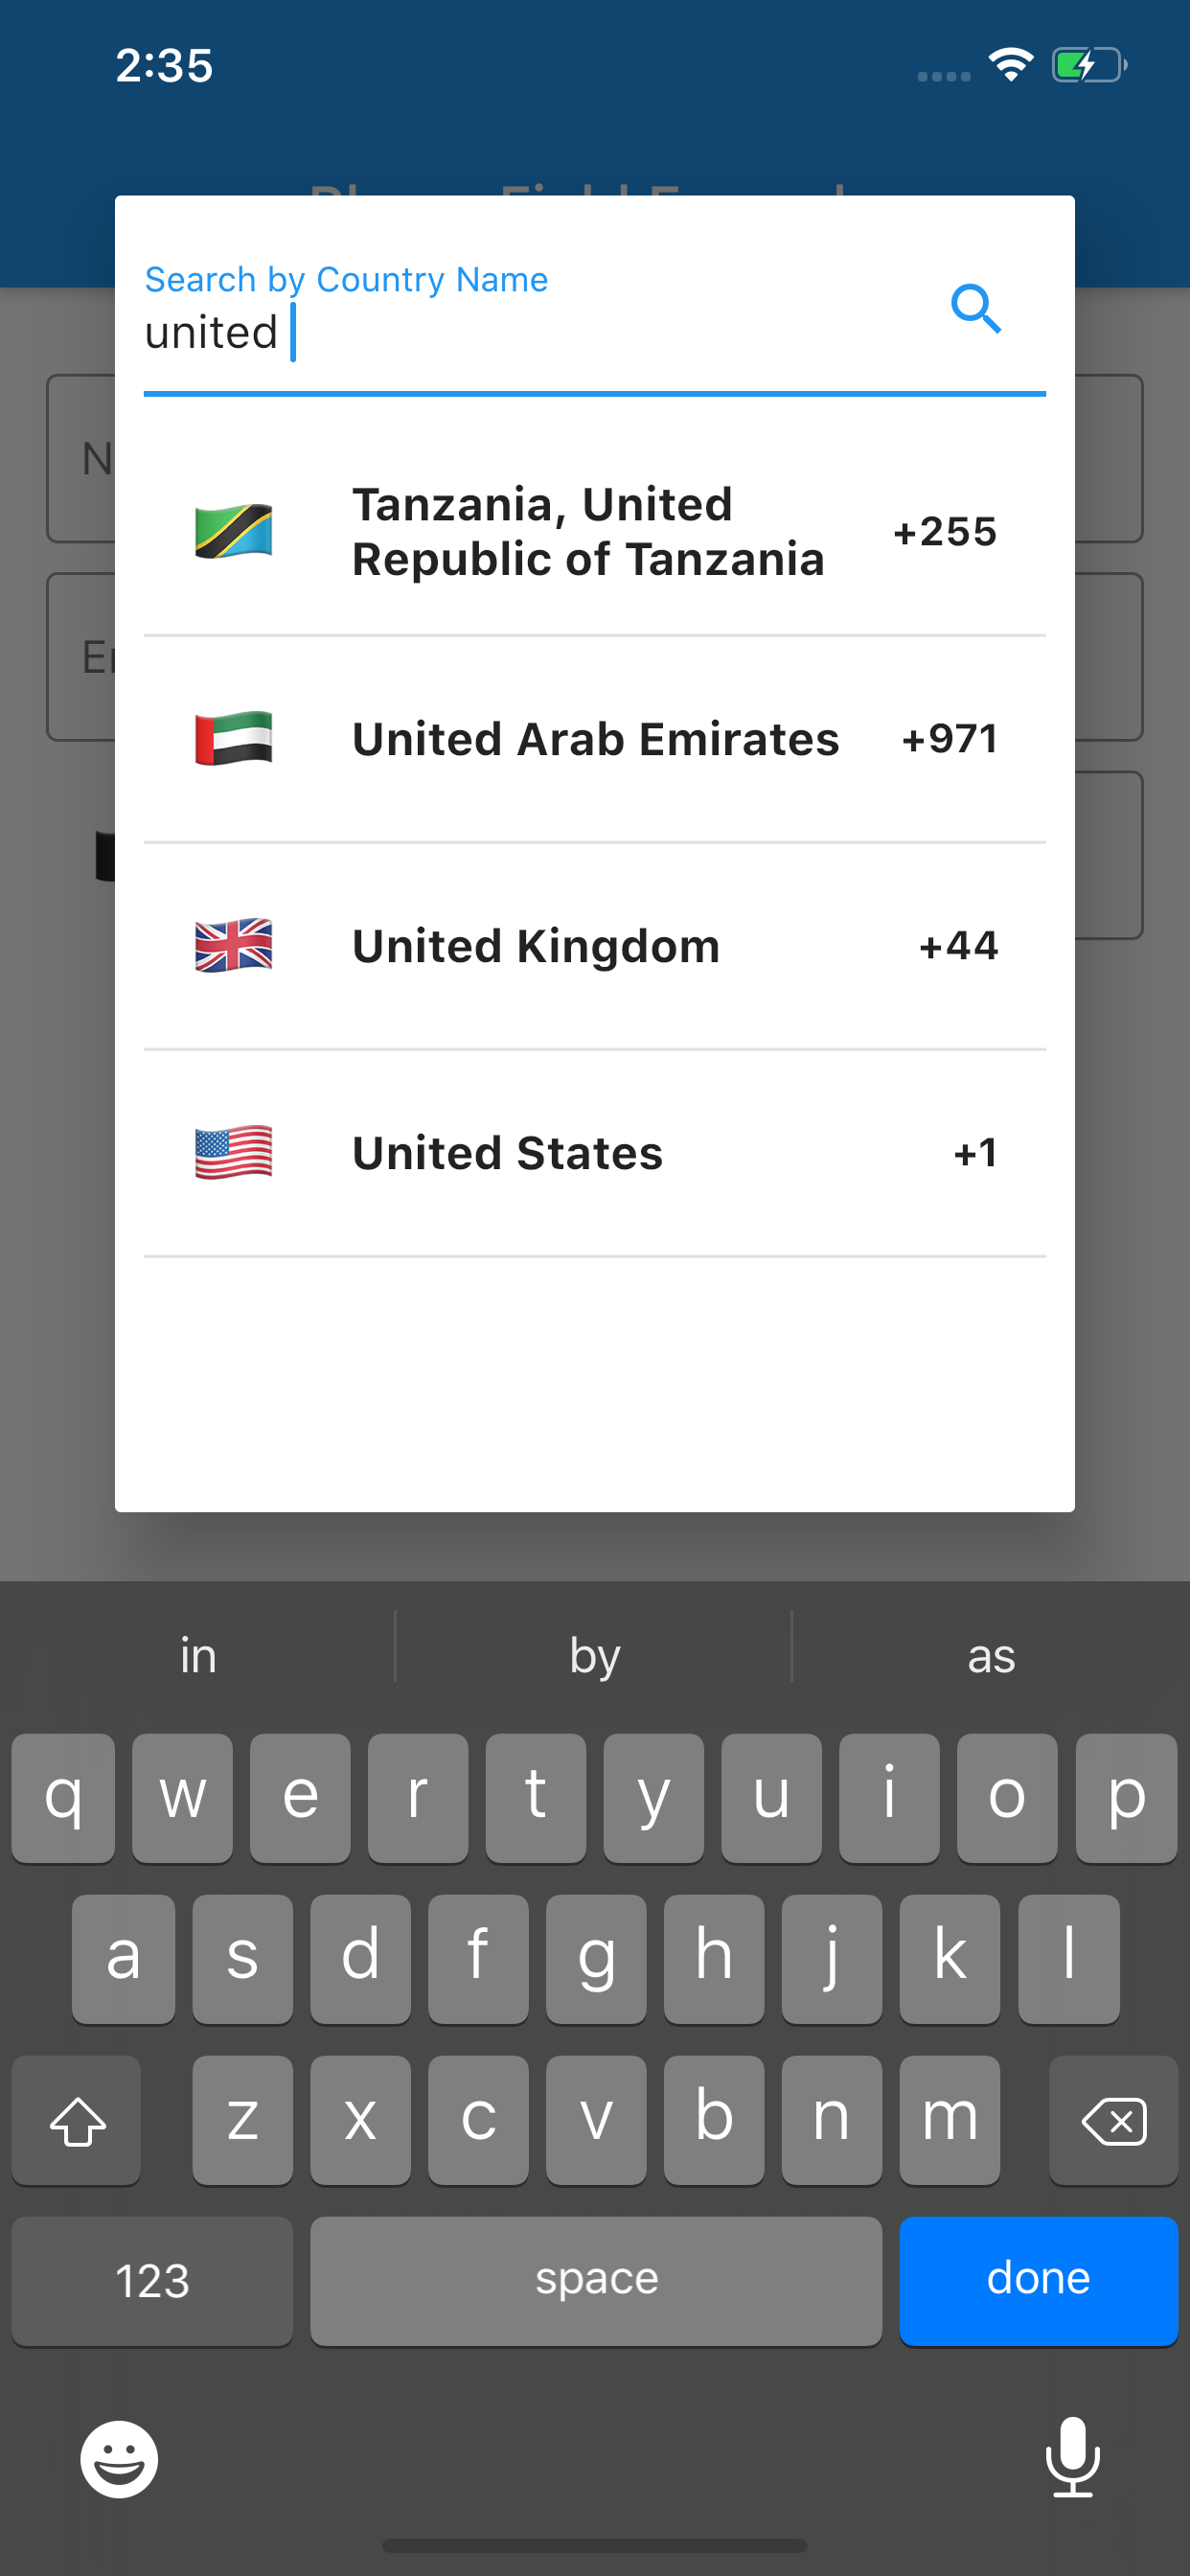
此小部件可用于创建自定义文本字段以接收任何国家/地区的电话号码输入,并提供从下拉菜单中选择国家代码的选项。
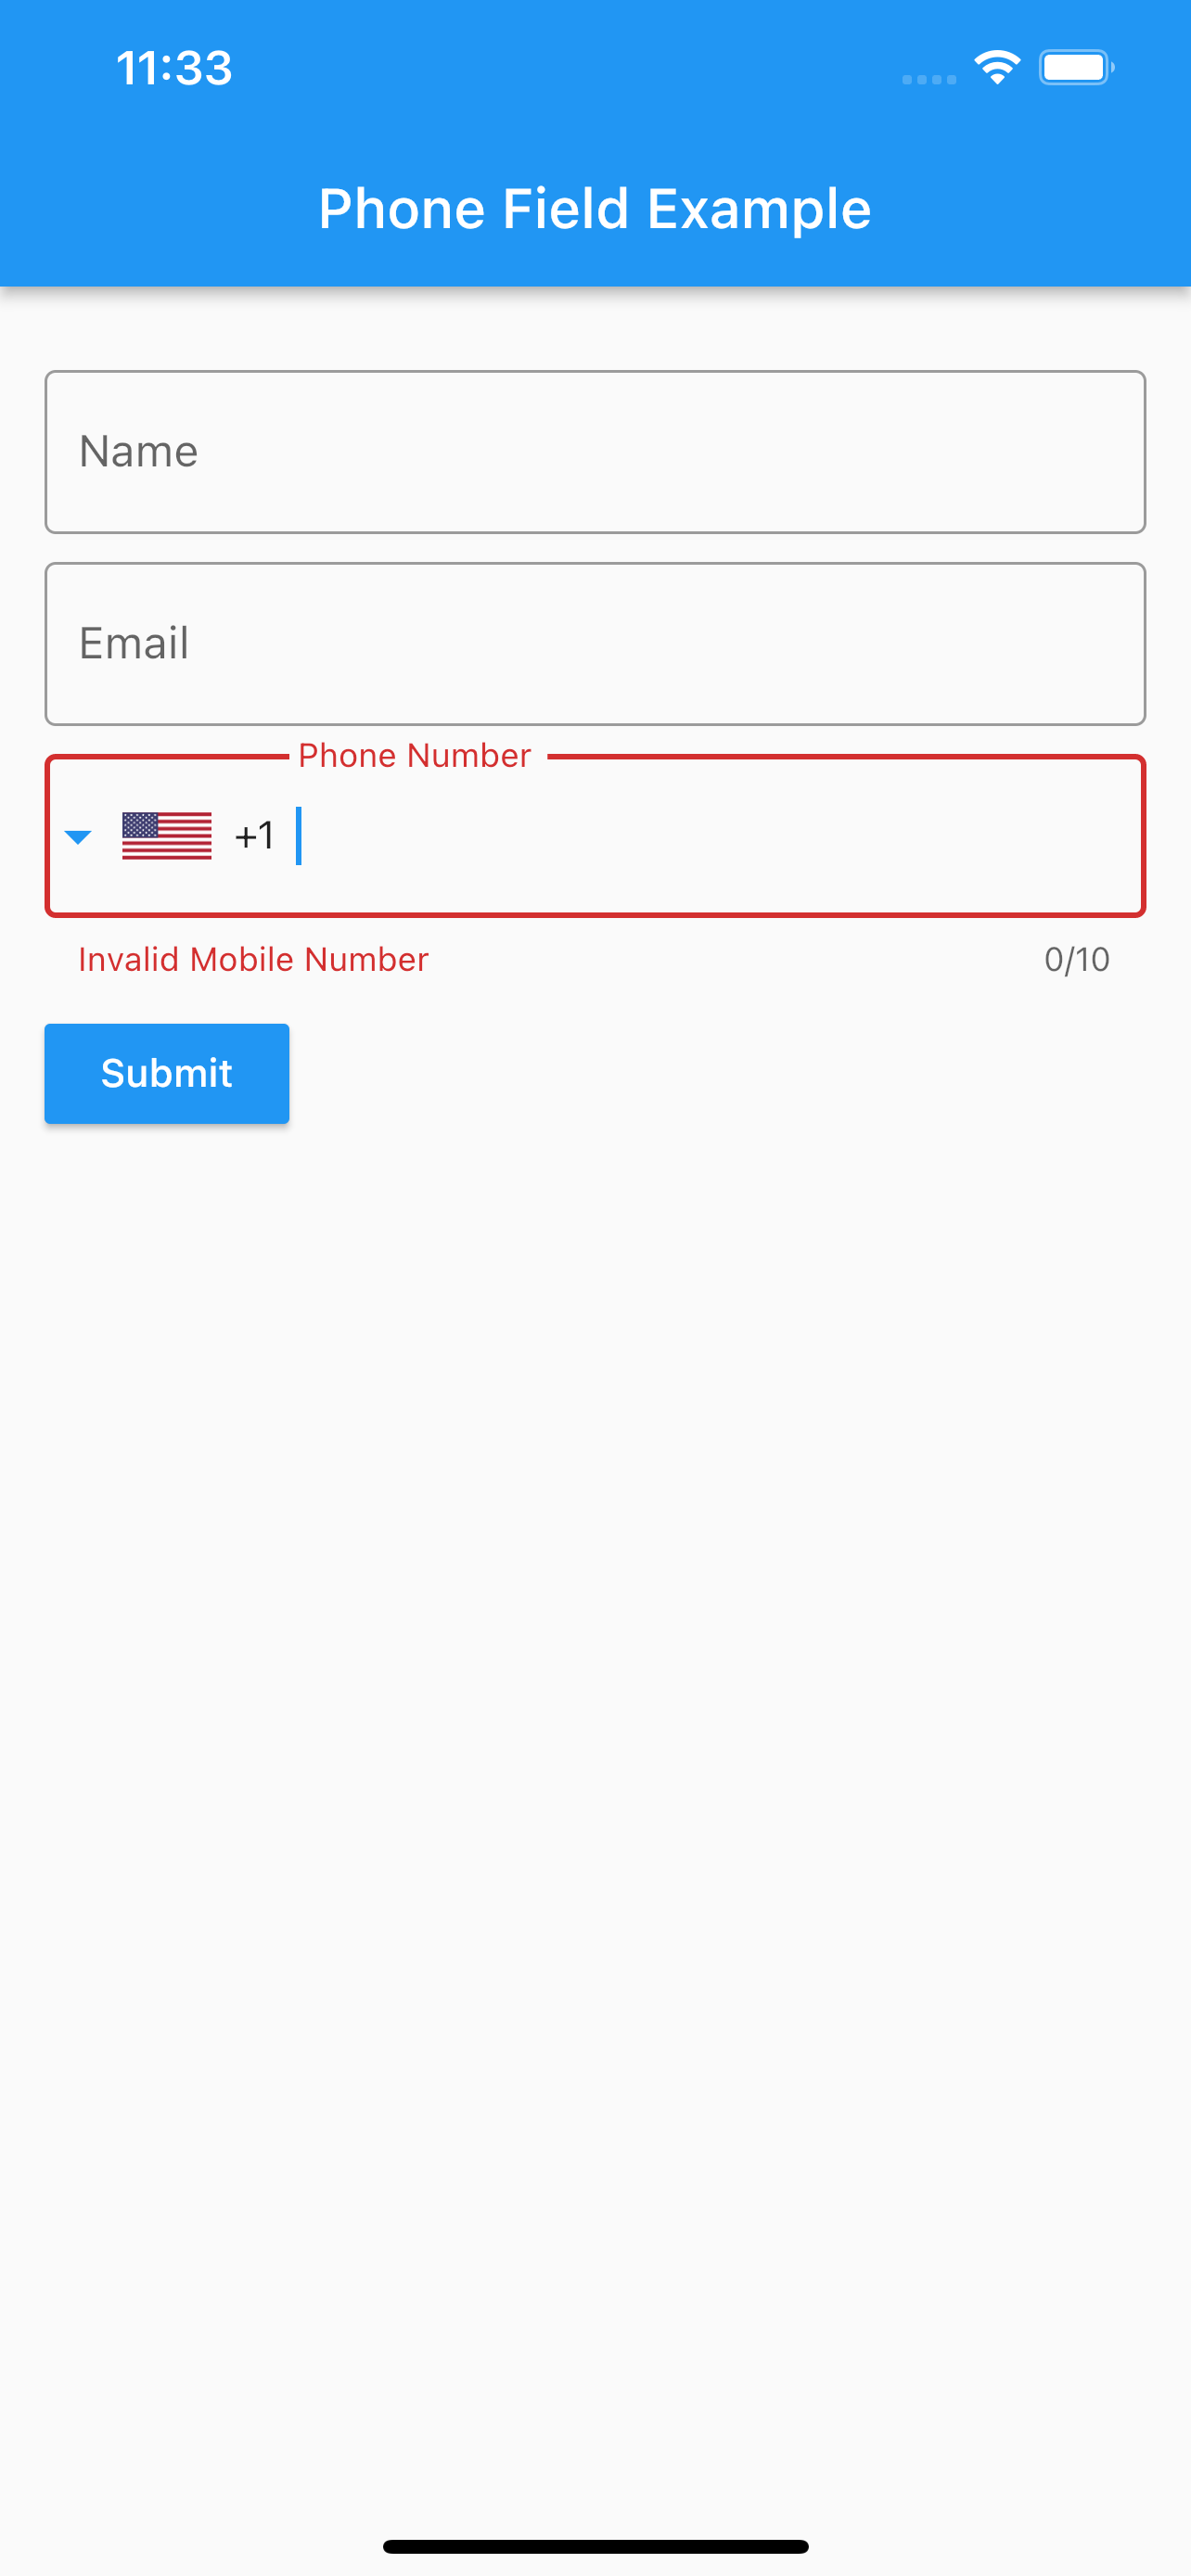
Screenshots


Installing
要使用这个包,请执行以下命令:
flutter pub add intl_phone_field
或者,在你的pubspec.yaml文件中添加如下内容:
dependencies:
  intl_phone_field: ^3.1.0
How to Use
只需创建一个IntlPhoneField小部件,并传递所需的参数:
IntlPhoneField(
    decoration: InputDecoration(
        labelText: 'Phone Number',
        border: OutlineInputBorder(
            borderSide: BorderSide(),
        ),
    ),
    initialCountryCode: 'IN', // 使用initialCountryCode设置初始国家代码
    onChanged: (phone) {
        print(phone.completeNumber);
    },
)
完整示例Demo
下面是一个完整的示例demo,展示了如何在表单中使用IntlPhoneField组件来收集用户的电话号码信息。此示例还包括了其他字段(如姓名和电子邮件)以及提交按钮。
import 'package:flutter/material.dart';
import 'package:intl_phone_field/intl_phone_field.dart';

void main() {
  runApp(MyApp());
}

class MyApp extends StatefulWidget {
  @override
  _MyAppState createState() => _MyAppState();
}

class _MyAppState extends State<MyApp> {
  GlobalKey<FormState> _formKey = GlobalKey();

  FocusNode focusNode = FocusNode();

  @override
  Widget build(BuildContext context) {
    return MaterialApp(
      debugShowCheckedModeBanner: false,
      home: Scaffold(
        appBar: AppBar(
          title: Text('Phone Field Example'),
        ),
        body: Padding(
          padding: const EdgeInsets.symmetric(horizontal: 16.0),
          child: Form(
            key: _formKey,
            child: Column(
              crossAxisAlignment: CrossAxisAlignment.start,
              children: <Widget>[
                SizedBox(height: 30),
                TextField(
                  decoration: InputDecoration(
                    labelText: 'Name',
                    border: OutlineInputBorder(
                      borderSide: BorderSide(),
                    ),
                  ),
                ),
                SizedBox(
                  height: 10,
                ),
                TextField(
                  decoration: InputDecoration(
                    labelText: 'Email',
                    border: OutlineInputBorder(
                      borderSide: BorderSide(),
                    ),
                  ),
                ),
                SizedBox(
                  height: 10,
                ),
                IntlPhoneField(
                  focusNode: focusNode,
                  decoration: InputDecoration(
                    labelText: 'Phone Number',
                    border: OutlineInputBorder(
                      borderSide: BorderSide(),
                    ),
                  ),
                  languageCode: "en",
                  onChanged: (phone) {
                    print(phone.completeNumber);
                  },
                  onCountryChanged: (country) {
                    print('Country changed to: ' + country.name);
                  },
                ),
                SizedBox(
                  height: 10,
                ),
                MaterialButton(
                  child: Text('Submit'),
                  color: Theme.of(context).primaryColor,
                  textColor: Colors.white,
                  onPressed: () {
                    if (_formKey.currentState!.validate()) {
                      // 提交表单逻辑
                      ScaffoldMessenger.of(context).showSnackBar(
                        SnackBar(content: Text('Submitting')),
                      );
                    }
                  },
                ),
              ],
            ),
          ),
        ),
      ),
    );
  }
}
Contributing
欢迎贡献代码。对于重大更改,请先打开问题讨论您想要更改的内容。
请确保根据需要更新测试。
在Issue或Pull Request上评论,要求@all-contributors添加贡献者:
[@all-contributors](/user/all-contributors) please add @<username> for <contributions>
<contributions>: 查看 Emoji Key (Contribution Types Reference) 获取有效的贡献类型列表。
Maintainers
Contributors
感谢所有为本项目做出贡献的人们!
Vansh Goel 💻 |
KNO3 💻 |
Ling Li 💻 |
Anggara Putra Pratama 💻 |
JJ Geewax 💻 |
Keval Prajapati 💻 |
Guillaume Launay 💻 |
hans.huang 💻 📖 |
LICENSE
以上就是关于intl_phone_field插件的详细介绍和使用方法。希望这对您有所帮助!如果您有任何疑问或需要进一步的帮助,请随时提问。
更多关于Flutter国际电话号码输入插件intl_phone_field的使用的实战系列教程也可以访问 https://www.itying.com/category-92-b0.html
更多关于Flutter国际电话号码输入插件intl_phone_field的使用的实战系列教程也可以访问 https://www.itying.com/category-92-b0.html
当然,以下是如何在Flutter应用中使用intl_phone_field插件来实现国际电话号码输入的示例代码。这个插件提供了一个方便的界面,让用户可以选择国家代码并输入相应的电话号码。
首先,确保你的pubspec.yaml文件中已经添加了intl_phone_field依赖:
dependencies:
  flutter:
    sdk: flutter
  intl_phone_field: ^^最新版本号(请替换为当前最新版本)
然后,运行flutter pub get来安装依赖。
接下来,在你的Dart文件中,你可以按照以下方式使用IntlPhoneField:
import 'package:flutter/material.dart';
import 'package:intl_phone_field/intl_phone_field.dart';
import 'package:intl_phone_number_input/src/models/country.dart';

void main() {
  runApp(MyApp());
}

class MyApp extends StatelessWidget {
  @override
  Widget build(BuildContext context) {
    return MaterialApp(
      title: 'Flutter Intl Phone Field Demo',
      theme: ThemeData(
        primarySwatch: Colors.blue,
      ),
      home: PhoneInputScreen(),
    );
  }
}

class PhoneInputScreen extends StatefulWidget {
  @override
  _PhoneInputScreenState createState() => _PhoneInputScreenState();
}

class _PhoneInputScreenState extends State<PhoneInputScreen> {
  final GlobalKey<FormState> _formKey = GlobalKey<FormState>();
  PhoneNumber? _selectedNumber;

  @override
  Widget build(BuildContext context) {
    return Scaffold(
      appBar: AppBar(
        title: Text('Intl Phone Field Demo'),
      ),
      body: Padding(
        padding: const EdgeInsets.all(16.0),
        child: Form(
          key: _formKey,
          child: Column(
            crossAxisAlignment: CrossAxisAlignment.start,
            children: <Widget>[
              IntlPhoneField(
                decoration: InputDecoration(
                  labelText: 'Enter your phone number',
                  border: OutlineInputBorder(),
                ),
                initialSelection: 'US', // 默认选中的国家代码
                onChanged: (PhoneNumber number) {
                  setState(() {
                    _selectedNumber = number;
                  });
                },
                validator: (PhoneNumber? value) {
                  if (value == null || !value.isComplete) {
                    return 'Please enter a valid phone number';
                  }
                  return null;
                },
              ),
              SizedBox(height: 20),
              ElevatedButton(
                onPressed: () {
                  if (_formKey.currentState!.validate()) {
                    // 提交表单
                    print('Selected Number: ${_selectedNumber!.completeNumber}');
                    print('Selected ISO Code: ${_selectedNumber!.isoCode}');
                  }
                },
                child: Text('Submit'),
              ),
            ],
          ),
        ),
      ),
    );
  }
}
代码解释
-
依赖导入:
- 导入
flutter/material.dart用于基本的UI组件。 - 导入
intl_phone_field和相关的country模型用于电话号码输入功能。
- 导入
-
主应用:
MyApp是根widget,它设置了应用的主题和主页。
-
表单页面:
PhoneInputScreen是一个有状态的widget,用于显示电话号码输入表单。- 使用
IntlPhoneField组件来让用户输入电话号码。 initialSelection参数设置了默认选中的国家代码。onChanged回调函数用于监听电话号码的变化,并更新状态。validator回调函数用于表单验证,确保电话号码是完整的。
-
提交按钮:
- 使用
ElevatedButton作为提交按钮,点击按钮时验证表单,如果验证通过,则打印选中的电话号码和国际ISO代码。
- 使用
这个示例展示了如何使用intl_phone_field插件来创建一个简单的电话号码输入表单,并处理用户输入和验证。你可以根据需要进一步定制和扩展这个示例。


