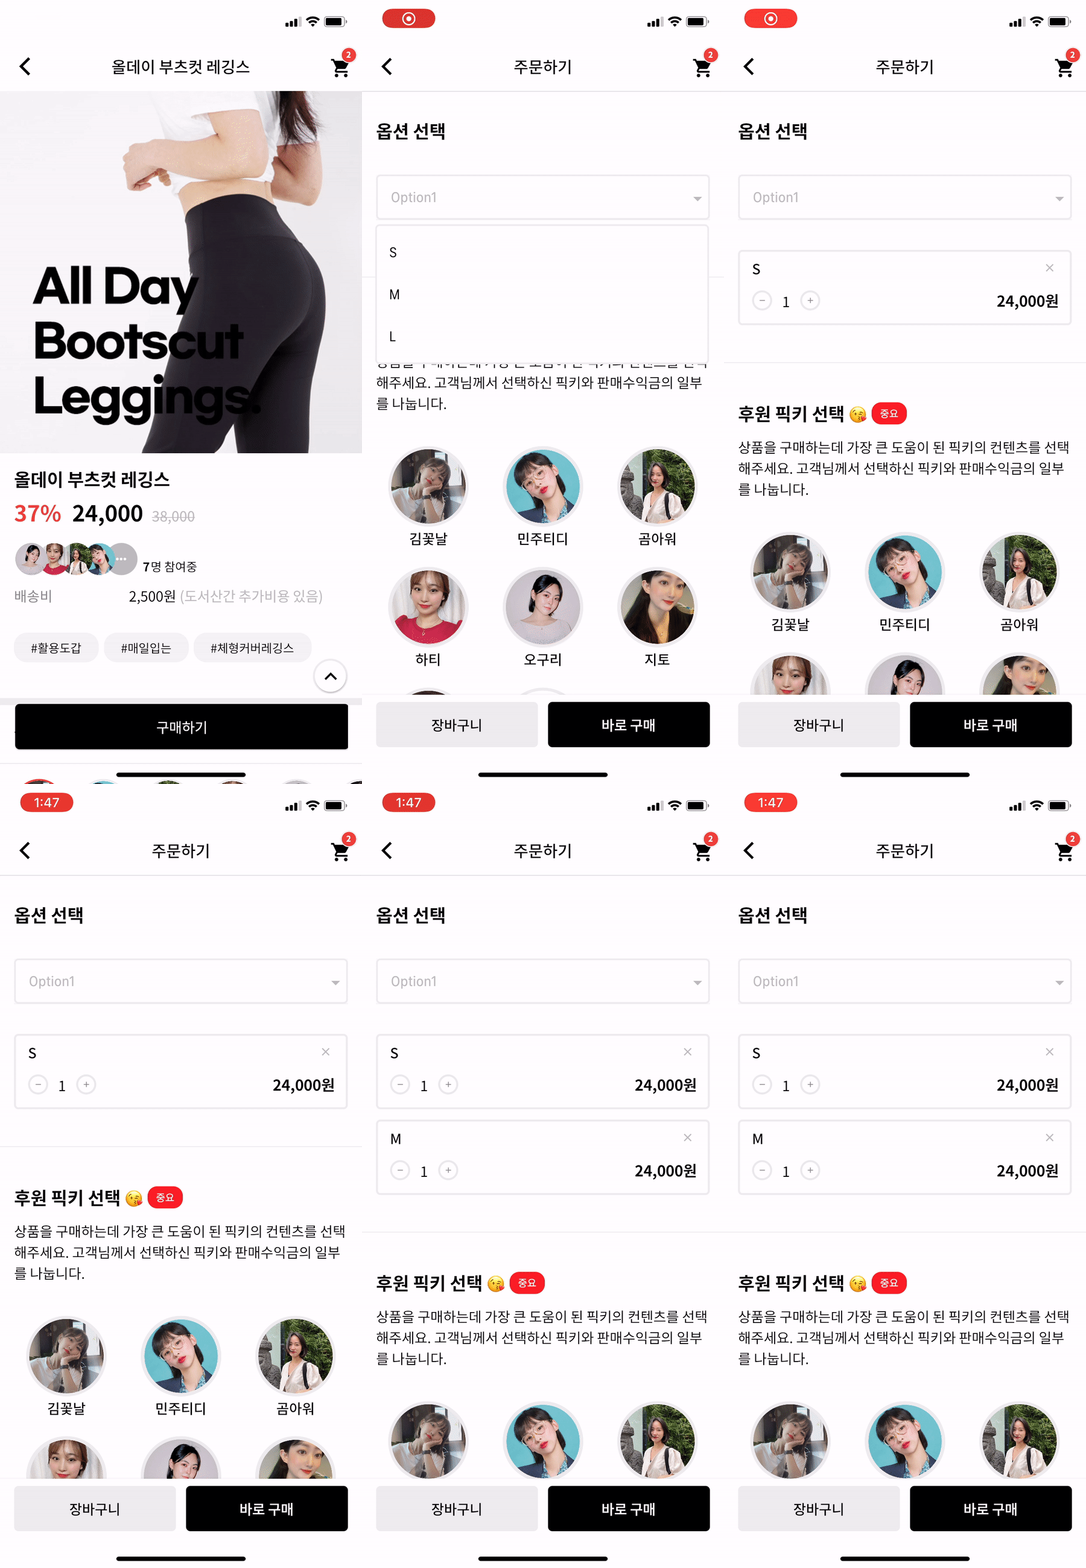
Flutter下拉菜单定位插件dropdown_below的使用
Flutter Dropdown_Below
A Flutter Dropdown library which is customize flutter dropdownbutton widget.


Options
| options | description | type | required |
|---|---|---|---|
| itemWidth | dropdown item’s box width | double | X |
| itemTextstyle | dropdown item’s text style | TextStyle | X |
| boxTextstyle | selected box text style | TextStyle | X |
| boxPadding | selected box inner padding | EdgeInsetsGeometry | X |
| boxHeight | selected box height | double | X |
| boxWidth | selected box width | double | X |
| hint | text before you choose item | Widget | X |
| value | selected item | T | X |
| boxDecoration | box’s border, borderRadius, color | BoxDecoration | X |
| icon | widget which is right beside | Widget | X |
| items | itemsList | List<DropdownMenuItem> | O |
| onChange | change item function | ValueChanged<T> | O |
How to make it Work?
Description for example.
1. datas
_testList's type is always be a list.
If you want to use map or other type, you can customize this package.
List _testList = [
  {'no': 1, 'keyword': 'blue'},
  {'no': 2, 'keyword': 'black'},
  {'no': 3, 'keyword': 'red'}
];
List<DropdownMenuItem<Object?>> _dropdownTestItems;
var _selectedTest;
2. initState & build items to correct type
If you want to customize item’s child widget ex) Text -> Container, You can change any widget you want.
@override
void initState() {
  _dropdownTestItems = buildDropdownTestItems(_testList);
  super.initState();
}

List<DropdownMenuItem<Object?>> buildDropdownTestItems(List _testList) {
  List<DropdownMenuItem<Object?>> items = [];
  for (var i in _testList) {
    items.add(
      DropdownMenuItem(
        value: i,
        child: Text(i['keyword']),
      ),
    );
  }
  return items;
}
3. change function
onChangeDropdownTests(selectedTest) {
  print(selectedTest);
  setState(() {
    _selectedTest = selectedTest;
  });
}
4. UI
Dropdown Widget.
DropdownBelow(
  itemWidth: 200,
  itemTextstyle: TextStyle(fontSize: 14, fontWeight: FontWeight.w400, color: Colors.black),
  boxTextstyle: TextStyle(fontSize: 14, fontWeight: FontWeight.w400, color: Color(0XFFbbbbbb)),
  boxPadding: EdgeInsets.fromLTRB(13, 12, 0, 12),
  boxHeight: 45,
  boxWidth: 200,
  hint: Text('choose item'),
  value: _selectedTest,
  items: _dropdownTestItems,
  onChanged: onChangeDropdownTests,
),
5. Question
IF you want to make itemBox dropdown when you enter the page?
Put this code to initState like this.
Timer(Duration(milliseconds: 200), () {
  CustomDropdownButtonState state = dropdownKey1.currentState;
  state.callTap();
});
And put key to Widget like this.
DropdownBelow(
  key: dropdownKey1,
  itemWidth: 200,
  itemTextstyle: TextStyle(fontSize: 14, fontWeight: FontWeight.w400, color: Colors.black),
  boxTextstyle: TextStyle(fontSize: 14, fontWeight: FontWeight.w400, color: Color(0XFFbbbbbb)),
  boxPadding: EdgeInsets.fromLTRB(13, 12, 0, 12),
  boxHeight: 45,
  boxWidth: 200,
  hint: Text('choose item'),
  value: _selectedTest,
  items: _dropdownTestItems,
  onChanged: onChangeDropdownTests,
)
Actually, dropdown widget is made by Navigation. So, it can work.
Complete Example Demo
Here is a complete demo that integrates all the above elements into a working Flutter application.
import 'package:flutter/material.dart';
import 'package:dropdown_below/dropdown_below.dart';

void main() {
  runApp(MyApp());
}

class MyApp extends StatelessWidget {
  @override
  Widget build(BuildContext context) {
    return MaterialApp(
      title: 'Flutter Demo',
      theme: ThemeData(
        primarySwatch: Colors.blue,
        visualDensity: VisualDensity.adaptivePlatformDensity,
      ),
      home: MyHomePage(),
    );
  }
}

class MyHomePage extends StatefulWidget {
  @override
  _MyHomePageState createState() => _MyHomePageState();
}

class _MyHomePageState extends State<MyHomePage> {
  GlobalKey<DropdownBelowState> dropdownKey1 = GlobalKey<DropdownBelowState>();
  List _testList = [
    {'no': 1, 'keyword': 'blue'},
    {'no': 2, 'keyword': 'black'},
    {'no': 3, 'keyword': 'red'}
  ];
  List<DropdownMenuItem<Object?>> _dropdownTestItems = [];
  var _selectedTest;

  @override
  void initState() {
    _dropdownTestItems = buildDropdownTestItems(_testList);
    Timer(Duration(milliseconds: 200), () {
      CustomDropdownButtonState state = dropdownKey1.currentState!;
      state.callTap();
    });
    super.initState();
  }

  @override
  void dispose() {
    super.dispose();
  }

  List<DropdownMenuItem<Object?>> buildDropdownTestItems(List _testList) {
    List<DropdownMenuItem<Object?>> items = [];
    for (var i in _testList) {
      items.add(
        DropdownMenuItem(
          value: i,
          child: Text(i['keyword']),
        ),
      );
    }
    return items;
  }

  onChangeDropdownTests(selectedTest) {
    print(selectedTest);
    setState(() {
      _selectedTest = selectedTest;
    });
  }

  @override
  Widget build(BuildContext context) {
    return Scaffold(
      backgroundColor: Colors.black12,
      appBar: AppBar(
        title: Text('Dropdown Below Example'),
      ),
      body: Center(
        child: Column(
          children: [
            DropdownBelow(
              key: dropdownKey1,
              itemWidth: 200,
              itemTextstyle: TextStyle(fontSize: 14, fontWeight: FontWeight.w400, color: Colors.black),
              boxTextstyle: TextStyle(fontSize: 14, fontWeight: FontWeight.w400, color: Color(0XFFbbbbbb)),
              boxPadding: EdgeInsets.fromLTRB(13, 12, 0, 12),
              boxHeight: 45,
              boxWidth: 200,
              hint: Text('Choose item'),
              value: _selectedTest,
              items: _dropdownTestItems,
              onChanged: onChangeDropdownTests,
            ),
            TextField(),
            ElevatedButton(
              onPressed: () {
                FocusScopeNode currentFocus = FocusScope.of(context);

                if (!currentFocus.hasPrimaryFocus) {
                  currentFocus.unfocus();
                }
              },
              child: Text('Focus Out Button'),
            )
          ],
        ),
      ),
    );
  }
}
This demo includes:
- Initializing and populating the dropdown items.
- Handling changes in the dropdown selection.
- Automatically opening the dropdown menu when the page loads.
- Additional UI elements like a
TextFieldand anElevatedButtonfor demonstration purposes.
更多关于Flutter下拉菜单定位插件dropdown_below的使用的实战系列教程也可以访问 https://www.itying.com/category-92-b0.html
更多关于Flutter下拉菜单定位插件dropdown_below的使用的实战系列教程也可以访问 https://www.itying.com/category-92-b0.html
当然,以下是如何在Flutter中使用dropdown_below插件来创建一个下拉菜单,并确保其定位在指定组件下方的示例代码。dropdown_below插件允许你控制下拉菜单的显示位置,使其能够显示在父组件的下方,这在某些布局中非常有用。
首先,确保你的pubspec.yaml文件中包含了dropdown_below的依赖项:
dependencies:
  flutter:
    sdk: flutter
  dropdown_below: ^1.0.0  # 请检查最新版本号
然后,运行flutter pub get来安装依赖。
下面是一个简单的示例,展示了如何使用dropdown_below插件:
import 'package:flutter/material.dart';
import 'package:dropdown_below/dropdown_below.dart';

void main() {
  runApp(MyApp());
}

class MyApp extends StatelessWidget {
  @override
  Widget build(BuildContext context) {
    return MaterialApp(
      title: 'Dropdown Below Example',
      theme: ThemeData(
        primarySwatch: Colors.blue,
      ),
      home: MyHomePage(),
    );
  }
}

class MyHomePage extends StatefulWidget {
  @override
  _MyHomePageState createState() => _MyHomePageState();
}

class _MyHomePageState extends State<MyHomePage> {
  String? selectedValue;

  @override
  Widget build(BuildContext context) {
    List<String> items = ['Option 1', 'Option 2', 'Option 3'];

    return Scaffold(
      appBar: AppBar(
        title: Text('Dropdown Below Example'),
      ),
      body: Padding(
        padding: const EdgeInsets.all(16.0),
        child: Column(
          crossAxisAlignment: CrossAxisAlignment.start,
          children: <Widget>[
            Text('Select an option:'),
            SizedBox(height: 10),
            DropdownBelow(
              items: items.map((String item) {
                return DropdownMenuItem<String>(
                  value: item,
                  child: Text(item),
                );
              }).toList(),
              hint: Text('Select...'),
              onChanged: (newValue) {
                setState(() {
                  selectedValue = newValue;
                });
              },
              value: selectedValue,
              belowWidget: Container(
                height: 50,
                color: Colors.grey[200],
                child: Center(child: Text('Anchor Widget')),
              ),
              dropdownConstraints: BoxConstraints(
                minWidth: 200,
              ),
            ),
            SizedBox(height: 20),
            if (selectedValue != null)
              Text('Selected: $selectedValue'),
          ],
        ),
      ),
    );
  }
}
在这个示例中:
- 我们首先添加了
dropdown_below依赖项。 - 然后在
MyHomePage中,我们创建了一个包含一些选项的下拉菜单。 DropdownBelow组件接收多个参数,包括:items:下拉菜单的选项列表。hint:未选择时的提示文本。onChanged:选项改变时的回调函数。value:当前选中的值。belowWidget:指定下拉菜单显示在哪个组件的下方。这里我们使用了一个简单的Container作为示例。dropdownConstraints:约束下拉菜单的最小宽度等属性。
当你运行这个应用程序时,你会看到一个文本提示和一个灰色背景的锚定组件。点击锚定组件会弹出一个下拉菜单,该菜单显示在锚定组件的下方。选择菜单中的选项后,会在页面上显示所选值。
希望这个示例能够帮助你理解如何使用dropdown_below插件!


