Flutter未知功能插件yuno的探索使用
Flutter未知功能插件Yuno的探索使用
简介

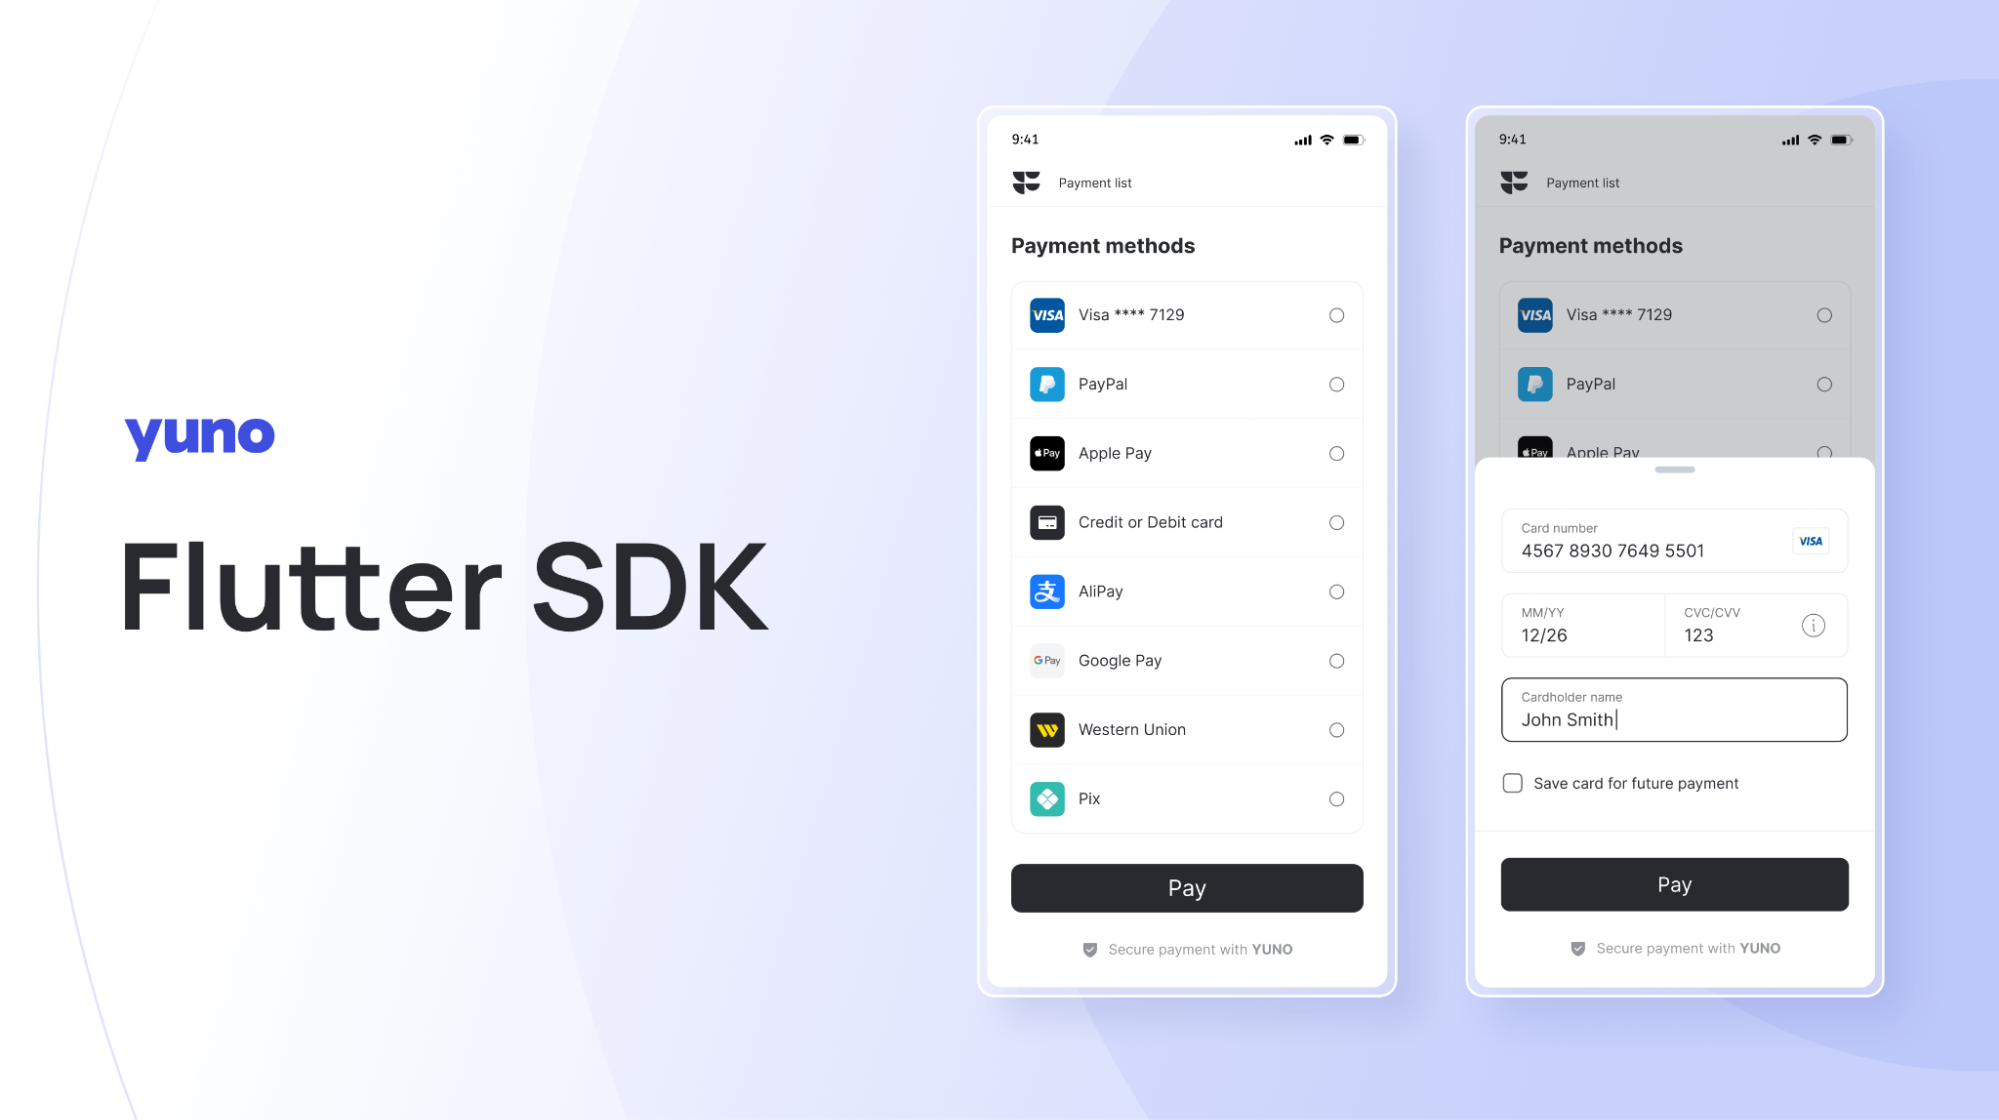
Yuno Flutter SDK使您能够在用Flutter构建的原生Android和iOS应用中创建无缝的支付体验。它提供了强大且可定制的UI组件,可以有效地从用户那里收集支付信息。
支持平台
| Android | iOS | Linux | macOS | Web | Windows | |
|---|---|---|---|---|---|---|
| 支持 | SDK 21+ | 14.0+ | None | None | None | None |
功能特性
1. 强大的支付集成
- 多种支付方式:支持包括信用卡、借记卡、钱包和替代支付方式在内的多种支付选项。
- 预建UI组件:提供可自定义的预建UI元素,用于支付表单,节省开发时间同时保持良好的用户体验。
- 令牌化:实现安全的令牌化处理敏感卡数据,减少PCI合规范围。
2. 可自定义的用户界面
- 自定义主题:轻松自定义UI元素以匹配您的应用程序品牌。
- 自适应设计:自动适应不同屏幕尺寸和设备方向,确保在Android和iOS上的一致体验。
3. 无缝用户体验
- 一键支付:为回头客提供一键支付功能,加快结账过程。
- 自动错误处理:内置错误消息和表单验证,确保问题如错误的卡详细信息能够清晰地传达给用户。
- 本地化UI:提供多语言内置本地化,确保支付体验对所有用户来说都是本地化的。
4. 安全特性
- PCI合规性:遵循PCI DSS标准,确保支付处理符合行业安全要求。
- 3D Secure支持:支持3D Secure进行额外的用户认证,降低欺诈风险。
- 数据加密:所有交易均受高级加密协议保护,确保敏感信息的安全。
5. 开发者友好工具
- 沙盒环境:提供沙盒模式用于测试支付流程。
- 实时日志:访问实时日志有助于快速识别和解决问题。
- 灵活API:提供灵活且文档齐全的API,允许根据需要进行高级自定义。
6. 实时分析
- 洞察仪表板:通过实时分析仪表板获取支付性能的见解。
- 错误报告:关于交易问题的通知,使您可以快速解决。
安装
dart pub add yuno
配置与初始化
Android配置
build.gradle (项目级别)
allprojects {
    repositories {
        google()
        mavenCentral()
        maven { url "https://yunopayments.jfrog.io/artifactory/snapshots-libs-release" }
    }
}
MainActivity.kt
class MainActivity: FlutterFragmentActivity()
MyApp.kt
import android.app.Application
import com.yuno_flutter.yuno_sdk_android.YunoSdkAndroidPlugin

class MyApp : Application() {
  override fun onCreate() {
    super.onCreate()

    // Add this line with your keys
    YunoSdkAndroidPlugin.initSdk(this, "YUNO_API_KEY")
  }
}
AndroidManifest.xml
<application
  android:name=".MyApp">
</application>
初始化配置
await Yuno.init(
  apiKey: 'your_api_key_here',
  countryCode: 'your_country_code',
  yunoConfig: YunoConfig(
    lang: YunoLanguage.en,
    cardflow: CardFlow.multiStep,
    saveCardEnable: true,
    keepLoader: true,
    isDynamicViewEnable: true,
  ),
  iosConfig: IosConfig(),
);
使用示例
void main() async {
  WidgetsFlutterBinding.ensureInitialized();
  await Yuno.init(
      apiKey: Environments.apiKey, countryCode: 'YOUR_COUNTRY_CODE');
  runApp(const MyApp());
}

class MyApp extends StatelessWidget {
  const MyApp({super.key});

  @override
  Widget build(BuildContext context) {
    return MaterialApp(
      title: 'Flutter Demo',
      theme: ThemeData(
        colorScheme: ColorScheme.fromSeed(seedColor: Colors.deepPurple),
        useMaterial3: true,
      ),
      home: const MyHomePage(title: 'Flutter Demo Home Page'),
    );
  }
}

class MyHomePage extends StatefulWidget {
  const MyHomePage({super.key, required this.title});

  final String title;

  @override
  State<MyHomePage> createState() => _MyHomePageState();
}

class _MyHomePageState extends State<MyHomePage> {
  void _startPaymentLite() {
    Yuno.startPaymentLite(
      arguments: const StartPayment(
        checkoutSession: 'CHECKOUT_SESSION_ID',
        methodSelected:
            MethodSelected(paymentMethodType: 'PAYMENT_METHOD_TYPE'),
      ),
    );
  }

  void _startPayment() {
    Yuno.startPayment();
  }

  @override
  Widget build(BuildContext context) {
    return Scaffold(
      appBar: AppBar(
        backgroundColor: Theme.of(context).colorScheme.inversePrimary,
        title: Text(widget.title),
      ),
      body: Center(
        child: Column(
          mainAxisAlignment: MainAxisAlignment.center,
          children: <Widget>[
            // FOR FULL SDK VERSION
            YunoPaymentMethods(
              config: const PaymentMethodConf(
                  checkoutSession: 'YOUR_CHECKOUT_SESSION_ID'),
              listener: (context, isSelected) {},
            ),
            TextButton(
              onPressed: _startPaymentLite,
              child: const Text('Start Payment Lite'),
            ),
            TextButton(
              onPressed: _startPayment,
              child: const Text('Start Payment'),
            )
          ],
        ),
      ),
    );
  }
}
监听器
YunoPaymentListener
YunoPaymentListener(
  listener: (state) {
    // Handle [state] it is YunoState [String token] && [PaymentStatus status]
    // - [token]: One Time Token
    // - [paymentStatus]: [reject,succeded,fail,processing,internalError,cancelByUser]
  },
  child: SomeWidget(),
)
YunoEnrollmentListener
YunoEnrollmentListener(
  listener: (state) {
    // Handle [state] it is YunoEnrollmentState
    // - [enrollmentStatus]: [reject,succeded,fail,processing,internalError,cancelByUser]
  },
  child: SomeWidget(),
)
YunoMultiListener
YunoMultiListener(
  enrollmentListener: (state) {
    // Handle [state] it is YunoEnrollmentState
    // - [enrollmentStatus]: [reject,succeded,fail,processing,internalError,cancelByUser]
  },
  paymentListener: (state) {
    // Handle [state] it is YunoPaymentState [String token] && [PaymentStatus status]
    // - [token]: One Time Token
    // - [paymentStatus]: [reject,succeded,fail,processing,internalError,cancelByUser]
  },
  child: SomeWidget(),
)
YunoPaymentMethods
YunoPaymentMethods(
  config: PaymentMethodConf(
    checkoutSession: 'your_checkout_session_id',
    // Add other configuration options as needed
  ),
  listener: (context, isSelected) {
    if (isSelected) {
      print('A payment method has been selected');
    } else {
      print('No payment method is currently selected');
    }
  },
)
Dart API
Future<void> startPayment(...);
Future<void> startPaymentLite(...);
Future<void> enrollmentPayment(...)
Future<void> continuePayment(...);
Future<YunoStatus> startPaymentSeamlessLite(...)
//Avialable only for IOS devices
Future<void> receiveDeeplink(...);
Future<void> hideLoader(...);
使用Yuno键与--dart-define
flutter run --dart-define="YUNO_API_KEY=apiKey"
String yunoApi = String.fromEnvironment("YUNO_API", "");
def dartEnvironmentVariables = []
if (project.hasProperty('dart-defines')) {
  dartEnvironmentVariables = project.property('dart-defines')
      .split(',')
      .collectEntries { entry ->
        def pair = new String(entry.decodeBase64(), 'UTF-8').split('=')
        [(pair.first()): pair.last()]
      }
}

defaultConfig {
  ...
  buildConfigField 'String', 'YUNO_API_KEY', "\"${dartEnvironmentVariables.yunoApiKey}\""
}
import android.app.Application
import android.os.Build
import com.yuno_flutter.yuno_sdk_android.YunoSdkAndroidPlugin

class MyApp : Application() {
  override fun onCreate() {
    super.onCreate()

    // Add this line with your keys
   YunoSdkAndroidPlugin.initSdk(this, BuildConfig.YUNO_API_KEY)
  }
}
以上就是Yuno Flutter插件的探索使用,希望这些内容能帮助你更好地理解和使用这个强大的支付SDK。如果有任何问题或建议,欢迎随时提出!
更多关于Flutter未知功能插件yuno的探索使用的实战系列教程也可以访问 https://www.itying.com/category-92-b0.html
更多关于Flutter未知功能插件yuno的探索使用的实战系列教程也可以访问 https://www.itying.com/category-92-b0.html
探索和使用Flutter中的未知功能插件,尤其是像yuno这样可能不太为人所知的插件时,通常需要我们查阅该插件的官方文档、示例代码或者源代码。由于yuno插件的具体信息和API在没有详细文档的情况下很难准确描述,我将提供一个假设性的示例代码框架,展示如何在Flutter项目中集成和使用一个假设的第三方插件。
请注意,以下代码是基于假设的,因为实际的yuno插件API和功能未知。如果yuno插件存在,你应该参考其官方文档来获取准确的集成和使用方法。
1. 添加依赖
首先,你需要在pubspec.yaml文件中添加yuno插件的依赖(这里假设插件名为yuno,并且已经在pub.dev上发布)。
dependencies:
  flutter:
    sdk: flutter
  yuno: ^x.y.z  # 替换为实际的版本号
然后运行flutter pub get来安装依赖。
2. 导入插件
在你的Dart文件中导入yuno插件。
import 'package:yuno/yuno.dart';
3. 初始化插件
根据插件的文档,可能需要在应用启动时初始化插件。以下是一个假设性的初始化代码:
void main() {
  WidgetsFlutterBinding.ensureInitialized();
  // 假设yuno有一个全局的初始化方法
  Yuno.initialize().then((_) {
    runApp(MyApp());
  }).catchError((error) {
    // 处理初始化错误
    print('Failed to initialize Yuno: $error');
    runApp(ErrorApp()); // 显示错误页面
  });
}
4. 使用插件功能
假设yuno插件提供了一个用于显示通知的功能,我们可以这样使用它:
class MyApp extends StatelessWidget {
  @override
  Widget build(BuildContext context) {
    return MaterialApp(
      home: Scaffold(
        appBar: AppBar(
          title: Text('Yuno Plugin Demo'),
        ),
        body: Center(
          child: ElevatedButton(
            onPressed: () {
              // 使用yuno插件显示通知
              Yuno.showNotification(
                title: 'Hello Yuno',
                body: 'This is a notification from Yuno plugin!',
              );
            },
            child: Text('Show Notification'),
          ),
        ),
      ),
    );
  }
}
5. 错误处理
在使用插件时,应该始终考虑错误处理,以确保应用的健壮性。
try {
  // 调用yuno插件的方法
  await Yuno.someMethod();
} catch (error) {
  // 处理错误
  print('Error using Yuno: $error');
}
结论
由于yuno插件的具体信息和API未知,上述代码是一个假设性的示例,展示了如何在Flutter项目中集成和使用第三方插件的一般步骤。为了准确集成和使用yuno插件,你应该参考其官方文档或源代码。如果yuno插件不在pub.dev上,你可能需要从其他来源获取其依赖和文档。


