Flutter图片编辑插件editable_image的使用
Flutter图片编辑插件editable_image的使用
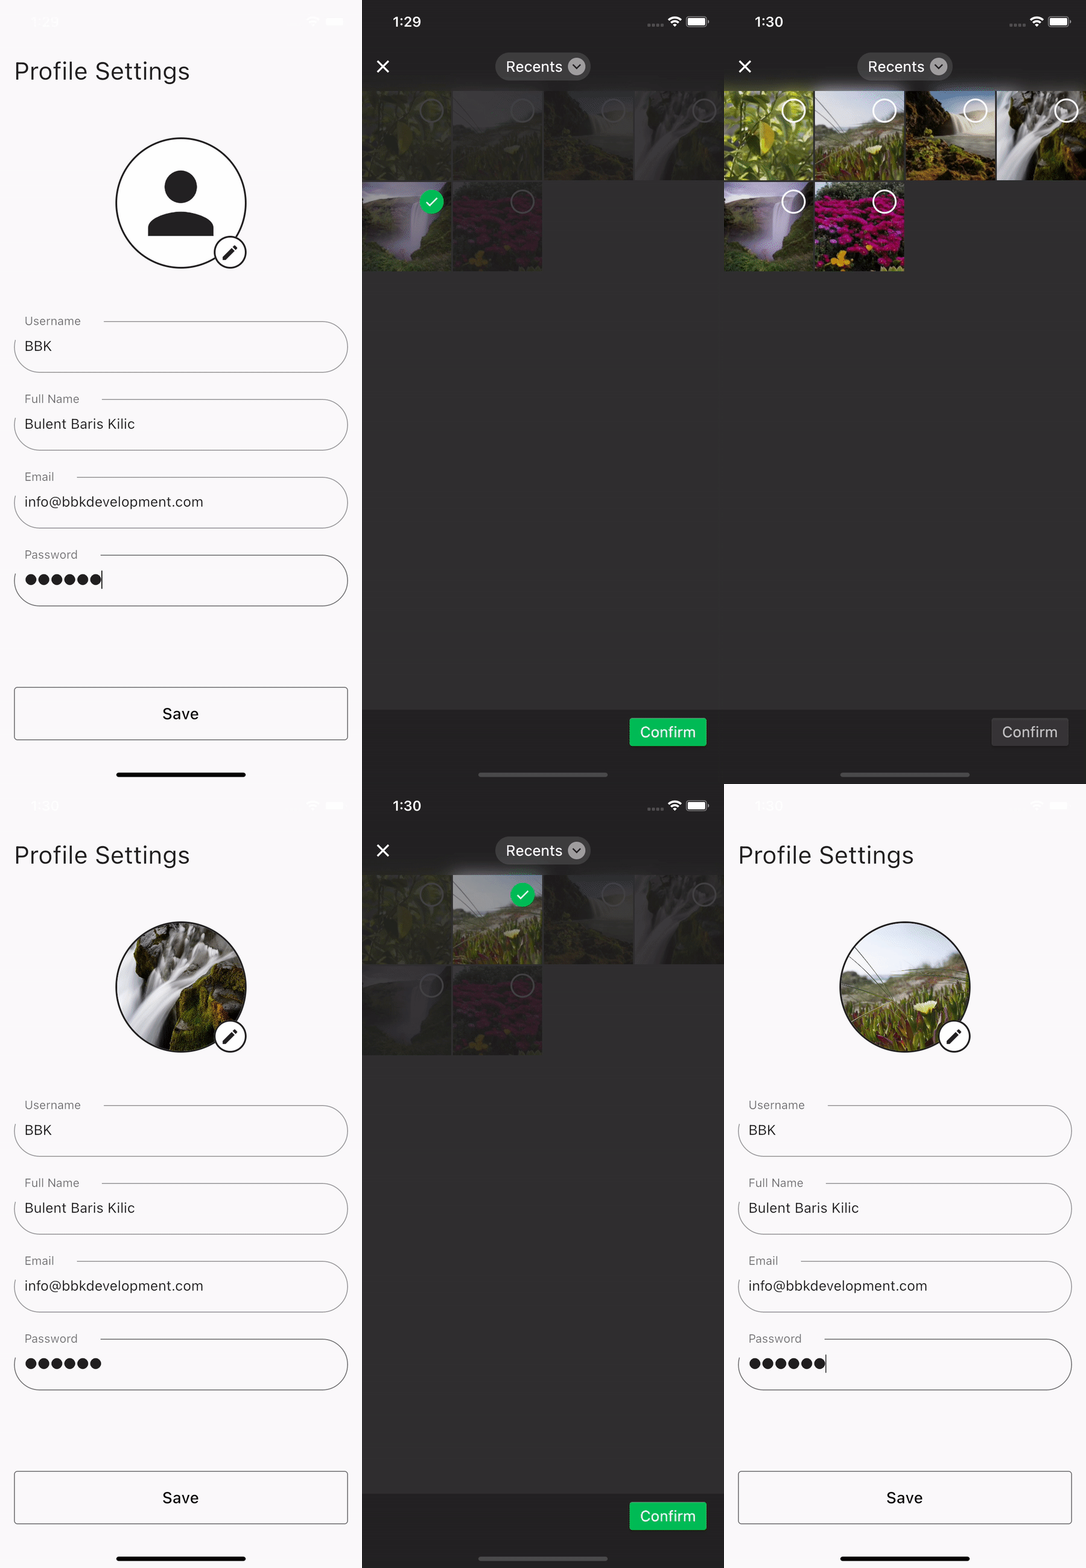
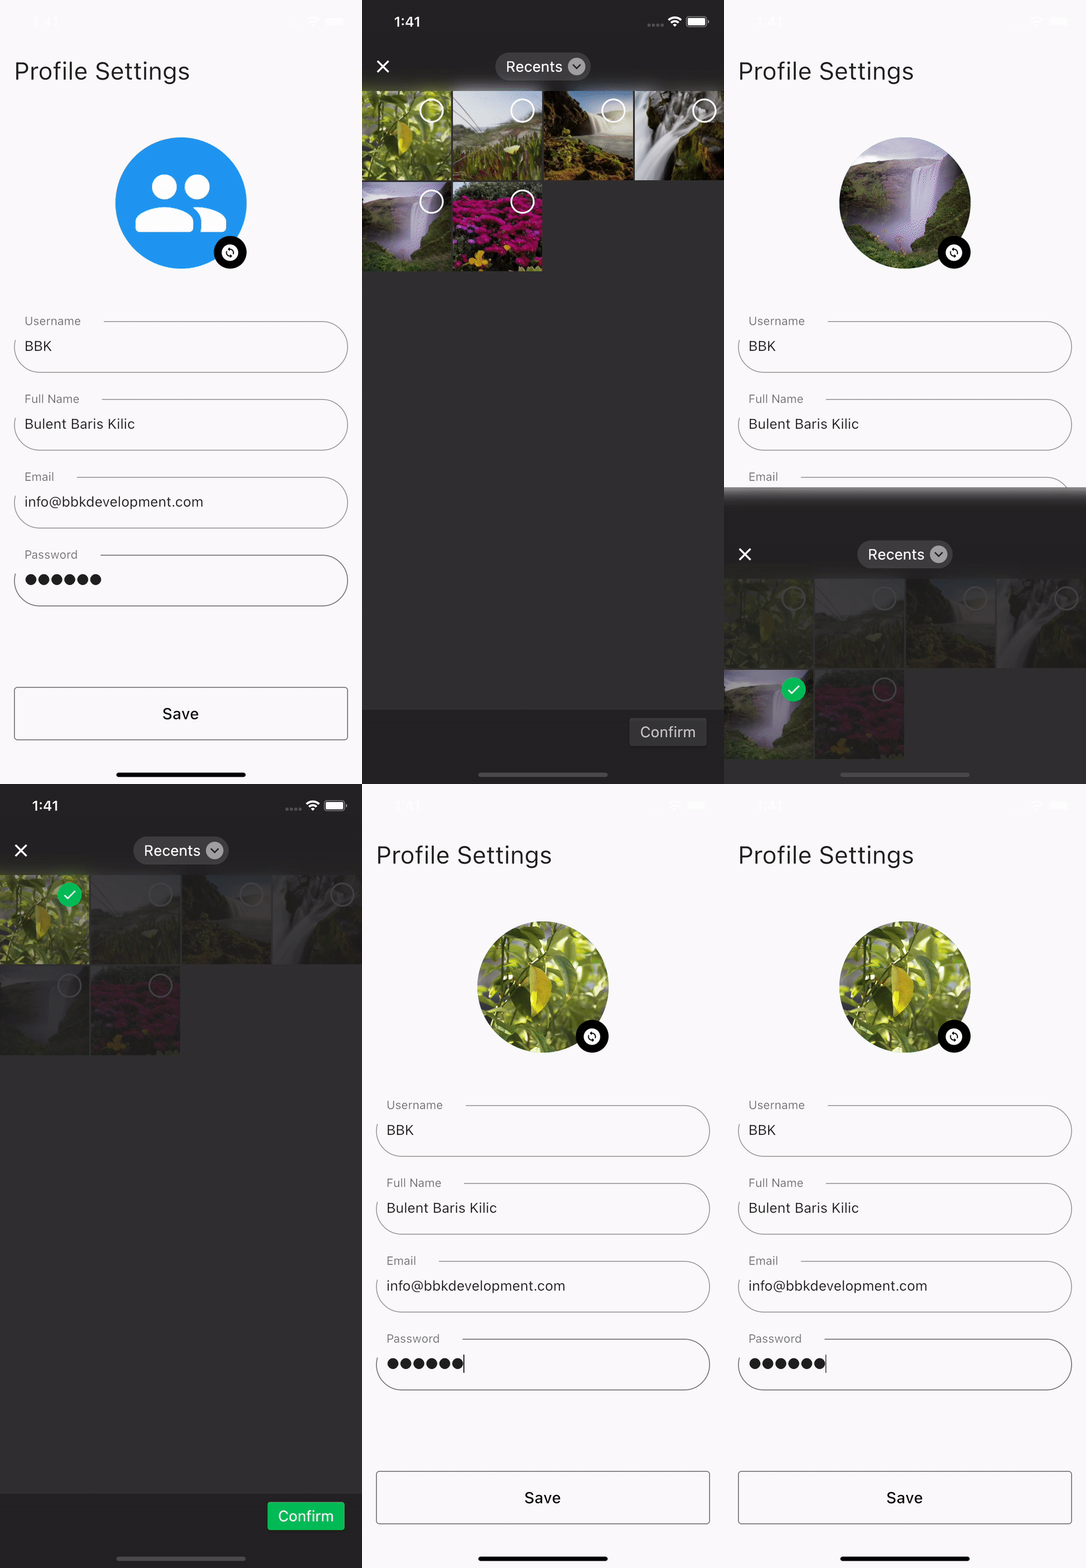
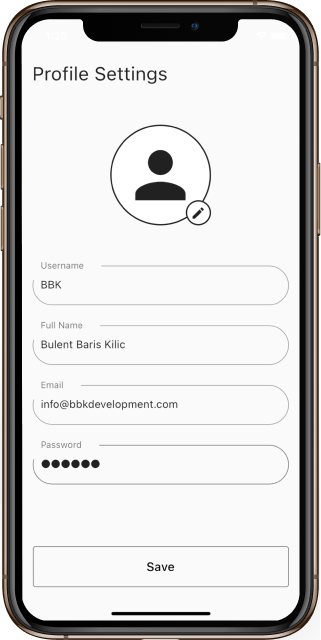
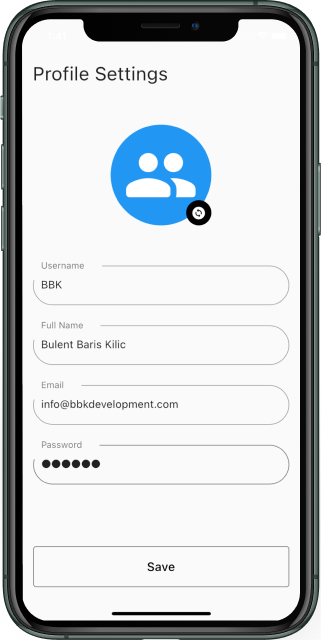
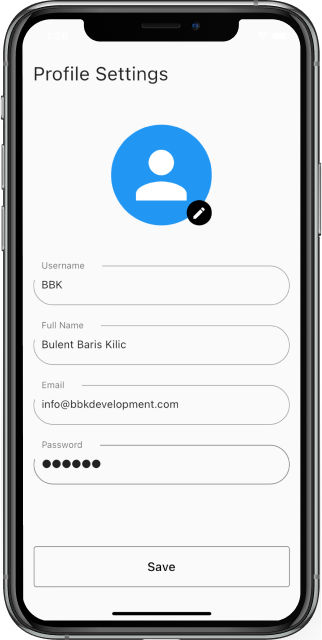
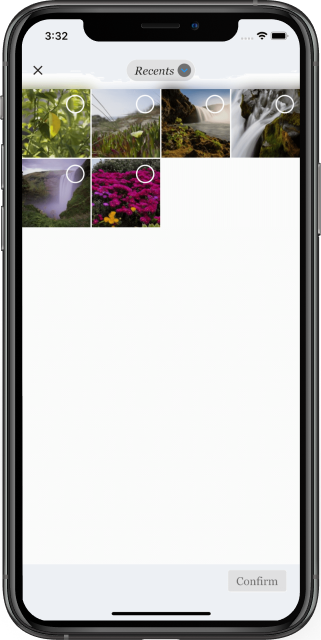
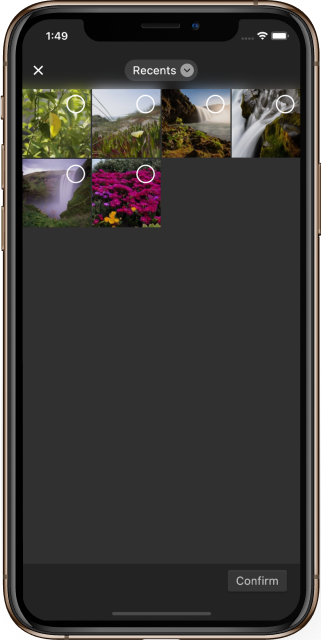
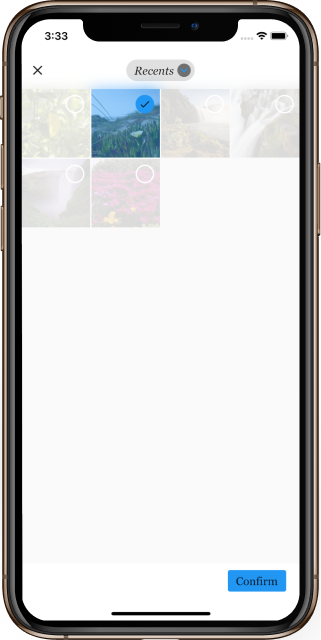
Flutter中,editable_image 插件提供了一个完全可定制和可编辑的图像小部件。该包完全是用Dart语言编写的,能够快速创建用户头像编辑等界面,极大节省开发时间。
功能特性
- 强大的自定义能力:几乎每个“个人资料设置”界面上都有一个头像,而这个小部件可以被用来代替从零开始编写代码。
- 丰富的示例:提供了多个示例项目展示如何在实际应用中使用
EditableImage小部件。
 |
 |
 |
|---|---|---|
 |
 |
 |
快速开始
添加依赖
首先,在您的 pubspec.yaml 文件中添加以下行:
dependencies:
  editable_image: ^2.0.0
然后导入 EditableImage:
import 'package:editable_image/editable_image.dart';
平台特定设置
Android 设置
确保您的 android/app/build.gradle 中包含以下内容:
compileSdkVersion 33
minSdkVersion 21
targetSdkVersion 33
更新 Kotlin 版本(ext.kotlin_version)到至少 1.7.0:
ext.kotlin_version = '1.7.0'
升级 Gradle 到至少 6.8.3 但低于 7.0.0 的版本:
distributionUrl=https\://services.gradle.org/distributions/gradle-6.8.3-all.zip
在 AndroidManifest.xml 文件中添加 android:exported="true" 和读取外部存储权限:
<activity
    android:name=".MainActivity"
    android:exported="true"
    android:launchMode="singleTop"
    android:theme="@style/LaunchTheme">
</activity>
<uses-permission android:name="android.permission.READ_EXTERNAL_STORAGE"/>
推荐添加 android:requestLegacyExternalStorage="true":
<application android:requestLegacyExternalStorage="true">
</application>
iOS 设置
确保 ios/Podfile 中平台版本至少为 9.0:
platform :ios, '11.0'
在 ios/Runner/Info.plist 中添加以下内容:
<key>NSAppTransportSecurity</key>
<dict>
    <key>NSAllowsArbitraryLoads</key>
    <true/>
</dict>
<key>NSPhotoLibraryUsageDescription</key>
<string>Put here your permission description.</string>
macOS 设置
确保 macos/Podfile 中平台版本至少为 10.15:
platform :osx, '10.15'
使用 XCode 打开 macos/Runner.xcworkspace 并将最低部署目标设置为 10.15。
使用方法
下面是一个简单的 EditableImage 示例:
import 'dart:io';
import 'package:flutter/material.dart';
import 'package:editable_image/editable_image.dart';

void main() {
  runApp(MyApp());
}

class MyApp extends StatelessWidget {
  @override
  Widget build(BuildContext context) {
    return MaterialApp(
      home: Scaffold(
        appBar: AppBar(title: Text('Editable Image Example')),
        body: EditableImageDemo(),
      ),
    );
  }
}

class EditableImageDemo extends StatefulWidget {
  @override
  _EditableImageDemoState createState() => _EditableImageDemoState();
}

class _EditableImageDemoState extends State<EditableImageDemo> {
  File? _profilePicFile;

  // 当尝试更改图片时调用此方法
  void _directUpdateImage(File? file) async {
    if (file == null) return;

    setState(() {
      _profilePicFile = file;
    });
  }

  @override
  Widget build(BuildContext context) {
    return Center(
      child: EditableImage(
        onChange: (file) => _directUpdateImage(file),
        image: _profilePicFile != null
            ? Image.file(_profilePicFile!, fit: BoxFit.cover)
            : null,
        size: 150.0,
        imagePickerTheme: ThemeData(
          primaryColor: Colors.white,
          shadowColor: Colors.transparent,
          backgroundColor: Colors.white70,
          iconTheme: const IconThemeData(color: Colors.black87),
          fontFamily: 'Georgia',
        ),
        imageBorder: Border.all(color: Colors.black87, width: 2.0),
        editIconBorder: Border.all(color: Colors.black87, width: 2.0),
      ),
    );
  }
}
更多示例
更多例子可以在 GitHub仓库 的 /example 文件夹中找到,如:
- User Profile 1 - 基本实现的
EditableImage示例,模拟用户资料编辑屏幕。 - User Profile 2 - 另一个实现
EditableImage的示例,同样模拟用户资料编辑屏幕。
其他信息
目前,EditableImage 支持 Android、iOS 和 macOS 平台。有关更多信息,请访问 GitHub。
如果您有任何功能请求或发现任何问题,请通过 issue tracker 提交。
更多关于Flutter图片编辑插件editable_image的使用的实战系列教程也可以访问 https://www.itying.com/category-92-b0.html
更多关于Flutter图片编辑插件editable_image的使用的实战系列教程也可以访问 https://www.itying.com/category-92-b0.html
当然,关于Flutter中的editable_image插件的使用,这里是一个简单的代码示例,展示如何在Flutter应用中集成并使用该插件进行图片编辑。请注意,实际使用中,你可能需要根据具体需求调整代码。
首先,确保你已经在pubspec.yaml文件中添加了editable_image依赖:
dependencies:
  flutter:
    sdk: flutter
  editable_image: ^最新版本号  # 请替换为最新版本号
然后,运行flutter pub get来安装依赖。
接下来,是一个简单的Flutter应用示例,展示如何使用editable_image插件:
import 'package:flutter/material.dart';
import 'package:editable_image/editable_image.dart';
import 'dart:ui' as ui;
import 'dart:typed_data';

void main() {
  runApp(MyApp());
}

class MyApp extends StatelessWidget {
  @override
  Widget build(BuildContext context) {
    return MaterialApp(
      home: Scaffold(
        appBar: AppBar(
          title: Text('Editable Image Example'),
        ),
        body: EditableImageScreen(),
      ),
    );
  }
}

class EditableImageScreen extends StatefulWidget {
  @override
  _EditableImageScreenState createState() => _EditableImageScreenState();
}

class _EditableImageScreenState extends State<EditableImageScreen> {
  Uint8List? _imageBytes;

  @override
  void initState() {
    super.initState();
    // 这里你可以加载一个本地图片或者网络图片
    _loadImage();
  }

  Future<void> _loadImage() async {
    // 示例:加载一个本地图片(需要放在assets文件夹中)
    ByteData data = await rootBundle.load('assets/sample_image.png');
    setState(() {
      _imageBytes = data.buffer.asUint8List();
    });
  }

  @override
  Widget build(BuildContext context) {
    return Center(
      child: _imageBytes == null
          ? CircularProgressIndicator()
          : EditableImage(
              image: MemoryImage(_imageBytes!),
              initialMatrix: Matrix4.identity(),
              tools: [
                DrawingTool(
                  color: Colors.red,
                  strokeWidth: 5.0,
                ),
                TextTool(
                  color: Colors.black,
                  fontSize: 24.0,
                ),
                // 可以添加更多工具
              ],
              onSave: (Uint8List? editedImageBytes) {
                // 保存编辑后的图片,这里可以保存到文件或者做其他处理
                print('Saved edited image with bytes length: ${editedImageBytes!.length}');
                // 例如,显示预览
                setState(() {
                  _imageBytes = editedImageBytes;
                });
              },
            ),
    );
  }
}
在这个示例中:
- 我们创建了一个简单的Flutter应用,并在
EditableImageScreen中展示了如何使用editable_image插件。 - 在
initState方法中,我们加载了一张本地图片(确保你的assets/sample_image.png存在于项目中,并在pubspec.yaml中声明)。 - 使用
EditableImage组件显示和编辑图片,提供了DrawingTool和TextTool作为编辑工具。 - 在
onSave回调中,你可以处理编辑后的图片,例如保存到文件或显示预览。
请根据你的具体需求调整代码,例如添加更多的编辑工具或处理编辑后的图片数据。确保你已经按照Flutter的资产管理和依赖管理规则正确配置了项目。


