Flutter分页加载工具插件riverpod_paging_utils的使用
Flutter分页加载工具插件riverpod_paging_utils的使用
riverpod_paging_utils 是一个为Flutter应用提供分页功能的工具包,基于Riverpod状态管理库。它包括一个通用的 PagingHelperView 小部件和用于基于页面、偏移量和游标的分页逻辑的混入(mixin)。
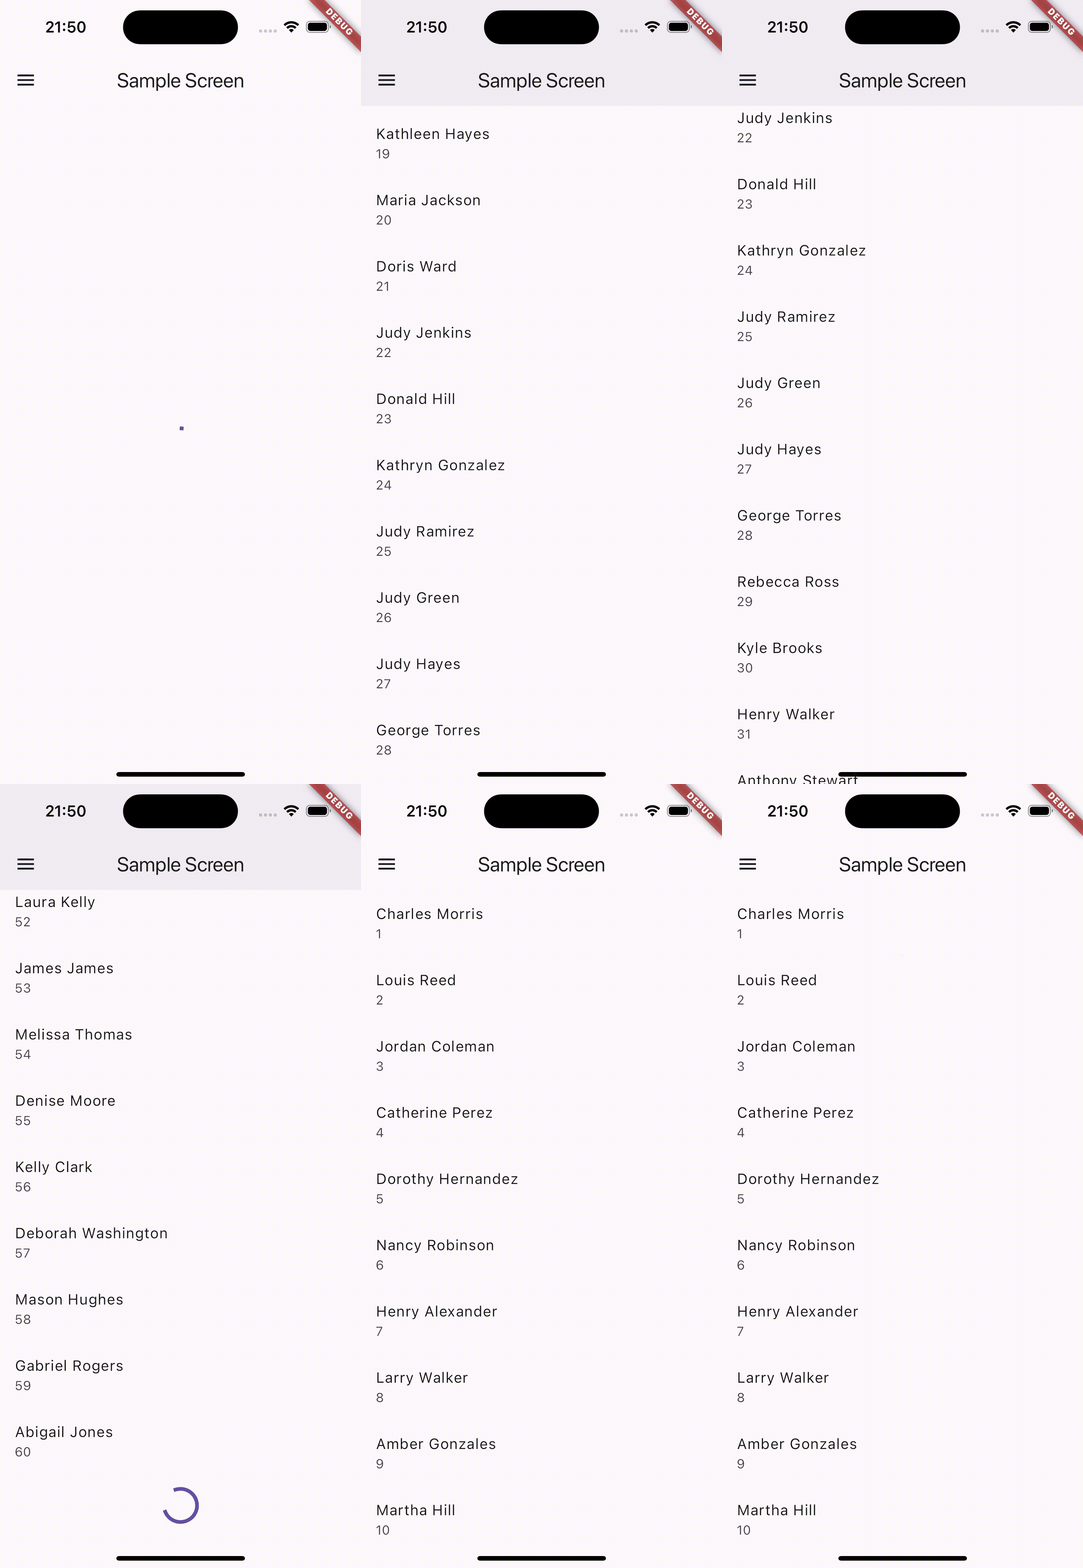
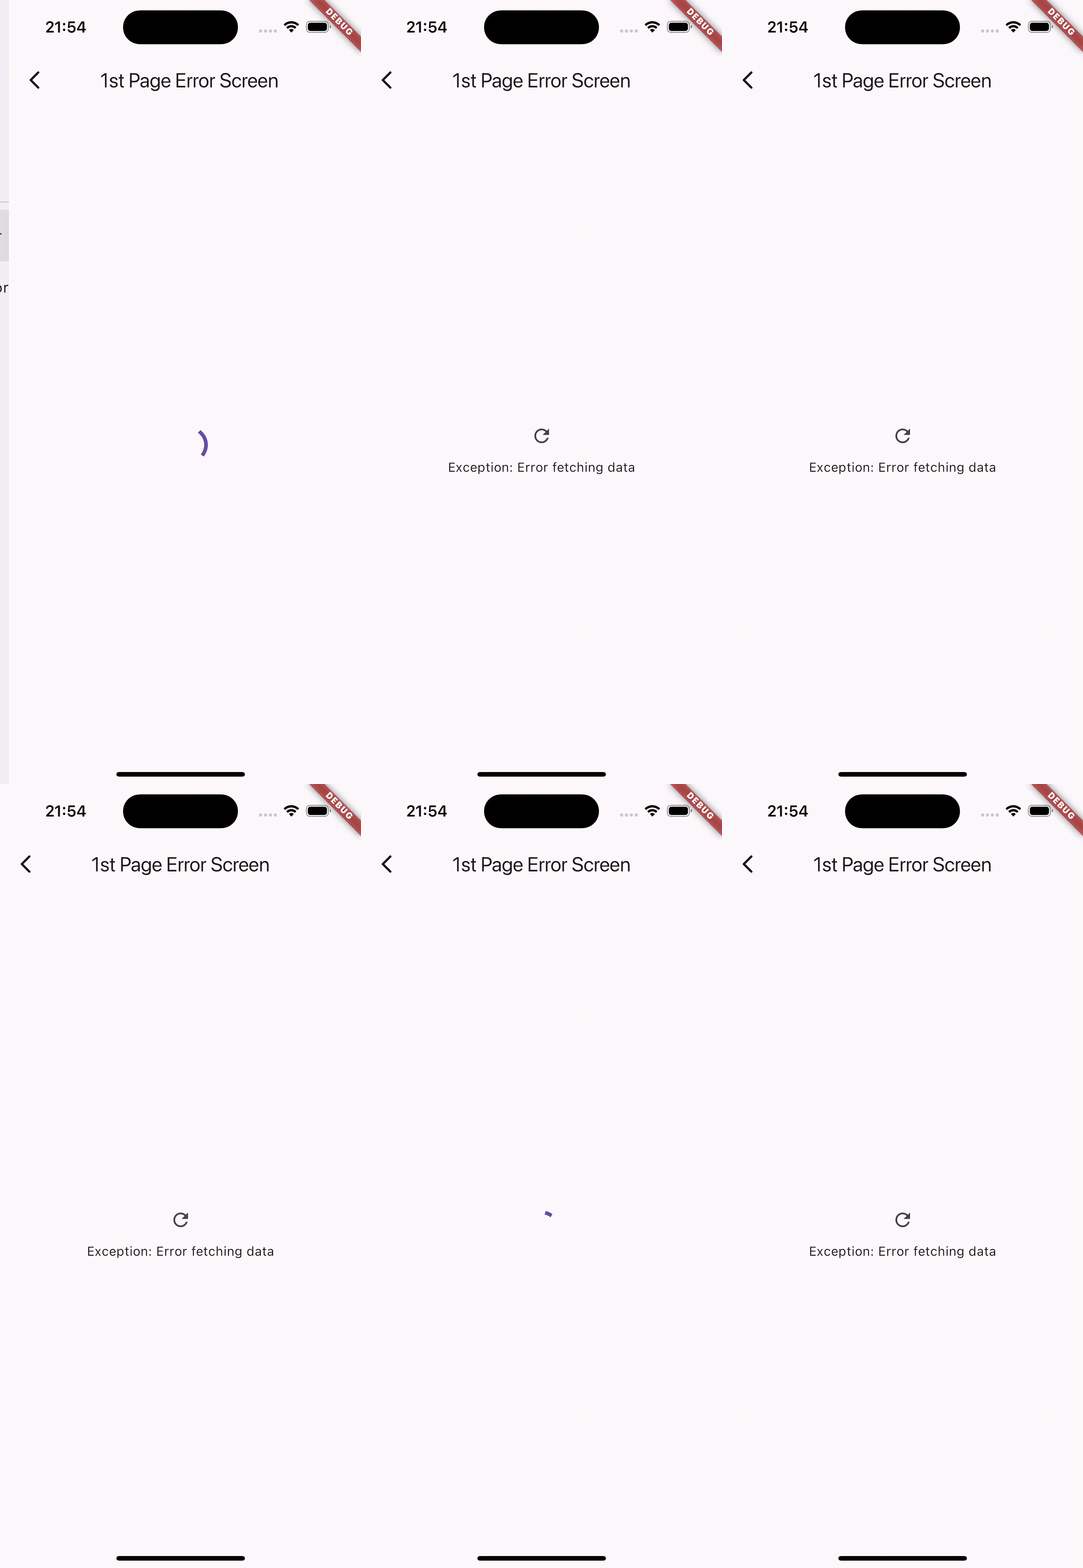
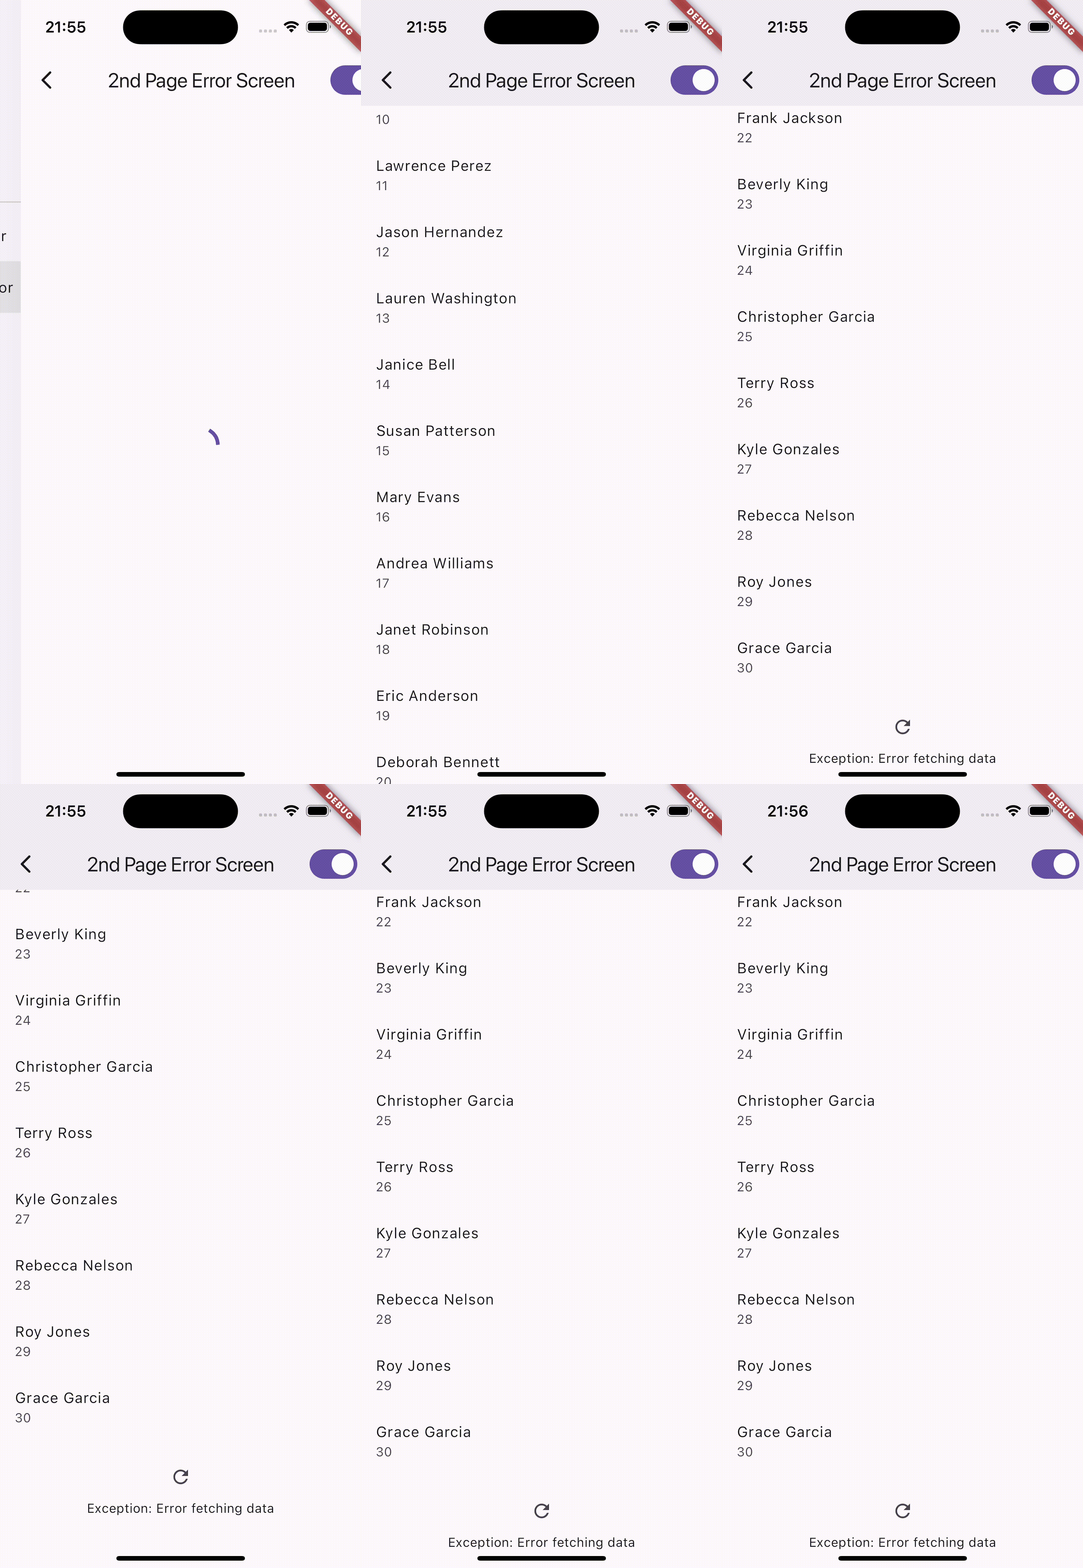
Demo


特性
- PagingHelperView: 简化Flutter应用中分页实现的通用小部件。
- PagePagingNotifierMixin: 用于实现基于页面的分页逻辑的混入。
- OffsetPagingNotifierMixin: 用于实现基于偏移量的分页逻辑的混入。
- CursorPagingNotifierMixin: 用于实现基于游标的分页逻辑的混入。
开始使用
安装
在 pubspec.yaml 文件中添加以下依赖:
dependencies:
  riverpod_paging_utils: ^{latest}
然后运行 flutter pub get 来安装这个包。
使用示例
下面是一个如何使用 PagingHelperView 小部件与 Riverpod 提供者程序(使用 CursorPagingNotifierMixin 混入)的简单例子:
import 'package:flutter/material.dart';
import 'package:flutter_riverpod/flutter_riverpod.dart';
import 'package:riverpod_paging_utils/riverpod_paging_utils.dart';

// 假设 SampleItem 和 SampleRepository 已经定义
class SampleItem {
  final String id;
  final String name;

  SampleItem({required this.id, required this.name});
}

class SampleRepository {
  Future<(List<SampleItem>, String?)> getByCursor(String? cursor) async {
    // 实现获取数据的逻辑
    return ([], null);
  }
}

@riverpod
class SampleNotifier extends _$SampleNotifier with CursorPagingNotifierMixin<SampleItem> {
  @override
  Future<CursorPagingData<SampleItem>> build() => fetch(cursor: null);

  @override
  Future<CursorPagingData<SampleItem>> fetch({
    required String? cursor,
  }) async {
    final repository = SampleRepository();
    final (items, nextCursor) = await repository.getByCursor(cursor);
    final hasMore = nextCursor != null && nextCursor.isNotEmpty;

    return CursorPagingData(
      items: items,
      hasMore: hasMore,
      nextCursor: nextCursor,
    );
  }
}

final sampleNotifierProvider = SampleNotifier.new;

class SampleScreen extends StatelessWidget {
  const SampleScreen({super.key});

  @override
  Widget build(BuildContext context) {
    return Scaffold(
      appBar: AppBar(
        title: const Text('Sample Screen'),
      ),
      body: PagingHelperView(
        provider: sampleNotifierProvider,
        futureRefreshable: sampleNotifierProvider.future,
        notifierRefreshable: sampleNotifierProvider.notifier,
        contentBuilder: (data, widgetCount, endItemView) => ListView.builder(
          itemCount: widgetCount,
          itemBuilder: (context, index) {
            if (index == widgetCount - 1) {
              return endItemView;
            }

            return ListTile(
              title: Text(data.items[index].name),
              subtitle: Text(data.items[index].id),
            );
          },
        ),
      ),
    );
  }
}
UI自定义
基本自定义
可以使用 ThemeExtension 轻松定制加载和错误状态的外观。例如,如果使用 loading_animation_widget 包,代码设置如下:
class MainApp extends StatelessWidget {
  const MainApp({super.key});

  @override
  Widget build(BuildContext context) {
    return MaterialApp(
      theme: ThemeData(
        extensions: [
          PagingHelperViewTheme(
            loadingViewBuilder: (context) => Padding(
              padding: const EdgeInsets.all(16),
              child: Align(
                alignment: Alignment.topCenter,
                child: LoadingAnimationWidget.horizontalRotatingDots(
                  color: Colors.red,
                  size: 100,
                ),
              ),
            ),
            endLoadingViewBuilder: (context) =>
                LoadingAnimationWidget.threeArchedCircle(
              color: Colors.red,
              size: 50,
            ),
          ),
        ],
      ),
      home: const SampleScreen(),
    );
  }
}
高级自定义
如果需要更高级的自定义,比如集成 easy_refresh 包来提供刷新指示器,可以这样修改屏幕代码:
class SampleScreen extends ConsumerWidget {
  const SampleScreen({super.key});

  @override
  Widget build(BuildContext context, WidgetRef ref) {
    return Scaffold(
      appBar: AppBar(
        title: const Text('Advanced UI Customization'),
      ),
      body: PagingHelperView(
        provider: sampleNotifierProvider,
        futureRefreshable: sampleNotifierProvider.future,
        notifierRefreshable: sampleNotifierProvider.notifier,
        contentBuilder: (data, widgetCount, endItemView) {
          return EasyRefresh(
            onRefresh: () async => ref.refresh(sampleNotifierProvider.future),
            child: ListView.builder(
              itemCount: widgetCount,
              itemBuilder: (context, index) {
                if (index == widgetCount - 1) {
                  return endItemView;
                }

                return ListTile(
                  title: Text(data.items[index].name),
                  subtitle: Text(data.items[index].id),
                );
              },
            ),
          );
        },
      ),
    );
  }
}
以上内容提供了完整的示例demo和详细的说明,帮助您快速上手并使用 riverpod_paging_utils 插件实现分页加载功能。
更多关于Flutter分页加载工具插件riverpod_paging_utils的使用的实战系列教程也可以访问 https://www.itying.com/category-92-b0.html
更多关于Flutter分页加载工具插件riverpod_paging_utils的使用的实战系列教程也可以访问 https://www.itying.com/category-92-b0.html
当然,riverpod_paging_utils 是一个用于 Flutter 的分页加载工具插件,它基于 Riverpod 状态管理库。这个插件允许你轻松地实现分页数据加载,适用于需要展示大量数据的应用,比如新闻列表、社交媒体帖子等。
以下是一个使用 riverpod_paging_utils 实现分页加载的简单示例:
- 添加依赖
首先,在你的 pubspec.yaml 文件中添加必要的依赖:
dependencies:
  flutter:
    sdk: flutter
  flutter_riverpod: ^1.0.0
  riverpod_paging_utils: ^0.0.1  # 请检查最新版本号
- 设置 Riverpod
在你的应用中初始化 Riverpod:
import 'package:flutter_riverpod/flutter_riverpod.dart';

void main() {
  runApp(
    ProviderScope(
      child: MyApp(),
    ),
  );
}
- 定义分页数据源
创建一个分页数据源类,用于获取分页数据。例如,这里我们使用模拟的 API 调用:
import 'package:riverpod_paging_utils/riverpod_paging_utils.dart';

class MyDataSource extends PagingDataSource<int, MyItem> {
  MyDataSource() : super();

  @override
  Future<PageData<int, MyItem>> fetchPage(int pageKey) async {
    // 模拟 API 调用
    List<MyItem> items = List.generate(
      10, // 每页10个项目
      (index) => MyItem(id: pageKey * 10 + index, title: 'Item ${pageKey * 10 + index}'),
    );

    return PageData(
      data: items,
      nextPageKey: pageKey + 1, // 下一页的key
    );
  }
}

class MyItem {
  final int id;
  final String title;

  MyItem({required this.id, required this.title});
}
- 创建分页控制器
使用 PagingController 管理分页逻辑:
import 'package:flutter/material.dart';
import 'package:flutter_riverpod/flutter_riverpod.dart';
import 'package:riverpod_paging_utils/riverpod_paging_utils.dart';

final myPagingControllerProvider = StateNotifierProvider<PagingController<int, MyItem>, PagingState<int, MyItem>>(
  (ref) {
    return PagingController<int, MyItem>(
      firstPageKey: 0,
      dataSource: MyDataSource(),
    );
  },
);
- 在 UI 中使用分页数据
在你的 Flutter 组件中使用分页数据:
import 'package:flutter/material.dart';
import 'package:flutter_riverpod/flutter_riverpod.dart';
import 'package:riverpod_paging_utils/riverpod_paging_utils.dart';

class MyApp extends ConsumerWidget {
  @override
  Widget build(BuildContext context, WidgetRef ref) {
    final pagingController = ref.watch(myPagingControllerProvider);

    return MaterialApp(
      home: Scaffold(
        appBar: AppBar(title: Text('Paging Example')),
        body: RefreshIndicator(
          onRefresh: () async {
            await pagingController.refresh();
          },
          child: PagingListView<int, MyItem>(
            pagingController: pagingController,
            builderDelegate: PagingLoadMoreBuilderDelegate<MyItem>(
              itemBuilder: (context, item, index) {
                return ListTile(title: Text(item.title));
              },
              loadingBuilder: (context) {
                return Center(child: CircularProgressIndicator());
              },
              errorBuilder: (context, error, stackTrace) {
                return Center(child: Text('Error: $error'));
              },
              noMoreItemsBuilder: (context) {
                return Center(child: Text('No more items'));
              },
            ),
          ),
        ),
      ),
    );
  }
}
在这个示例中,我们:
- 创建了一个分页数据源
MyDataSource,它模拟了一个 API 调用并返回分页数据。 - 使用
PagingController管理分页状态和数据源。 - 在 UI 中使用
PagingListView显示分页数据,并处理加载、错误和无更多项目的场景。
这样,你就可以在 Flutter 应用中实现分页加载功能了。确保根据你的实际需求调整数据源和 UI 组件。


