Flutter屏幕截图插件shot_widget的使用
Flutter屏幕截图插件shot_widget的使用
shot_widget 是一个用于在Flutter项目中截取小部件树中小部件屏幕截图的插件。下面将介绍如何使用这个插件,并提供完整的示例代码。
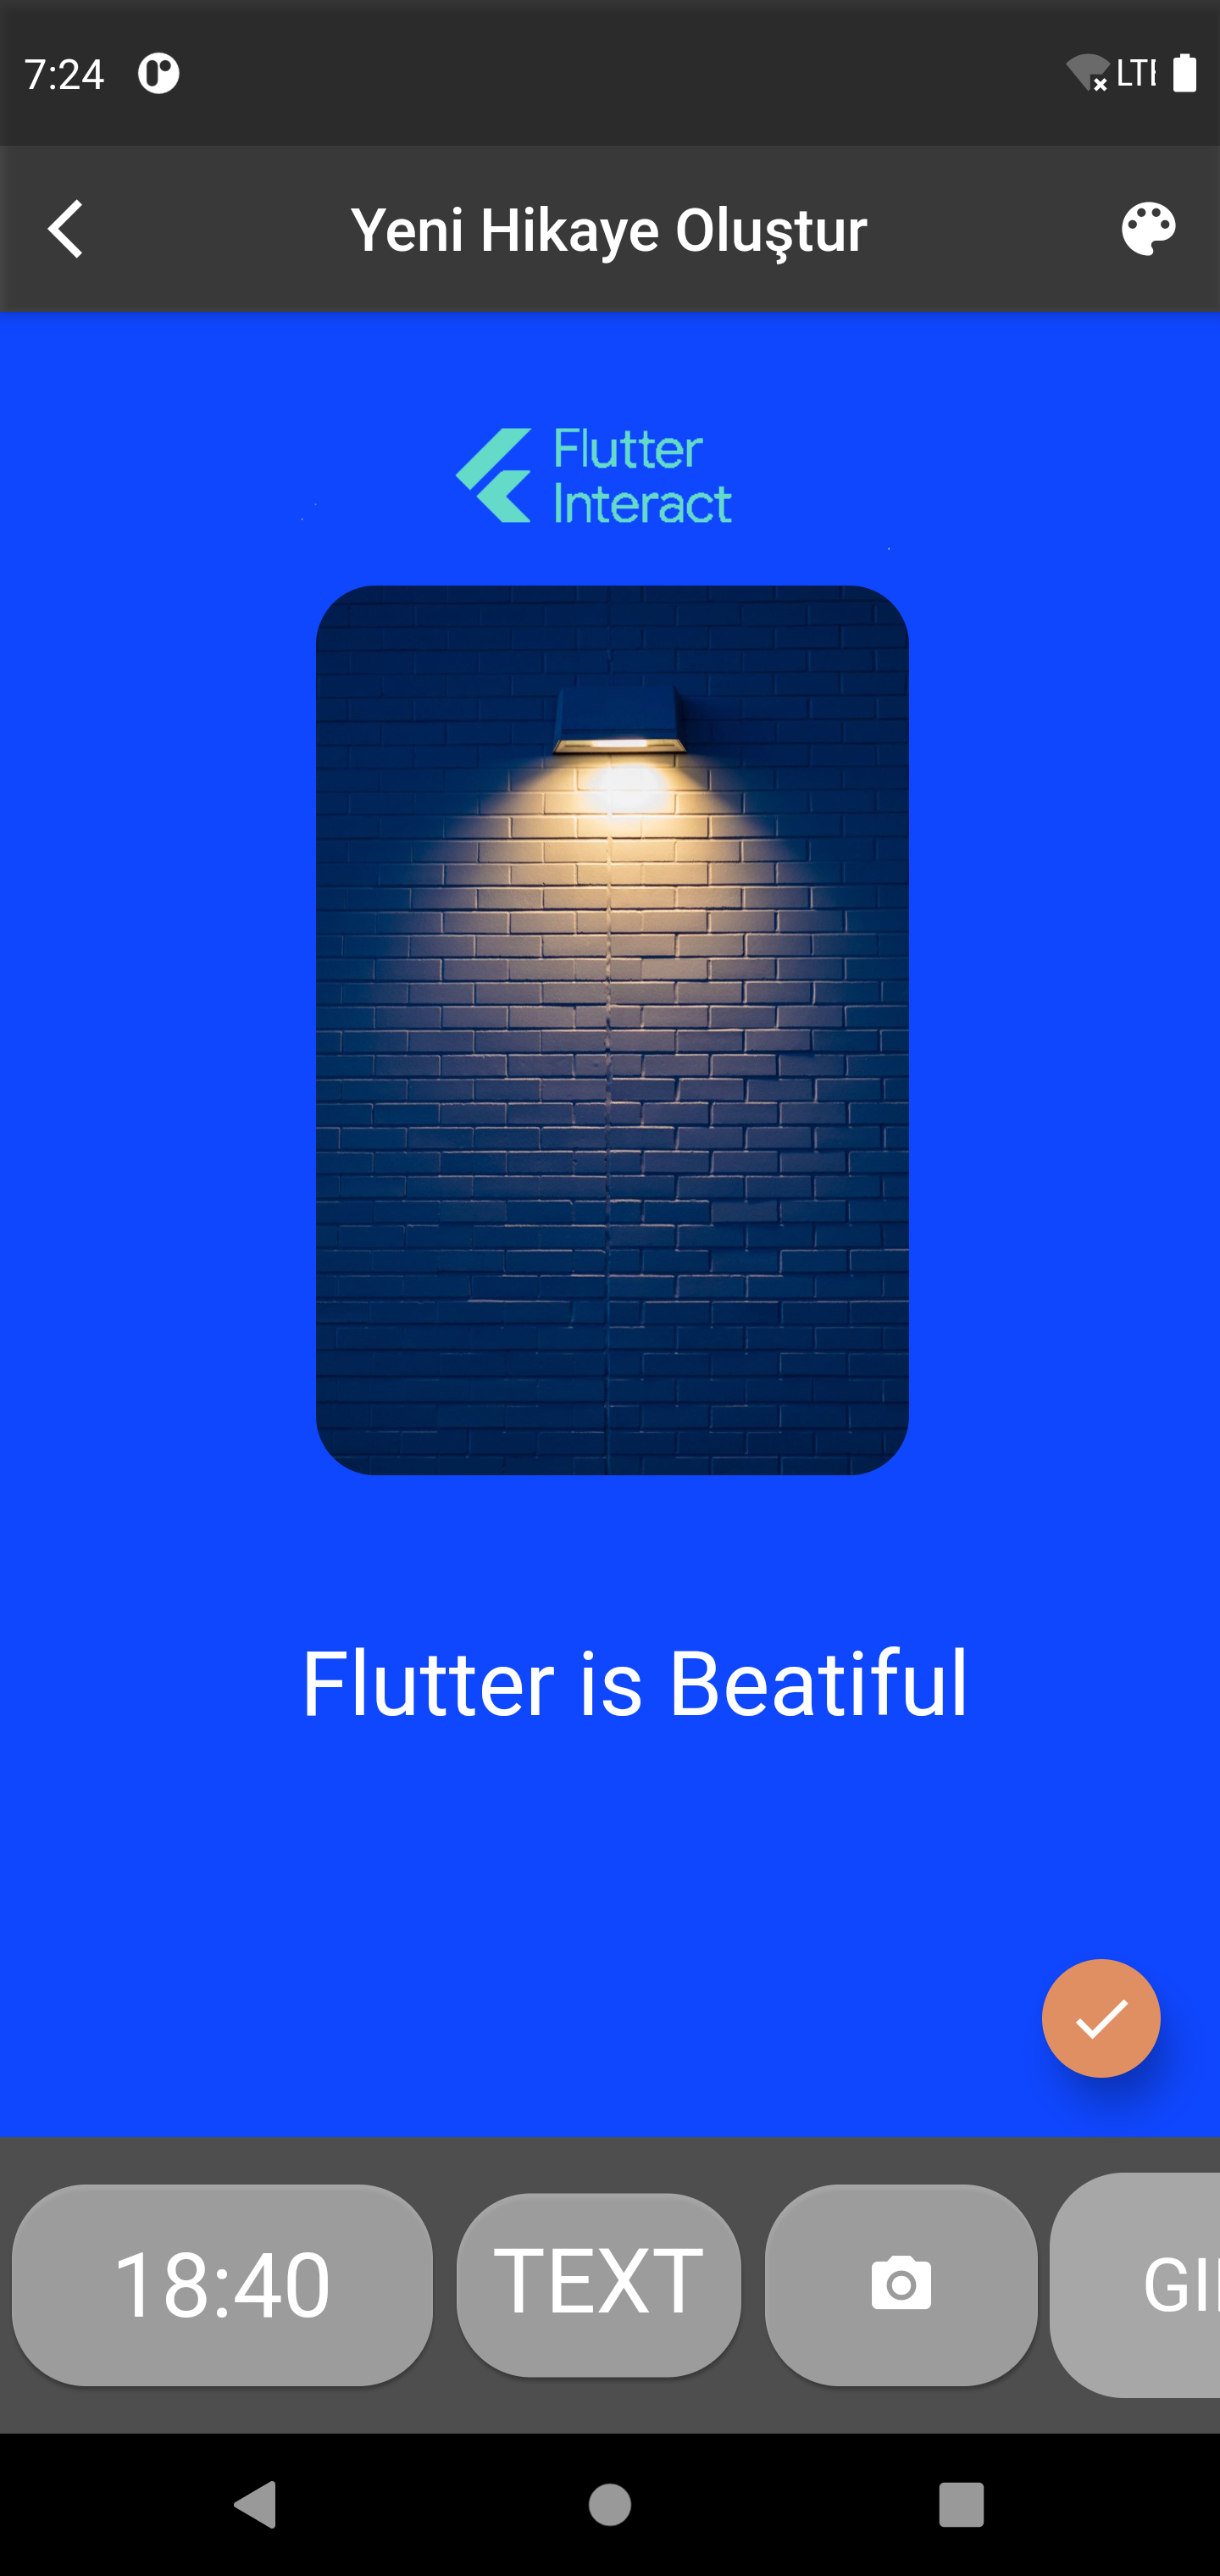
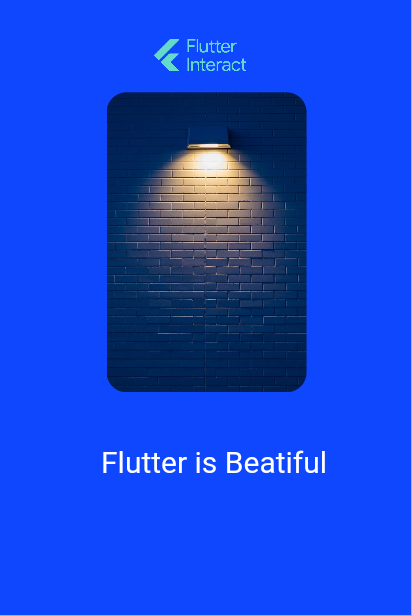
截图效果展示
普通截图

使用ShotWidget进行截图

示例代码
以下是使用 shot_widget 插件的完整示例代码:
import 'dart:io';
import 'package:flutter/material.dart';
import 'package:shot_widget/shot_service.dart';
import 'package:shot_widget/shot_widget.dart';

void main() {
  runApp(MyApp());
}

class MyApp extends StatelessWidget {
  @override
  Widget build(BuildContext context) {
    return MaterialApp(
      debugShowCheckedModeBanner: false,
      theme: ThemeData(primaryColor: Colors.red, accentColor: Colors.amber),
      home: ExampleShotWidget(),
    );
  }
}

class ExampleShotWidget extends StatelessWidget {
  @override
  Widget build(BuildContext context) {
    // 定义一个 GlobalKey
    GlobalKey key = GlobalKey();
    ShotService service = ShotService();

    return Scaffold(
      floatingActionButton: FloatingActionButton(
        child: Icon(Icons.camera),
        onPressed: () async {
          // 调用 takeWidgetShot 方法,传入 GlobalKey 和保存图片的路径
          File file = await service.takeWidgetShot(key, "<IMAGE - PATH>");
          print(file.path); // 打印保存图片的路径
        },
      ),
      appBar: AppBar(
        title: Text("Shot Widget package example"),
        centerTitle: true,
      ),
      body: ShotWidget(
        shotKey: key, // 将 GlobalKey 传递给 ShotWidget
        child: Container(
          margin: EdgeInsets.all(40),
          alignment: Alignment.center,
          child: Text("This is a Example"),
          decoration: BoxDecoration(color: Colors.red[300]),
        ),
      ),
    );
  }
}
注意事项
<IMAGE - PATH>需要替换为你想要保存截图的实际文件路径。- 在实际开发中,确保你有权限写入指定的文件路径(例如外部存储)。
作者信息
- Mustafa Berat Kurt - zekkontro
- Github Page
- Instagram Page
许可证
此软件遵循 MIT License,详情如下:
MIT License

Copyright (c) 2021 Berat Kurt

Permission is hereby granted, free of charge, to any person obtaining a copy
of this software and associated documentation files (the "Software"), to deal
in the Software without restriction, including without limitation the rights
to use, copy, modify, merge, publish, distribute, sublicense, and/or sell
copies of the Software, and to permit persons to whom the Software is
furnished to do so, subject to the following conditions:

The above copyright notice and this permission notice shall be included in all
copies or substantial portions of the Software.

THE SOFTWARE IS PROVIDED "AS IS", WITHOUT WARRANTY OF ANY KIND, EXPRESS OR
IMPLIED, INCLUDING BUT NOT LIMITED TO THE WARRANTIES OF MERCHANTABILITY,
FITNESS FOR A PARTICULAR PURPOSE AND NONINFRINGEMENT. IN NO EVENT SHALL THE
AUTHORS OR COPYRIGHT HOLDERS BE LIABLE FOR ANY CLAIM, DAMAGES OR OTHER
LIABILITY, WHETHER IN AN ACTION OF CONTRACT, TORT OR OTHERWISE, ARISING FROM,
OUT OF OR IN CONNECTION WITH THE SOFTWARE OR THE USE OR OTHER DEALINGS IN THE
SOFTWARE.
更多关于Flutter屏幕截图插件shot_widget的使用的实战系列教程也可以访问 https://www.itying.com/category-92-b0.html
更多关于Flutter屏幕截图插件shot_widget的使用的实战系列教程也可以访问 https://www.itying.com/category-92-b0.html
当然,下面是一个关于如何使用 shot_widget 插件在 Flutter 应用中进行屏幕截图的代码案例。shot_widget 是一个用于 Flutter 的屏幕截图工具,它允许你捕获屏幕上的特定 Widget 并保存为图像文件。
首先,你需要在你的 pubspec.yaml 文件中添加 shot_widget 依赖:
dependencies:
  flutter:
    sdk: flutter
  shot_widget: ^0.6.0  # 请注意版本号,使用最新版本
然后运行 flutter pub get 来获取依赖。
接下来是一个简单的 Flutter 应用示例,展示了如何使用 shot_widget 插件进行屏幕截图:
import 'package:flutter/material.dart';
import 'package:shot_widget/shot_widget.dart';
import 'dart:io';

void main() {
  runApp(MyApp());
}

class MyApp extends StatelessWidget {
  @override
  Widget build(BuildContext context) {
    return MaterialApp(
      home: Scaffold(
        appBar: AppBar(
          title: Text('Shot Widget Example'),
        ),
        body: Center(
          child: Column(
            mainAxisAlignment: MainAxisAlignment.center,
            children: <Widget>[
              Text(
                'Hello, World!',
                style: TextStyle(fontSize: 24),
              ),
              SizedBox(height: 20),
              ElevatedButton(
                onPressed: () async {
                  // 获取屏幕截图
                  File imageFile = await captureScreen(context);

                  // 显示截图保存路径(实际应用中你可以做更多处理,比如显示预览等)
                  ScaffoldMessenger.of(context).showSnackBar(
                    SnackBar(
                      content: Text('Screenshot saved to ${imageFile.path}'),
                    ),
                  );
                },
                child: Text('Capture Screenshot'),
              ),
            ],
          ),
        ),
      ),
    );
  }

  Future<File> captureScreen(BuildContext context) async {
    try {
      // 捕获当前屏幕中的特定 Widget(这里捕获整个 Scaffold)
      RenderRepaintBoundary boundary =
          context.findRenderObject() as RenderRepaintBoundary;
      ui.Image image = await boundary.toImage();
      ByteData byteData = await image.toByteData(format: ui.ImageByteFormat.png);
      Uint8List pngBytes = byteData.buffer.asUint8List();

      // 保存图像文件
      final directory = (await getApplicationDocumentsDirectory()).path;
      String path = '$directory/screenshot.png';
      File imgFile = File(path);
      await imgFile.writeAsBytes(pngBytes);

      return imgFile;
    } catch (e) {
      print(e);
      return null;
    }
  }
}
注意:上面的代码示例中的 captureScreen 方法并不是直接使用 shot_widget 插件的方法,而是展示了如何在 Flutter 中手动捕获屏幕截图并保存为文件。实际上,shot_widget 插件更多的是用于自动化测试截图,而不是在运行时捕获屏幕截图。
如果你确实想使用 shot_widget 插件进行截图,通常你会在测试脚本中使用它,而不是直接在应用代码中。例如,你可能会在一个测试文件中这样使用:
import 'package:test/test.dart';
import 'package:shot/shot.dart';
import 'package:flutter_test/flutter_test.dart';
import 'package:your_app/main.dart';  // 导入你的应用入口文件

void main() {
  group('screenshots', () {
    testWidgets('screenshot test', (WidgetTester tester) async {
      await tester.pumpWidget(MyApp());
      await expectLater(
        find.byType(MaterialApp),
        matchesGoldenFile('screenshot_test.png'),
      );
    }, skip: !kIsWeb);  // 仅在非 Web 平台上运行测试
  });
}
在实际使用中,你需要确保 shot 插件已正确配置,并且你的测试环境支持 Golden 文件比较。上面的代码示例是用于测试,而不是在运行时捕获屏幕截图。
如果你需要在运行时捕获屏幕截图,上面的手动方法或查找其他适用于运行时的截图插件(如 screenshot 插件)可能更适合你的需求。


