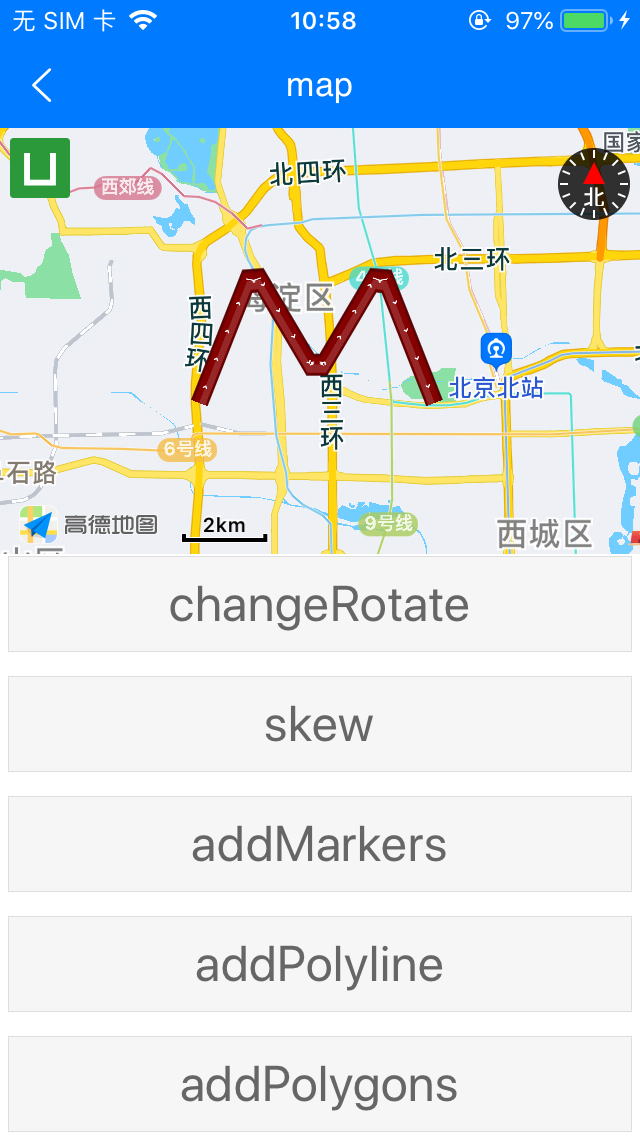
uni-app nvue map 组件 polyline 更换箭头图标格式说明
uni-app nvue map 组件 polyline 更换箭头图标格式说明
nvue 页面 map 组件是基于高德地图实现的,如果您想自定义 polyline 的 箭头图标(对应 arrowIconPath )请参考附件中提供的示例图片设计,该图片为高德官方示例图片,请按照此图片的尺寸切图。
注意事项:
- 在image两边增加部分透明像素,可减轻绘制产生的锯齿;
- 图片中的箭头方向向上;

附件:
1 回复
在处理 uni-app 中 nvue 组件的 map 时,如果你想要为 polyline 更换箭头图标,这通常涉及到自定义覆盖物(marker)和路径的绘制。虽然 polyline 本身不支持直接设置箭头图标,但你可以通过组合 polyline 和 marker 来实现这一效果。以下是一个示例代码,展示如何在 nvue 的 map 组件中实现带箭头图标的路径。
示例代码
<template>
  <div>
    <map
      id="map"
      :longitude="longitude"
      :latitude="latitude"
      scale="14"
      style="width: 100%; height: 100%;"
    >
      <!-- 绘制折线 -->
      <polyline
        :points="polylinePoints"
        color="#FF0000DD"
        width="4"
        dottedLine="false"
      ></polyline>

      <!-- 自定义箭头图标作为覆盖物 -->
      <block v-for="(point, index) in polylinePoints" :key="index">
        <marker
          :id="'marker-' + index"
          :latitude="point.lat"
          :longitude="point.lng"
          :iconPath="arrowIconPath"
          width="32"
          height="32"
          rotate="{{ getArrowRotation(index, polylinePoints) }}"
        ></marker>
      </block>
    </map>
  </div>
</template>

<script>
export default {
  data() {
    return {
      longitude: 116.404,
      latitude: 39.915,
      polylinePoints: [
        { lat: 39.915, lng: 116.404 },
        { lat: 39.920, lng: 116.410 },
        // 更多点...
      ],
      arrowIconPath: '/static/arrow.png' // 箭头图标的路径
    };
  },
  methods: {
    getArrowRotation(index, points) {
      // 计算箭头旋转角度,这里简单处理为始终指向下一个点
      if (index < points.length - 1) {
        const current = points[index];
        const next = points[index + 1];
        const deltaX = next.lng - current.lng;
        const deltaY = next.lat - current.lat;
        return Math.atan2(deltaY, deltaX) * 180 / Math.PI - 90; // 转换为度数并调整方向
      }
      return 0;
    }
  }
};
</script>

<style scoped>
/* 样式根据需要调整 */
</style>
说明
polyline:绘制基本的路径线。marker:作为箭头图标,通过v-for循环为每个路径点添加一个标记。getArrowRotation方法:计算每个箭头图标的旋转角度,使其指向下一个路径点。这里使用了简单的三角函数来计算角度。arrowIconPath:箭头图标的路径,你需要提供一个合适的箭头图标。
这个示例代码提供了一个基本的框架,你可以根据自己的需求进一步调整和优化,比如动态加载图标、优化性能等。


