Flutter对话框管理插件dialogs的使用
Flutter对话框管理插件dialogs的使用
这个Flutter插件提供了美观设计的对话框,并且具有自定义选项。以下是关于如何使用dialogs插件的完整示例。
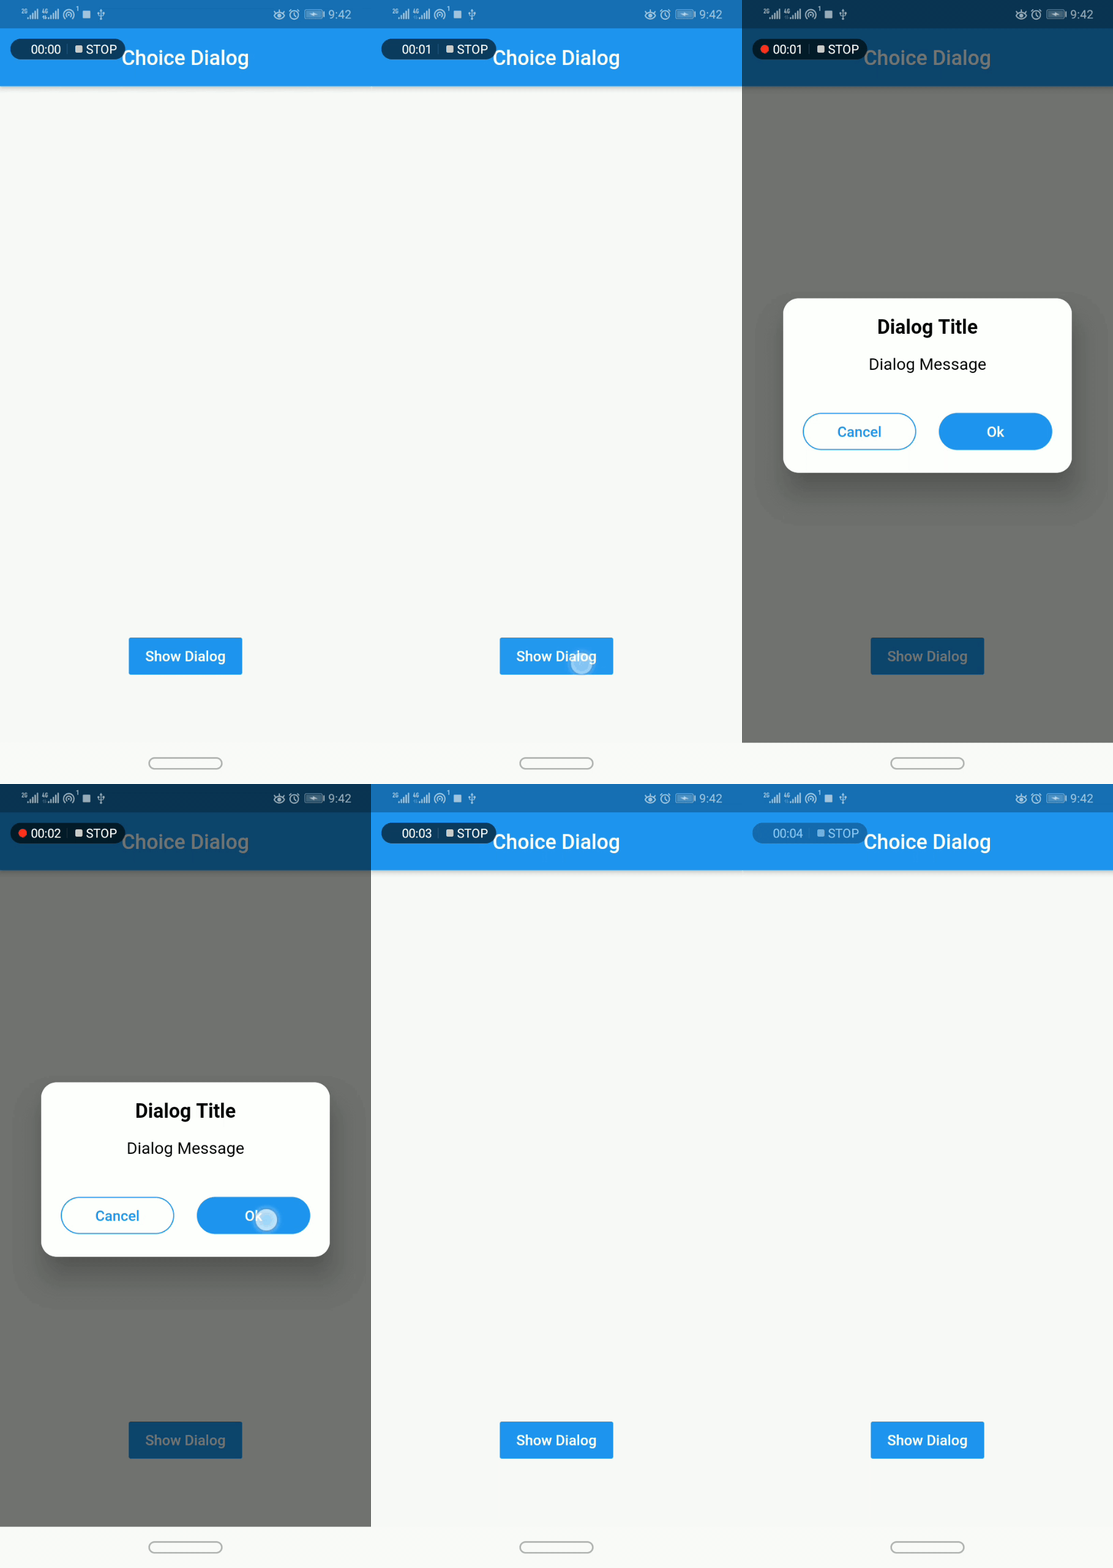
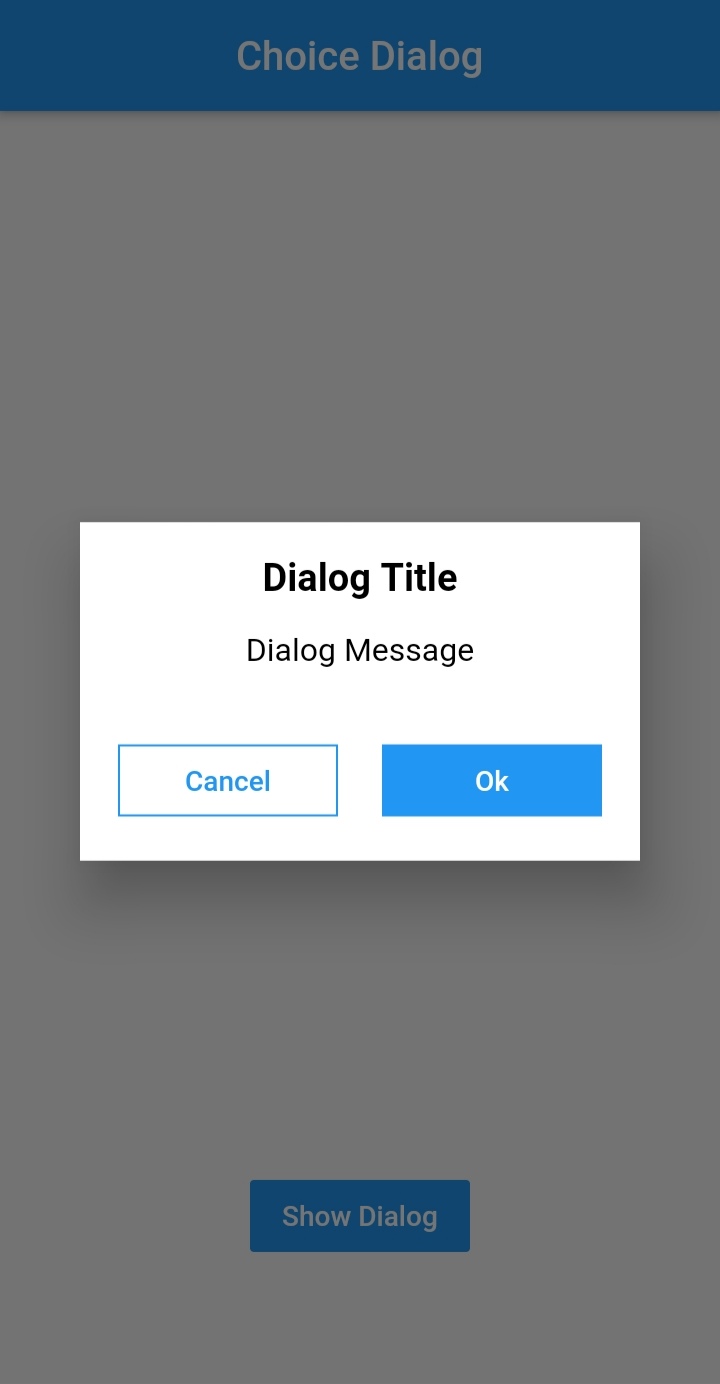
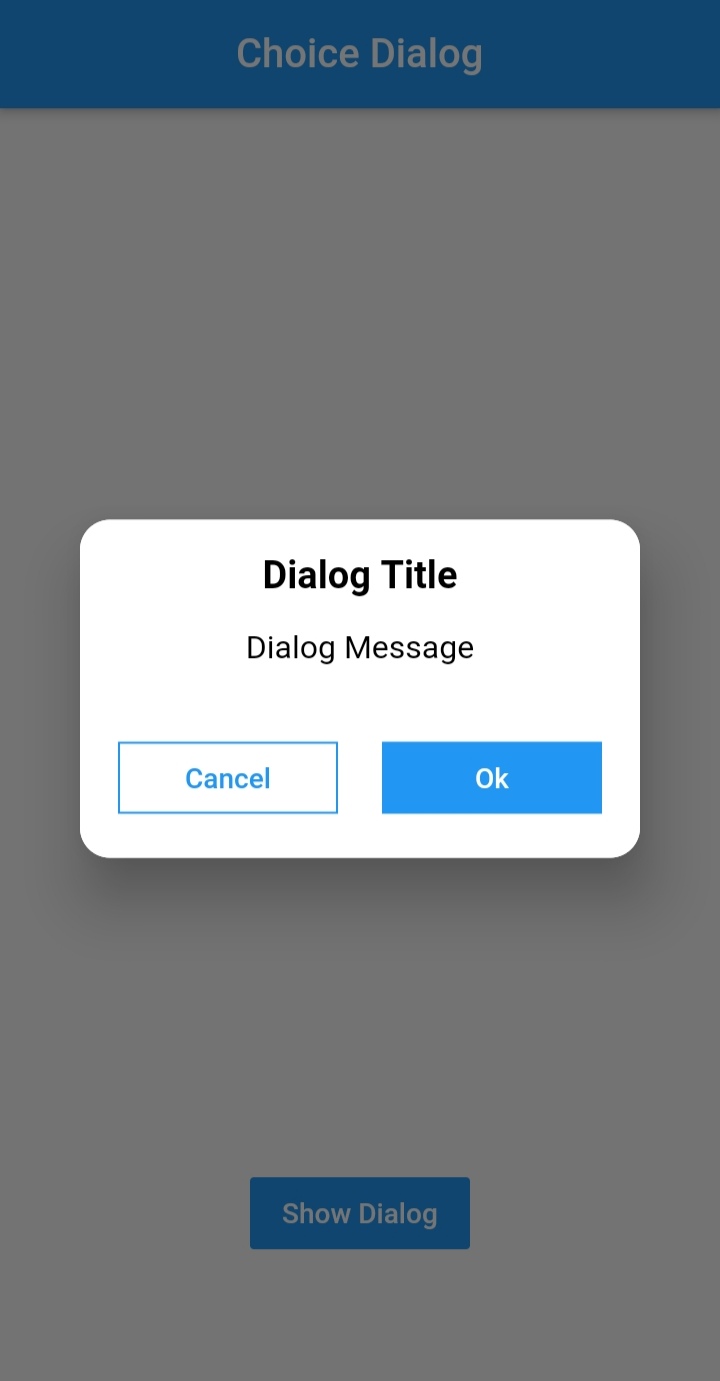
Choice Dialog 示例图片
Message Dialog 示例图片
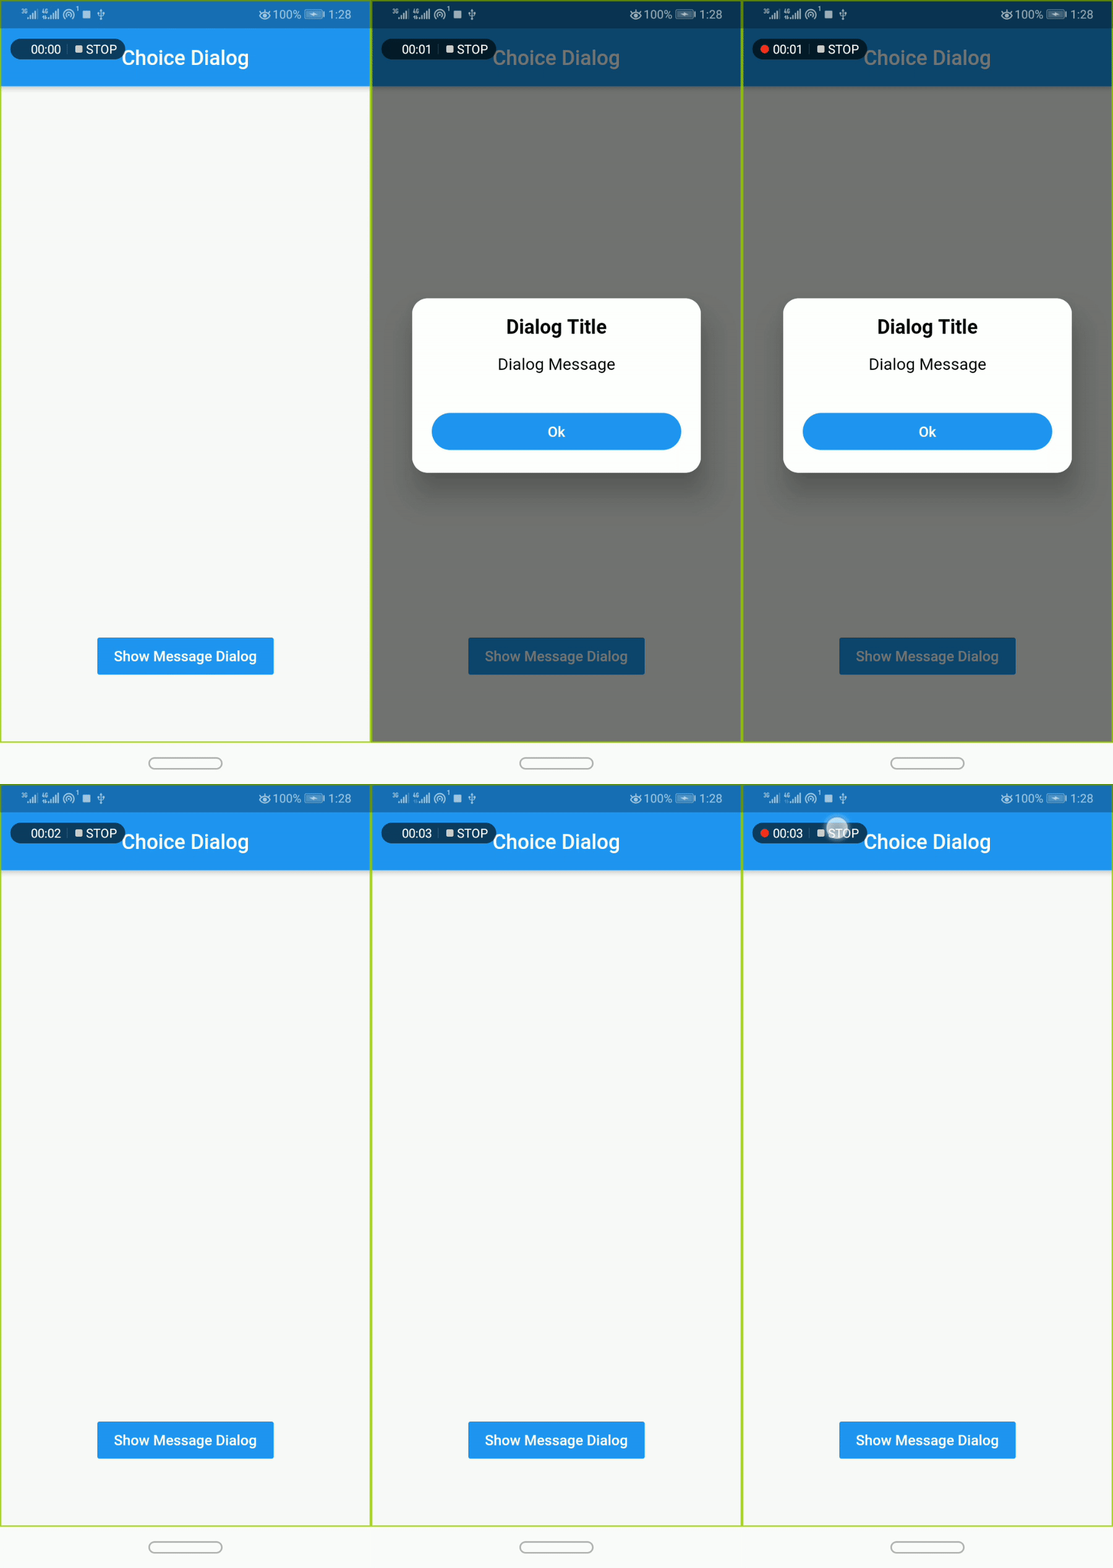
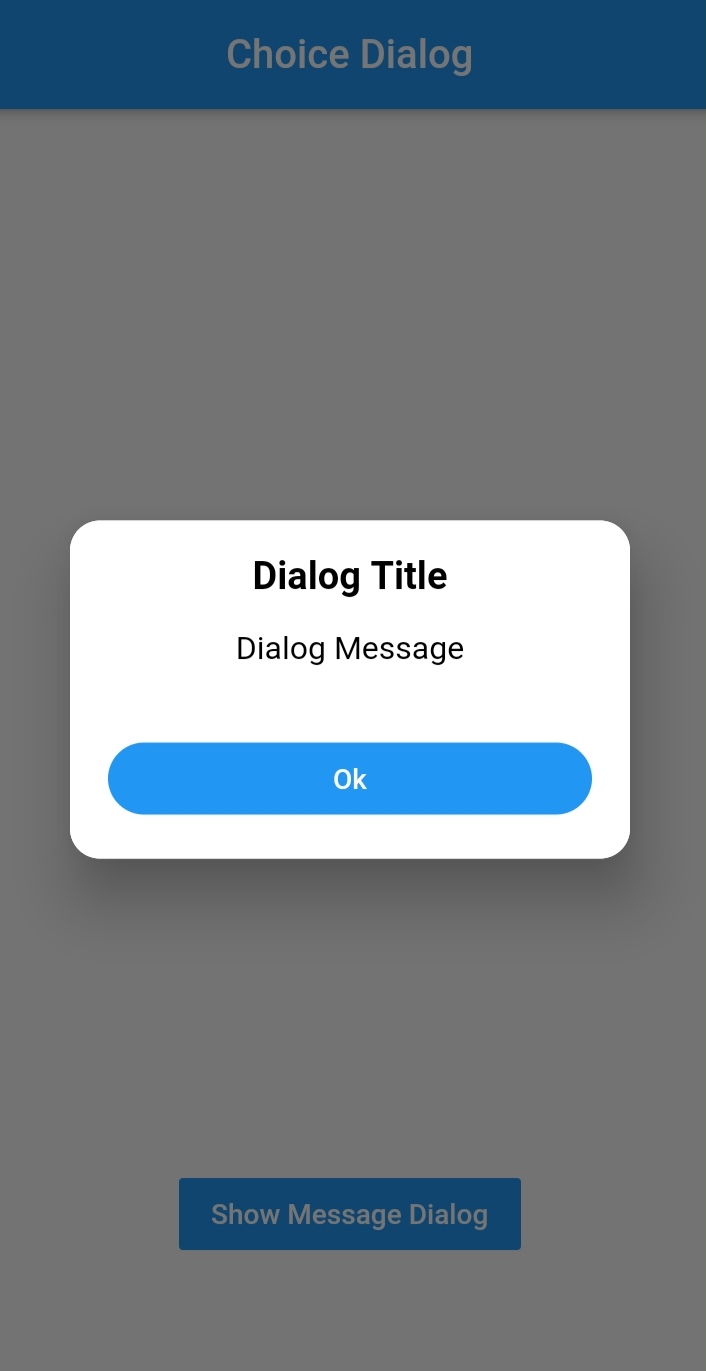
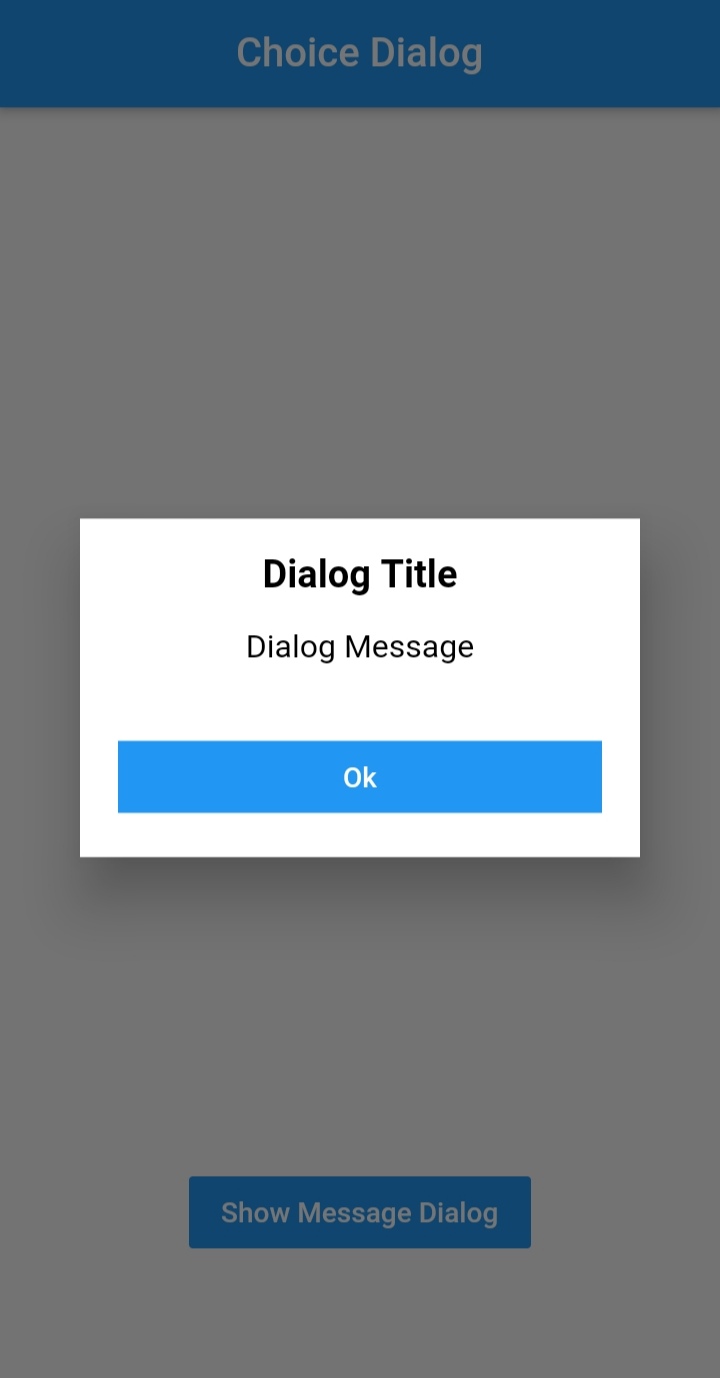
Simple Usage 简单使用方法
要使用此插件,请在您的 pubspec.yaml 文件中添加 dialogs 作为依赖项。
Implementation 实现步骤:
-
导入包:
import 'package:dialogs/dialogs.dart'; -
使用
ChoiceDialog().show()函数来显示对话框。// 显示选择对话框 ChoiceDialog().show(context); // 或者 final choiceDialog = ChoiceDialog(); choiceDialog.show(context); -
使用
MessageDialog().show()函数来显示消息对话框。// 显示消息对话框 MessageDialog().show(context); // 或者 final messageDialog = MessageDialog(); messageDialog.show(context); -
显示进度对话框:
// 创建一个进度对话框实例
ProgressDialog progressDialog = ProgressDialog(
  context: context,
  backgroundColor: Colors.blue,
  textColor: Colors.white,
);
// 显示对话框
progressDialog.show();
// 关闭对话框
progressDialog.dismiss();
完整示例代码
以下是一个完整的示例,展示了如何在应用程序中使用 dialogs 插件的不同功能:
import 'package:dialogs/dialogs.dart';
import 'package:flutter/material.dart';

class MessageDialogExample extends StatefulWidget {
  MessageDialogExample({Key key}) : super(key: key);

  [@override](/user/override)
  _MessageDialogExampleState createState() => _MessageDialogExampleState();
}

class _MessageDialogExampleState extends State<MessageDialogExample> {
  final navigatorKey = GlobalKey<NavigatorState>();

  [@override](/user/override)
  Widget build(BuildContext context) {
    return Scaffold(
      appBar: AppBar(
        title: Text('Dialogs'),
        centerTitle: true,
      ),
      body: Container(
        alignment: Alignment.center,
        margin: const EdgeInsets.only(bottom: 60.0),
        child: Column(
          mainAxisAlignment: MainAxisAlignment.end,
          crossAxisAlignment: CrossAxisAlignment.center,
          children: <Widget>[
            // 显示选择对话框按钮
            TextButton(
                style: ButtonStyle(
                  backgroundColor: MaterialStateProperty.all(
                    Colors.blue,
                  ),
                  foregroundColor: MaterialStateProperty.all(Colors.white),
                ),
                onPressed: () {
                  final choice = ChoiceDialog(
                    dialogBackgroundColor: Colors.white,
                  );
                  choice.show(context);
                },
                child: Text('Show Choice Dialog')),
            // 显示消息对话框按钮
            TextButton(
                style: ButtonStyle(
                  backgroundColor: MaterialStateProperty.all(
                    Colors.blue,
                  ),
                  foregroundColor: MaterialStateProperty.all(Colors.white),
                ),
                onPressed: () async {
                  MessageDialog messageDialog = MessageDialog(
                      dialogBackgroundColor: Colors.white,
                      buttonOkColor: Colors.red,
                      title: 'Dialog Title',
                      titleColor: Colors.black,
                      message: 'Dialog Message',
                      messageColor: Colors.black,
                      buttonOkText: 'Ok',
                      dialogRadius: 15.0,
                      buttonRadius: 18.0,
                      iconButtonOk: Icon(Icons.one_k));
                  messageDialog.show(context, barrierColor: Colors.white);
                },
                child: Text(
                  'Show Message Dialog',
                )),
            // 显示进度对话框按钮
            TextButton(
                style: ButtonStyle(
                  backgroundColor: MaterialStateProperty.all(
                    Colors.blue,
                  ),
                  foregroundColor: MaterialStateProperty.all(Colors.white),
                ),
                onPressed: () async {
                  ProgressDialog progressDialog = ProgressDialog(
                    context: context,
                    backgroundColor: Colors.blue,
                    textColor: Colors.white,
                  );

                  progressDialog.show();
                  Future.delayed(Duration(seconds: 3))
                      .then((value) => progressDialog.dismiss());
                },
                child: Text(
                  'Show Progress Dialog',
                )),
          ],
        ),
      ),
    );
  }
}
更多关于Flutter对话框管理插件dialogs的使用的实战系列教程也可以访问 https://www.itying.com/category-92-b0.html
更多关于Flutter对话框管理插件dialogs的使用的实战系列教程也可以访问 https://www.itying.com/category-92-b0.html
当然,我可以为你提供一个关于如何在Flutter中使用dialogs插件管理对话框的示例代码。dialogs插件提供了一系列便捷的对话框构建方法,可以简化对话框的创建和使用。
首先,你需要在pubspec.yaml文件中添加dialogs依赖:
dependencies:
  flutter:
    sdk: flutter
  dialogs: ^2.0.2  # 请检查最新版本号
然后运行flutter pub get来安装依赖。
以下是一个简单的示例,展示了如何使用dialogs插件来显示不同类型的对话框:
import 'package:flutter/material.dart';
import 'package:dialogs/dialogs.dart';

void main() {
  runApp(MyApp());
}

class MyApp extends StatelessWidget {
  @override
  Widget build(BuildContext context) {
    return MaterialApp(
      title: 'Flutter Dialogs Example',
      theme: ThemeData(
        primarySwatch: Colors.blue,
      ),
      home: MyHomePage(),
    );
  }
}

class MyHomePage extends StatefulWidget {
  @override
  _MyHomePageState createState() => _MyHomePageState();
}

class _MyHomePageState extends State<MyHomePage> {
  @override
  Widget build(BuildContext context) {
    return Scaffold(
      appBar: AppBar(
        title: Text('Flutter Dialogs Example'),
      ),
      body: Center(
        child: Column(
          mainAxisAlignment: MainAxisAlignment.center,
          children: <Widget>[
            ElevatedButton(
              onPressed: () {
                showAlertDialog(context);
              },
              child: Text('Show Alert Dialog'),
            ),
            SizedBox(height: 20),
            ElevatedButton(
              onPressed: () {
                showConfirmationDialog(context);
              },
              child: Text('Show Confirmation Dialog'),
            ),
            SizedBox(height: 20),
            ElevatedButton(
              onPressed: () {
                showLoadingDialog(context);
                Future.delayed(Duration(seconds: 2)).then((_) {
                  Navigator.of(context).pop(); // Simulate some async operation
                });
              },
              child: Text('Show Loading Dialog'),
            ),
          ],
        ),
      ),
    );
  }

  void showAlertDialog(BuildContext context) {
    showDialog(
      context: context,
      builder: (BuildContext context) {
        return AlertDialog(
          title: Text('Alert Dialog'),
          content: Text('This is an alert dialog.'),
          actions: <Widget>[
            TextButton(
              onPressed: () {
                Navigator.of(context).pop();
              },
              child: Text('OK'),
            ),
          ],
        );
      },
    );
  }

  void showConfirmationDialog(BuildContext context) {
    showDialog(
      context: context,
      builder: (BuildContext context) {
        return ConfirmDialog(
          title: 'Confirmation',
          content: 'Are you sure you want to proceed?',
          confirmText: 'Yes',
          onConfirm: () {
            Navigator.of(context).pop(true);
          },
          cancelText: 'No',
          onCancel: () {
            Navigator.of(context).pop(false);
          },
        );
      },
    ).then((value) {
      if (value == true) {
        // User confirmed
        ScaffoldMessenger.of(context).showSnackBar(SnackBar(content: Text('Confirmed')));
      } else {
        // User cancelled
        ScaffoldMessenger.of(context).showSnackBar(SnackBar(content: Text('Cancelled')));
      }
    });
  }

  void showLoadingDialog(BuildContext context) {
    showDialog(
      context: context,
      barrierDismissible: false, // User can't dismiss the dialog by tapping outside
      builder: (BuildContext context) {
        return LoadingDialog(
          message: 'Loading...',
        );
      },
    );
  }
}
在这个示例中,我们展示了三种不同类型的对话框:
- AlertDialog:使用Flutter内置的
AlertDialog类。 - ConfirmDialog:使用
dialogs插件提供的ConfirmDialog类,该类封装了常见的确认对话框逻辑。 - LoadingDialog:使用
dialogs插件提供的LoadingDialog类,用于显示加载状态的对话框。
这些对话框展示了如何在Flutter应用中管理不同类型的用户交互对话框。你可以根据需要自定义对话框的样式和行为。


