Flutter游戏关卡滚动地图插件game_levels_scrolling_map的使用
Flutter游戏关卡滚动地图插件game_levels_scrolling_map的使用
介绍
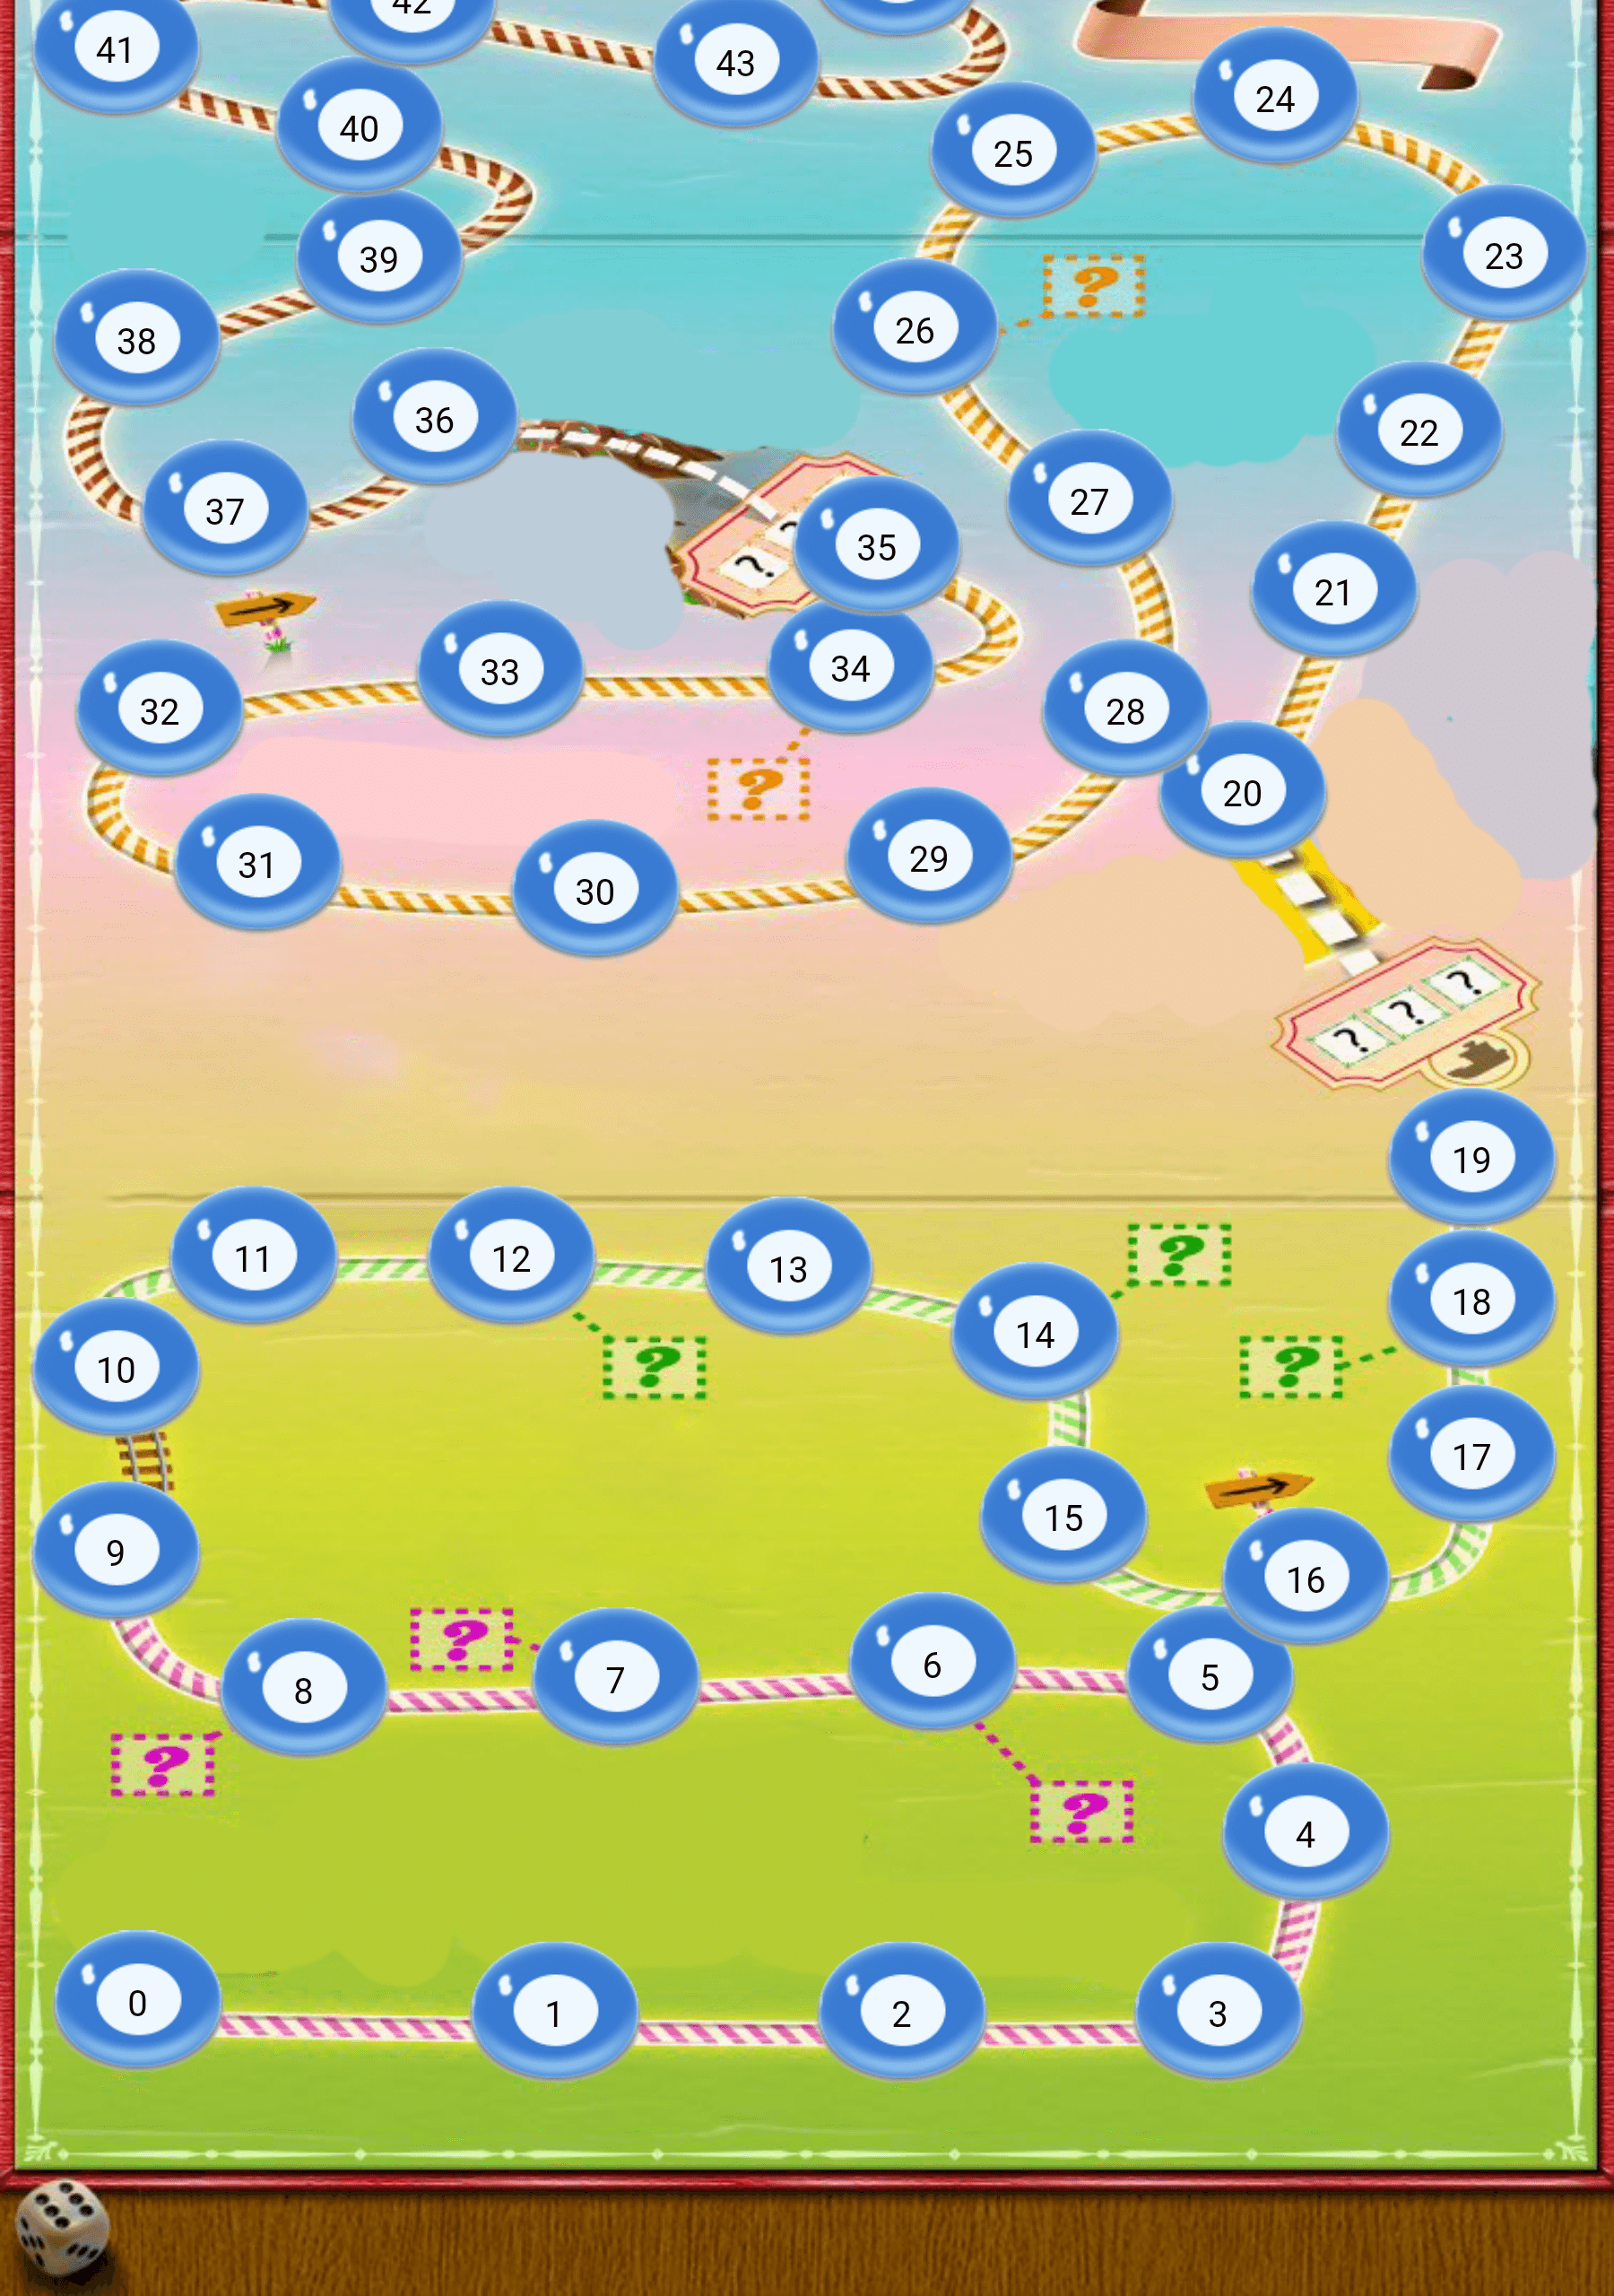
game_levels_scrolling_map 是一个用于在Flutter中创建类似糖果传奇(Candy Crush)的游戏关卡地图的插件。该插件支持水平和垂直滚动的地图,并提供了多种自定义选项,如反转滚动方向、添加点位、从SVG文件中提取点位等。
功能特点
- 水平或垂直地图:可以根据需求选择地图的滚动方向。
- 反转滚动方向:可以选择是否反转滚动的起始方向。
- 添加点位:可以通过
PointModel类添加自定义的点位。 - 从SVG文件提取点位:可以从本地或在线的SVG文件中提取点位坐标。
平台支持
该插件支持以下平台:
- Android ✔️
- iOS ✔️
- macOS ✔️
- Web ✔️
- Linux ✔️
- Windows ✔️
使用方法
Step 1: 导入必要的包
首先,在 pubspec.yaml 文件中添加 game_levels_scrolling_map 依赖项,然后在 Dart 文件中导入以下两个包:
import 'package:game_levels_scrolling_map/game_levels_scrolling_map.dart';
import 'package:game_levels_scrolling_map/model/point_model.dart';
Step 2: 创建点位列表
接下来,创建一个 PointModel 的列表,并为每个点位添加自定义的小部件。你可以通过设置 isCurrent 属性来指定地图初始化时滚动到的特定点位。
List<PointModel> points = [];

for (int i = 0; i < 50; i++) {
  PointModel point = PointModel(
    100, // 点位的Y轴坐标(对于垂直地图)或X轴坐标(对于水平地图)
    Container(
      width: 40,
      height: 40,
      color: Colors.red,
      child: Text("$i"),
    ),
  );

  // 设置当前点位,地图会自动滚动到该点位
  if (i == 20) {
    point.isCurrent = true;
  }

  points.add(point);
}
Step 3: 构建地图
1. 创建垂直地图
要创建一个垂直滚动的地图,可以使用 GameLevelsScrollingMap.scrollable 小部件,并设置 direction 为 Axis.vertical。你还可以通过 reverseScrolling 参数来反转滚动方向。

Widget build(BuildContext context) {
  return Scaffold(
    body: Container(
      child: GameLevelsScrollingMap.scrollable(
        imageUrl: "assets/drawable/map_vertical.png", // 地图背景图片路径
        direction: Axis.vertical, // 设置为垂直滚动
        reverseScrolling: true, // 反转滚动方向
        svgUrl: 'assets/svg/map_vertical.svg', // SVG文件路径,用于提取点位
        points: points, // 点位列表
      ),
    ),
  );
}
2. 创建水平地图
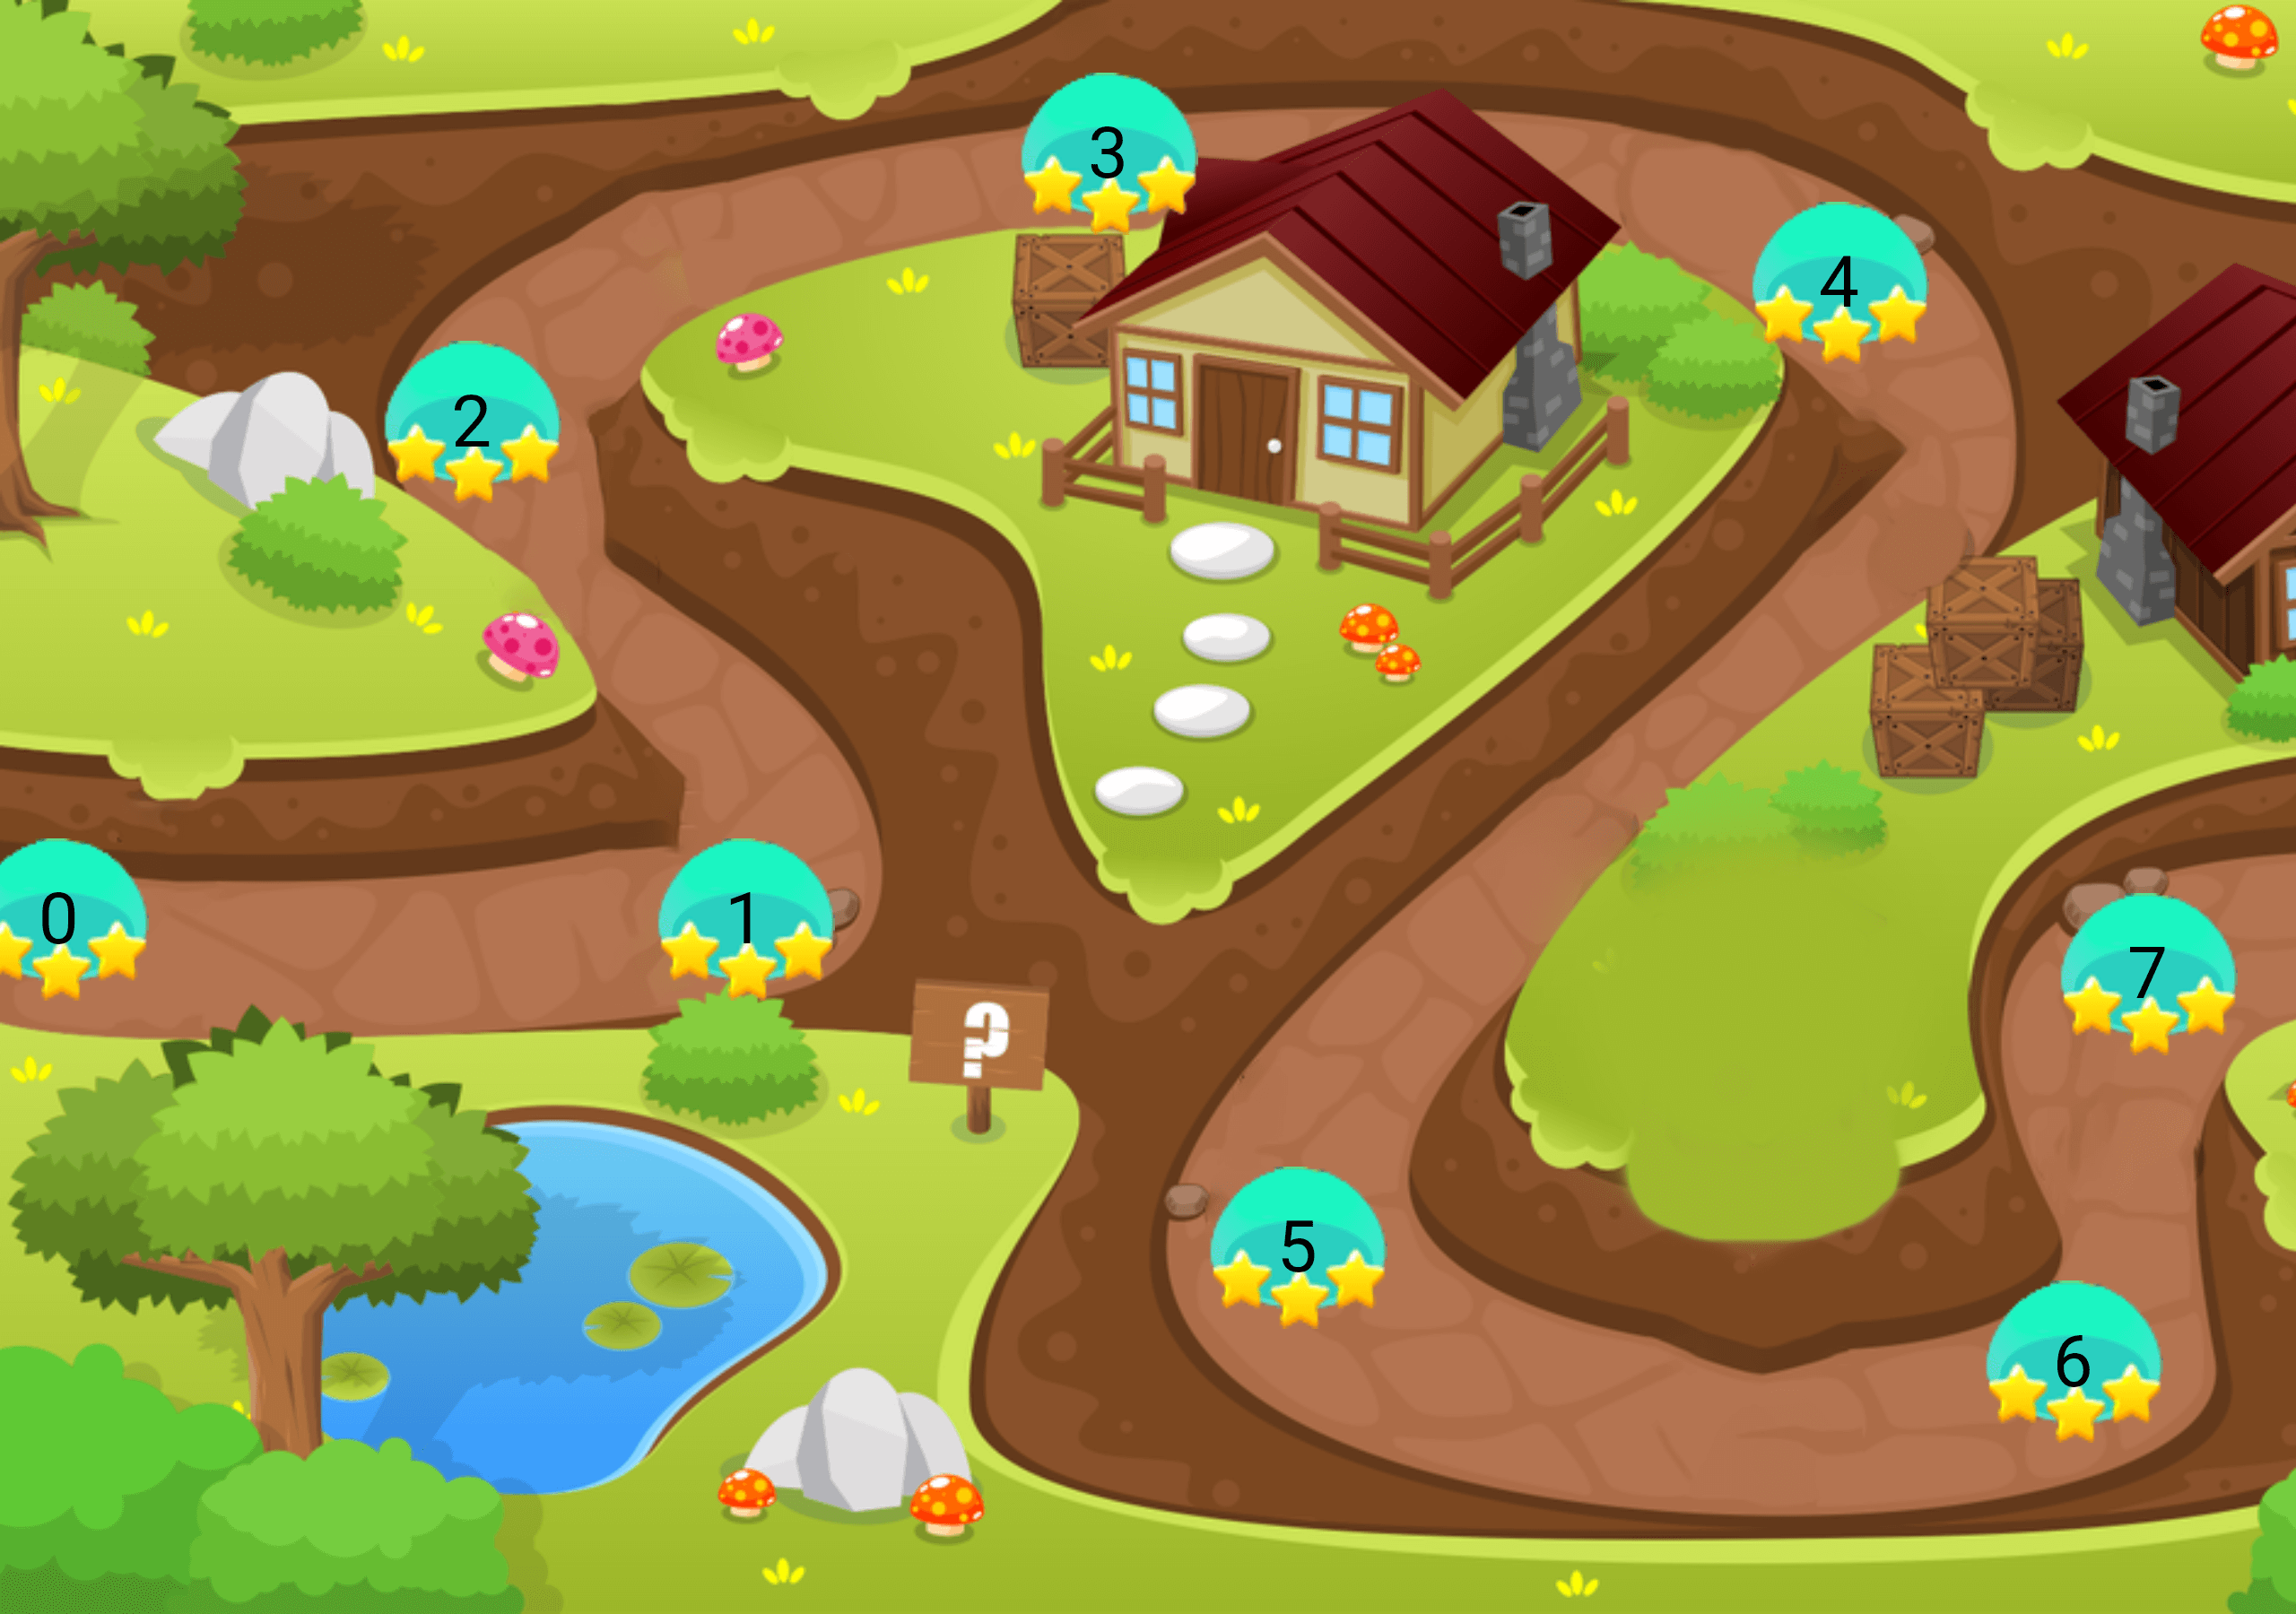
要创建一个水平滚动的地图,只需将 direction 设置为 Axis.horizontal。

Widget build(BuildContext context) {
  return Scaffold(
    body: Container(
      child: GameLevelsScrollingMap.scrollable(
        imageUrl: "assets/drawable/map_horizontal.png", // 地图背景图片路径
        direction: Axis.horizontal, // 设置为水平滚动
        svgUrl: 'assets/svg/map_horizontal.svg', // SVG文件路径,用于提取点位
        points: points, // 点位列表
      ),
    ),
  );
}
完整示例代码
以下是一个完整的示例代码,展示了如何使用 game_levels_scrolling_map 插件创建一个水平和垂直滚动的地图。你可以根据需要切换 home 属性来显示不同的地图类型。
import 'package:flutter/material.dart';
import 'package:flutter/services.dart';
import 'package:game_levels_scrolling_map/game_levels_scrolling_map.dart';
import 'package:game_levels_scrolling_map/model/point_model.dart';

Future<void> main() async {
  WidgetsFlutterBinding.ensureInitialized();

  // 设置屏幕方向为横向
  await SystemChrome.setPreferredOrientations([DeviceOrientation.landscapeLeft]);
  await SystemChrome.setEnabledSystemUIMode(SystemUiMode.manual, overlays: []);

  runApp(const MyApp());
}

class MyApp extends StatefulWidget {
  const MyApp({Key? key}) : super(key: key);

  [@override](/user/override)
  State<MyApp> createState() => _MyAppState();
}

class _MyAppState extends State<MyApp> {
  [@override](/user/override)
  Widget build(BuildContext context) {
    return MaterialApp(
      title: 'Flutter Demo',
      debugShowCheckedModeBanner: false,
      theme: ThemeData(
        primarySwatch: Colors.blue,
      ),
      home: MapHorizontalExample(), // 切换为 MapVerticalExample() 以显示垂直地图
    );
  }
}

class MapHorizontalExample extends StatelessWidget {
  [@override](/user/override)
  Widget build(BuildContext context) {
    List<PointModel> points = [];

    for (int i = 0; i < 50; i++) {
      PointModel point = PointModel(
        100,
        Container(
          width: 40,
          height: 40,
          color: Colors.red,
          child: Text("$i"),
        ),
      );

      if (i == 20) {
        point.isCurrent = true;
      }

      points.add(point);
    }

    return Scaffold(
      body: Container(
        child: GameLevelsScrollingMap.scrollable(
          imageUrl: "assets/drawable/map_horizontal.png",
          direction: Axis.horizontal,
          svgUrl: 'assets/svg/map_horizontal.svg',
          points: points,
        ),
      ),
    );
  }
}

class MapVerticalExample extends StatelessWidget {
  [@override](/user/override)
  Widget build(BuildContext context) {
    List<PointModel> points = [];

    for (int i = 0; i < 50; i++) {
      PointModel point = PointModel(
        100,
        Container(
          width: 40,
          height: 40,
          color: Colors.red,
          child: Text("$i"),
        ),
      );

      if (i == 20) {
        point.isCurrent = true;
      }

      points.add(point);
    }

    return Scaffold(
      body: Container(
        child: GameLevelsScrollingMap.scrollable(
          imageUrl: "assets/drawable/map_vertical.png",
          direction: Axis.vertical,
          reverseScrolling: true,
          svgUrl: 'assets/svg/map_vertical.svg',
          points: points,
        ),
      ),
    );
  }
}
更多关于Flutter游戏关卡滚动地图插件game_levels_scrolling_map的使用的实战系列教程也可以访问 https://www.itying.com/category-92-b0.html
更多关于Flutter游戏关卡滚动地图插件game_levels_scrolling_map的使用的实战系列教程也可以访问 https://www.itying.com/category-92-b0.html
当然,以下是一个关于如何使用Flutter插件 game_levels_scrolling_map 的示例代码。这个插件假设是用于在Flutter应用中实现游戏关卡滚动地图的功能。请注意,这个插件可能是一个假设的插件,实际中可能并不存在,但我会根据常见的Flutter插件使用模式来编写示例代码。
首先,确保你已经在 pubspec.yaml 文件中添加了该插件的依赖项(假设插件名称为 game_levels_scrolling_map):
dependencies:
  flutter:
    sdk: flutter
  game_levels_scrolling_map: ^1.0.0  # 假设的版本号
然后,运行 flutter pub get 来获取依赖项。
接下来,在你的Flutter项目中,你可以按照以下方式使用 game_levels_scrolling_map 插件来创建一个游戏关卡滚动地图。
import 'package:flutter/material.dart';
import 'package:game_levels_scrolling_map/game_levels_scrolling_map.dart';

void main() {
  runApp(MyApp());
}

class MyApp extends StatelessWidget {
  @override
  Widget build(BuildContext context) {
    return MaterialApp(
      title: 'Game Levels Scrolling Map Demo',
      theme: ThemeData(
        primarySwatch: Colors.blue,
      ),
      home: GameLevelsScrollingMapScreen(),
    );
  }
}

class GameLevelsScrollingMapScreen extends StatefulWidget {
  @override
  _GameLevelsScrollingMapScreenState createState() => _GameLevelsScrollingMapScreenState();
}

class _GameLevelsScrollingMapScreenState extends State<GameLevelsScrollingMapScreen> {
  final List<MapLevel> levels = [
    MapLevel(
      id: 'level_1',
      title: 'Level 1',
      description: 'First level of the game',
      // 假设每个关卡有一个对应的图片资源
      imageAsset: 'assets/images/level_1.png',
    ),
    MapLevel(
      id: 'level_2',
      title: 'Level 2',
      description: 'Second level of the game',
      imageAsset: 'assets/images/level_2.png',
    ),
    // 添加更多关卡
  ];

  @override
  Widget build(BuildContext context) {
    return Scaffold(
      appBar: AppBar(
        title: Text('Game Levels Scrolling Map'),
      ),
      body: Padding(
        padding: const EdgeInsets.all(16.0),
        child: GameLevelsScrollingMap(
          levels: levels,
          onLevelSelected: (MapLevel level) {
            // 当关卡被选中时执行的逻辑
            print('Selected level: ${level.title}');
            // 这里可以跳转到具体的游戏关卡页面
          },
        ),
      ),
    );
  }
}

// 假设的MapLevel类,用于存储关卡信息
class MapLevel {
  final String id;
  final String title;
  final String description;
  final String imageAsset;

  MapLevel({
    required this.id,
    required this.title,
    required this.description,
    required this.imageAsset,
  });
}

// 假设的GameLevelsScrollingMap组件,实际使用中应该是插件提供的
@optionalTypeArgs
class GameLevelsScrollingMap<T> extends StatelessWidget {
  final List<MapLevel> levels;
  final ValueChanged<MapLevel> onLevelSelected;

  GameLevelsScrollingMap({
    required this.levels,
    required this.onLevelSelected,
  });

  @override
  Widget build(BuildContext context) {
    // 这里应该使用插件提供的UI组件来渲染滚动地图
    // 但由于这是一个假设的插件,我们仅用一个简单的ListView来模拟
    return ListView.builder(
      itemCount: levels.length,
      itemBuilder: (context, index) {
        final level = levels[index];
        return ListTile(
          leading: Image.asset(level.imageAsset),
          title: Text(level.title),
          subtitle: Text(level.description),
          onTap: () => onLevelSelected(level),
        );
      },
    );
  }
}
在这个示例中,我们创建了一个简单的Flutter应用,其中包含一个 GameLevelsScrollingMapScreen 组件,用于显示游戏关卡列表。每个关卡都由一个 MapLevel 类表示,包含关卡的ID、标题、描述和图像资源。GameLevelsScrollingMap 组件(在这个示例中是一个模拟组件,因为实际的插件可能会有不同的实现)用于渲染一个可滚动的关卡列表,并在用户选择关卡时调用 onLevelSelected 回调。
请注意,这个示例中的 GameLevelsScrollingMap 组件和 MapLevel 类是假设的,因为实际的 game_levels_scrolling_map 插件可能会有不同的API和实现。因此,你需要参考插件的官方文档来了解如何正确使用它。如果插件不存在,你可能需要自己实现类似的功能。


