


Flutter应用反馈插件flutter_app_feedback的使用
Flutter应用反馈插件flutter_app_feedback的使用


Flutter App Feedback
收集用户反馈变得简单!
只需将 flutter_app_feedback 包集成到您的 Flutter 项目中,就可以开始收集反馈了。
flutter_app_feedback 默认使用 Firebase 作为后端来收集反馈。
用户的反馈会存储在名为 feedbacks 的 Cloud Firestore 集合中,但您也可以选择自己的集合来保存反馈。该包还会在提交反馈之前拍摄当前应用程序状态的屏幕截图。屏幕截图默认保存在名为 feedback_screenshots 的 Firebase Storage 文件夹中。
要使用此包,您需要将 Firebase 集成到您的 Flutter 项目中。相关文档可以在 Flutter Firebase 中找到。
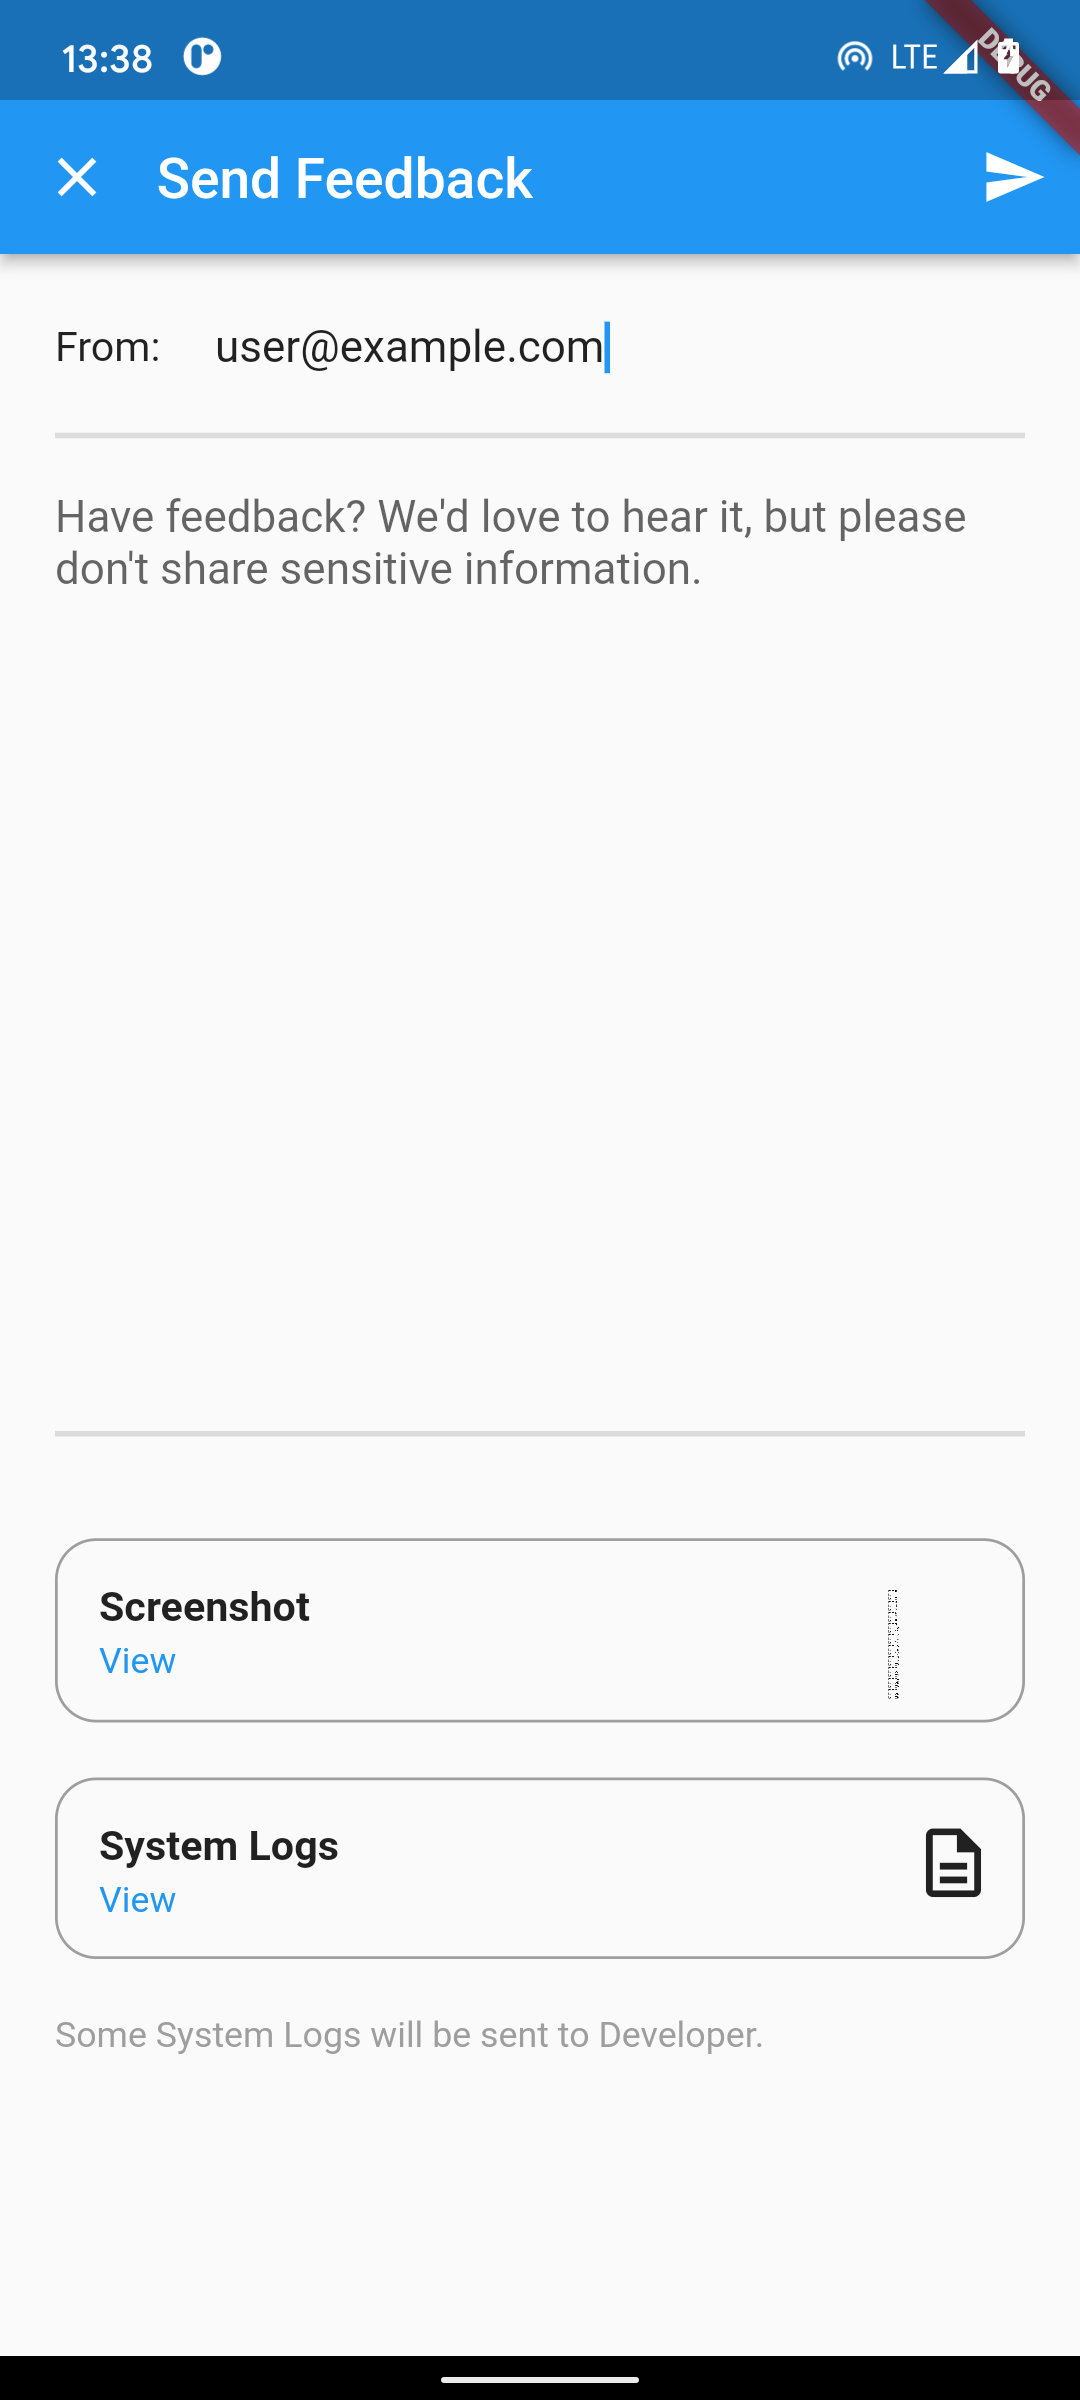
反馈屏幕
使用
导入
import 'package:flutter_app_feedback/flutter_app_feedback.dart';
捕获屏幕截图
// 捕获屏幕截图并保存到您选择的变量中。
await FeedbackScreenshot(context).captureScreen(
  // 设置您希望在导航到反馈屏幕之前捕获的屏幕截图的 widget 树
  screen: _homeScreen(),
);
使用 FeedbackScreen
FeedbackScreen(
  // 报告类型,无论是系统还是用户发起的报告
  reportType: 'User initiated report',

  // 如果需要在“从邮箱”字段中设置默认电子邮件
  fromEmail: 'user@example.com',

  // 使用我们从上述函数中收到的图像路径
  screenShotPath: imagePath,

  // 显示在反馈屏幕底部的文本,描述您将如何使用这些信息
  feedbackFooterText:
      'Some System Logs will be sent to Developer.',

  // 当反馈提交开始时处理
  onFeedbackSubmissionStarted: () {
    print('Feedback Submission Started');
  },

  // 当反馈提交完成时处理
  onFeedbackSubmitted: (bool result) {
    if (result) {
      print('Feedback Submitted Successfully');
    } else {
      print('Error in submitting the Feedback');
    }
  },
)
示例
ElevatedButton(
  onPressed: () async {
    // 捕获屏幕截图并保存到您选择的变量中。
    final imagePath = await FeedbackScreenshot(context).captureScreen(
      // 设置您希望在导航到反馈屏幕之前捕获的屏幕截图的 widget 树
      screen: _homeScreen(),
    );
    Navigator.push(
      context,
      MaterialPageRoute(
        builder: (BuildContext context) => FeedbackScreen(
          // 报告类型,无论是系统还是用户发起的报告
          reportType: 'User initiated report',

          // 是否允许用户编辑电子邮件
          isEmailEditable: false,

          // 当前认证用户的用户 ID
          userId: '1Fcb78snP12A619mb',

          // 如果需要在“从邮箱”字段中设置默认电子邮件
          fromEmail: 'user@example.com',

          // 使用我们从上述函数中收到的图像路径
          screenShotPath: imagePath,

          // 显示在反馈屏幕底部的文本,描述您将如何使用这些信息
          feedbackFooterText:
              'Some System Logs will be sent to Developer.',

          // 当反馈提交开始时处理
          onFeedbackSubmissionStarted: () {
            print('Feedback Submission Started');
          },

          // 当反馈提交完成时处理
          onFeedbackSubmitted: (bool result) {
            if (result) {
              print('Feedback Submitted Successfully');
            } else {
              print('Error in submitting the Feedback');
            }
          },
        ),
      ),
    );
  },
  child: const Text('Send Feedback'),
),
更多关于Flutter应用反馈插件flutter_app_feedback的使用的实战系列教程也可以访问 https://www.itying.com/category-92-b0.html


更多关于Flutter应用反馈插件flutter_app_feedback的使用的实战系列教程也可以访问 https://www.itying.com/category-92-b0.html
当然,下面是一个关于如何在Flutter应用中使用flutter_app_feedback插件的示例代码。这个插件允许用户通过邮件发送反馈,以及通过截图和附加信息来报告问题。
首先,你需要在pubspec.yaml文件中添加flutter_app_feedback依赖:
dependencies:
  flutter:
    sdk: flutter
  flutter_app_feedback: ^x.y.z  # 请替换为最新版本号
然后,运行flutter pub get来安装依赖。
接下来,在你的Flutter应用中,你可以按照以下步骤配置和使用flutter_app_feedback:
-
配置邮件发送设置:
你需要在
android/app/src/main/AndroidManifest.xml中添加必要的权限和配置你的邮件发送设置(例如,使用Gmail SMTP服务器)。不过,由于直接配置邮件发送可能涉及敏感信息,这里建议使用后端服务来处理邮件发送。下面的例子将展示如何直接使用插件的功能。 -
初始化插件:
在你的Flutter应用的入口文件(通常是
main.dart)中,初始化flutter_app_feedback插件。
import 'package:flutter/material.dart';
import 'package:flutter_app_feedback/flutter_app_feedback.dart';

void main() {
  runApp(MyApp());
}

class MyApp extends StatelessWidget {
  @override
  Widget build(BuildContext context) {
    // 初始化flutter_app_feedback
    FlutterAppFeedback.initialize(
      androidEmail: "your-email@example.com", // 你的邮箱地址
      iosEmail: "your-email@example.com",     // 你的邮箱地址(iOS上也可以使用)
      subjectPrefix: "[App Feedback]",
      // 其他可选配置
    );

    return MaterialApp(
      title: 'Flutter App Feedback Demo',
      theme: ThemeData(
        primarySwatch: Colors.blue,
      ),
      home: MyHomePage(),
    );
  }
}
-
在应用中添加反馈按钮:
在你的主页面或其他合适的位置添加一个按钮,用于触发反馈界面。
class MyHomePage extends StatelessWidget {
  @override
  Widget build(BuildContext context) {
    return Scaffold(
      appBar: AppBar(
        title: Text('Flutter App Feedback Demo'),
      ),
      body: Center(
        child: Column(
          mainAxisAlignment: MainAxisAlignment.center,
          children: <Widget>[
            Text(
              'Press the button to send feedback',
            ),
            SizedBox(height: 20),
            ElevatedButton(
              onPressed: () async {
                // 打开反馈界面
                await FlutterAppFeedback.sendFeedback(
                  context,
                  additionalInfo: "This is some additional info.", // 可选的附加信息
                );
              },
              child: Text('Send Feedback'),
            ),
          ],
        ),
      ),
    );
  }
}
-
处理反馈发送结果(可选):
如果你想处理反馈发送成功或失败的结果,你可以使用
sendFeedback的回调参数。
ElevatedButton(
  onPressed: () {
    FlutterAppFeedback.sendFeedback(
      context,
      additionalInfo: "This is some additional info.",
      onSendSuccess: () {
        // 反馈发送成功时执行的代码
        ScaffoldMessenger.of(context).showSnackBar(
          SnackBar(content: Text('Feedback sent successfully!')),
        );
      },
      onSendError: (error) {
        // 反馈发送失败时执行的代码
        ScaffoldMessenger.of(context).showSnackBar(
          SnackBar(content: Text('Failed to send feedback: $error')),
        );
      },
    );
  },
  child: Text('Send Feedback'),
),
这就是一个简单的使用flutter_app_feedback插件的示例。请注意,直接通过邮件发送反馈可能会遇到一些问题,例如邮件服务器配置、安全性等。在生产环境中,建议使用后端服务来处理邮件发送,以确保安全和可靠性。