


Flutter WhatsApp状态编辑插件whatsapp_status_editor的使用
Flutter WhatsApp状态编辑插件whatsapp_status_editor的使用
安装
在你的pubspec.yaml文件中添加whatsapp_status_editor依赖项,然后运行flutter pub get。
dependencies:
  whatsapp_status_editor:
导入
在你的Dart文件中导入该包:
import 'package:whatsapp_status_editor/whatsapp_status_editor.dart';
如何使用
以下是一个简单的示例,展示如何使用whatsapp_status_editor插件来编辑WhatsApp状态。
await Navigator.push(
  context,
  MaterialPageRoute(
    builder: (context) => const StatusEditor(),
  ),
).then((res) async {
  print(res);
  if (res != null) {
    print(res);
    filePath = res;
    setState(() {});
  }
});
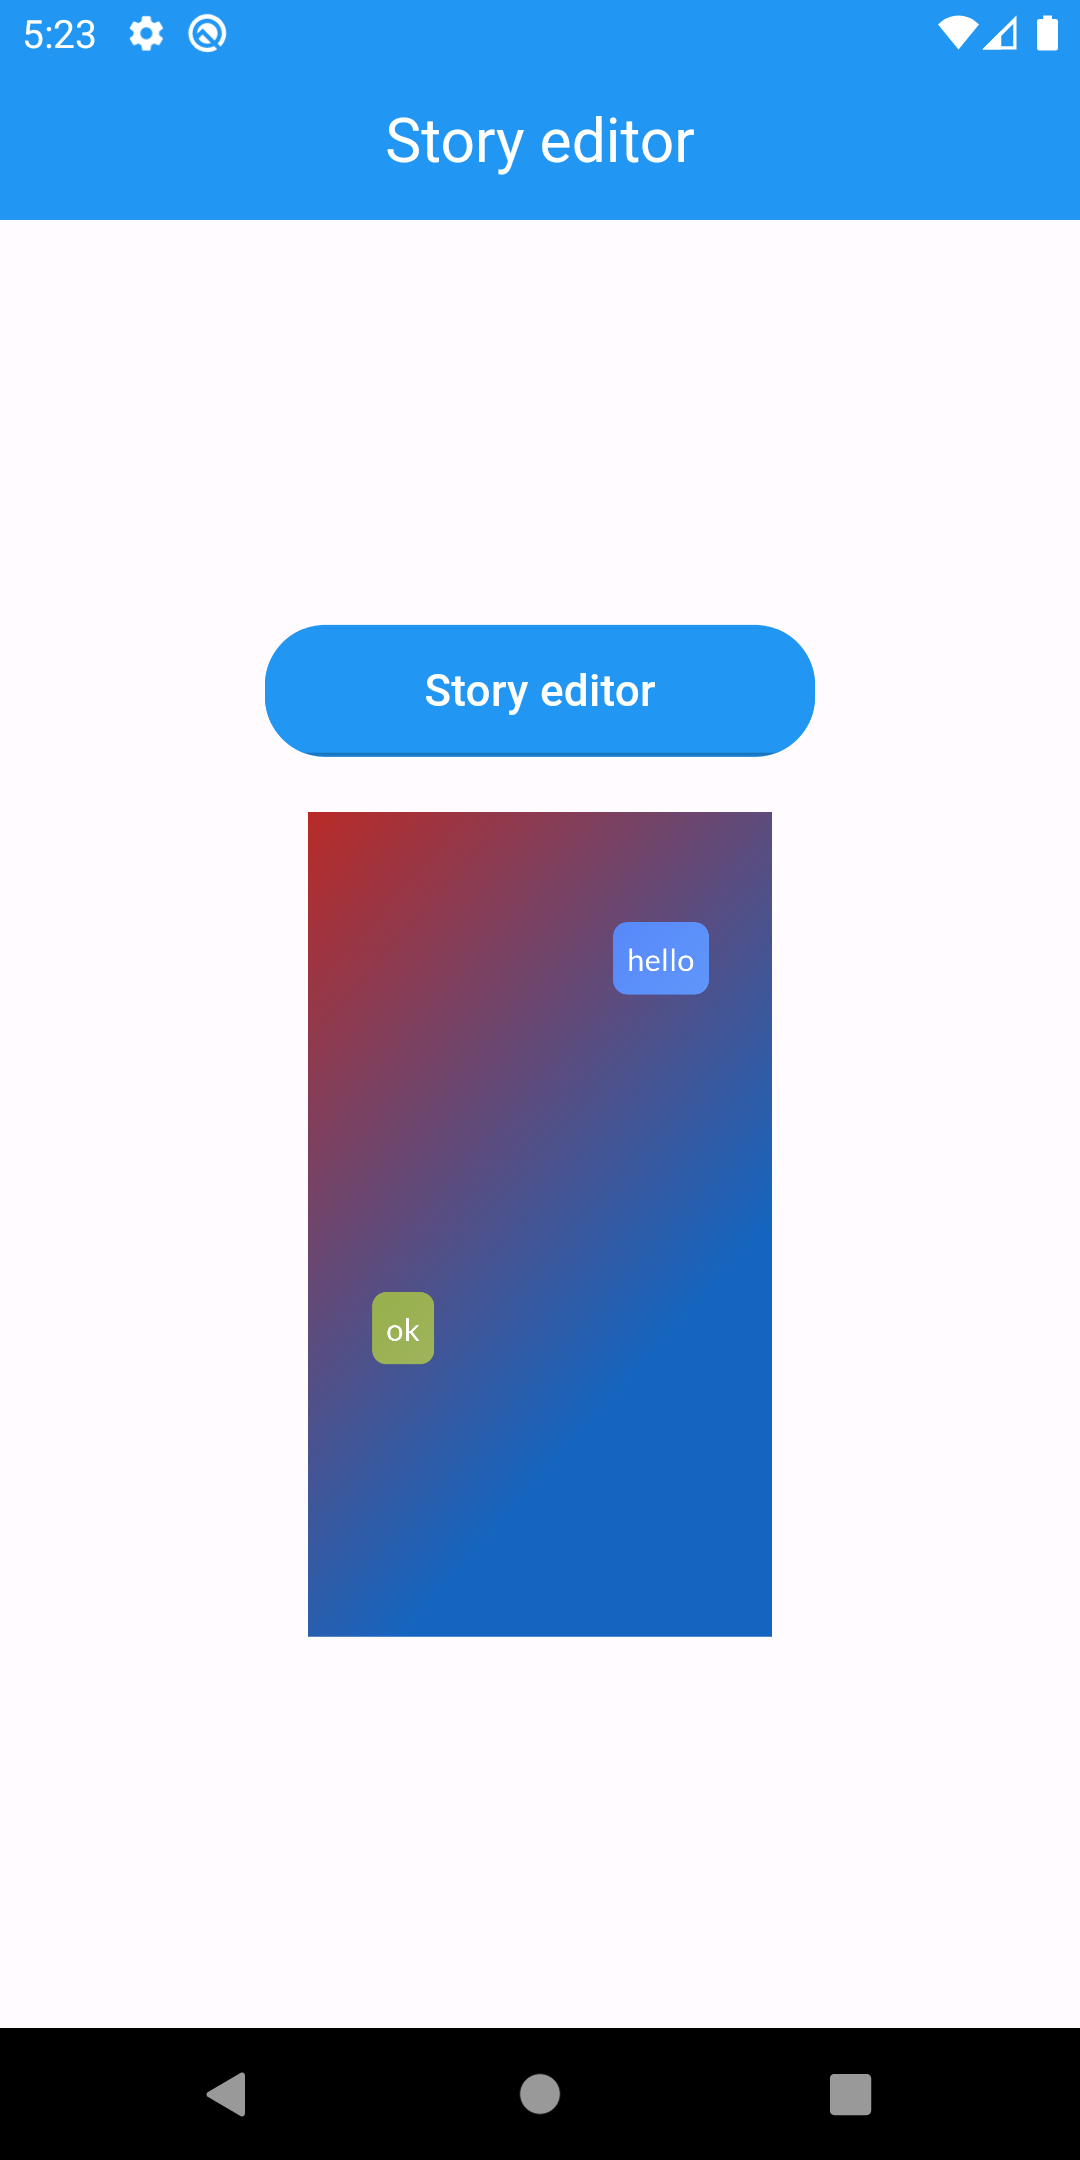
预览
以下是使用插件编辑后的状态预览图:
示例代码
下面是完整的示例代码,展示了如何在Flutter应用中集成并使用whatsapp_status_editor插件。
import 'package:flutter/material.dart';
import 'dart:io';
import 'package:whatsapp_status_editor/whatsapp_status_editor.dart';

void main() {
  runApp(const MyApp());
}

class MyApp extends StatelessWidget {
  const MyApp({super.key});

  // 这个小部件是你的应用的根
  [@override](/user/override)
  Widget build(BuildContext context) {
    return MaterialApp(
      title: 'Packages Test',
      theme: ThemeData(
        primarySwatch: Colors.blue,
      ),
      home: const StatusEditorPackage(),
      debugShowCheckedModeBanner: false,
    );
  }
}

class StatusEditorPackage extends StatefulWidget {
  const StatusEditorPackage({super.key});

  [@override](/user/override)
  State<StatusEditorPackage> createState() => _SatusyEditorPackageState();
}

class _SatusyEditorPackageState extends State<StatusEditorPackage> {
  bool isThumbnail = true;
  File filePath = File("");

  [@override](/user/override)
  Widget build(BuildContext context) {
    var theme = Theme.of(context);

    return Scaffold(
      appBar: AppBar(
        backgroundColor: Colors.blue,
        centerTitle: true,
        title: const Text(
          "故事编辑器",
          style: TextStyle(
            color: Colors.white,
          ),
        ),
      ),
      body: SafeArea(
        child: Padding(
          padding: const EdgeInsets.all(10),
          child: Column(
            crossAxisAlignment: CrossAxisAlignment.center,
            mainAxisAlignment: MainAxisAlignment.center,
            children: [
              Center(
                child: Padding(
                  padding: const EdgeInsets.fromLTRB(0.0, 5.0, 0.0, 0.0),
                  child: Material(
                    shape: RoundedRectangleBorder(
                        borderRadius: BorderRadius.circular(22.0)),
                    color: Colors.blue,
                    clipBehavior: Clip.antiAlias, // 添加此属性
                    child: MaterialButton(
                      minWidth: 200.0,
                      height: 45,
                      color: Colors.blue,
                      child: const Text('故事编辑器',
                          style:
                              TextStyle(fontSize: 16.0, color: Colors.white)),
                      onPressed: () async {
                        await Navigator.push(
                          context,
                          MaterialPageRoute(
                            builder: (context) => const StatusEditor(),
                          ),
                        ).then((res) async {
                          print(res);
                          if (res != null) {
                            print(res);
                            filePath = res;
                            setState(() {});
                          }
                        });
                      },
                    ),
                  ),
                ),
              ),
              const SizedBox(
                height: 20,
              ),
              if (filePath.path != '')
                Center(
                  child: SizedBox(
                    width: 300,
                    height: 300,
                    child: Image.file(
                      File(
                        filePath.path,
                      ),
                    ),
                  ),
                ),
            ],
          ),
        ),
      ),
    );
  }
}
更多关于Flutter WhatsApp状态编辑插件whatsapp_status_editor的使用的实战系列教程也可以访问 https://www.itying.com/category-92-b0.html


更多关于Flutter WhatsApp状态编辑插件whatsapp_status_editor的使用的实战系列教程也可以访问 https://www.itying.com/category-92-b0.html
当然,我可以为你提供一个关于如何使用 whatsapp_status_editor 插件的示例代码。这个插件通常用于在Flutter应用中实现类似WhatsApp的状态编辑功能,包括文本输入、多媒体上传等。以下是一个基本的示例,展示如何集成和使用这个插件。
首先,确保你已经在 pubspec.yaml 文件中添加了 whatsapp_status_editor 依赖:
dependencies:
  flutter:
    sdk: flutter
  whatsapp_status_editor: ^最新版本号  # 请替换为实际的最新版本号
然后运行 flutter pub get 来获取依赖。
接下来,在你的Flutter应用中,你可以这样使用 whatsapp_status_editor:
import 'package:flutter/material.dart';
import 'package:whatsapp_status_editor/whatsapp_status_editor.dart';

void main() {
  runApp(MyApp());
}

class MyApp extends StatelessWidget {
  @override
  Widget build(BuildContext context) {
    return MaterialApp(
      title: 'WhatsApp Status Editor Demo',
      theme: ThemeData(
        primarySwatch: Colors.blue,
      ),
      home: StatusEditorScreen(),
    );
  }
}

class StatusEditorScreen extends StatefulWidget {
  @override
  _StatusEditorScreenState createState() => _StatusEditorScreenState();
}

class _StatusEditorScreenState extends State<StatusEditorScreen> {
  final TextEditingController _textController = TextEditingController();
  File? _imageFile;

  void _pickImage() async {
    final pickedFile = await ImagePicker().pickImage(source: ImageSource.gallery);

    if (pickedFile != null) {
      setState(() {
        _imageFile = File(pickedFile.path);
      });
    }
  }

  @override
  Widget build(BuildContext context) {
    return Scaffold(
      appBar: AppBar(
        title: Text('WhatsApp Status Editor'),
      ),
      body: Padding(
        padding: const EdgeInsets.all(16.0),
        child: Column(
          crossAxisAlignment: CrossAxisAlignment.start,
          children: <Widget>[
            WhatsAppStatusEditor(
              textController: _textController,
              placeholder: 'Write a status update...',
              maxLines: 5,
              onSubmit: (String text) {
                // Handle status submission
                print('Status submitted: $text');
              },
            ),
            SizedBox(height: 16),
            if (_imageFile != null)
              Image.file(_imageFile!),
            else
              GestureDetector(
                onTap: _pickImage,
                child: Text(
                  'Add a photo...',
                  style: TextStyle(decoration: TextDecoration.underline),
                ),
              ),
            SizedBox(height: 16),
            ElevatedButton(
              onPressed: () {
                // Here you would typically upload the status update to your backend
                // For now, just print the text and image path (if any)
                print('Text: ${_textController.text}');
                if (_imageFile != null) {
                  print('Image path: ${_imageFile!.path}');
                }
              },
              child: Text('Post Status'),
            ),
          ],
        ),
      ),
    );
  }
}
在这个示例中,我们做了以下几件事:
- 引入必要的包:我们引入了
flutter/material.dart和whatsapp_status_editor。 - 创建主应用:
MyApp是一个简单的 MaterialApp,设置了主题和主页。 - 状态编辑器屏幕:
StatusEditorScreen是一个有状态的屏幕,包含状态编辑器、图片选择和提交按钮。 - 文本输入:使用
WhatsAppStatusEditor小部件来处理文本输入。 - 图片选择:使用
image_picker包来选择图片(注意:你需要添加image_picker依赖到你的pubspec.yaml)。 - 提交状态:点击提交按钮时,打印出文本和图片路径(实际应用中,你可能会将这些数据上传到服务器)。
请注意,whatsapp_status_editor 可能是一个假设的包名,实际上可能没有一个现成的Flutter插件直接叫做这个名字。如果这是一个自定义或第三方插件,确保你查阅了该插件的官方文档以获取正确的使用方法和API。如果实际上没有这个插件,你可能需要自己实现类似的功能,结合文本输入、图片选择和上传等组件。