


Flutter支付集成插件flutter_paystack_tk的使用
Flutter支付集成插件flutter_paystack_tk的使用

项目状态


简介
这是一个用于通过Paystack支付网关进行支付的Flutter插件。它完全支持Android和iOS平台。该项目是由wilburx9的库分叉而来,并由我维护。
安装
要使用此插件,只需在pubspec.yaml文件中添加依赖项flutter_paystack_tk。
dependencies:
  flutter_paystack_tk: ^最新版本号
然后,在你的组件中初始化插件,建议在initState方法中执行:
import 'package:flutter_paystack_tk/flutter_paystack_tk.dart';

class _PaymentPageState extends State<PaymentPage> {
  var publicKey = '[YOUR_PAYSTACK_PUBLIC_KEY]';
  final plugin = PaystackPlugin();

  [@override](/user/override)
  void initState() {
    plugin.initialize(publicKey: publicKey);
  }
}
无需其他配置,插件即可直接使用。
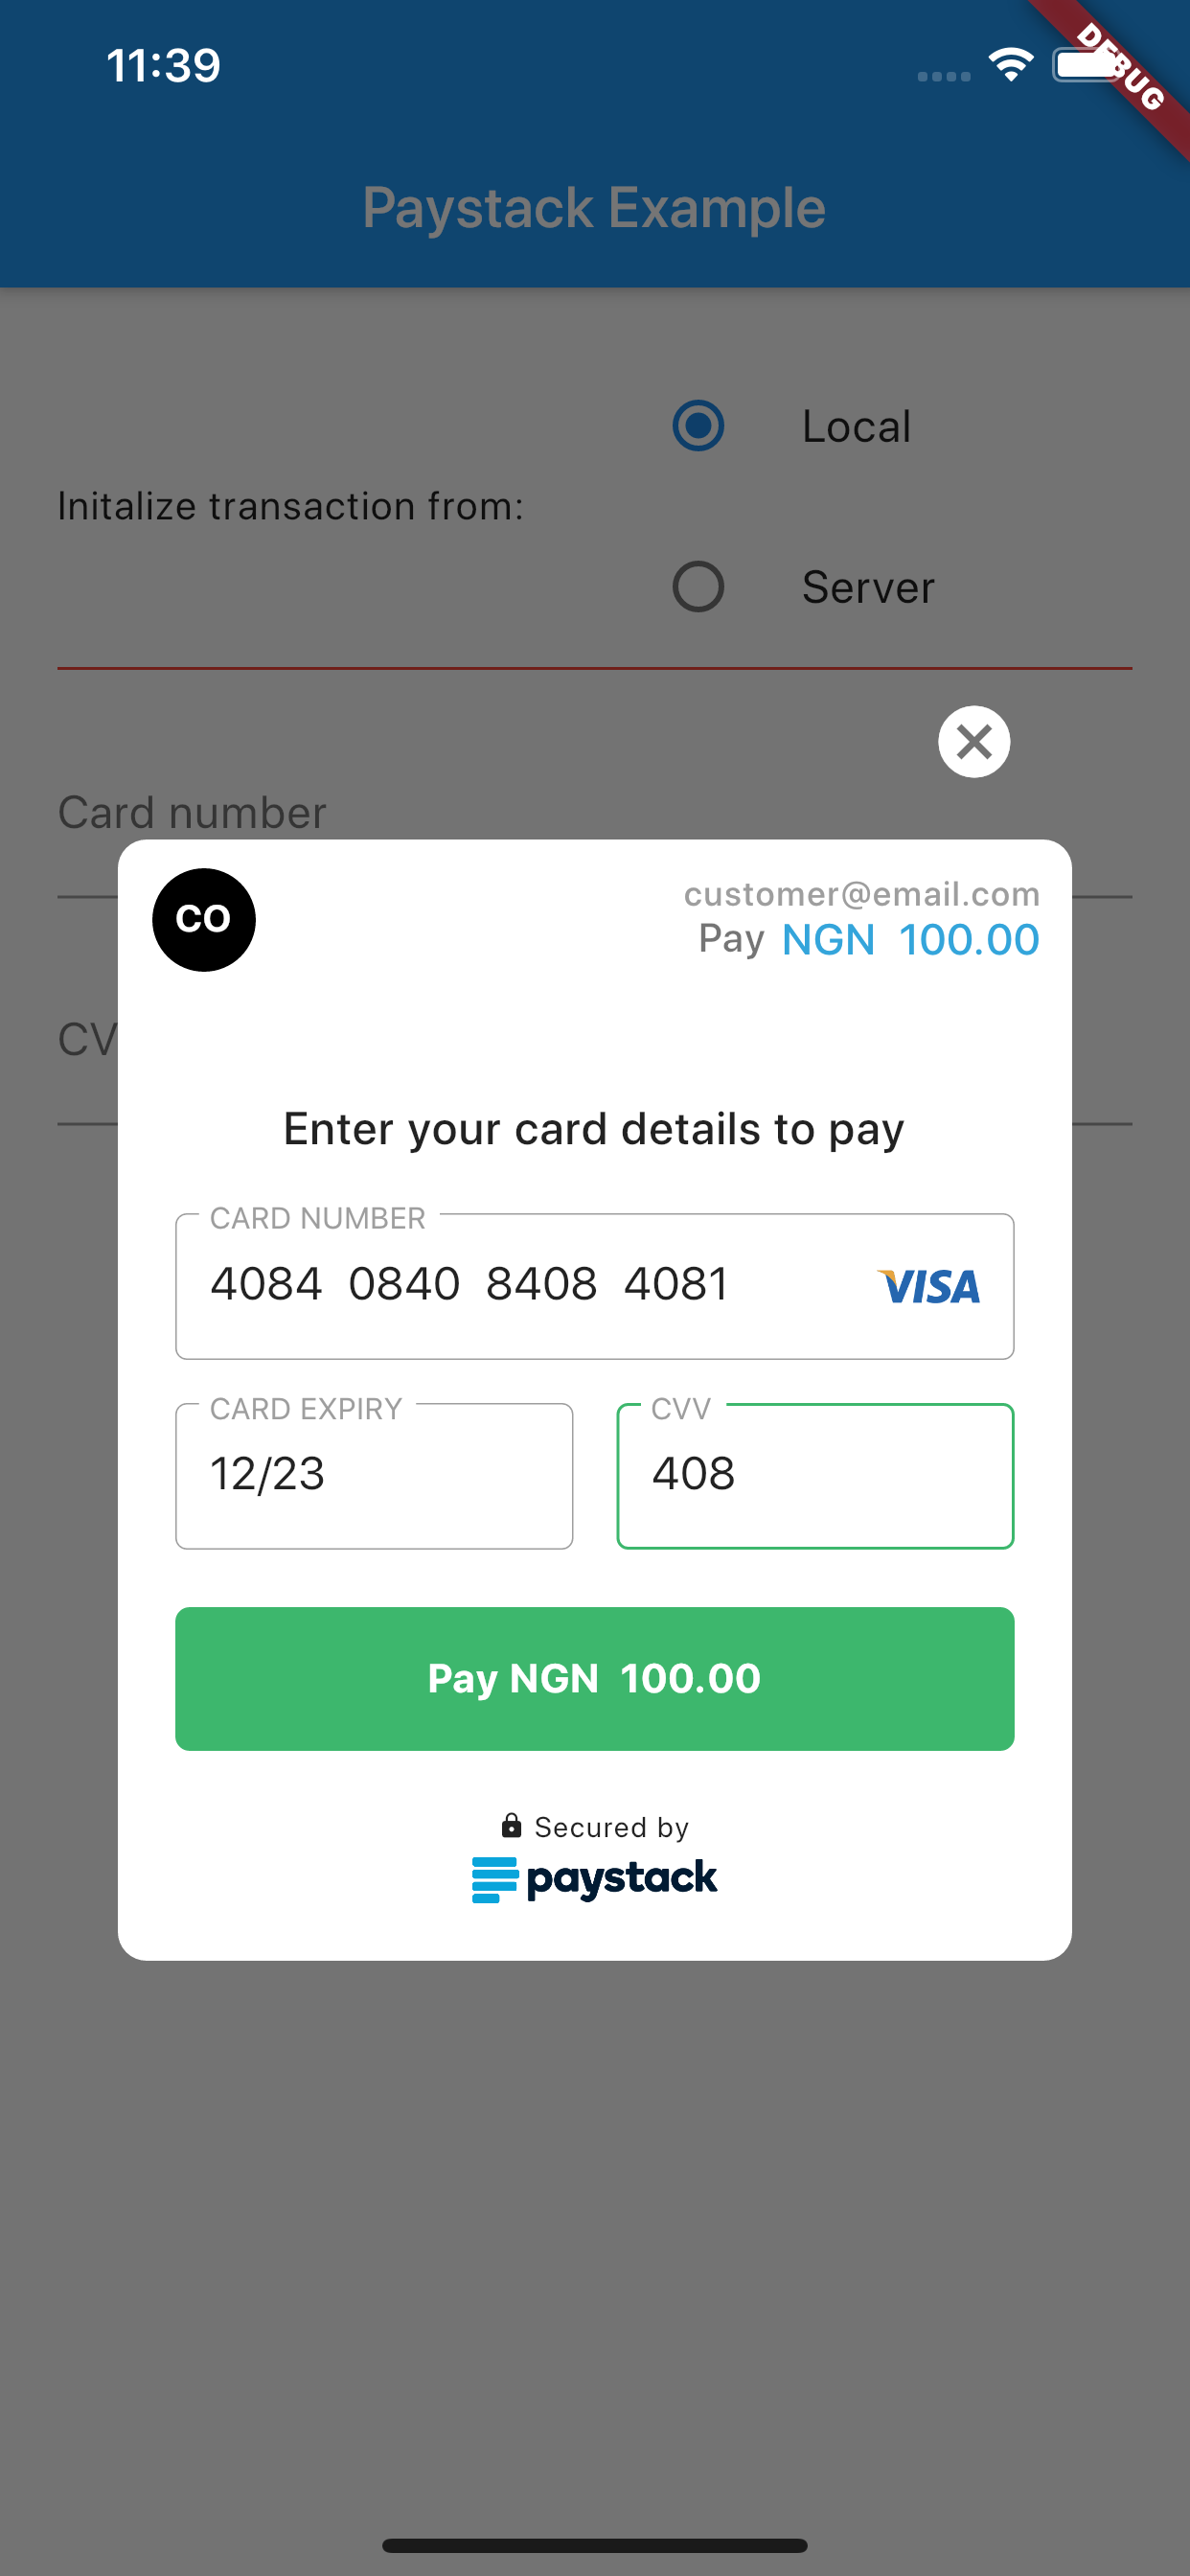
支付方式
有两种方式进行支付:
- 结账:这是最简单的方式,插件会处理所有支付流程(除了交易初始化和验证,这些应该从后端完成)。
- 刷卡:这是一种更复杂的方式,你需要处理所有的回调和UI状态。
1. 结账(推荐)
初始化一个带有金额、邮箱和访问码或引用的Charge对象。如果已从后端初始化了交易,则传递accessCode;否则,传递reference。
Charge charge = Charge()
      ..amount = 10000
      ..reference = _getReference()
       // 或者 ..accessCode = _getAccessCodeFrmInitialization()
      ..email = 'customer@email.com';
CheckoutResponse response = await plugin.checkout(
  context,
  method: CheckoutMethod.card, // 默认为CheckoutMethod.selectable
  charge: charge,
);
请注意,如果方法是CheckoutMethod.bank或CheckoutMethod.selectable,则需要accessCode。
plugin.checkout()返回支付状态和详细信息在一个CheckoutResponse实例中。
建议在plugin.checkout()返回后,从后端验证支付。
2. 刷卡
你可以选择本地初始化支付或者通过后端初始化支付。
A. 通过后端初始化支付(推荐)
-
在后端发起HTTP POST请求到Paystack API。
-
如果一切顺利,初始化请求将返回一个带有
access_code的响应。然后创建一个带有访问码和卡片详情的Charge对象。该charge对象将传递给plugin.chargeCard()函数进行支付:
PaymentCard _getCardFromUI() {
  // 使用必要的参数
  return PaymentCard(
    number: cardNumber,
    cvc: cvv,
    expiryMonth: expiryMonth,
    expiryYear: expiryYear,
  );
}

_chargeCard(String accessCode) async {
  var charge = Charge()
    ..accessCode = accessCode
    ..card = _getCardFromUI();

  final response = await plugin.chargeCard(context, charge: charge);
  // 使用响应
}
如果response.status为真,则表示交易成功。更多详情请参见CheckoutResponse文档。
B. 本地初始化支付
直接发送支付详情到plugin.chargeCard:
Charge charge = Charge();
charge.card = _getCardFromUI();
charge
  ..amount = 2000
  ..email = 'user@email.com'
  ..reference = _getReference()
  ..putCustomField('Charged From', 'Flutter PLUGIN');
_chargeCard();
验证卡片详情
你应构建用户输入支付详情的UI。为了更容易地验证,可以将TextFormField包裹在一个Form小部件内。如果你对此不熟悉,可以查看这篇文章:如何使用Flutter轻松验证表单和用户输入。
注意:你不必向Charge传递卡片对象。插件将调用一个UI供用户输入他们的卡片信息。
你可以使用以下方法来验证字段:
card.validNumber:检查卡片号码是否有效。card.validCVC:检查卡片安全码是否有效。card.validExpiryDate:检查过期日期(年份和月份的组合)是否有效。card.isValid:检查卡片是否有效。在对卡片进行充值前始终执行此检查。card.getType:返回卡片类型(发卡机构)的字符串表示形式。
验证交易
这非常简单。只需发送一个HTTP GET请求到https://api.paystack.co/transaction/verify/$[TRANSACTION_REFERENCE]。请参阅官方文档:验证交易。
测试实现
Paystack提供了大量的测试卡片。你可以在这里查看:测试卡片。
运行示例项目
对于如何开始使用Flutter,请查看在线文档:Flutter官方文档。
该项目中提供了一个示例项目。克隆此仓库并导航到example文件夹。使用支持的IDE打开它,或者在终端中执行flutter run命令。
贡献,问题和bug报告
该项目开放给公众贡献。请随意贡献。遇到问题或想要报告bug?请在此处报告:报告问题。请尽可能详细描述。
致谢
感谢Paystack iOS和Android SDK的作者们。我借鉴了他们的工作,使这个插件成为可能。
示例代码
以下是一个完整的示例代码,展示了如何使用flutter_paystack_tk插件进行支付:
import 'dart:async';
import 'dart:io';
import 'package:flutter/cupertino.dart';
import 'package:flutter/material.dart';
import 'package:flutter_paystack_tk/flutter_paystack_tk.dart';
import 'package:http/http.dart' as http;
String backendUrl = '{YOUR_BACKEND_URL}';
String paystackPublicKey = '{YOUR_PAYSTACK_PUBLIC_KEY}';
const String appName = 'Paystack Example';
void main() => runApp(new MyApp());
class MyApp extends StatelessWidget {
[@override](/user/override)
Widget build(BuildContext context) {
return new MaterialApp(
title: appName,
darkTheme: ThemeData.dark(),
home: new HomePage(),
);
}
}
class HomePage extends StatefulWidget {
[@override](/user/override)
_HomePageState createState() => _HomePageState();
}
class _HomePageState extends State<HomePage> {
final _scaffoldKey = new GlobalKey<ScaffoldState>();
final _formKey = GlobalKey<FormState>();
final _verticalSizeBox = const SizedBox(height: 20.0);
final _horizontalSizeBox = const SizedBox(width: 10.0);
final plugin = PaystackPlugin();
var _border = new Container(
width: double.infinity,
height: 1.0,
color: Colors.red,
);
int _radioValue = 0;
CheckoutMethod _method = CheckoutMethod.selectable;
bool _inProgress = false;
String? _cardNumber;
String? _cvv;
int? _expiryMonth;
int? _expiryYear;
[@override](/user/override)
void initState() {
plugin.initialize(publicKey: paystackPublicKey);
super.initState();
}
[@override](/user/override)
Widget build(BuildContext context) {
return new Scaffold(
key: _scaffoldKey,
appBar: new AppBar(title: const Text(appName)),
body: new Container(
padding: const EdgeInsets.all(20.0),
child: new Form(
key: _formKey,
child: new SingleChildScrollView(
child: new ListBody(
children: <Widget>[
new Row(
crossAxisAlignment: CrossAxisAlignment.center,
mainAxisAlignment: MainAxisAlignment.spaceBetween,
children: <Widget>[
new Expanded(
child: const Text('初始化交易来自:'),
),
new Expanded(
child: new Column(
mainAxisSize: MainAxisSize.min,
children: <Widget>[
new RadioListTile<int>(
value: 0,
groupValue: _radioValue,
onChanged: _handleRadioValueChanged,
title: const Text('本地'),
),
new RadioListTile<int>(
value: 1,
groupValue: _radioValue,
onChanged: _handleRadioValueChanged,
title: const Text('服务器'),
),
]),
)
],
),
_border,
_verticalSizeBox,
new TextFormField(
decoration: const InputDecoration(
border: const UnderlineInputBorder(),
labelText: '卡号',
),
onSaved: (String? value) => _cardNumber = value,
),
_verticalSizeBox,
new Row(
mainAxisAlignment: MainAxisAlignment.spaceBetween,
crossAxisAlignment: CrossAxisAlignment.center,
children: <Widget>[
new Expanded(
child: new TextFormField(
decoration: const InputDecoration(
border: const UnderlineInputBorder(),
labelText: 'CVV',
),
onSaved: (String? value) => _cvv = value,
),
),
_horizontalSizeBox,
new Expanded(
child: new TextFormField(
decoration: const InputDecoration(
border: const UnderlineInputBorder(),
labelText: '到期月',
),
onSaved: (String? value) => _expiryMonth = int.tryParse(value ?? ""),
),
),
_horizontalSizeBox,
new Expanded(
child: new TextFormField(
decoration: const InputDecoration(
border: const UnderlineInputBorder(),
labelText: '到期年',
),
onSaved: (String? value) => _expiryYear = int.tryParse(value ?? ""),
),
)
],
),
_verticalSizeBox,
Theme(
data: Theme.of(context).copyWith(
colorScheme: Theme.of(context)
.colorScheme
.copyWith(secondary: green),
primaryColorLight: Colors.white,
primaryColorDark: navyBlue,
textTheme: Theme.of(context).textTheme.copyWith(
bodyMedium: TextStyle(
color: lightBlue,
),
),
),
child: Builder(
builder: (context) {
return _inProgress
? new Container(
alignment: Alignment.center,
height: 50.0,
child: Platform.isIOS
? new CupertinoActivityIndicator()
: new CircularProgressIndicator(),
)
: new Column(
mainAxisSize: MainAxisSize.min,
children: <Widget>[
_getPlatformButton(
'刷卡', () => _startAfreshCharge()),
_verticalSizeBox,
_border,
new SizedBox(
height: 40.0,
),
new Row(
mainAxisAlignment:
MainAxisAlignment.spaceBetween,
crossAxisAlignment: CrossAxisAlignment.center,
children: <Widget>[
new Flexible(
flex: 3,
child: new DropdownButtonHideUnderline(
child: new InputDecorator(
decoration: const InputDecoration(
border: OutlineInputBorder(),
isDense: true,
hintText: '结账方法',
),
child: new DropdownButton<CheckoutMethod>(
value: _method,
isDense: true,
onChanged: (CheckoutMethod? value) {
if (value != null) {
setState(() => _method = value);
}
},
items: banks.map((String value) {
return new DropdownMenuItem<CheckoutMethod>(
value: _parseStringToMethod(value),
child: new Text(value),
);
}).toList(),
),
),
),
),
_horizontalSizeBox,
new Flexible(
flex: 2,
child: new Container(
width: double.infinity,
child: _getPlatformButton(
'结账',
() => _handleCheckout(context),
),
),
),
],
)
],
);
},
),
)
],
),
),
),
),
);
}
void _handleRadioValueChanged(int? value) {
if (value != null) setState(() => _radioValue = value);
}
_handleCheckout(BuildContext context) async {
if (_method != CheckoutMethod.card && _isLocal) {
_showMessage('请选择服务器初始化方法');
return;
}
setState(() => _inProgress = true);
_formKey.currentState?.save();
Charge charge = Charge()
..amount = 10000 // 基本货币单位
..email = 'customer@email.com'
..card = _getCardFromUI();
if (!_isLocal) {
var accessCode = await _fetchAccessCodeFrmServer(_getReference());
charge.accessCode = accessCode;
} else {
charge.reference = _getReference();
}
try {
CheckoutResponse response = await plugin.checkout(
context,
method: _method,
charge: charge,
fullscreen: false,
logo: MyLogo(),
);
print('Response = $response');
setState(() => _inProgress = false);
_updateStatus(response.reference, '$response');
} catch (e) {
setState(() => _inProgress = false);
_showMessage("请查看控制台错误");
rethrow;
}
}
_startAfreshCharge() async {
_formKey.currentState?.save();
Charge charge = Charge();
charge.card = _getCardFromUI();
setState(() => _inProgress = true);
if (_isLocal) {
// 直接在应用中设置交易参数(注意,这些参数仅在未设置access_code时使用。在调试模式下,
// 设置access_code后再次设置这些参数会导致异常
charge
..amount = 10000 // 基本货币单位
..email = 'customer@email.com'
..reference = _getReference()
..putCustomField('Charged From', 'Flutter SDK');
_chargeCard(charge);
} else {
// 执行交易/初始化到Paystack服务器以获取access_code
// 文档:https://developers.paystack.co/reference#initialize-a-transaction
charge.accessCode = await _fetchAccessCodeFrmServer(_getReference());
_chargeCard(charge);
}
}
_chargeCard(Charge charge) async {
final response = await plugin.chargeCard(context, charge: charge);
final reference = response.reference;
// 检查交易是否成功
if (response.status) {
_verifyOnServer(reference);
return;
}
// 交易失败。检查是否需要验证交易
if (response.verify) {
_verifyOnServer(reference);
} else {
setState(() => _inProgress = false);
_updateStatus(reference, response.message);
}
}
String _getReference() {
String platform;
if (Platform.isIOS) {
platform = 'iOS';
} else {
platform = 'Android';
}
return 'ChargedFrom${platform}_${DateTime.now().millisecondsSinceEpoch}';
}
PaymentCard _getCardFromUI() {
// 使用必要的参数
return PaymentCard(
number: _cardNumber,
cvc: _cvv,
expiryMonth: _expiryMonth,
expiryYear: _expiryYear,
);
// 使用级联符号(类似于Java的构建器模式)
// return PaymentCard(
// number: cardNumber,
// cvc: cvv,
// expiryMonth: expiryMonth,
// expiryYear: expiryYear)
// ..name = 'Segun Chukwuma Adamu'
// ..country = 'Nigeria'
// ..addressLine1 = 'Ikeja, Lagos'
// ..addressPostalCode = '100001';
// 使用可选参数
// return PaymentCard(
// number: cardNumber,
// cvc: cvv,
// expiryMonth: expiryMonth,
// expiryYear: expiryYear,
// name: 'Ismail Adebola Emeka',
// addressCountry: 'Nigeria',
// addressLine1: '90, Nnebisi Road, Asaba, Deleta State');
}
Widget _getPlatformButton(String string, Function() function) {
// is still in progress
Widget widget;
if (Platform.isIOS) {
widget = new CupertinoButton(
onPressed: function,
padding: const EdgeInsets.symmetric(horizontal: 15.0),
color: CupertinoColors.activeBlue,
child: new Text(
string,
maxLines: 1,
overflow: TextOverflow.ellipsis,
),
);
} else {
widget = new ElevatedButton(
onPressed: function,
child: new Text(
string.toUpperCase(),
style: const TextStyle(fontSize: 17.0),
),
);
}
return widget;
}
Future<String?> _fetchAccessCodeFrmServer(String reference) async {
String url = '$backendUrl/new-access-code';
String? accessCode;
try {
print("Access code url = $url");
http.Response response = await http.get(Uri.parse(url));
accessCode = response.body;
print('Response for access code = $accessCode');
} catch (e) {
setState(() => _inProgress = false);
_updateStatus(
reference,
'从后端获取新的access code时出现问题:$e');
}
return accessCode;
}
void _verifyOnServer(String? reference) async {
_updateStatus(reference, '正在验证...');
String url = '$backendUrl/verify/$reference';
try {
http.Response response = await http.get(Uri.parse(url));
var body = response.body;
_updateStatus(reference, body);
} catch (e) {
_updateStatus(
reference,
'在后端验证时出现问题:'
'$reference $e');
}
setState(() => _inProgress = false);
}
_updateStatus(String? reference, String message) {
_showMessage('Reference: $reference \n\ Response: $message',
const Duration(seconds: 7));
}
_showMessage(String message,
[Duration duration = const Duration(seconds: 4)]) {
ScaffoldMessenger.of(context).showSnackBar(new SnackBar(
content: new Text(message),
duration: duration,
action: new SnackBarAction(
label: '关闭',
onPressed: () =>
ScaffoldMessenger.of(context).removeCurrentSnackBar()),
));
}
bool get _isLocal => _radioValue == 0;
}
var banks = ['Selectable', 'Bank', 'Card'];
CheckoutMethod _parseStringToMethod(String string) {
CheckoutMethod method = CheckoutMethod.selectable;
switch (string) {
case 'Bank':
method = CheckoutMethod.bank;
break;
case 'Card':
method = CheckoutMethod.card;
break;
}
return method;
}
class MyLogo extends StatelessWidget {
[@override](/user/override)
Widget build(BuildContext context) {
return Container(
decoration: BoxDecoration(
shape: BoxShape.circle,
color: Colors.black,
),
alignment: Alignment.center,
padding: EdgeInsets.all(10),
child: Text(
"CO",
style: TextStyle(
color: Colors.white,
fontSize: 13,
fontWeight: FontWeight.bold,
),
),
);
}
}
const Color green = const Color(0xFF3db76d);
const Color lightBlue = const Color(0xFF34a5db);
const Color navyBlue = const Color(0xFF031b33);
更多关于Flutter支付集成插件flutter_paystack_tk的使用的实战系列教程也可以访问 https://www.itying.com/category-92-b0.html


更多关于Flutter支付集成插件flutter_paystack_tk的使用的实战系列教程也可以访问 https://www.itying.com/category-92-b0.html
当然,以下是一个关于如何在Flutter项目中集成和使用flutter_paystack_tk插件进行支付的代码示例。这个插件用于集成Paystack支付网关。
前提条件
- Flutter环境:确保你已经安装了Flutter SDK,并且设置好了开发环境。
- Paystack账户:你需要在Paystack注册并获得API密钥。
- Flutter项目:你需要有一个已经存在的Flutter项目,或者新建一个。
步骤一:添加依赖
首先,在你的pubspec.yaml文件中添加flutter_paystack_tk依赖:
dependencies:
  flutter:
    sdk: flutter
  flutter_paystack_tk: ^x.y.z  # 请使用最新版本号替换x.y.z
然后运行flutter pub get来安装依赖。
步骤二:配置Paystack
在你的android/app/src/main/AndroidManifest.xml文件中添加以下权限:
<uses-permission android:name="android.permission.INTERNET"/>
<uses-permission android:name="android.permission.ACCESS_NETWORK_STATE"/>
步骤三:初始化Paystack
在你的lib目录下创建一个新的Dart文件,例如paystack_service.dart,并添加以下代码来初始化Paystack:
import 'package:flutter/material.dart';
import 'package:flutter_paystack_tk/flutter_paystack_tk.dart';

class PaystackService {
  static const String publicKey = "YOUR_PAYSTACK_PUBLIC_KEY";  // 替换为你的Paystack公钥

  static Future<void> initializePaystack() async {
    await FlutterPaystackTk.initialize(
      publicKey: publicKey,
      encryption: "none",  // 如果使用Paystack的公钥加密,可以设置为 "public_key"
    );
  }

  static Future<Map<String, dynamic>> makePayment(
    String amount,
    String email,
    String phone,
    BuildContext context
  ) async {
    try {
      final result = await FlutterPaystackTk.startPayment(
        amount: amount,  // 金额(以分为单位,例如1000表示10.00美元)
        email: email,
        phone: phone,
        currency: "usd",  // 货币代码
        metadata: {
          "custom_fields": ["custom_values"],  // 你可以添加任何自定义字段
        },
        transRef: UUID.UUID().toString(),  // 一个唯一的交易引用号
        callback: (response) {
          // 处理支付回调
          Navigator.pop(context, response);
        },
        onClose: () {
          // 处理关闭支付页面的回调
          Navigator.pop(context, null);
        },
      );
      return result;
    } catch (e) {
      print("Payment failed: $e");
      return {};
    }
  }
}
步骤四:使用Paystack进行支付
在你的主页面或其他页面中,调用Paystack服务进行支付。例如:
import 'package:flutter/material.dart';
import 'package:your_app/paystack_service.dart';

class PaymentScreen extends StatefulWidget {
  @override
  _PaymentScreenState createState() => _PaymentScreenState();
}

class _PaymentScreenState extends State<PaymentScreen> {
  @override
  void initState() {
    super.initState();
    PaystackService.initializePaystack();
  }

  void _makePayment() async {
    final result = await PaystackService.makePayment(
      amount: "1000",  // 10.00美元
      email: "user@example.com",
      phone: "+1234567890",
      context: context,
    );

    if (result.isNotEmpty) {
      // 处理支付结果
      print("Payment successful: $result");
    }
  }

  @override
  Widget build(BuildContext context) {
    return Scaffold(
      appBar: AppBar(
        title: Text('Payment Screen'),
      ),
      body: Center(
        child: ElevatedButton(
          onPressed: _makePayment,
          child: Text('Make Payment'),
        ),
      ),
    );
  }
}
总结
以上代码展示了如何在Flutter应用中集成Paystack支付网关。你需要替换YOUR_PAYSTACK_PUBLIC_KEY为你的实际Paystack公钥,并处理支付结果。这个示例代码提供了一个基本的支付流程,你可以根据需要进行扩展和修改。