


Flutter业务逻辑管理插件ispectify_bloc的使用
Flutter业务逻辑管理插件ispectify_bloc的使用
概述
ISpect 是一个灵感来源于网页检查器的简单而多功能的库,专为移动应用开发设计。它有一个额外的包用于日志记录和处理 BLoC。
ISpect 是一个简单的库,旨在帮助移动应用调试。它具有多种功能,包括日志记录和处理 BLoC。
## 功能
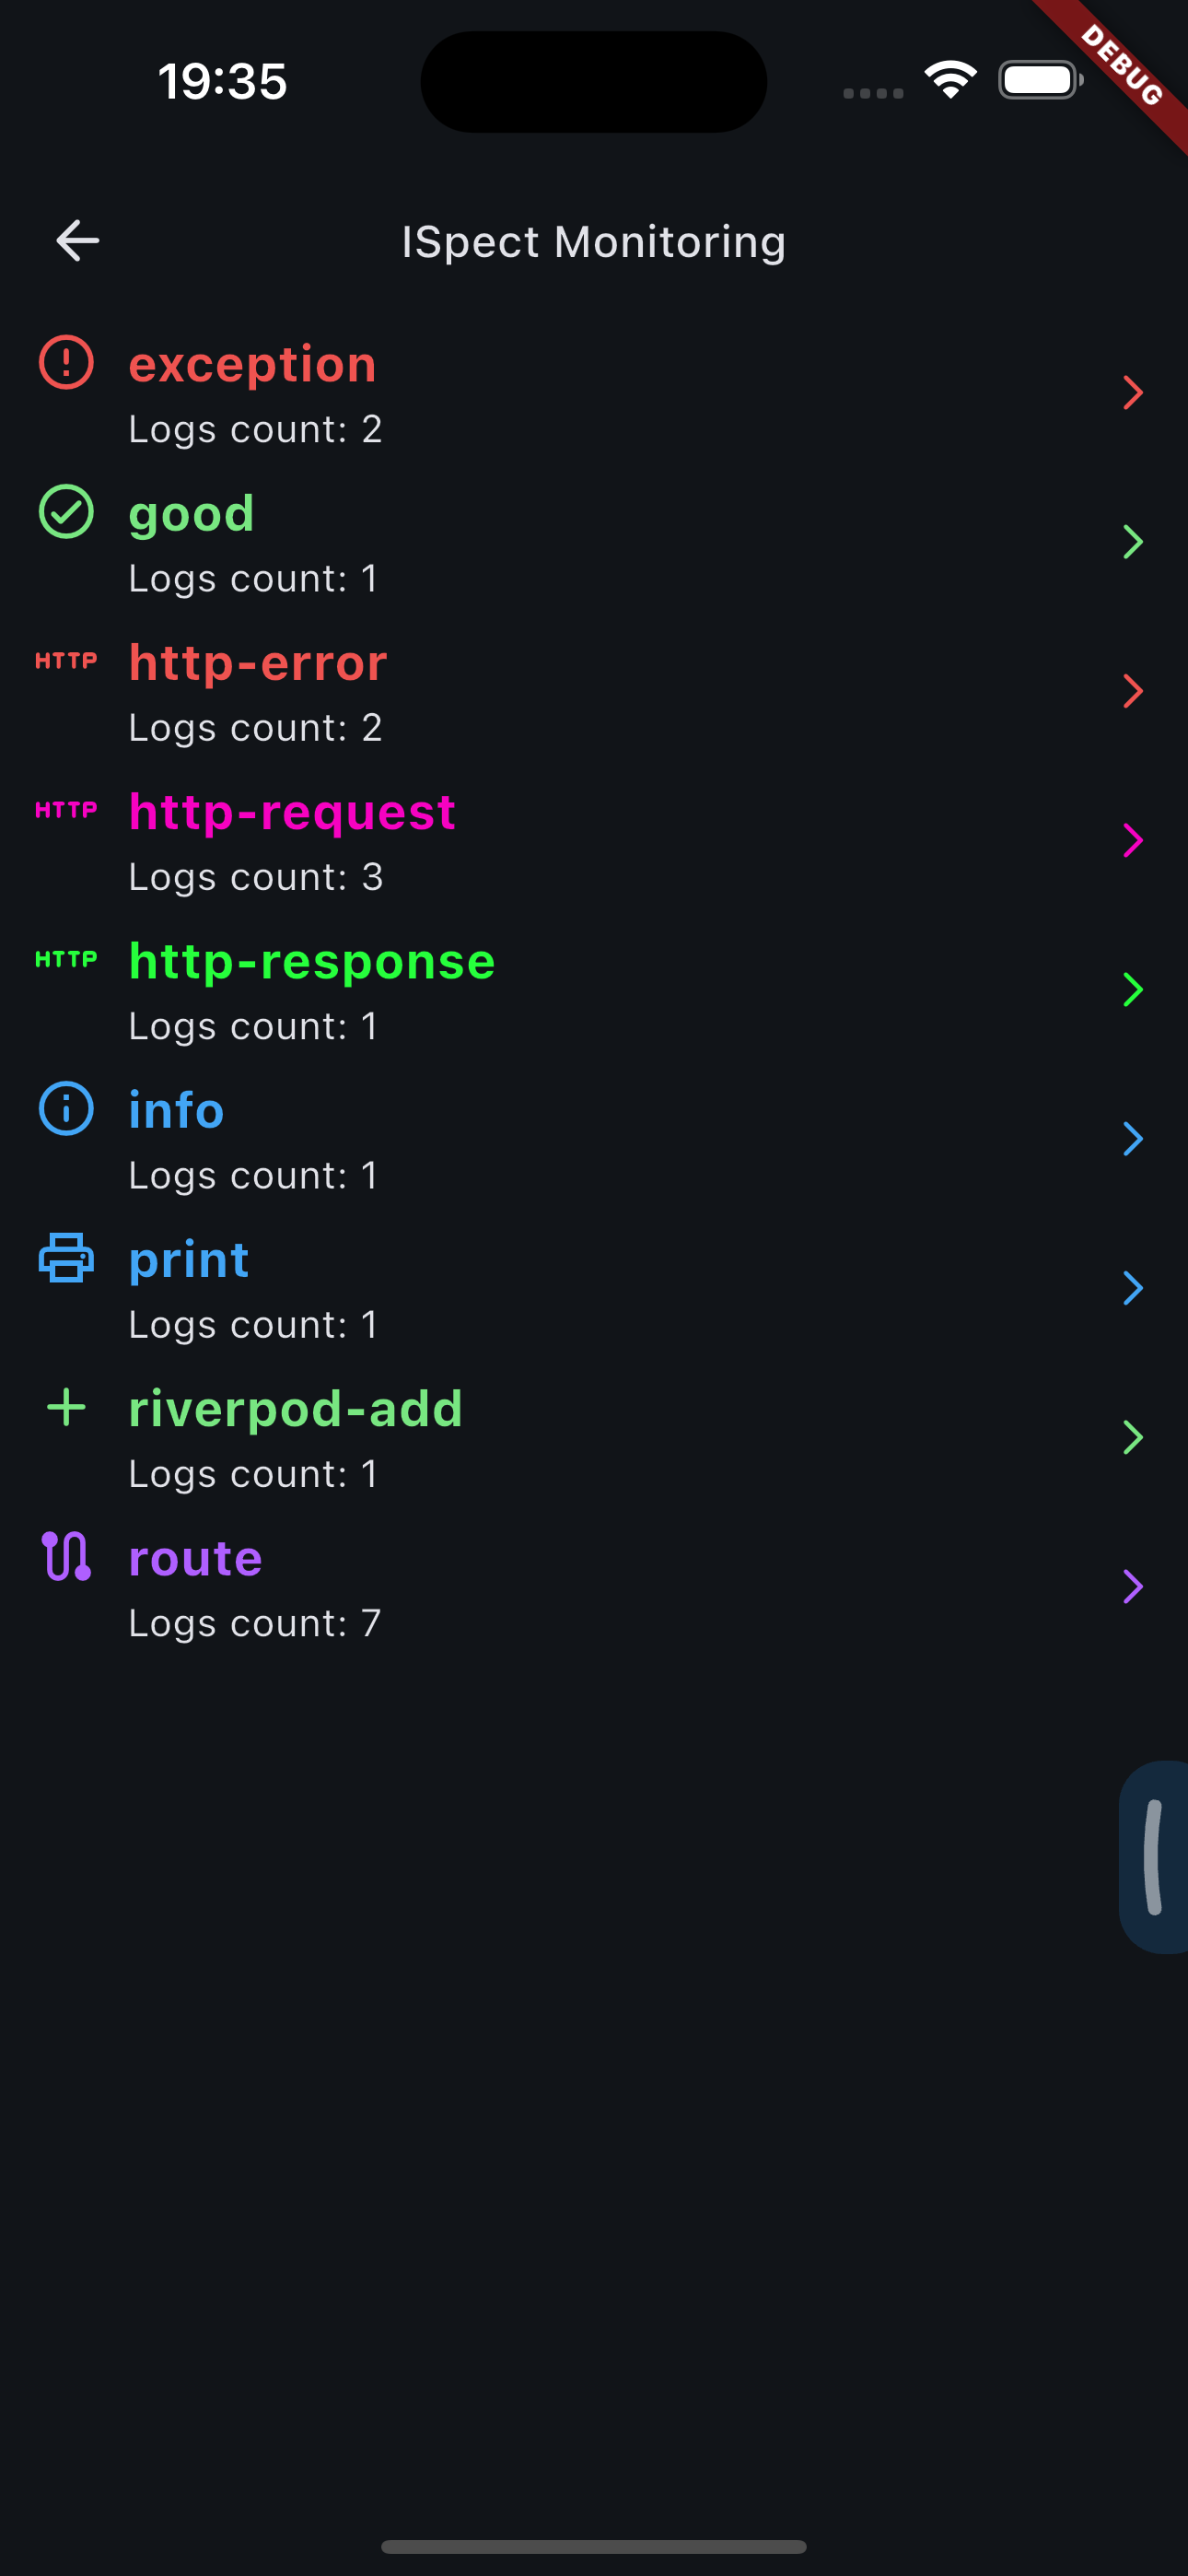
- 可拖拽面板用于路由到 ISpect 页面并管理检查工具。
- 支持本地化:ru、en、kk(未来会添加更多语言)。
- ISpectify 日志记录实现:BLoC、Dio、http、Routing、Provider。
- 在初始化 ISpect 时可以自定义更多选项,如 BLoC、Dispatcher 错误等。
- 更新后的 ISpect 页面:添加了更多选项。
- 详细的 HTTP 日志:请求、响应、错误。
- 调试工具。
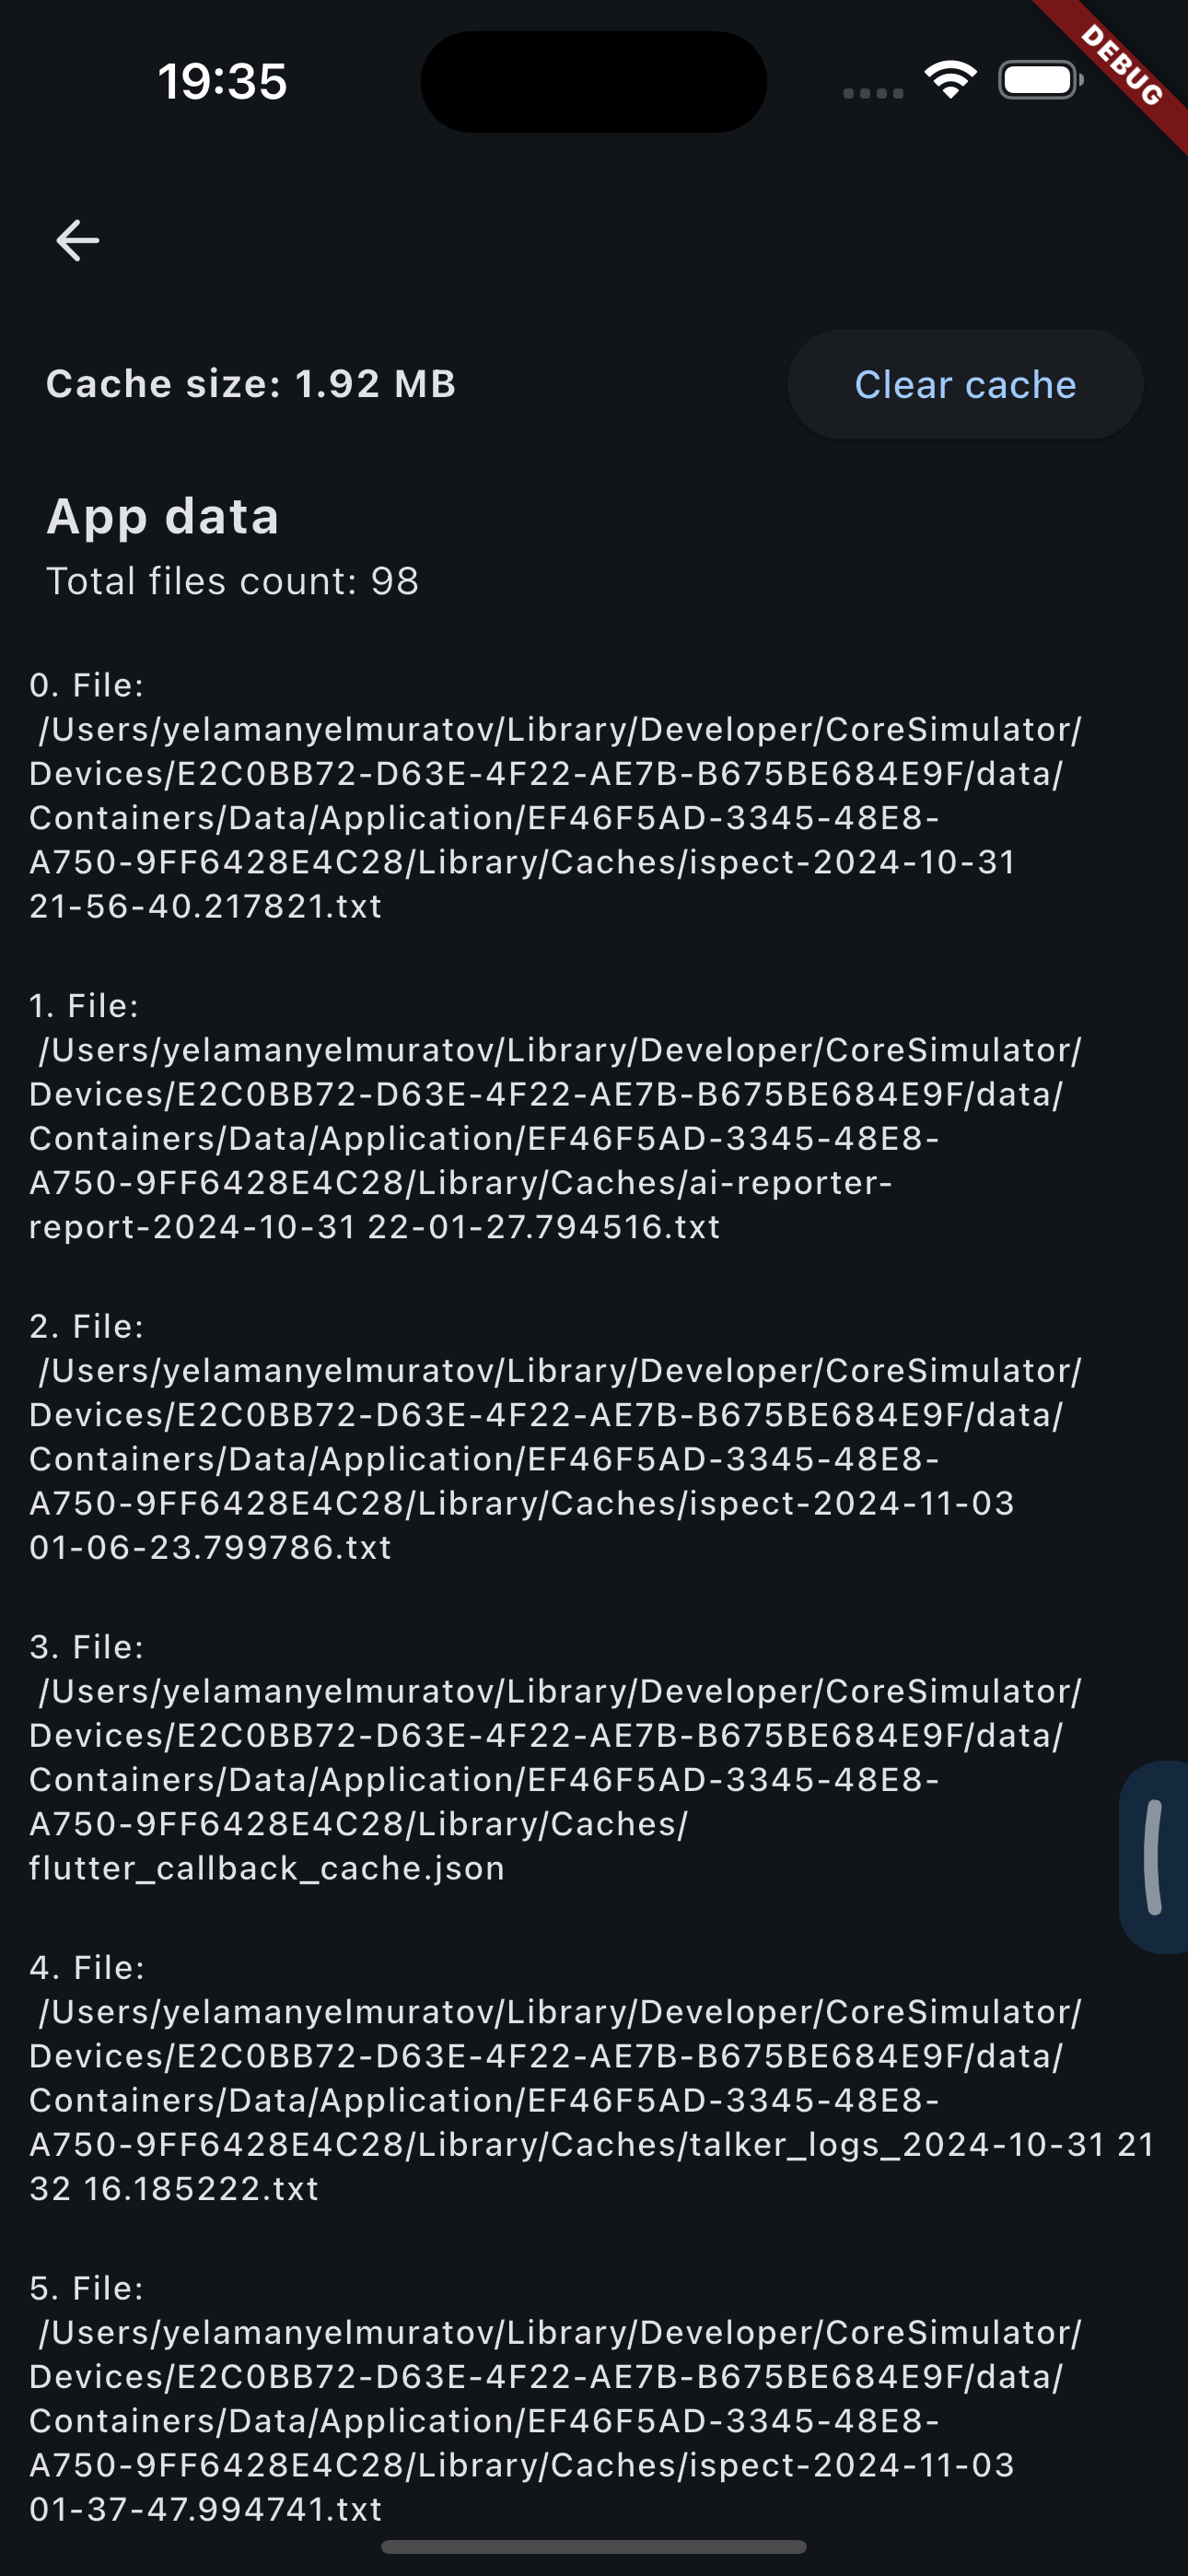
- 缓存管理器。
- 设备和应用信息(通过 `ispect_device` 包获取)。
- 反馈构建器。
- 性能跟踪器。
- AI 辅助。
## 展示图


## 开始使用
### 步骤一:安装依赖
在 `pubspec.yaml` 文件中添加以下依赖:
```yaml
dependencies:
ispectify_bloc: ^x.x.x步骤二:初始化 ISpect
void main() async {
  Bloc.observer = ISpectifyBlocObserver(
    settings: const ISpectifyBlocSettings(
      printEventFullData: false,
      printStateFullData: false,
    ),
  );

  runApp(
    ISpect.run(
      iSpectify: ISpectify(),
      child: MyApp(),
    ),
  );
}
步骤三:配置 ISpect
class MyApp extends StatelessWidget {
  [@override](/user/override)
  Widget build(BuildContext context) {
    return ISpectScopeWrapper(
      iSpectify: ISpectify(),
      child: MaterialApp(
        title: 'Flutter Demo',
        theme: ThemeData(
          primarySwatch: Colors.blue,
        ),
        localizationsDelegates: ISpectLocalizations.localizationDelegates([
          ExampleGeneratedLocalization.delegate, // Your localization delegate
        ]),
        home: MyHomePage(),
        navigatorObservers: [
          ISpectBuilder(),
        ],
      ),
    );
  }
}
步骤四:添加 ISpectifyBlocObserver
onInit: (iSpectify) {
  Bloc.observer = ISpectifyBlocObserver(
    iSpectify: iSpectify,
  );
},
示例代码
以下是一个完整的示例代码,展示了如何使用 ispectify_bloc 插件来管理业务逻辑。
// 忽略无法从主函数访问的文件

import 'package:bloc/bloc.dart';
import 'package:ispectify_bloc/ispectify_bloc.dart';

void main() async {
  Bloc.observer = ISpectifyBlocObserver(
    settings: const ISpectifyBlocSettings(
      printEventFullData: false,
      printStateFullData: false,
    ),
  );
  final somethingBloc = SomethingBloc()
    ..add(const LoadSomething(LoadSomethingCase.successful));
  await Future<void>.delayed(const Duration(milliseconds: 300));
  somethingBloc.add(const LoadSomething(LoadSomethingCase.failure));
}

enum LoadSomethingCase { successful, failure }

class SomethingBloc extends Bloc<SomethingEvent, SomethingState> {
  SomethingBloc() : super(SomethingInitial()) {
    on<LoadSomething>((event, emit) {
      emit(SomethingLoading());
      if (event.loadCase == LoadSomethingCase.successful) {
        emit(SomethingLoaded());
        return;
      }
      throw Exception('Load something failure');
    });
  }
}

abstract class SomethingEvent {
  const SomethingEvent();
}

class LoadSomething extends SomethingEvent {
  const LoadSomething(this.loadCase);

  final LoadSomethingCase loadCase;
}

abstract class SomethingState {}

class SomethingInitial extends SomethingState {}

class SomethingLoading extends SomethingState {}

class SomethingLoaded extends SomethingState {}

class SomethingLoadingFailure extends SomethingState {
  SomethingLoadingFailure(this.error);
  final Object? error;
}
更多关于Flutter业务逻辑管理插件ispectify_bloc的使用的实战系列教程也可以访问 https://www.itying.com/category-92-b0.html


更多关于Flutter业务逻辑管理插件ispectify_bloc的使用的实战系列教程也可以访问 https://www.itying.com/category-92-b0.html
ispectify_bloc 是一个用于 Flutter 应用程序的业务逻辑管理插件,它基于 Bloc 模式,旨在简化状态管理和业务逻辑的组织。虽然 ispectify_bloc 并不是 Flutter 生态系统中广泛使用的主流库(截至2023年10月),但我可以为你提供一些关于如何使用它的基本指导。
1. 安装 ispectify_bloc
首先,你需要在 pubspec.yaml 文件中添加 ispectify_bloc 的依赖:
dependencies:
  flutter:
    sdk: flutter
  ispectify_bloc: ^版本号 # 替换为最新的版本号
然后运行 flutter pub get 来安装依赖。
2. 创建 Bloc
ispectify_bloc 的核心是 Bloc 类。你可以通过继承 Bloc 类来创建自定义的 Bloc。
import 'package:ispectify_bloc/ispectify_bloc.dart';

class CounterBloc extends Bloc<CounterEvent, CounterState> {
  CounterBloc() : super(CounterState(0));

  [@override](/user/override)
  Stream<CounterState> mapEventToState(CounterEvent event) async* {
    if (event is IncrementEvent) {
      yield CounterState(state.count + 1);
    } else if (event is DecrementEvent) {
      yield CounterState(state.count - 1);
    }
  }
}
3. 定义事件和状态
在 Bloc 中,事件(Events)是用户交互或其他外部因素触发的动作,而状态(State)是应用程序当前的状态。
abstract class CounterEvent {}

class IncrementEvent extends CounterEvent {}

class DecrementEvent extends CounterEvent {}

class CounterState {
  final int count;

  CounterState(this.count);
}
4. 使用 Bloc 提供者
在 Flutter 应用程序中,你可以使用 BlocProvider 来提供 Bloc 实例。
import 'package:flutter/material.dart';

void main() {
  runApp(MyApp());
}

class MyApp extends StatelessWidget {
  [@override](/user/override)
  Widget build(BuildContext context) {
    return MaterialApp(
      home: BlocProvider(
        create: (context) => CounterBloc(),
        child: CounterPage(),
      ),
    );
  }
}
5. 在 UI 中消费 Bloc
你可以使用 BlocBuilder 或 BlocListener 来监听 Bloc 的状态变化并更新 UI。
class CounterPage extends StatelessWidget {
  [@override](/user/override)
  Widget build(BuildContext context) {
    final counterBloc = BlocProvider.of<CounterBloc>(context);

    return Scaffold(
      appBar: AppBar(title: Text('Counter')),
      body: Center(
        child: BlocBuilder<CounterBloc, CounterState>(
          builder: (context, state) {
            return Text('Count: ${state.count}');
          },
        ),
      ),
      floatingActionButton: Column(
        mainAxisAlignment: MainAxisAlignment.end,
        children: [
          FloatingActionButton(
            onPressed: () => counterBloc.add(IncrementEvent()),
            child: Icon(Icons.add),
          ),
          SizedBox(height: 10),
          FloatingActionButton(
            onPressed: () => counterBloc.add(DecrementEvent()),
            child: Icon(Icons.remove),
          ),
        ],
      ),
    );
  }
}
6. 处理副作用
如果你需要在某些事件发生时执行一些副作用(如导航、显示对话框等),你可以使用 BlocListener。
BlocListener<CounterBloc, CounterState>(
  listener: (context, state) {
    if (state.count == 10) {
      ScaffoldMessenger.of(context).showSnackBar(
        SnackBar(content: Text('You reached 10!')),
      );
    }
  },
  child: ... // 你的 UI
);
7. 清理资源
在 Bloc 不再需要时,确保关闭它以释放资源。BlocProvider 会自动处理这一点,但如果你手动创建 Bloc,记得调用 bloc.close()。
[@override](/user/override)
void dispose() {
  counterBloc.close();
  super.dispose();
}