


Flutter外设控制插件steelseries_flutter的使用
Flutter外设控制插件steelseries_flutter的使用
特性
steelseries_flutter 是一个将Steel Series Java仪表盘移植到Flutter的库。它提供了多种完全动画化且高度可配置的仪表盘和小部件。
使用方法
在你的应用程序开始时,应该调用一个初始化函数来创建一些用于支持多种背景渲染选项的图像。
initBuffers();
仪表盘和小部件支持广泛的可视化选项,并为每个支持的选项提供默认值。用户可以只覆盖他们想要与默认值不同的选项。
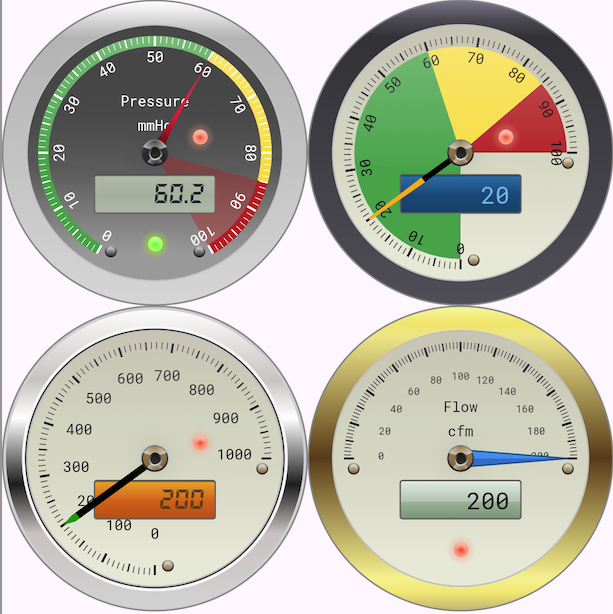
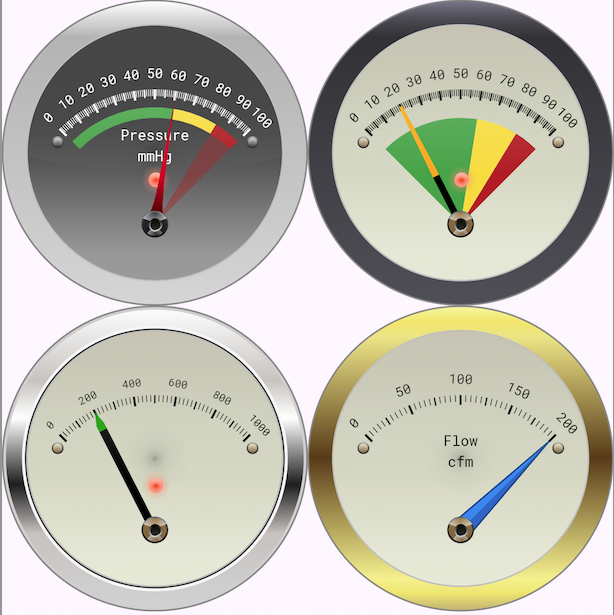
径向仪表盘
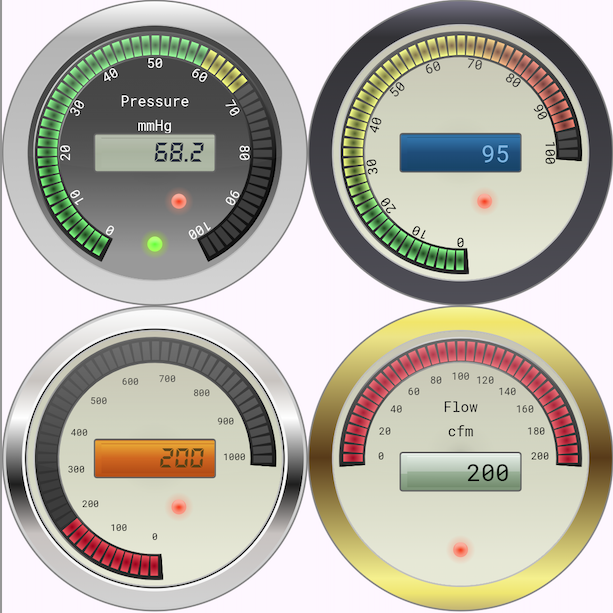
径向条形图仪表盘
垂直径向仪表盘
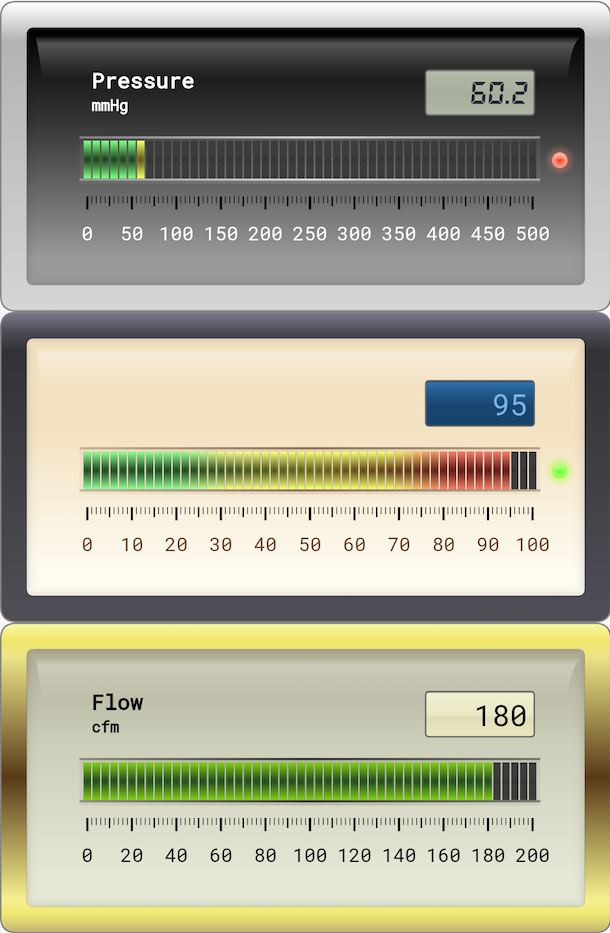
水平线性仪表盘
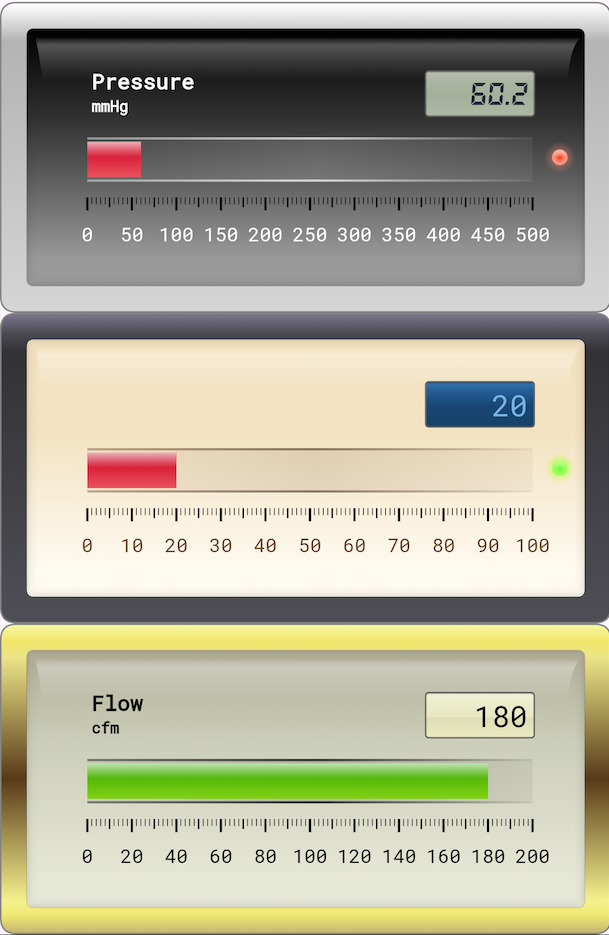
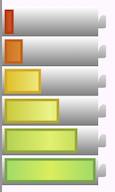
水平条形图线性仪表盘
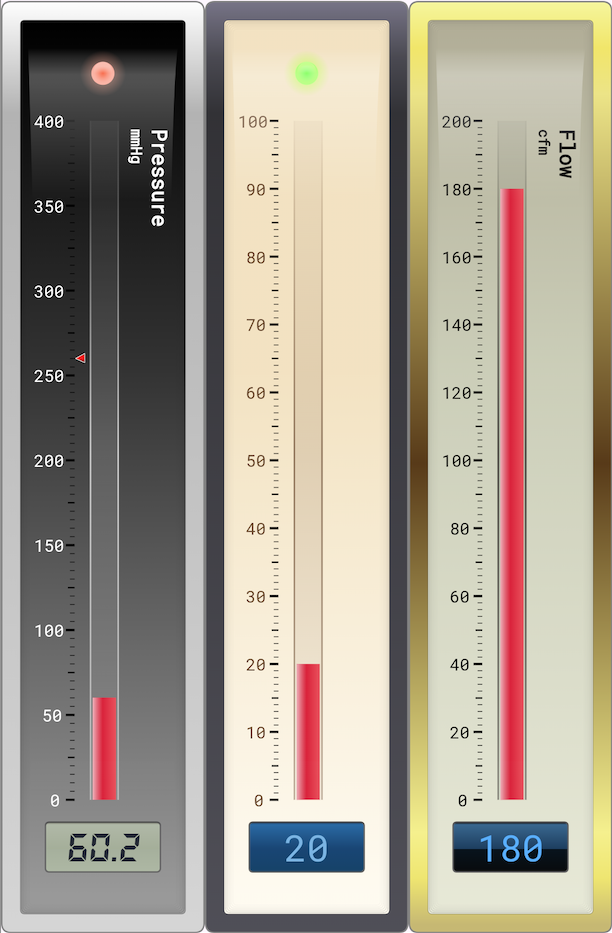
垂直线性仪表盘
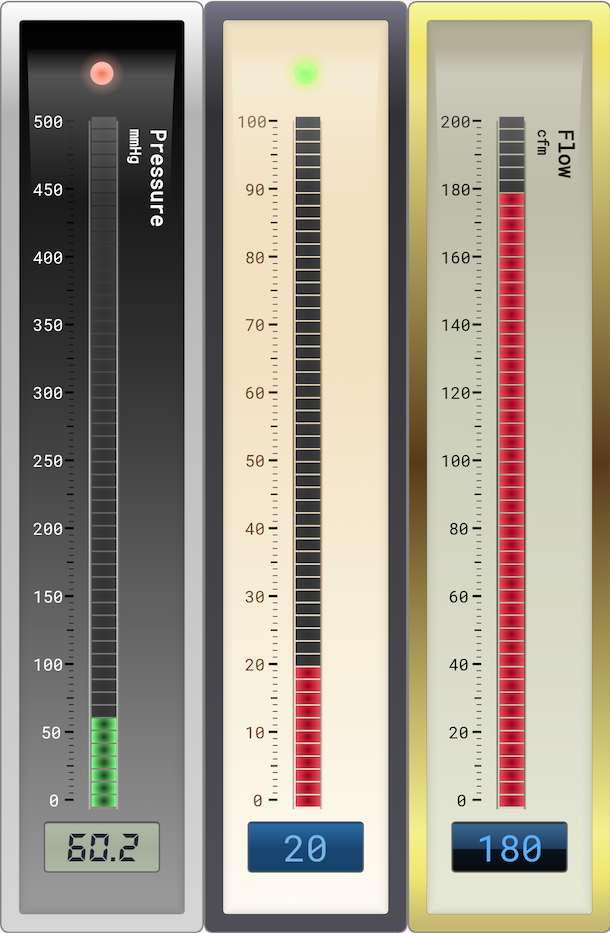
垂直条形图线性仪表盘
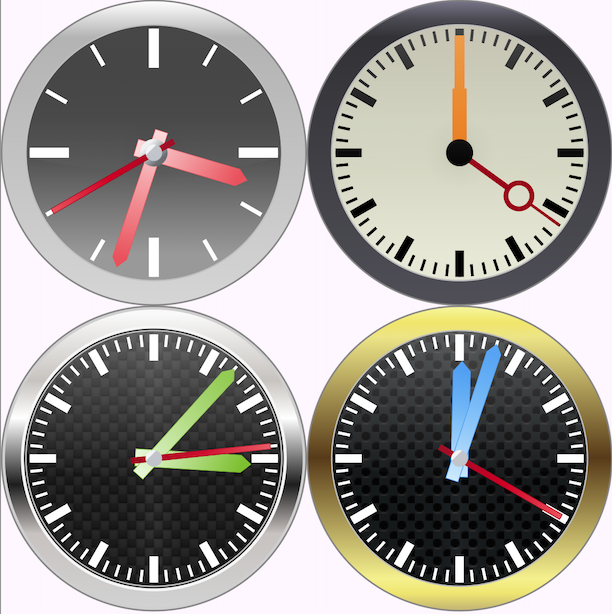
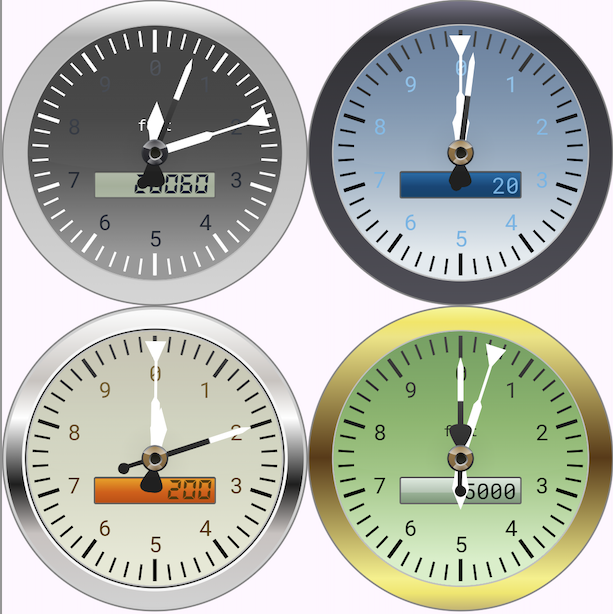
垂直时钟仪表盘
计数器仪表盘

地平仪仪表盘
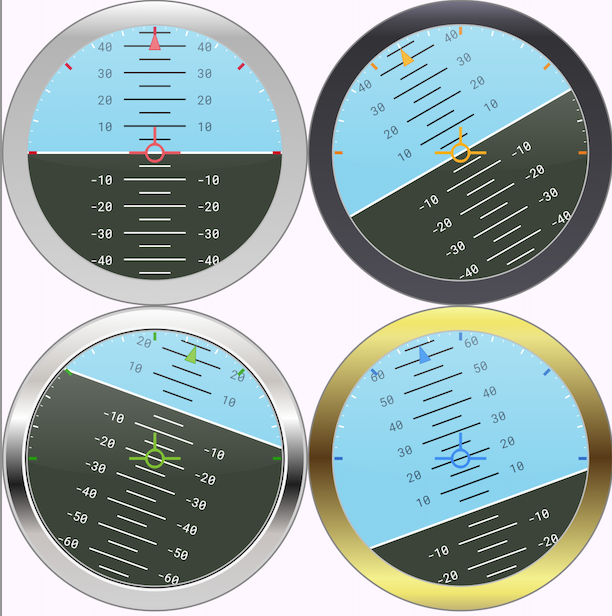
高度计仪表盘
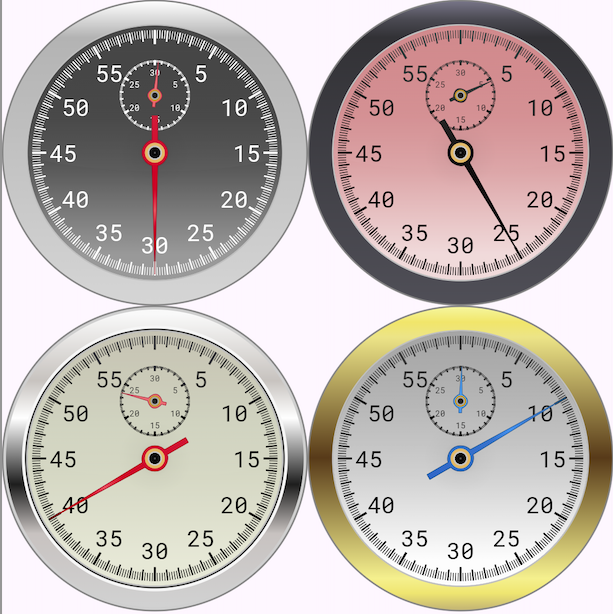
秒表仪表盘
水平仪仪表盘
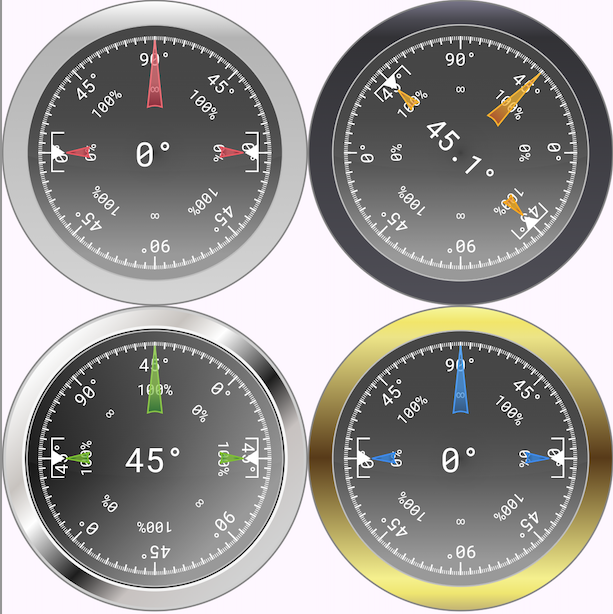
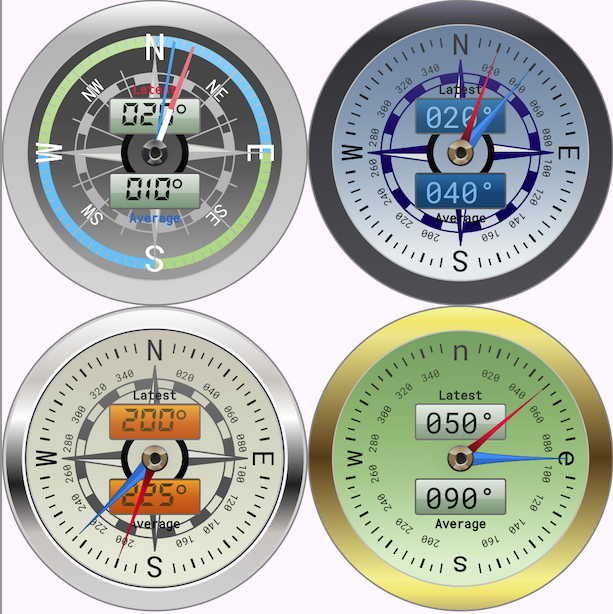
风向仪表盘
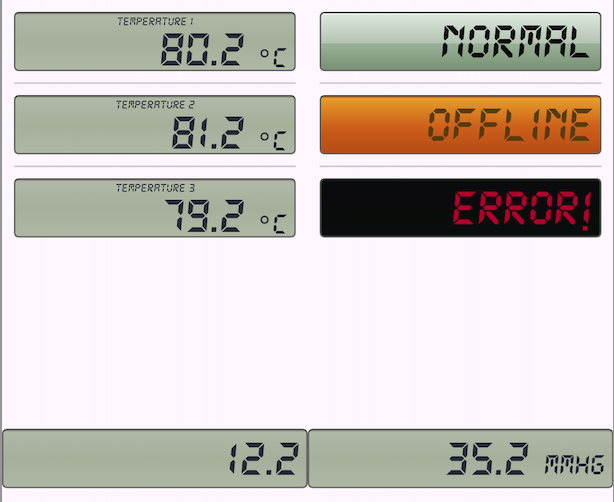
单色LCD仪表盘
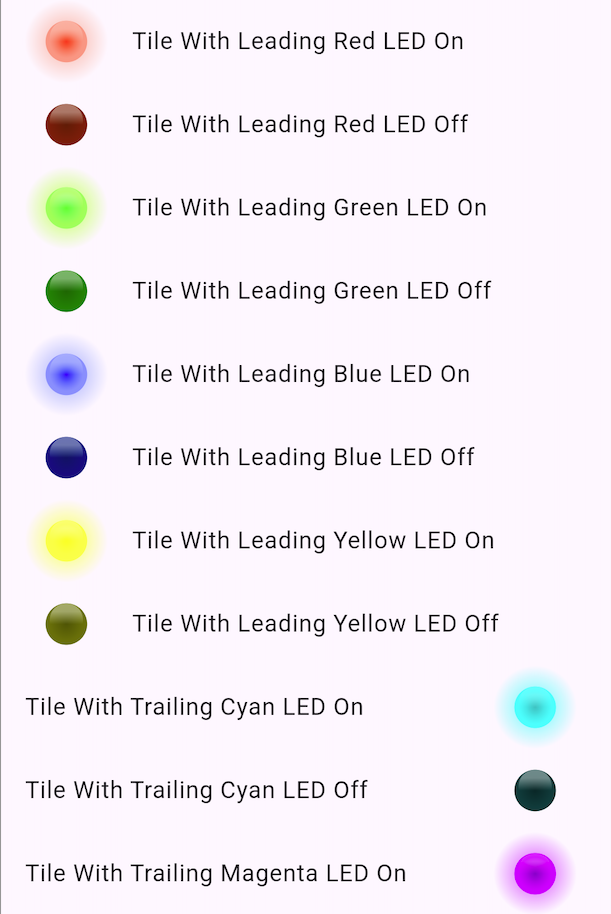
LED小部件
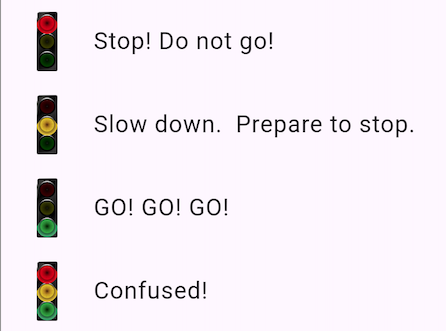
交通灯小部件
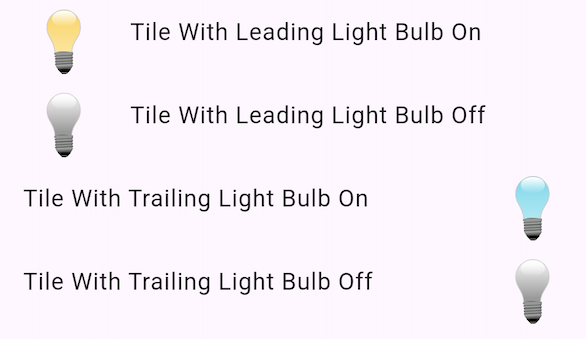
灯泡小部件
电池仪表盘
代码示例
以下是一个完整的示例代码,展示了如何在Flutter应用中使用steelseries_flutter。
import 'package:flutter/material.dart';
import 'package:steelseries_flutter/steelseries_flutter.dart';

void main() {
  runApp(const MyApp());
}

class MyApp extends StatelessWidget {
  const MyApp({super.key});

  [@override](/user/override)
  Widget build(BuildContext context) {
    return MaterialApp(
      title: 'Steel Series Gauges Demo',
      theme: ThemeData(
        scaffoldBackgroundColor: Colors.white,
        visualDensity: VisualDensity.adaptivePlatformDensity,
        appBarTheme: const AppBarTheme(backgroundColor: Colors.white),
      ),
      home: const MyHomePage(),
    );
  }
}

class MyHomePage extends StatelessWidget {
  const MyHomePage({super.key});

  [@override](/user/override)
  Widget build(BuildContext context) {
    return Scaffold(
      appBar: AppBar(
        title: const Text('Steel Series Gauges Demo'),
      ),
      body: GridView.count(
        crossAxisCount: 2,
        children: [
          RadialGauge(
            value: 60.2,
            titleString: 'Pressure',
            unitString: 'mmHg',
            frameVisible: true,
            end: 100,
            threshold: 60,
            thresholdVisible: false,
            gaugeType: GaugeTypeEnum.TYPE4,
            knobType: KnobTypeEnum.METAL_KNOB,
            knobStyle: KnobStyleEnum.BLACK,
            frameDesign: FrameDesignEnum.METAL,
            ledVisible: true,
            ledOn: true,
            userLedVisible: true,
            userLedOn: true,
            foregroundVisible: true,
            foregroundType: ForegroundTypeEnum.TYPE3,
            fontType: FontTypeEnum.LCDMono,
            area: [
              Section(85, 100, Colors.red.shade900.withOpacity(0.4)),
            ],
            section: [
              Section(0, 60, Colors.green.shade600),
              Section(60, 85, Colors.yellow.shade600),
              Section(85, 100, Colors.red.shade900),
            ],
            tickLabelOrientation: TickLabelOrientationEnum.NORMAL,
          ),
          RadialGauge(
            value: 20,
            frameVisible: true,
            end: 100,
            threshold: 60,
            thresholdVisible: false,
            gaugeType: GaugeTypeEnum.TYPE3,
            knobType: KnobTypeEnum.METAL_KNOB,
            knobStyle: KnobStyleEnum.BRASS,
            frameDesign: FrameDesignEnum.ANTHRACITE,
            backgroundColor: BackgroundColorEnum.BEIGE,
            pointerType: PointerTypeEnum.TYPE2,
            pointerColor: ColorEnum.ORANGE,
            lcdDecimals: 0,
            lcdColor: LcdColorEnum.BLUE2,
            ledVisible: true,
            ledOn: true,
            userLedVisible: false,
            userLedOn: true,
            foregroundVisible: true,
            foregroundType: ForegroundTypeEnum.TYPE3,
            fontType: FontTypeEnum.RobotoMono,
            area: [
              Section(0, 60, Colors.green.shade600),
              Section(60, 85, Colors.yellow.shade600),
              Section(85, 100, Colors.red.shade900),
            ],
            tickLabelOrientation: TickLabelOrientationEnum.NORMAL,
          ),
          const RadialGauge(
            value: 200,
            frameVisible: true,
            end: 1000,
            threshold: 60,
            thresholdVisible: false,
            gaugeType: GaugeTypeEnum.TYPE3,
            knobType: KnobTypeEnum.METAL_KNOB,
            knobStyle: KnobStyleEnum.BRASS,
            frameDesign: FrameDesignEnum.GLOSSY_METAL,
            backgroundColor: BackgroundColorEnum.BEIGE,
            pointerType: PointerTypeEnum.TYPE13,
            pointerColor: ColorEnum.GREEN,
            lcdDecimals: 0,
            lcdColor: LcdColorEnum.AMBER,
            ledVisible: true,
            ledOn: true,
            userLedVisible: false,
            userLedOn: true,
            foregroundVisible: true,
            foregroundType: ForegroundTypeEnum.TYPE3,
            fontType: FontTypeEnum.LCDMono,
            tickLabelOrientation: TickLabelOrientationEnum.HORIZONTAL,
          ),
          const RadialGauge(
            value: 200,
            frameVisible: true,
            end: 200,
            threshold: 60,
            thresholdVisible: false,
            titleString: 'Flow',
            unitString: 'cfm',
            gaugeType: GaugeTypeEnum.TYPE2,
            knobType: KnobTypeEnum.METAL_KNOB,
            knobStyle: KnobStyleEnum.BRASS,
            frameDesign: FrameDesignEnum.BRASS,
            backgroundColor: BackgroundColorEnum.BEIGE,
            pointerType: PointerTypeEnum.TYPE5,
            pointerColor: ColorEnum.BLUE,
            lcdDecimals: 0,
            lcdColor: LcdColorEnum.STANDARD_GREEN,
            ledVisible: false,
            ledOn: true,
            userLedVisible: true,
            userLedOn: true,
            userLedColor: LedColorEnum.RED_LED,
            foregroundVisible: true,
            foregroundType: ForegroundTypeEnum.TYPE3,
            fontType: FontTypeEnum.RobotoMono,
            tickLabelOrientation: TickLabelOrientationEnum.HORIZONTAL,
          ),
        ],
      ),
    );
  }
}
更多关于Flutter外设控制插件steelseries_flutter的使用的实战教程也可以访问 https://www.itying.com/category-92-b0.html

更多关于Flutter外设控制插件steelseries_flutter的使用的实战系列教程也可以访问 https://www.itying.com/category-92-b0.html
steelseries_flutter 是一个用于在 Flutter 应用中控制 SteelSeries 外设(如键盘、鼠标、耳机等)的插件。它允许你通过 Flutter 应用程序与 SteelSeries 设备进行交互,例如设置 RGB 灯光效果、调整音量、发送通知等。
以下是如何使用 steelseries_flutter 插件的基本步骤:
1. 添加依赖
首先,你需要在 pubspec.yaml 文件中添加 steelseries_flutter 插件的依赖:
dependencies:
  flutter:
    sdk: flutter
  steelseries_flutter: ^latest_version
然后运行 flutter pub get 来获取依赖。
2. 导入插件
在你的 Dart 文件中导入 steelseries_flutter 插件:
import 'package:steelseries_flutter/steelseries_flutter.dart';
3. 初始化插件
在使用插件之前,你需要初始化它。通常可以在 main() 函数或 initState() 方法中进行初始化。
void main() async {
  WidgetsFlutterBinding.ensureInitialized();
  await SteelseriesFlutter.initialize();
  runApp(MyApp());
}
4. 控制外设
你可以使用 SteelseriesFlutter 类中提供的方法来控制外设。以下是一些常见的操作示例:
设置键盘灯光效果
SteelseriesFlutter.setKeyboardLightingEffect(
  device: 'keyboard',
  effect: 'wave',
  color: Colors.blue,
);
调整耳机音量
SteelseriesFlutter.setHeadsetVolume(
  device: 'headset',
  volume: 50, // 0-100
);
发送通知到设备
SteelseriesFlutter.sendNotification(
  device: 'keyboard',
  title: 'New Message',
  message: 'You have a new message!',
  icon: 'message',
);
5. 处理错误
在使用插件时,可能会遇到错误。你可以使用 try-catch 块来捕获并处理这些错误。
try {
  await SteelseriesFlutter.setKeyboardLightingEffect(
    device: 'keyboard',
    effect: 'wave',
    color: Colors.blue,
  );
} catch (e) {
  print('Error setting lighting effect: $e');
}
6. 释放资源
在应用程序退出或不再需要使用插件时,可以释放资源。
SteelseriesFlutter.dispose();
7. 示例应用
以下是一个简单的示例应用,展示了如何使用 steelseries_flutter 插件来控制键盘的灯光效果:
import 'package:flutter/material.dart';
import 'package:steelseries_flutter/steelseries_flutter.dart';

void main() async {
  WidgetsFlutterBinding.ensureInitialized();
  await SteelseriesFlutter.initialize();
  runApp(MyApp());
}

class MyApp extends StatelessWidget {
  [@override](/user/override)
  Widget build(BuildContext context) {
    return MaterialApp(
      home: Scaffold(
        appBar: AppBar(
          title: Text('SteelSeries Flutter Example'),
        ),
        body: Center(
          child: ElevatedButton(
            onPressed: () async {
              try {
                await SteelseriesFlutter.setKeyboardLightingEffect(
                  device: 'keyboard',
                  effect: 'wave',
                  color: Colors.blue,
                );
              } catch (e) {
                print('Error setting lighting effect: $e');
              }
            },
            child: Text('Set Wave Effect'),
          ),
        ),
      ),
    );
  }
}