


HarmonyOS鸿蒙Next中护眼模式的示例代码
HarmonyOS鸿蒙Next中护眼模式的示例代码
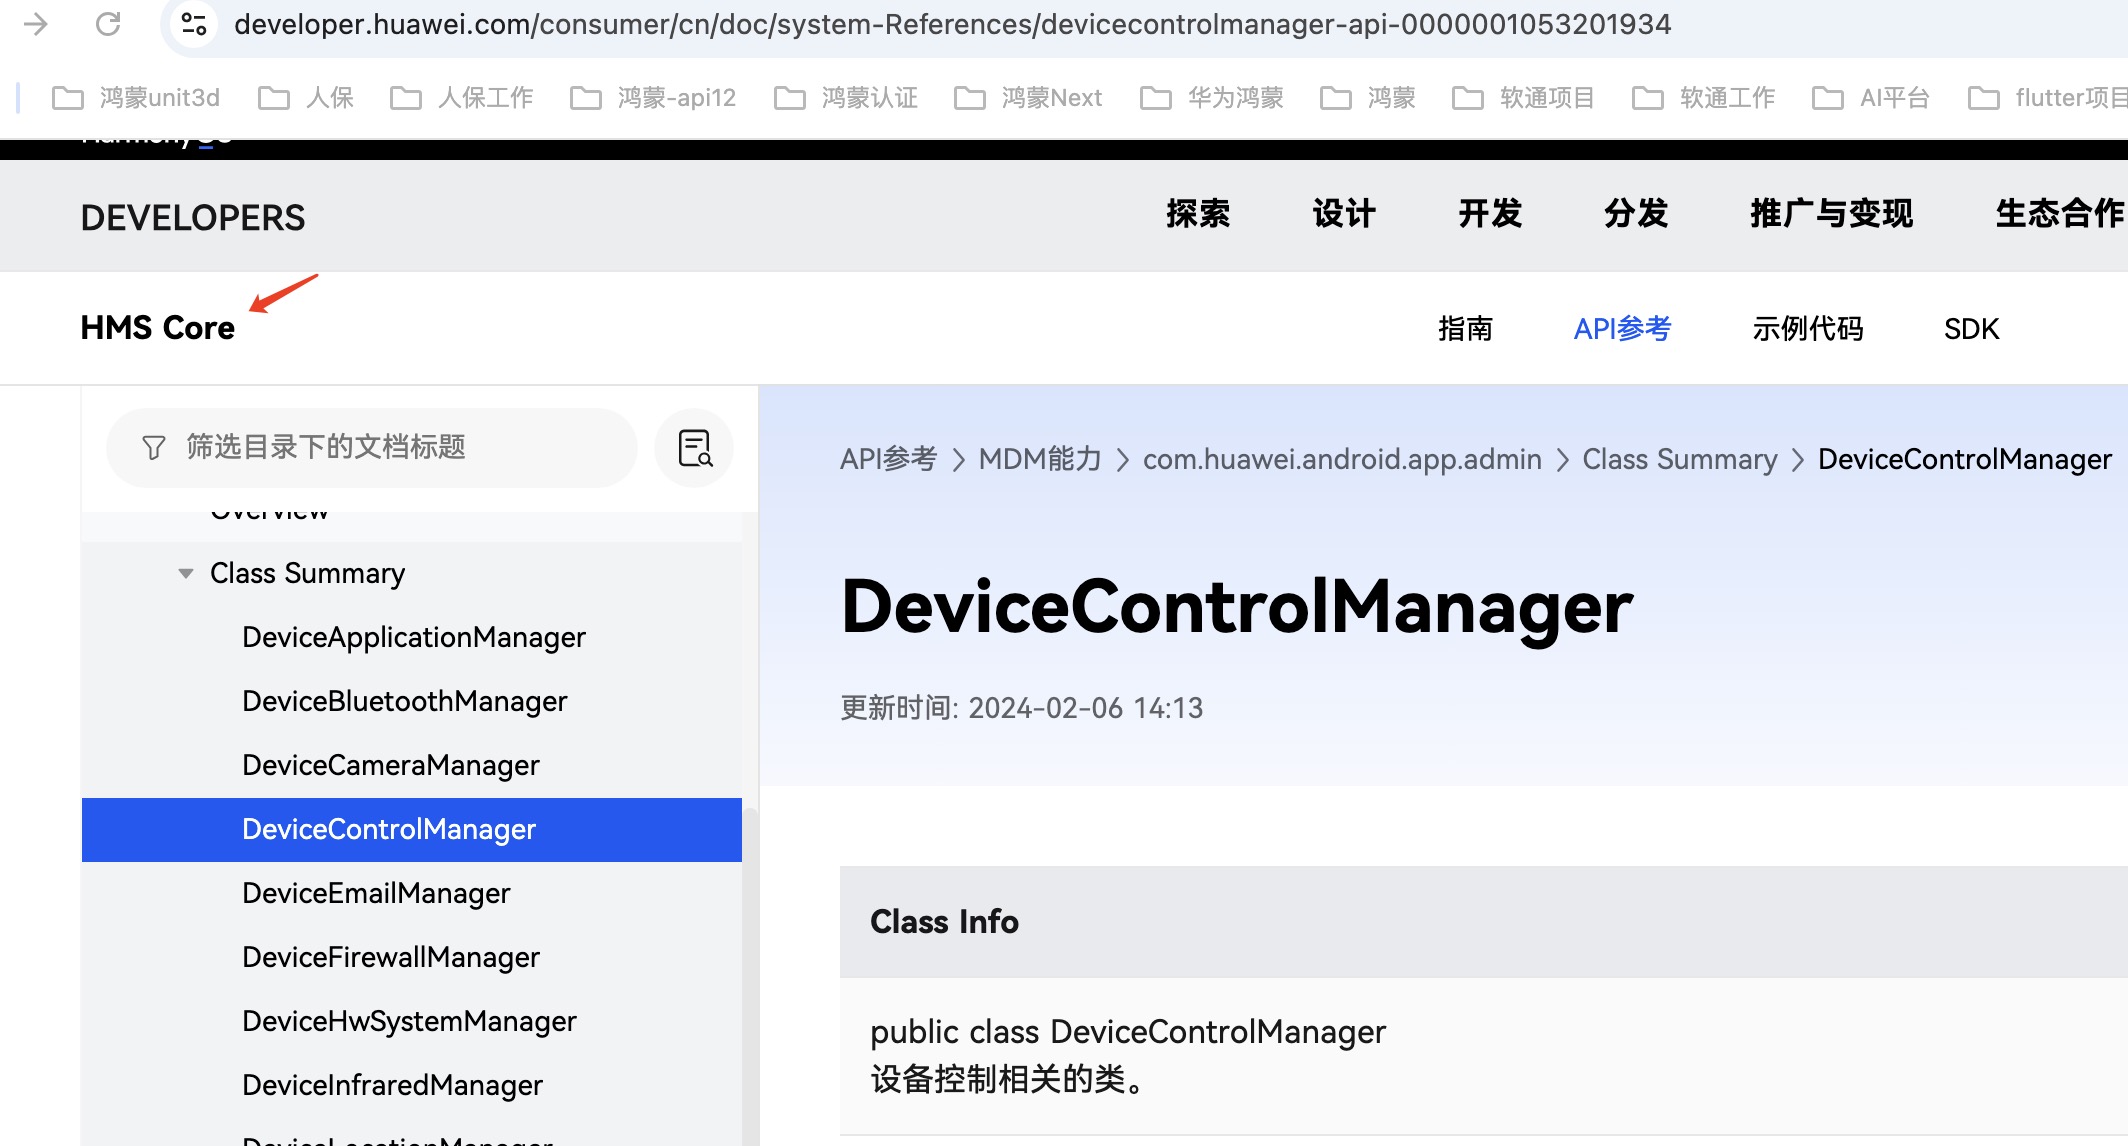
请问在鸿蒙系统中设置护眼模式,示例代码应该怎么写。我看文档里面可以使用DeviceControlManager类中的turnOnEyeComfort来实现,但是没给示例代码。DeviceControlManager也没找到引入的地方。
更多关于HarmonyOS鸿蒙Next中护眼模式的示例代码的实战系列教程也可以访问 https://www.itying.com/category-93-b0.html


工具类

```javascript
import { hilog } from '[@kit](/user/kit).PerformanceAnalysisKit';
import { window } from '[@kit](/user/kit).ArkUI';
import { bundleManager } from '[@kit](/user/kit).AbilityKit';
import { BusinessError } from '[@kit](/user/kit).BasicServicesKit';

export class EyeProtectionMode {
  windowStage: window.WindowStage|null = null
  eye_windowClass: window.Window | null = null
  private static sInstance: EyeProtectionMode
  public static getInstance(): EyeProtectionMode {
    if (!EyeProtectionMode.sInstance) {
      EyeProtectionMode.sInstance = new EyeProtectionMode();
    }
    return EyeProtectionMode.sInstance;
  }
  createSubWithEyeWindow(backgroundColor: string): void {
    if (this.windowStage == null) {
      console.error('windowStage为空,请先传值后再创建')
    } else {
      this.windowStage.createSubWindow('eyeWindow', (error: BusinessError, data) => {
        if (error.code) {
          console.error('创建护眼模式window失败:', JSON.stringify(error))
          return
        }

        //  private eye_windowClass: window.Window | null = null; 单列设置的属性
        this.eye_windowClass= data
        console.log('创建护眼模式window成功')
        // 2、设置全屏显示
        this.eye_windowClass?.setWindowLayoutFullScreen(true)
        //3、设置不可触摸,防止护眼模式窗口阻挡主窗口的手势
        this.eye_windowClass.setWindowTouchable(false)
        //4、设置window的承载content,必须设置,否则会显示失败
        //下面是页面路由路径的获取,appBundleName方法已在下面贴出,TBXBaseLib是我自己的具体组件模块名:
        const pagePath = 'ets/pages/EyesProtectPage.ets'
        let url = `@bundle:${this.appBundleName()}/entry/${pagePath}`
        this.eye_windowClass.setUIContent(url, (err: BusinessError) => {
          // 5.设置背景颜色
          if (!err.code) {
            this.eye_windowClass?.setWindowBackgroundColor(backgroundColor)
          }
        })

        //6、显示窗口
        this.eye_windowClass?.showWindow((err: BusinessError) => {
          let errCode = err.code;
          if (errCode) {
            console.error('Failed to show the window. Cause: ' + JSON.stringify(err));
            return;
          }
          console.info('Succeeded in showing the window.');
        })
      })
    }
  }

  /*移除护眼模式子窗口*/
  removeSubWithEyeWindow(): void {
    if (this.eye_windowClass != null) {
      this.eye_windowClass.destroyWindow((error: BusinessError) => {
        let errCode = error.code
        if (errCode) {
          console.error('Failed to destroy the window. Cause: ' + JSON.stringify(error));
          return;
        }
        console.info('Succeeded in destroying the window.');
        this.eye_windowClass = null
      })
    }

  }

  /**
   * 获取app bundleName
   */
  appBundleName(): string {
    return bundleManager.getBundleInfoForSelfSync(bundleManager.BundleFlag.GET_BUNDLE_INFO_WITH_APPLICATION)
      .appInfo
      .descriptionResource
      .bundleName
  }
}
在onWindowStageCreate中给windowStage赋值
onWindowStageCreate(windowStage: window.WindowStage): void {
  // Main window is created, set main page for this ability
  hilog.info(0x0000, 'testTag', '%{public}s', 'Ability onWindowStageCreate');
  //给windowStage赋值
  EyeProtectionMode.getInstance().windowStage = windowStage
  windowStage.loadContent('pages/Index', (err) => {
    if (err.code) {
      hilog.error(0x0000, 'testTag', 'Failed to load the content. Cause: %{public}s', JSON.stringify(err) ?? '');
      return;
    }
    hilog.info(0x0000, 'testTag', 'Succeeded in loading the content.');
  });
}
调用
Column({
  space:14
}){
  Button('开启护眼模式')
    .onClick(() =>{
      EyeProtectionMode.getInstance().createSubWithEyeWindow('#1Af3f364')
    })
  Button('关闭护眼模式')
    .onClick(() =>{
      EyeProtectionMode.getInstance().removeSubWithEyeWindow()
    })
}
更多关于HarmonyOS鸿蒙Next中护眼模式的示例代码的实战系列教程也可以访问 https://www.itying.com/category-93-b0.html


参考如下demo,参考文档:应用深浅色适配-主题设置-UI开发 (ArkTS声明式开发范式)-ArkUI(方舟UI框架)-应用框架 - 华为HarmonyOS开发者
//Index.ets
import ConfigurationConstant from '@ohos.app.ability.ConfigurationConstant';
import hilog from '@ohos.hilog';
import { router } from '@kit.ArkUI';

@Entry
@Component
struct Index {
  @State message: string = 'Hello World';

  build() {
    Row() {
      Column() {
        Text("light") //应用设置颜色模式为LIGHT
          .fontSize(40)
          .fontWeight(FontWeight.Bold)
          .onClick(() => {
            hilog.info(0x0000, 'testTag', 'before setColorMode');
            let context = getContext().getApplicationContext()
            context.setColorMode(ConfigurationConstant.ColorMode.COLOR_MODE_LIGHT);
            console.log('------------ appUpdateConfiguration -----------'+'DARK');
          })
          .fontColor("#ffdd1a1a")
          .backgroundColor($r("app.color.start_window_background"))

        Text("dark") // 应用设置颜色模式为DARK
          .fontSize(40)
          .fontWeight(FontWeight.Bold)
          .onClick(() => {
            hilog.info(0x0000, 'testTag', 'before setColorMode');
            let context = getContext().getApplicationContext()
            context.setColorMode(ConfigurationConstant.ColorMode.COLOR_MODE_DARK);
            console.log('------------ appUpdateConfiguration -----------'+'DARK');
          })
          .fontColor("#ffdd1a1a")
          .backgroundColor($r("app.color.start_window_background"))
      }
      .width('100%')
    }
    .backgroundColor("#ffffff")
    .height('100%')
  }
}
在HarmonyOS(鸿蒙Next)中,护眼模式的实现可以通过调整屏幕的色温或亮度来减少蓝光输出。以下是一个简单的示例代码,展示如何在鸿蒙Next中实现护眼模式。
import { Ability, AbilityContext, AbilityLifecycleCallback } from '@ohos.application.Ability';
import { systemSettings } from '@ohos.systemSettings';

export default class EyeProtectionAbility extends Ability {
    onWindowStageCreate(windowStage: any) {
        // 设置护眼模式
        this.enableEyeProtectionMode();
    }

    enableEyeProtectionMode() {
        // 获取当前系统设置
        let settings = systemSettings.getSystemSettings();

        // 设置屏幕色温为暖色调
        settings.display.setColorTemperature(4500); // 4500K为暖色调

        // 降低屏幕亮度
        settings.display.setBrightness(50); // 亮度设置为50%
    }
}在这个示例中,enableEyeProtectionMode方法通过调整屏幕色温和亮度来实现护眼模式。setColorTemperature方法用于设置屏幕色温,数值越低,色温越暖,蓝光越少。setBrightness方法用于调整屏幕亮度,亮度越低,对眼睛的刺激越小。
请注意,这只是一个简单的示例,实际应用中可能需要根据具体需求进行调整。
在HarmonyOS(鸿蒙)中,护眼模式可以通过调整屏幕的色温来实现。以下是一个简单的示例代码,展示如何在HarmonyOS Next中实现护眼模式:
import ohos.agp.window.service.WindowManager;
import ohos.agp.window.service.WindowManager.LayoutParams;
import ohos.app.Context;

public class EyeProtectionMode {
    public static void enableEyeProtectionMode(Context context) {
        WindowManager windowManager = context.getWindowManager();
        LayoutParams layoutParams = windowManager.getWindow().getAttributes();
        layoutParams.screenBrightness = 0.5f; // 调整屏幕亮度
        layoutParams.screenTint = 0xFFFFF0; // 设置屏幕色温为护眼色
        windowManager.getWindow().setAttributes(layoutParams);
    }
}
这个示例代码通过调整屏幕亮度和色温来实现护眼模式。你可以根据实际需求进一步优化和扩展功能。