HarmonyOS鸿蒙Next中实现全局水印示例代码
HarmonyOS鸿蒙Next中实现全局水印示例代码
介绍
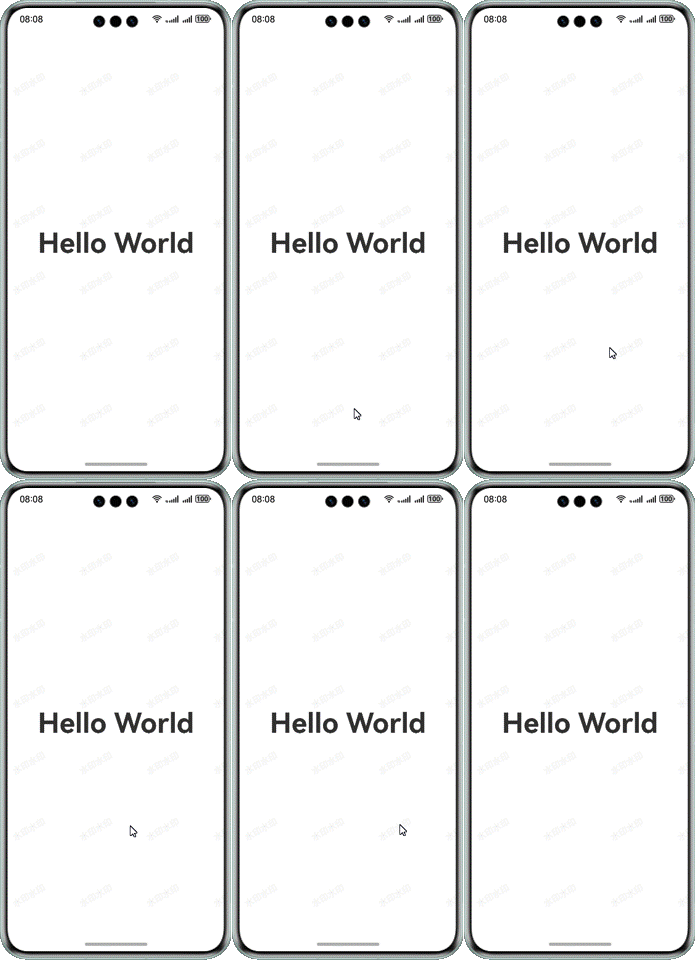
本示例使用组件默认属性overlay实现组件级水印效果。
效果预览

使用说明
- 水印效果,只需要在组件加上默认属性overlay即可
- 每一个页面都加上,即可实现全局水印
实现思路
- 通过canvas绘制水印
- 在用到的页面,在组件加上默认属性overlay
核心代码如下:
Canvas(this.context)
  .width('100%')
  .height('100%')
  .hitTestBehavior(HitTestMode.Transparent)
  .onReady(() => {
    // TODO:知识点:通过canvas绘制水印
    this.context.fillStyle = '#10000000';
    this.context.font = '16vp';
    this.context.textAlign = 'center';
    this.context.textBaseline = 'middle';
    for (let i = 0; i < this.context.width / 120; i++) {
      this.context.translate(120, 0);
      let j = 0;
      for (; j < this.context.height / 120; j++) {
        this.context.rotate(-Math.PI / 180 * 30);
        this.context.fillText('水印水印', -60, -60);
        this.context.rotate(Math.PI / 180 * 30);
        this.context.translate(0, 120);
      }
      this.context.translate(0, -120 * j);
    }
  })
需要使用的页添加overlay属性
RelativeContainer() {
  Text(this.message)
    .id('HelloWorld')
    .fontSize(50)
    .fontWeight(FontWeight.Bold)
    .alignRules({
      center: { anchor: '__container__', align: VerticalAlign.Center },
      middle: { anchor: '__container__', align: HorizontalAlign.Center }
    })
}
.overlay(createWaterMarkView())  // 水印效果,只需要在组件加上默认属性overlay即可
// 每一个页面都加上,即可实现全局水印
更多关于HarmonyOS鸿蒙Next中实现全局水印示例代码的实战系列教程也可以访问 https://www.itying.com/category-93-b0.html
2 回复
在HarmonyOS(鸿蒙)Next中实现全局水印,可以通过使用Component和Canvas组件来绘制水印。以下是一个简单的示例代码,展示如何在鸿蒙应用中实现全局水印。
import { Component, Canvas, Text, CanvasRenderingContext2D } from '@ohos.arkui';

@Component
export class GlobalWatermark {
    private canvas: Canvas;
    private context: CanvasRenderingContext2D;

    constructor(canvas: Canvas) {
        this.canvas = canvas;
        this.context = canvas.getContext('2d');
    }

    drawWatermark(text: string, x: number, y: number, angle: number, color: string, fontSize: number) {
        this.context.save();
        this.context.translate(x, y);
        this.context.rotate(angle * Math.PI / 180);
        this.context.fillStyle = color;
        this.context.font = `${fontSize}px Arial`;
        this.context.fillText(text, 0, 0);
        this.context.restore();
    }

    drawGlobalWatermark(text: string, color: string = 'rgba(0, 0, 0, 0.1)', fontSize: number = 20) {
        const canvasWidth = this.canvas.width;
        const canvasHeight = this.canvas.height;

        for (let i = 0; i < canvasWidth; i += 150) {
            for (let j = 0; j < canvasHeight; j += 100) {
                this.drawWatermark(text, i, j, -45, color, fontSize);
            }
        }
    }
}

// 使用示例
const canvas = new Canvas();
const watermark = new GlobalWatermark(canvas);
watermark.drawGlobalWatermark('Confidential');这段代码定义了一个GlobalWatermark类,通过Canvas和CanvasRenderingContext2D在画布上绘制全局水印。drawGlobalWatermark方法会在整个画布上重复绘制水印,水印内容为指定的文本,颜色和字体大小可以自定义。
更多关于HarmonyOS鸿蒙Next中实现全局水印示例代码的实战系列教程也可以访问 https://www.itying.com/category-93-b0.html
在HarmonyOS鸿蒙Next中,可以通过自定义组件实现全局水印。以下是一个简单的示例代码:
import ohos.agp.components.Component;
import ohos.agp.render.Canvas;
import ohos.agp.render.Paint;
import ohos.agp.utils.Color;
import ohos.agp.utils.TextAlignment;
import ohos.app.Context;

public class WatermarkComponent extends Component {
    private String watermarkText = "Confidential";

    public WatermarkComponent(Context context) {
        super(context);
    }

    @Override
    protected void onDraw(Canvas canvas) {
        super.onDraw(canvas);

        Paint paint = new Paint();
        paint.setColor(Color.GRAY);
        paint.setTextSize(50);
        paint.setTextAlign(TextAlignment.CENTER);

        int width = getWidth();
        int height = getHeight();

        canvas.drawText(paint, watermarkText, width / 2, height / 2);
    }
}
在布局文件中使用该组件:
<com.example.WatermarkComponent
    ohos:id="$+id:watermark"
    ohos:width="match_parent"
    ohos:height="match_parent"/>
此代码在屏幕中央绘制“Confidential”水印。你可以根据需要调整水印内容、位置和样式。


