


HarmonyOS 鸿蒙Next网络编程系列29-RCP下载到文件和流示例
HarmonyOS 鸿蒙Next网络编程系列29-RCP下载到文件和流示例
1. RCP下载功能简介
RCP模块是Harmony NEXT全新开发的HTTP数据请求能力接口,它为上传下载能力专门封装了几个方法,针对下载能力,主要是下载到文件的downloadToFile方法:
downloadToFile(url: URLOrString, downloadTo: DownloadToFile): Promise<Response>以及下载到流的downloadToStream方法:
downloadToStream(url: URLOrString, downloadTo: DownloadToStream): Promise<Response>两个方法都是通过参数url指定下载要请求的地址,通过参数downloadTo指定写入的文件或者数据流。
本文将通过一个示例演示RCP下载能力的使用,并分别下载到文件和数据流。
2. RCP下载示例
本示例运行后的界面如图所示:
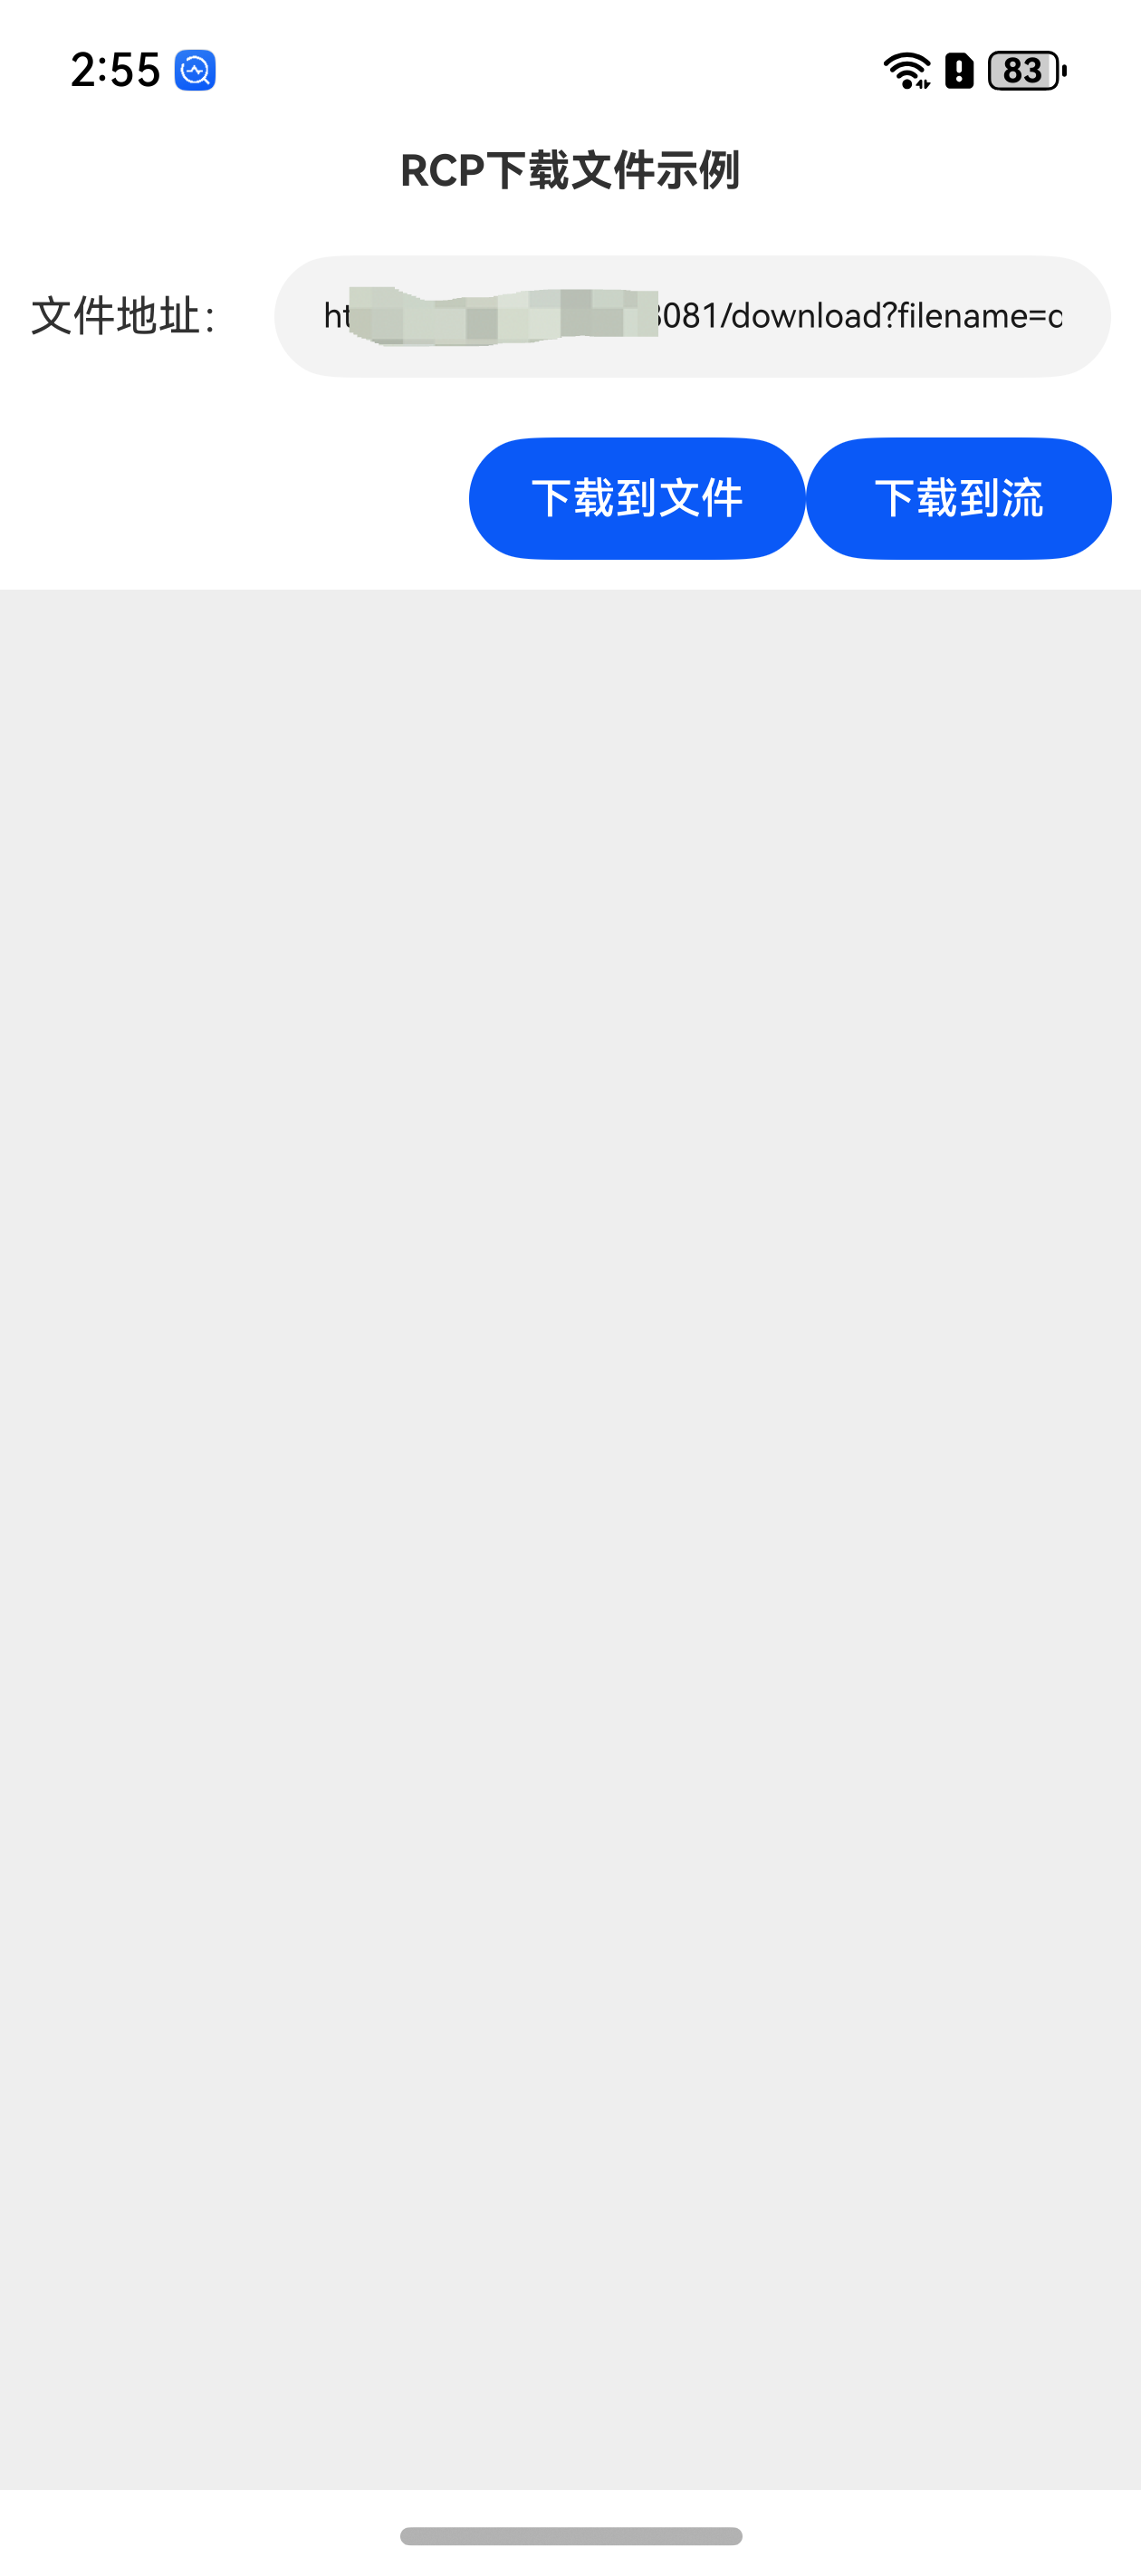
应用启动后,首先配置要下载的url文件地址,然后分别单击“下载到文件”按钮和“下载到流”按钮,RCP会根据配置自动完成下载。
步骤1:创建Empty Ability项目。
步骤2:在module.json5配置文件加上对权限的声明:
"requestPermissions": [
  {
    "name": "ohos.permission.INTERNET"
  }
]
这里添加了访问互联网的权限。
步骤3:在Index.ets文件里添加如下的代码:
import fs from '@ohos.file.fs';
import { rcp } from '@kit.RemoteCommunicationKit';
import { BusinessError } from '@kit.BasicServicesKit';

@Entry
@Component
struct Index {
  @State msgHistory: string = ''
  @State downloadUrl: string = "http://*.*.*.*:8081/download?filename=demo.txt"
  scroller: Scroller = new Scroller()

  build() {
    Row() {
      Column() {
        Text("RCP下载文件示例")
          .fontSize(14)
          .fontWeight(FontWeight.Bold)
          .width('100%')
          .textAlign(TextAlign.Center)
          .padding(10)

        Flex({ justifyContent: FlexAlign.Start, alignItems: ItemAlign.Center }) {
          Text("文件地址:")
            .fontSize(14)
            .width(80)
            .flexGrow(0)

          TextInput({ text: this.downloadUrl })
            .onChange((value) => {
              this.downloadUrl = value
            })
            .width(110)
            .fontSize(11)
            .flexGrow(1)
        }
        .width('100%')
        .padding(10)

        Flex({ justifyContent: FlexAlign.End, alignItems: ItemAlign.Center }) {
          Button("下载到文件")
            .onClick(() => {
              this.download2File()
            })
            .width(110)
            .fontSize(14)

          Button("下载到流")
            .onClick(() => {
              this.download2Stream()
            })
            .width(100)
            .fontSize(14)
        }
        .width('100%')
        .padding(10)

        Scroll(this.scroller) {
          Text(this.msgHistory)
            .textAlign(TextAlign.Start)
            .padding(10)
            .width('100%')
            .backgroundColor(0xeeeeee)
        }
        .align(Alignment.Top)
        .backgroundColor(0xeeeeee)
        .height(300)
        .flexGrow(1)
        .scrollable(ScrollDirection.Vertical)
        .scrollBar(BarState.On)
        .scrollBarWidth(20)
      }
      .width('100%')
      .justifyContent(FlexAlign.Start)
      .height('100%')
    }
    .height('100%')
  }

  //下载到文件
  download2File() {
    let localFilePath = getContext(this).tempDir + "/demo.txt"

    let downloadToFile: rcp.DownloadToFile = {
      kind: 'file',
      file: localFilePath,
      keepLocal: false
    } as rcp.DownloadToFile

    const session = rcp.createSession();
    session.downloadToFile(this.downloadUrl, downloadToFile).then(() => {
      this.msgHistory += "下载成功\r\n"
      this.showFileContent(localFilePath)
    }).catch((err: BusinessError) => {
      this.msgHistory += `下载失败, err.code = ${err.code}, err.message = ${err.message}\r\n`;
    });
  }

  //下载到流
  download2Stream() {
    let localFilePath = getContext(this).tempDir + "/demo.txt"
    let fileStream = fs.createStreamSync(localFilePath, "w")
    const streamData: rcp.SyncWriteStream = {
      writeSync(buffer: ArrayBuffer) {
        fileStream.writeSync(buffer)
      }
    };

    let downloadToStream: rcp.DownloadToStream = {
      kind: 'stream',
      stream: streamData, //这里stream属性传递fileStream或者streamData都可以运行成功
    } as rcp.DownloadToStream

    const session = rcp.createSession();
    session.downloadToStream(this.downloadUrl, downloadToStream).then(() => {
      fileStream.flushSync()
      fileStream.closeSync()
      this.msgHistory += "下载成功\r\n"
      this.showFileContent(localFilePath)
    }).catch((err: BusinessError) => {
      this.msgHistory += `下载失败, err.code = ${err.code}, err.message = ${err.message}\r\n`;
    });
  }

  //显示指定文件的内容
  showFileContent(filePath: string) {
    let content = fs.readTextSync(filePath)
    this.msgHistory += "下载文件内容:" + content + "\r\n"
  }
}
步骤4:编译运行,可以使用模拟器或者真机。
步骤5:配置要下载的url文件地址,然后分别单击“下载到文件”按钮和“下载到流”按钮,为简化下载后的文件验证,这里假设下载的文件是文本类型,下载成功后会显示下载的内容,最后的界面如下所示:

可以看到,文件成功下载到了本地并读取到了文件的内容。
3. 下载功能分析
要实现下载功能,关键点在downloadTo参数的配置,在下载到文件的时候,可以按照路径或者文件描述符等多种方式配置下载写入的文件,也可以指定下载的目录。下载到流的时候,也有多种流类型可以选择,读者可以根据实际需要使用合适的流类型。
(本文作者原创,除非明确授权禁止转载)
本文源码地址: https://gitee.com/zl3624/harmonyos_network_samples/tree/master/code/rcp/RCPDownloadFileDemo
本系列源码地址: https://gitee.com/zl3624/harmonyos_network_samples
其他鸿蒙网络编程文章: 鸿蒙网络编程系列1-UDP通讯示例 鸿蒙网络编程系列2-UDP回声服务器的实现 鸿蒙网络编程系列3-TCP客户端通讯示例 鸿蒙网络编程系列4-实现Smtp邮件发送客户端 鸿蒙网络编程系列5-TCP连接超时分析 鸿蒙网络编程系列6-TCP数据粘包表现及原因分析 鸿蒙网络编程系列7-TLS安全数据传输单向认证示例 鸿蒙网络编程系列8-TLS安全数据传输双向认证示例 鸿蒙网络编程系列9-使用HttpRequest模拟登录示例 鸿蒙网络编程系列10-使用HttpRequest下载文件到本地示例 鸿蒙网络编程系列11-使用HttpRequest上传文件到服务端示例 鸿蒙网络编程系列12-使用Request部件下载文件到本地示例 鸿蒙网络编程系列13-使用Request部件上传文件到服务端示例 鸿蒙网络编程系列14-WebSocket客户端通讯示例 鸿蒙网络编程系列15-域名解析示例 鸿蒙网络编程系列16-获取Wifi信息示例 鸿蒙网络编程系列17-网络状态监测示例 鸿蒙网络编程系列18-Web组件加载网页的四种方式示例 鸿蒙网络编程系列19-获取网络连接信息并选择一种绑定到应用示例 鸿蒙网络编程系列20-解决web组件加载网页白屏示例 鸿蒙网络编程系列21-使用HttpRequest上传任意文件到服务端示例 鸿蒙网络编程系列22-Web组件文件上传示例 鸿蒙网络编程系列23-实现一个基于鸿蒙API的HTTP服务器 鸿蒙网络编程系列24-Web组件与应用互操作示例 鸿蒙网络编程系列25-TCP回声服务器的实现 鸿蒙网络编程系列26-HTTPS证书自选CA校验示例 鸿蒙网络编程系列27-HTTPS服务端证书的四种校验方式示例 鸿蒙网络编程系列28-服务端证书锁定防范中间人攻击示例
更多关于HarmonyOS 鸿蒙Next网络编程系列29-RCP下载到文件和流示例的实战系列教程也可以访问 https://www.itying.com/category-93-b0.html


创建RPC客户端
首先,需要创建一个RPC客户端,用于与远程服务器进行通信。
import rpc from '@ohos.rpc';
import ability from '@ohos.ability.featureAbility';

let context = ability.getContext();
let proxy = rpc.createRemoteProxy(context, "your_service_name");
定义RPC接口
定义一个RPC接口,用于调用远程服务器上的方法。
interface IDownloadService {
    downloadFile(url: string): Promise<ArrayBuffer>;
    downloadStream(url: string): Promise<ReadableStream>;
}
调用RPC方法
使用RPC客户端调用远程服务器上的方法,下载文件或流数据。
let downloadService = proxy as IDownloadService;

// 下载文件到本地
downloadService.downloadFile("http://example.com/file.zip").then((data) => {
    // 处理下载的文件数据
    saveFileToLocal(data);
});

// 下载流数据到本地
downloadService.downloadStream("http://example.com/stream").then((stream) => {
    // 处理下载的流数据
    saveStreamToLocal(stream);
});
保存文件或流数据
将下载的文件或流数据保存到本地。
function saveFileToLocal(data: ArrayBuffer) {
    // 保存文件到本地
}

function saveStreamToLocal(stream: ReadableStream) {
    // 保存流数据到本地
}
通过以上步骤,可以在HarmonyOS中使用RCP下载文件或流数据到本地。
更多关于HarmonyOS 鸿蒙Next网络编程系列29-RCP下载到文件和流示例的实战系列教程也可以访问 https://www.itying.com/category-93-b0.html

在HarmonyOS中,RPC(远程过程调用)下载文件到本地或流可以通过以下步骤实现。首先,使用 HttpURLConnection 或 OkHttp 创建网络请求,获取文件输入流。然后,通过 FileOutputStream 将数据写入本地文件,或直接处理流数据。关键代码如下:
HttpURLConnection connection = (HttpURLConnection) new URL(url).openConnection();
InputStream inputStream = connection.getInputStream();
FileOutputStream outputStream = new FileOutputStream(filePath);

byte[] buffer = new byte[1024];
int length;
while ((length = inputStream.read(buffer)) != -1) {
    outputStream.write(buffer, 0, length);
}

inputStream.close();
outputStream.close();
确保处理异常和权限申请,提升代码健壮性。