


HarmonyOS鸿蒙Next Codelabs挑战赛:Copy攻城狮的第一个快应用
HarmonyOS鸿蒙Next Codelabs挑战赛:Copy攻城狮的第一个快应用
CodeLab任务
运行效果预览
-
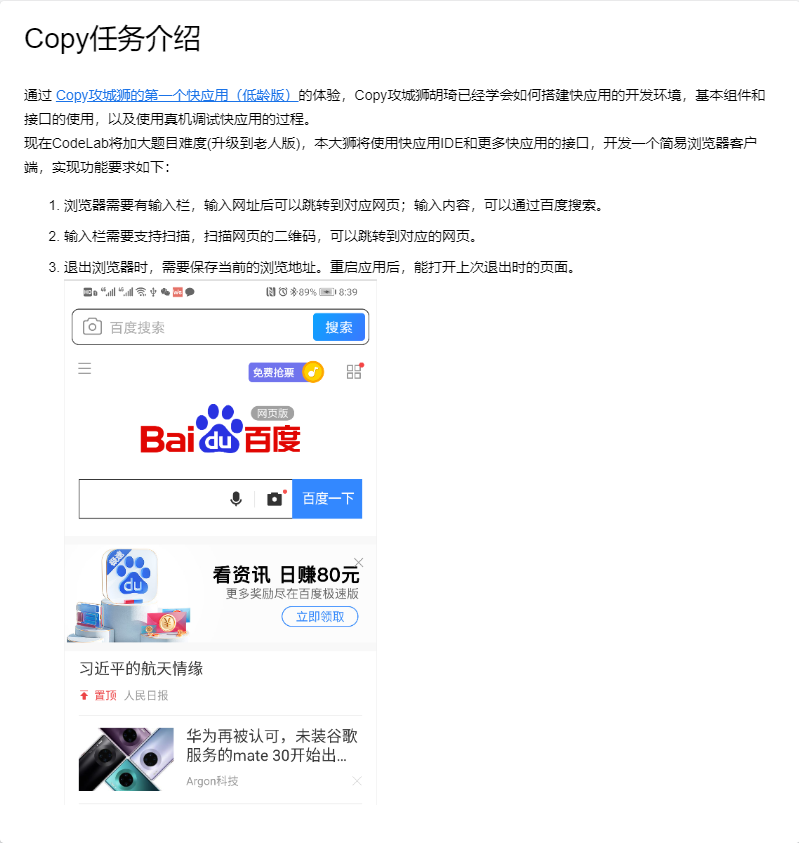
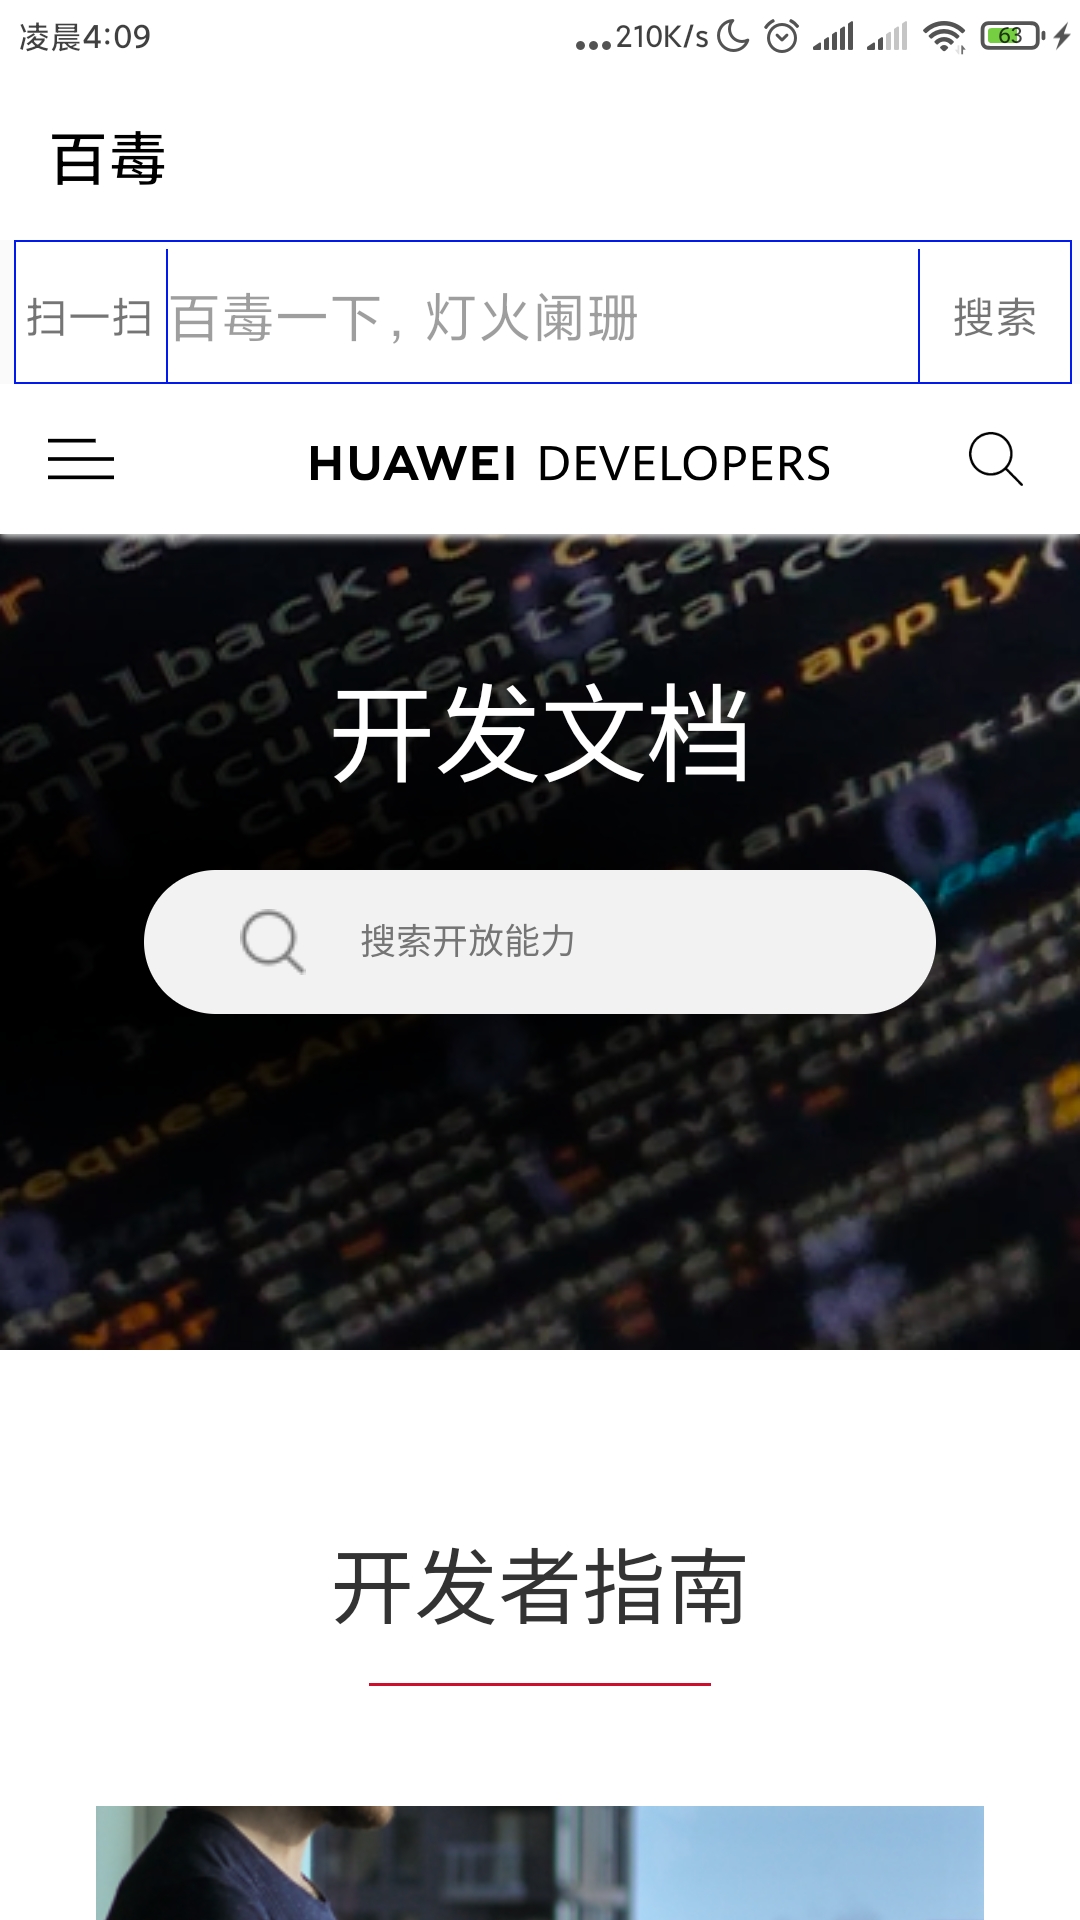
加载首页将打开设置的默认网页(以百度作为默认网页)
-
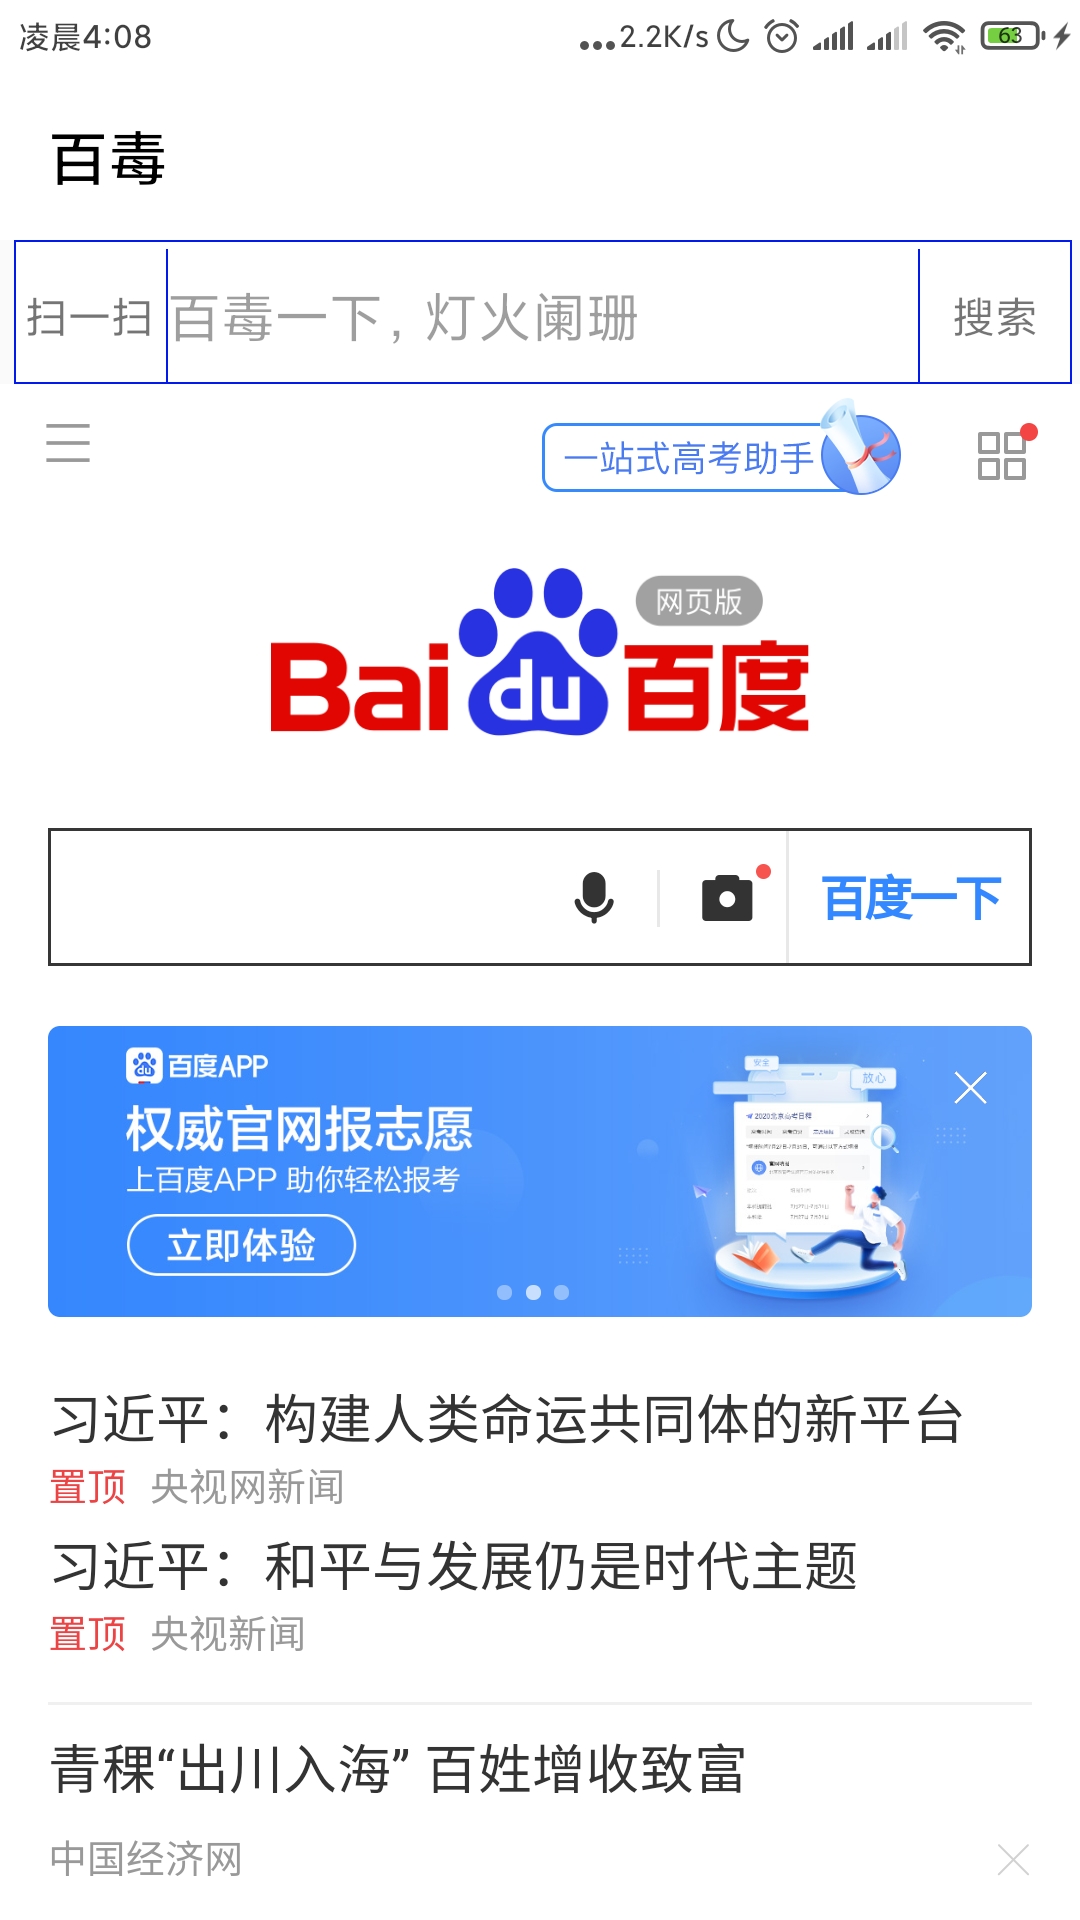
输入关键字"快应用",点击搜索,打开搜索结果的页面
-
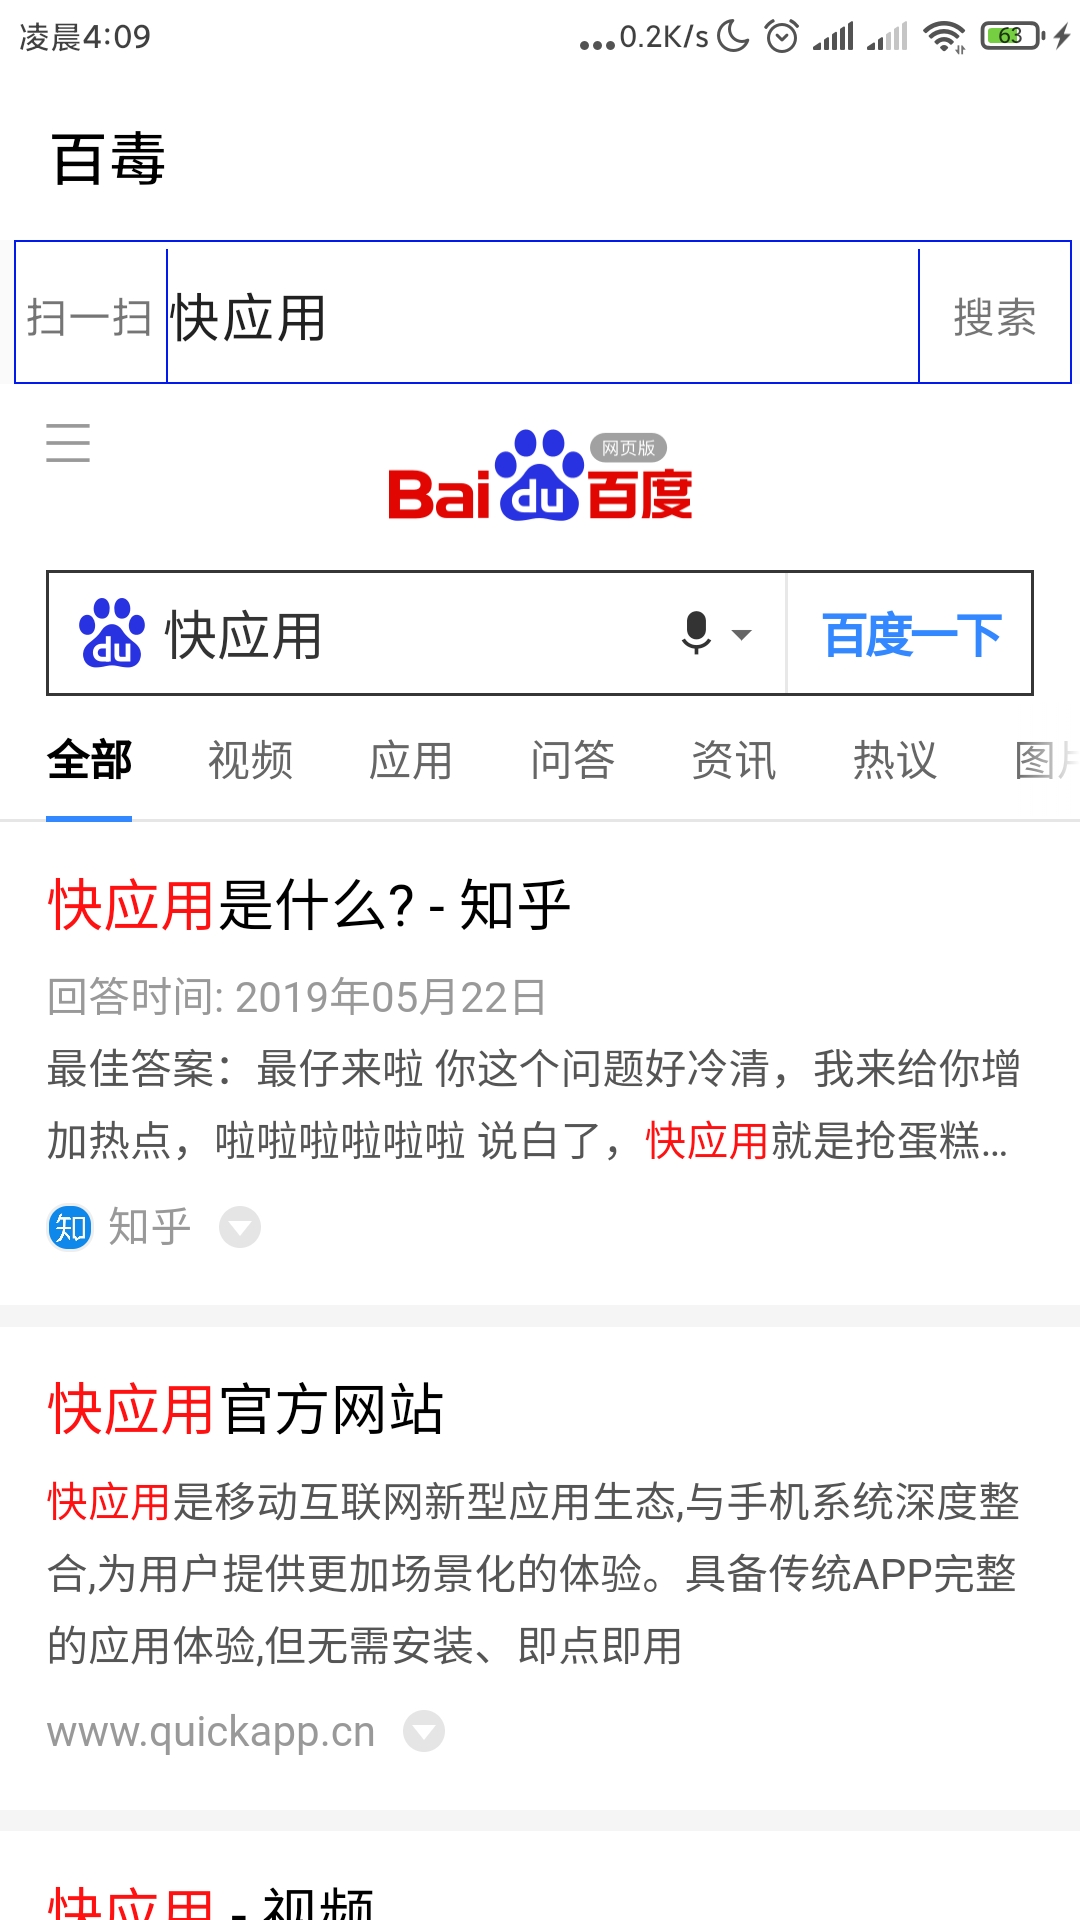
点击"扫一扫",能启动手机摄像头扫描。
-
扫描二维码,能顺利打开网页
开发[Copy代码]
初始化项目
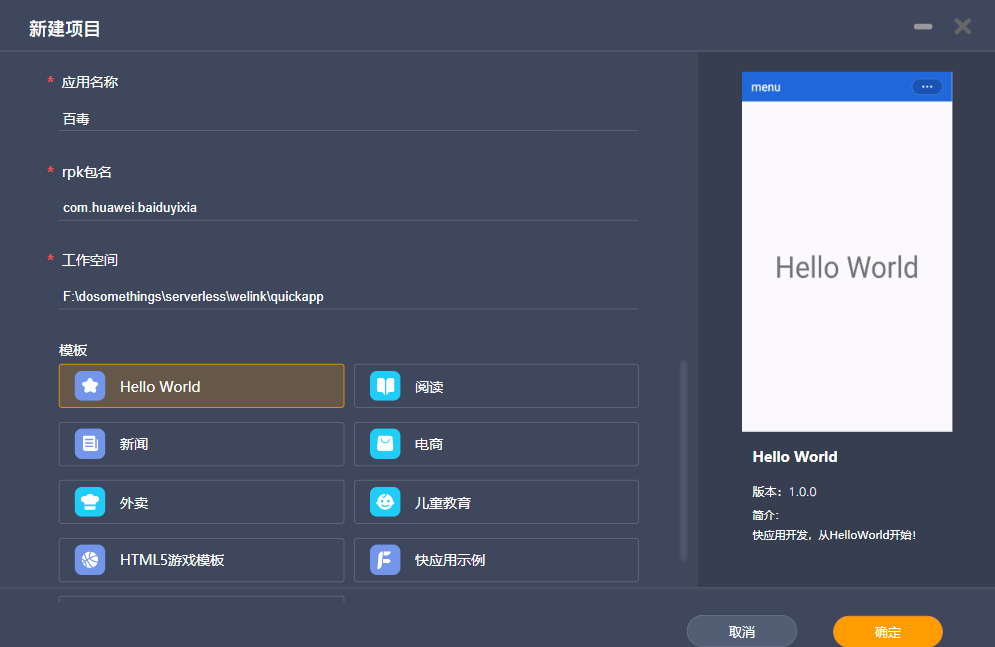
首先,我安装了『碉炸天』的快应用开发神器–华为提供的Huawei QuickApp IDE,这是一款基于VSCode框架深度定制的快应用IDE,集工程管理、编程、实时预览、Inspect、调测、云测试、发布上架于一体的一站式快应用开发工具,提供完善的快应用极速编程、云端全机型覆盖测试等必备工具能力的同时,继承开发者习惯,让快应用开发更快。对于“资深质浅”的前端Copy攻城狮来说,如此神器,真香!
虽然不太习惯通过IDE创建项目,不过体验了一下,真的很便捷,只需点点这里点点那里,就能生成整个初始化项目。不过个人还是喜欢通过命令行初始化项目,这样让人感觉安心,万一那天编辑器出问题了是不是就不用初始化项目了?
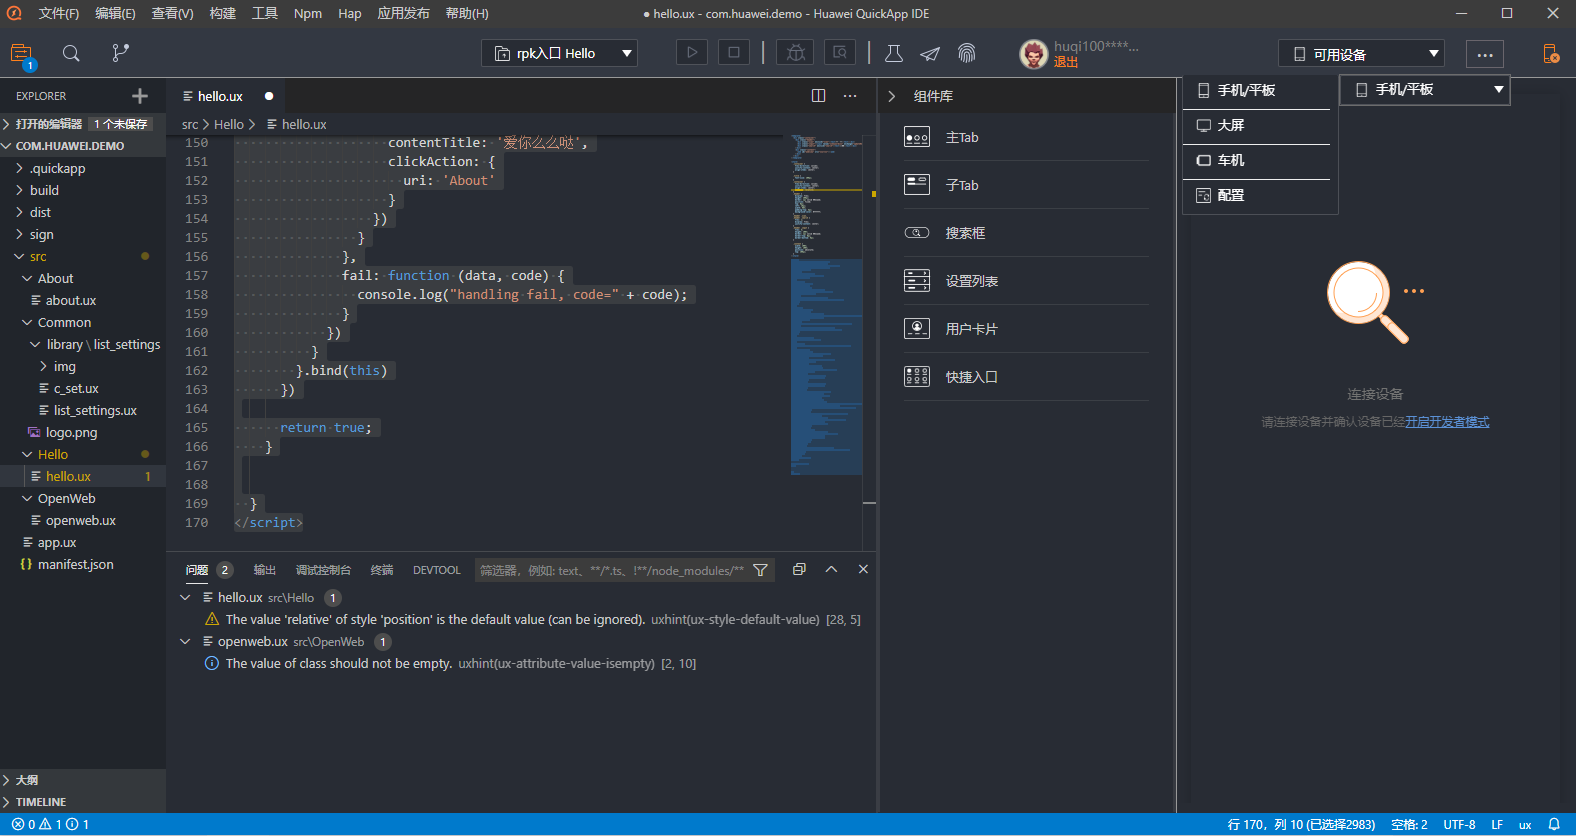
了解项目结构
不管是什么项目,我们在开发前都有必要了解项目的结构,只有将项目结构铭记于心了如指掌,Copy起来才能一把梭。快应用的项目结构和小程序类似,熟悉Vue.js的同学,应该更有亲切感。熟悉的template、熟悉的style、熟悉的script,还是熟悉的配方,还是原来的开发套路。
manifest.json应该是配置文件,app.ux应该是入口文件。从我的截图中还能体会到华为这款快应用IDE的强大之处–组件库可拖拽直接生成代码、而且还支持车机应用开发。未来已来,对前端来说,前端页面已经拓展到了大屏、车机等设备,展现形态也更加多样化,未来大有可为!
编[kao]写[bei]代码
布局
<template>
  <div class="container">
    <div class="header">
      <div class="scan" onclick="scan">扫一扫</div>
      <div class="input">
        <input value="{{keywords}}" onchange="updateKeywords" placeholder="百毒一下,灯火阑珊">
      </div>
      <div class="search" onclick="search">搜索</div>
    </div>
    <div class="content">
      <web id="webview" src="{{url}}"></web>
    </div>
  </div>
</template>.container {
flex-direction: column;
justify-content: center;
align-items: center;
position: relative;
}
.title {
font-size: 100px;
}
.container {
flex-direction: column;
justify-content: center;
align-items: center;
position: relative;
}
.header {
display: flex;
height: 100px;
border: 1px solid #021aeb;
position: fixed;
top: 0px;
left: 10px;
width: 98%;
padding-top: 5px;
background-color: #ffffff;
}
.header .scan,
.header .search {
flex: 1;
display: flex;
justify-content: center;
}
.header .input {
flex: 5;
height: 100%;
border: 1px solid #021aeb;
border-top: 0px;
border-bottom: 0px;
}
.content {
width: 100%;
height: 100%;
position: absolute;
top: 100px;
}交互
<script>
import barcode from '@system.barcode'
import prompt from '@system.prompt'
import notification from '@system.notification'
import storage from '@system.storage'

module.exports = {
  data: {
    componentData: {},
    url: 'https://m.baidu.com',
    keywords: ''
  },
  onInit() {
    let that = this;
    storage.get({
      key: 'MYURL',
      success: function(data) {
        console.log("handling success")
        that.url = data
      },
      fail: function(data, code) {
        console.log("handling fail, code=" + code)
      }
    })
  },
  scan() {
    let that = this;
    barcode.scan({
      success: function(ret) {
        if (ret.result.indexOf('https://developer.huawei.com') > -1) {
          that.url = ret.result
          return;
        }
        that.url = "https://m.baidu.com/s?wd=" + ret.result
      },
      fail: function(erromsg, errocode) {
        console.error(errocode + ': ' + erromsg)
      }
    })
  },
  updateKeywords(e) {
    this.keywords = e.value;
  },
  search() {
    this.url = "https://m.baidu.com/s?wd=" + this.keywords
  },
  onBackPress() {
    let that = this;
    this.$element('webview').canBack({
      callback: function(e) {
        if (e) {
          this.$element('webview').back()
          return false;
        } else {
          prompt.showDialog({
            title: '温馨提示',
            message: '主人,您要离开我吗?',
            buttons: [
              {
                text: '不要了啦',
                color: '#33dd44'
              },
              {
                text: '忍痛离开',
                color: '#111100'
              }
            ],
            success: function(data) {
              console.log(data)
              if (data.index === 1) {
                storage.set({
                  key: 'MYURL',
                  value: that.url,
                  success: function(data) {
                    console.log("handling success")
                  },
                  fail: function(data, code) {
                    console.log("handling fail, code=" + code)
                  }
                })
              }
              let router = require('@system.router');
              router.back()
              notification.show({
                contentTitle: '期待与您再次相会!',
                clickAction: {
                  uri: '/openweb'
                }
              })
            },
            fail: function(data, code) {
              console.log("handling fail, code=" + code)
            }
          })
        }
      }
    }).bind(this)
    return true;
  }
}
</script>
品鉴组件库
我还体验了拖拽组件库生成代码,Copy了一个关于页:直接将右侧组件库的设置列表拖到about.ux,自动引入了common,修改src\Common\library\list_settings\list_settings.ux和src\Common\library\list_settings\c_set.ux,就重写了关于页。
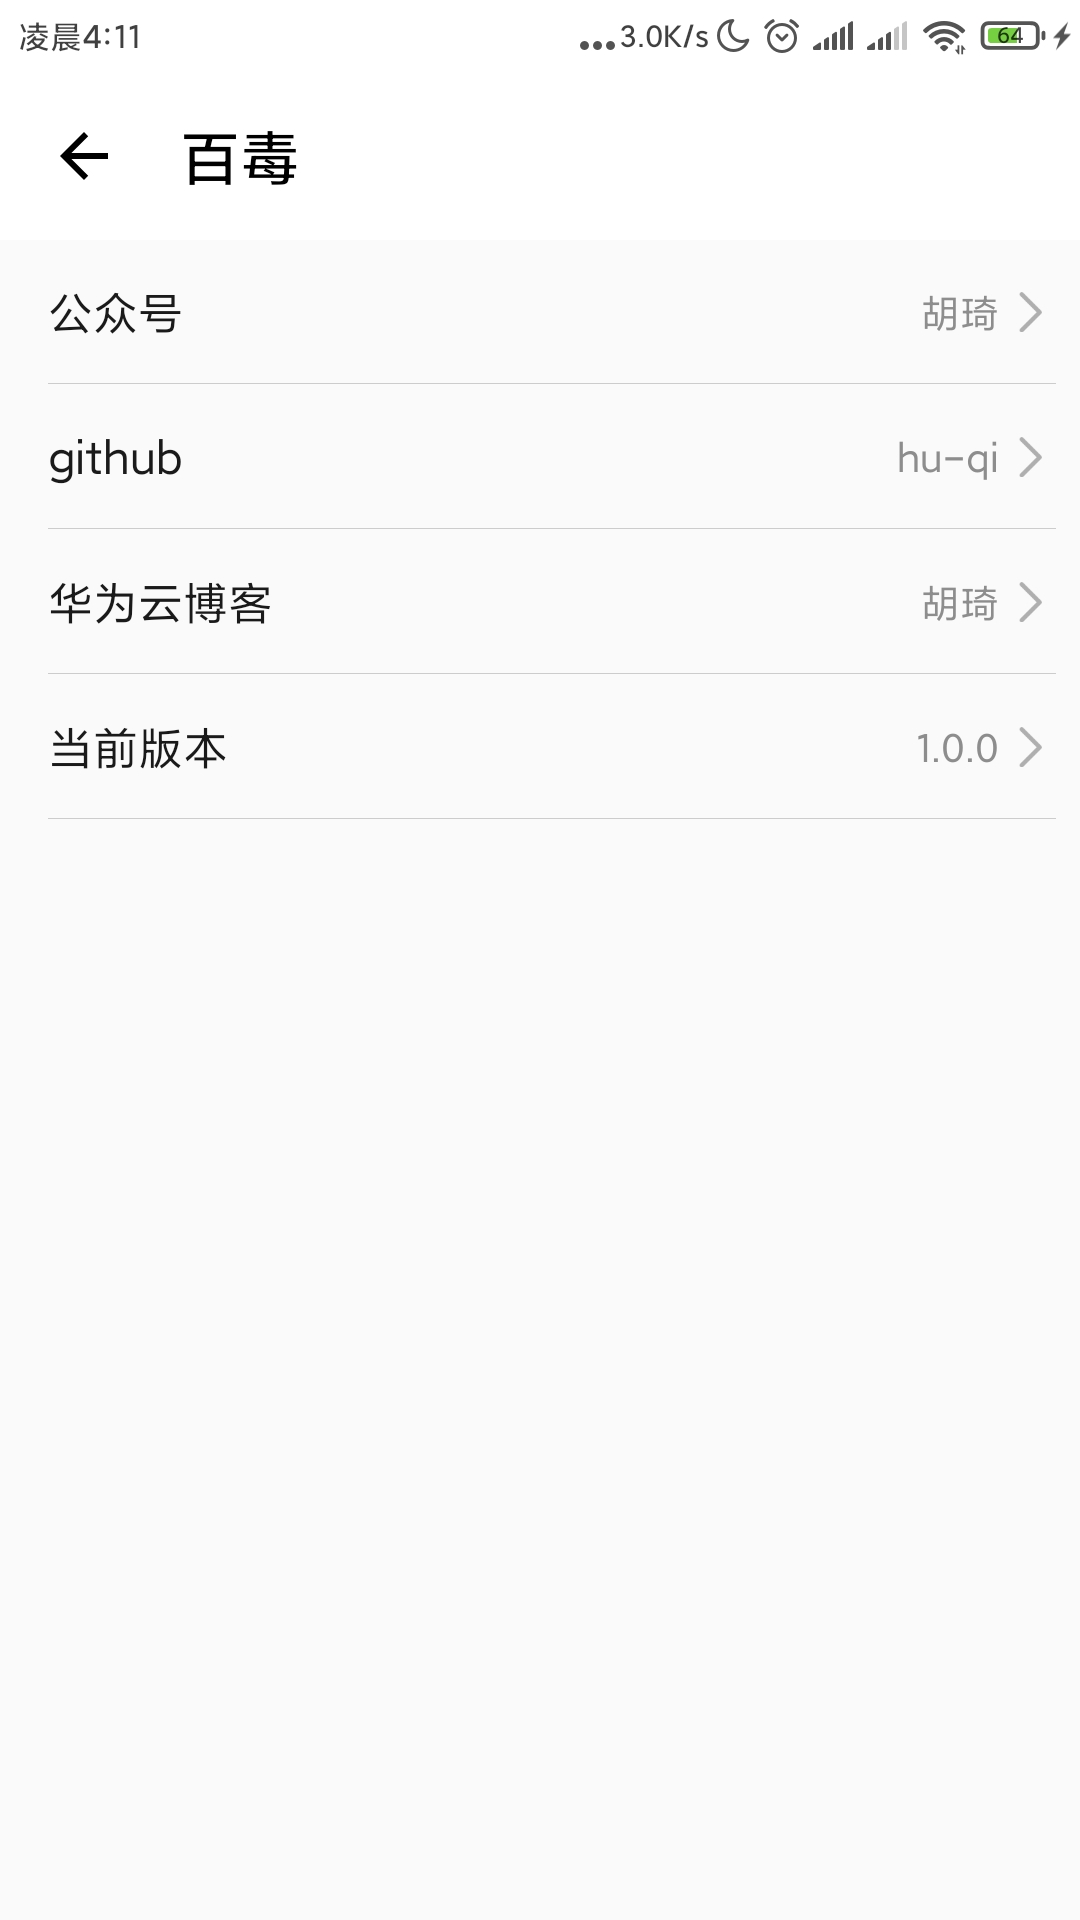
list_settings.ux
//快捷入口组件调用示范
<import name="set" src="./c_set">
<template>
<div class="container">
<set list="{{setlist}}">
</set>
</div>
</template>
<style>
.container {
flex-direction: column;
}
</style>
<script>
module.exports = {
data: {
setlist: [
{
title: "公众号",
subTitle: "胡琦",
src: "wechat"
},
{
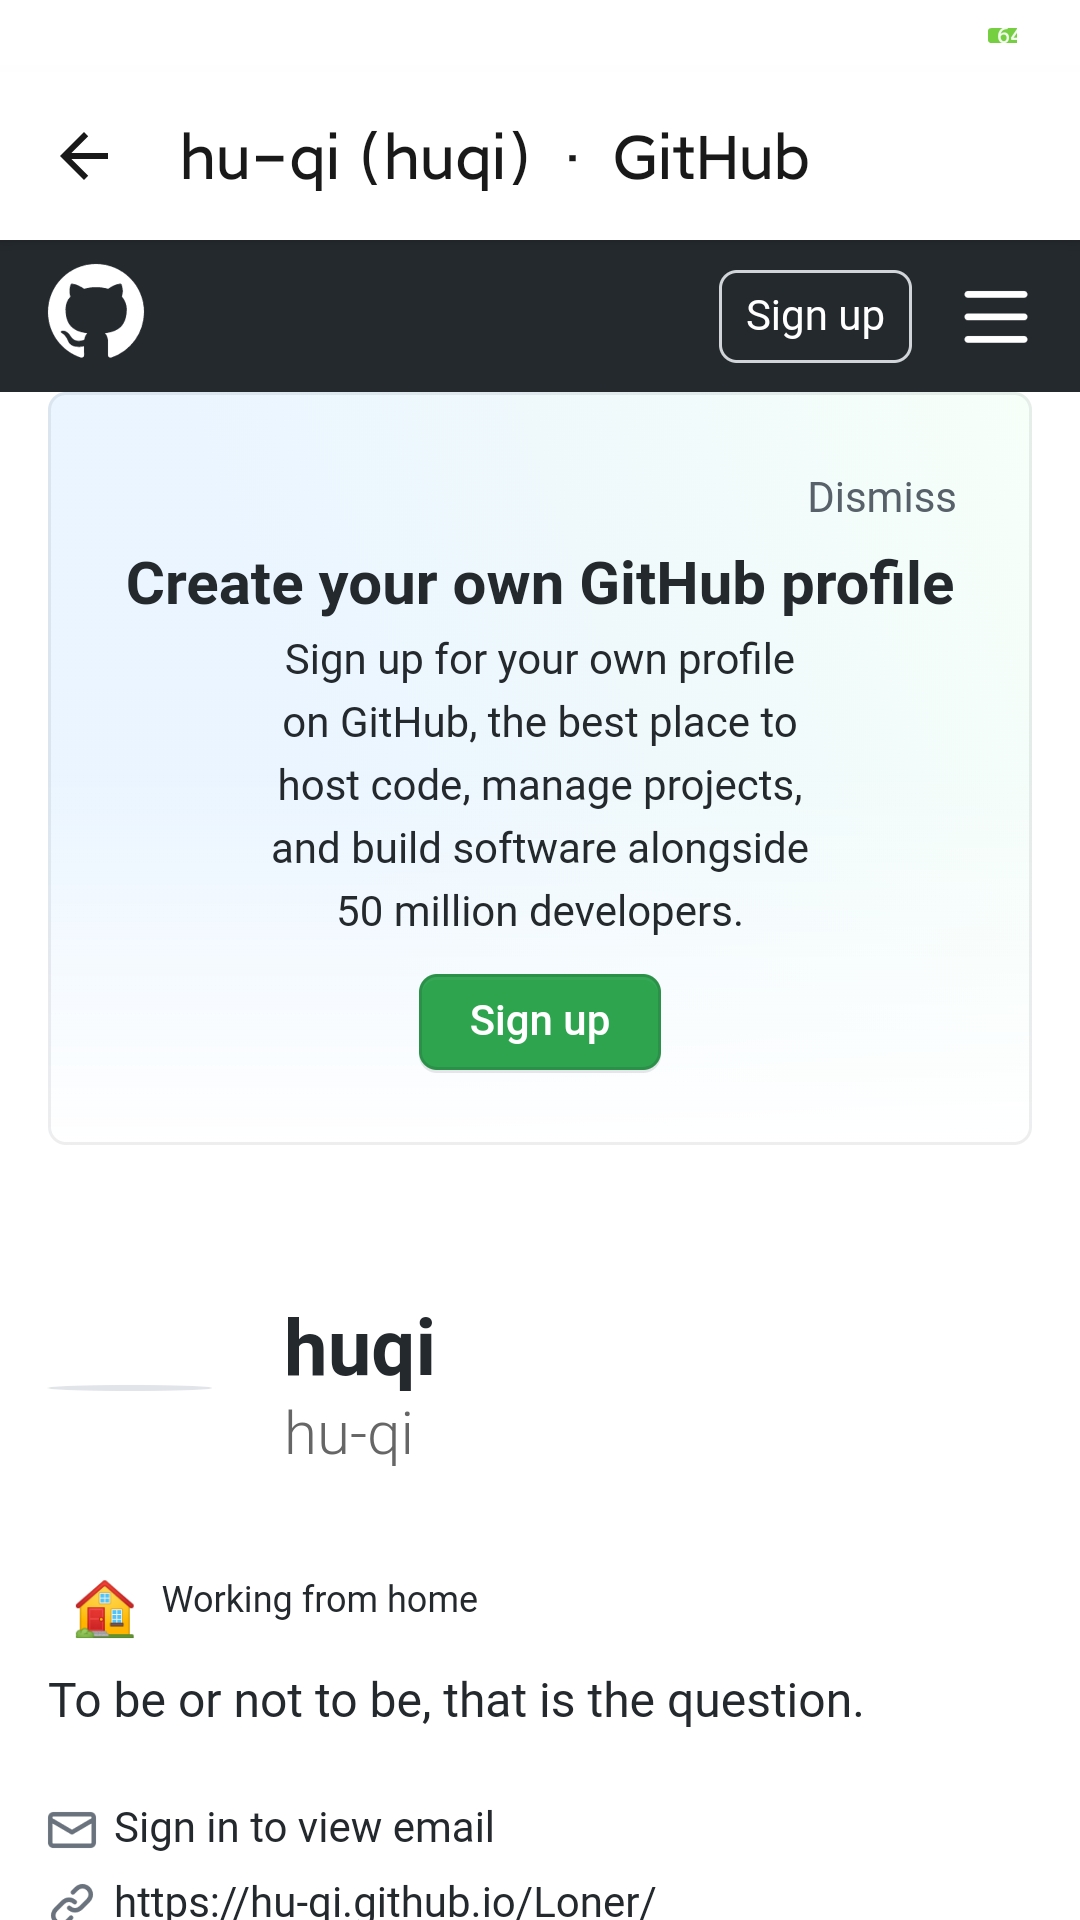
title: "github",
subTitle: "hu-qi",
src: "github"
},
{
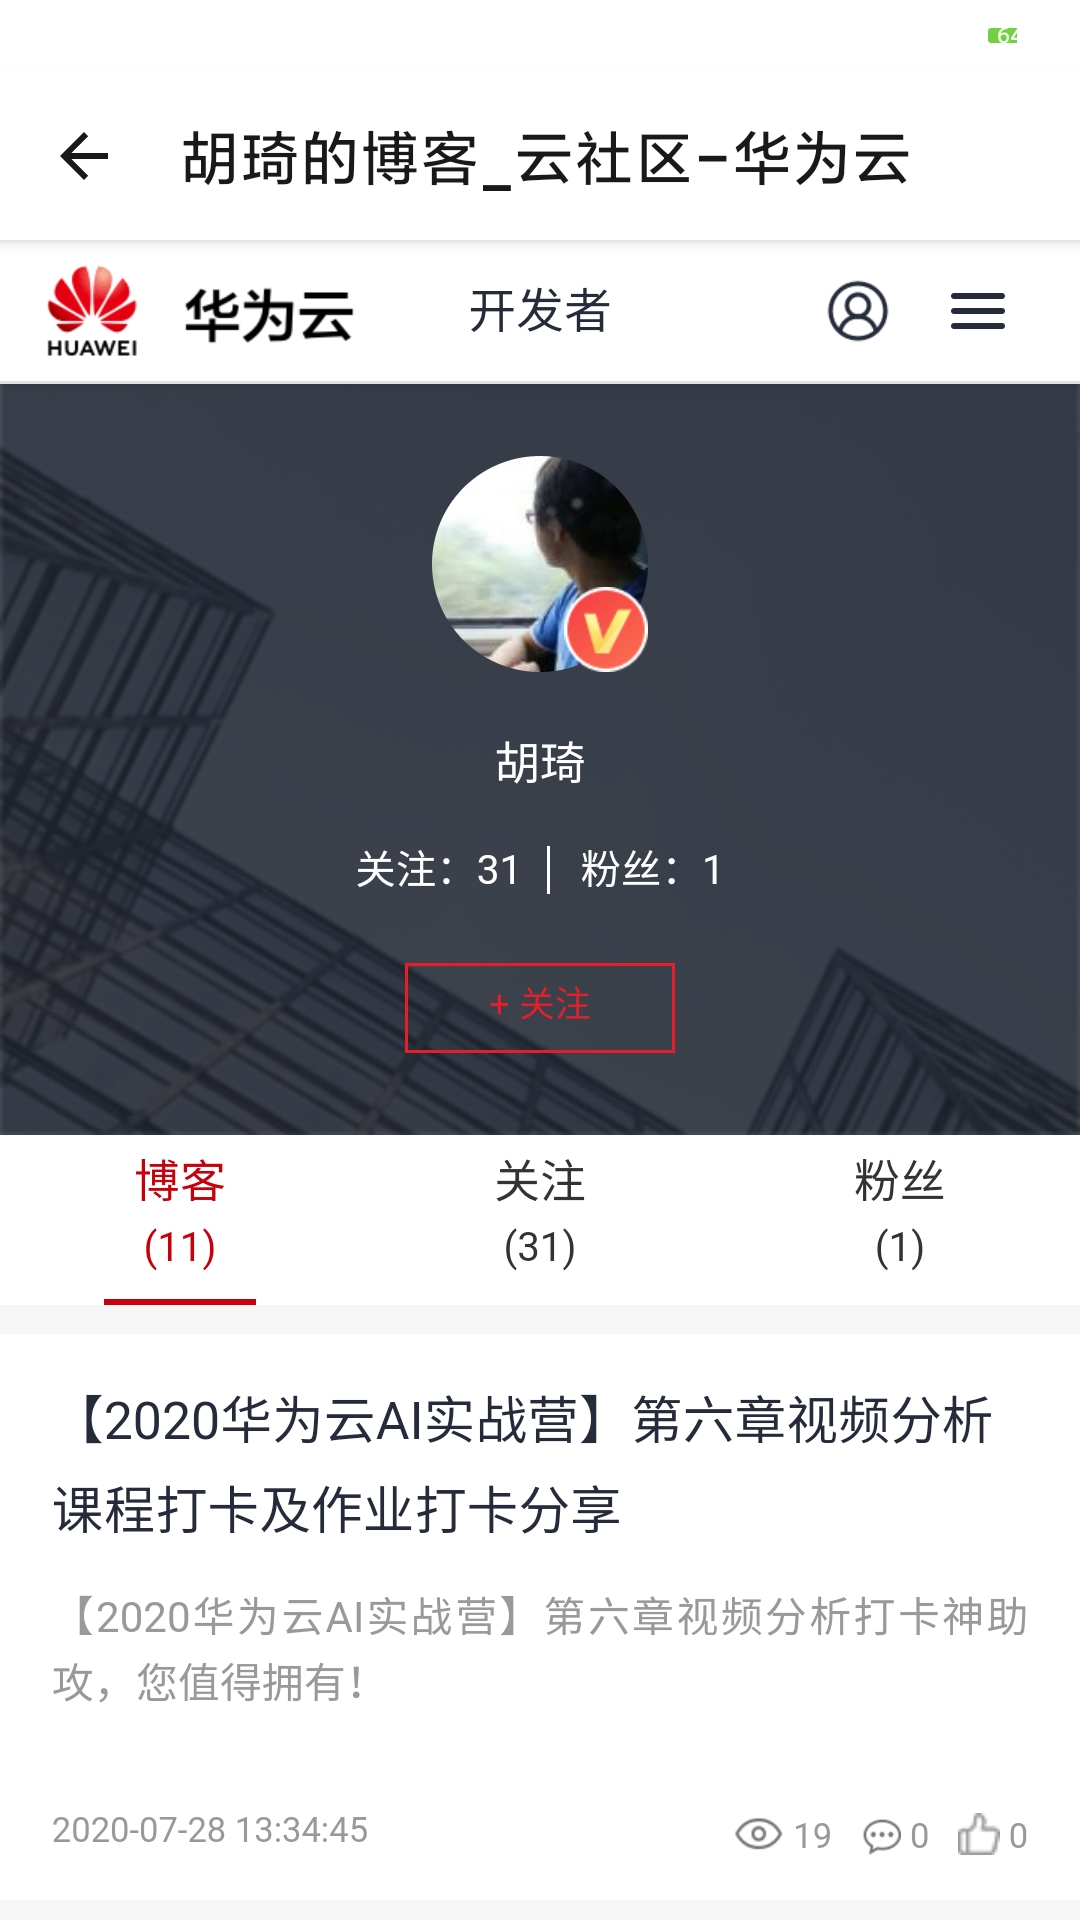
title: "华为云博客",
subTitle: "胡琦",
src: "blog"
},
{
title: "当前版本",
subTitle: "1.0.0",
src: ""
}
]
}
};
</script>c_set.ux
<template>
<div class="set-content">
<div for="{{list}}" class="set-box" onclick="detail($item.src)">
<text class="set-title">{{$item.title}}</text>
<text class="set-sub-title">{{$item.subTitle}}</text>
<img class="set-img" src="./img/arrow.png">
</div>
</div>
</template>
<style>
.set-content {
flex-direction: column;
padding: 0px 33px;
}
.set-box {
border-color: #cccccc;
border-bottom-width: 0.5px;
align-items: center;
width: 700px;
}
.set-title {
padding-top: 29px;
padding-bottom: 29px;
color: #1a1a1a;
font-size: 31px;
flex: 1;
}
.set-sub-title {
color: #8d8d8d;
font-size: 27px;
}
.set-img {
height: 28px;
width: 16px;
margin-left: 14px;
margin-right: 10px;
}
</style>
<script>
import router from '@system.router';
import share from '@system.share';
import webview from '@system.webview'
import fetch from '@system.fetch'
import prompt from '@system.prompt'
import notification from '@system.notification'
module.exports = {
props: ["list"],
detail: function(src) {
if (!src) {
return;
}
switch (src) {
case 'github':
webview.loadUrl({
url: 'https://github.com/hu-qi'
})
break;
case 'blog':
webview.loadUrl({
url: 'https://bbs.huaweicloud.com/community/usersnew/id_1567662212449451'
})
break;
case 'wechat':
fetch.fetch({
url: "https://mmbiz.qpic.cn/mmbiz_jpg/JibHwRGsc1G7fygYAVCpnDugtMIxaZApU814LYyicAIlaTEJJN75g8XLg50ekGVlpwwq4jlTBQwiczdb44fCXZXXw/0?wx_fmt=jpeg",
success: function(_data) {
if (_data.data) {
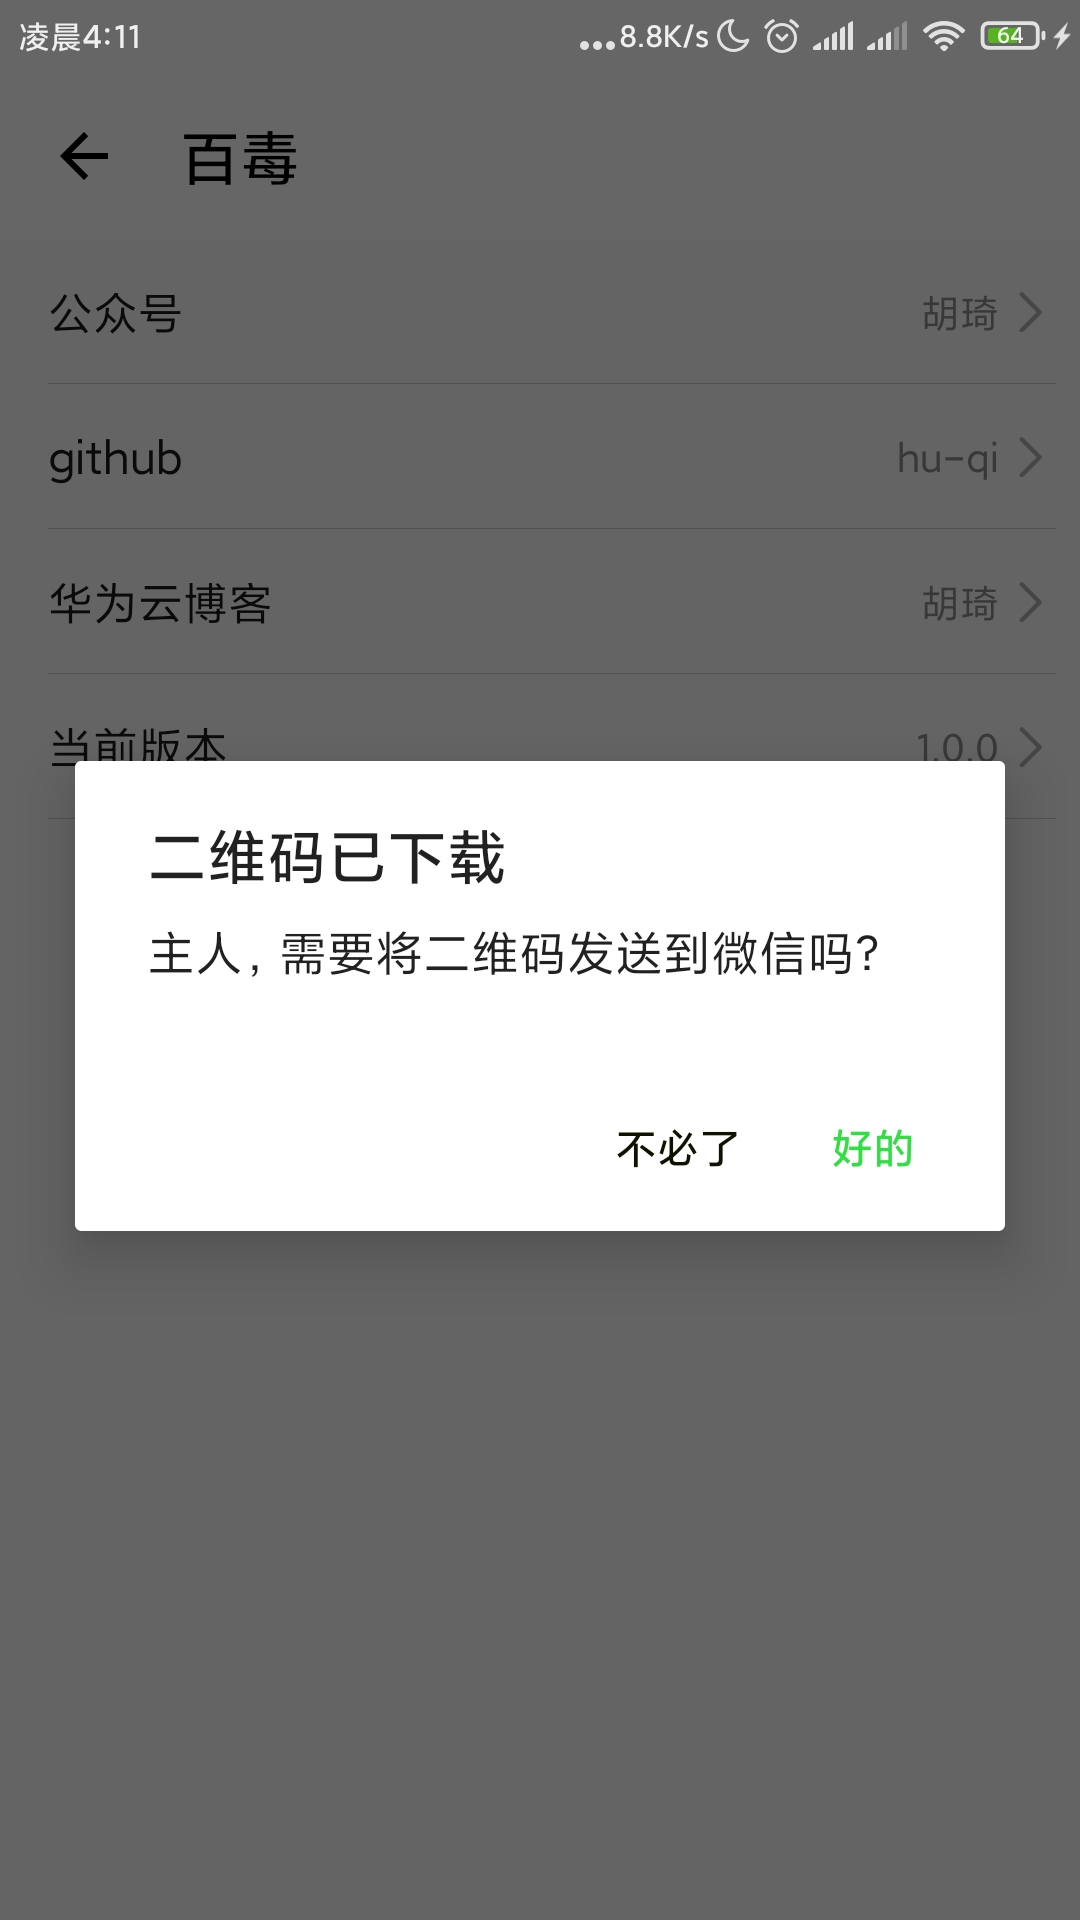
prompt.showDialog({
title: '二维码已下载',
message: '主人,需要将二维码发送到微信吗?',
buttons: [
{
text: '好的',
color: '#33dd44'
},
{
text: '不必了',
color: '#111100'
}
],
success: function(data) {
console.log(data)
if (data.index === 1) {
notification.show({
contentTitle: '记得微信搜索【胡琦】',
clickAction: {
uri: 'About'
}
})
} else {
share.share({
type: "image/jpeg",
data: _data.data,
success: function(data) {
console.log("handling success")
},
fail: function(data, code) {
console.log("handling fail, code = " + code + ", msg : " + data)
}
})
}
},
fail: function(data, code) {
console.log("handling fail, code=" + code)
}
}),
}
}
})
break;
default:
router.push({
uri: src
});
break;
}
}
}
</script>关于作者
新晋华为云云享专家Copy攻城狮,我是胡琦,近期有幸参与【CodeLab】,学习HMS Core,期待在这里与你相遇!
详细了解可关注公众号:胡琦


