Flutter问卷调查插件survey_kit的使用
Flutter问卷调查插件survey_kit的使用
SurveyKit 是一个用于Flutter的库,它允许您创建美观且专业的问卷调查。该库受到iOS ResearchKit Surveys的启发,并提供了丰富的动画和过渡效果。
示例展示
流程图

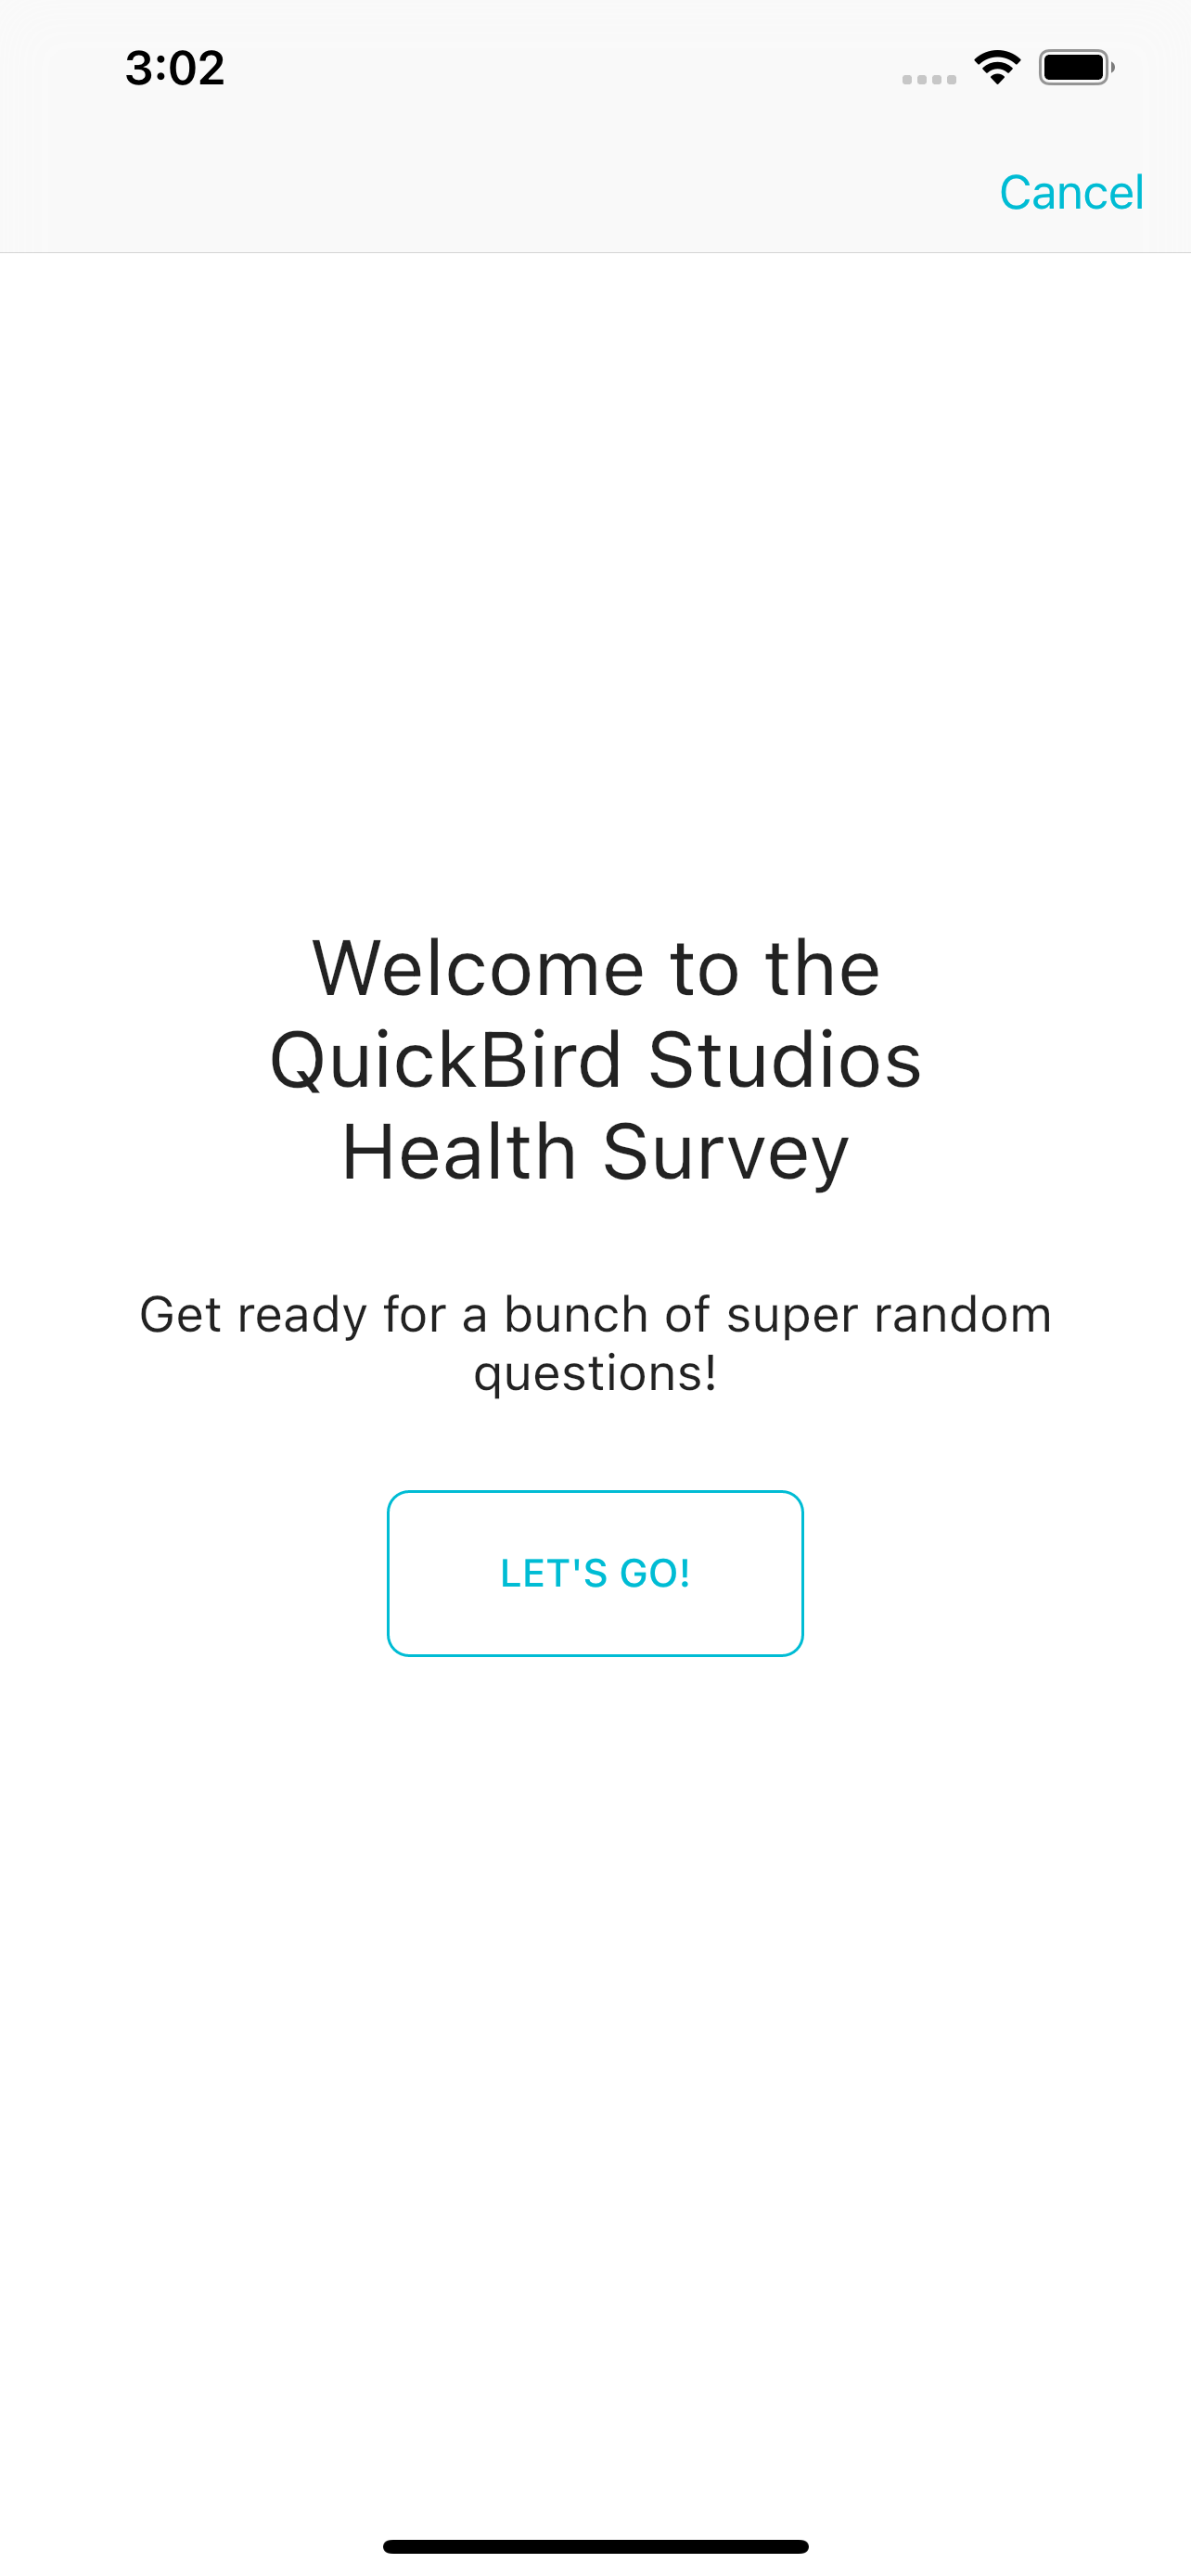
截图
 |
 |
 |
 |
 |
|---|
🏃 设置
1. 添加依赖项
在您的pubspec.yaml文件中添加survey_kit依赖项:
dependencies:
  survey_kit: ^0.1.1
2. 安装
运行以下命令来安装依赖项:
flutter pub get
3. 导入
在您的Dart文件中导入survey_kit包:
import 'package:survey_kit/survey_kit.dart';
💻 使用
创建问卷步骤
InstructionStep
InstructionStep(
    title: 'Your journey starts here',
    text: 'Have fun with a quick survey',
    buttonText: 'Start survey',
);
CompletionStep
CompletionStep(
    title: 'You are done',
    text: 'You have finished !!!',
    buttonText: 'Submit survey',
);
QuestionStep
QuestionStep(
    title: 'Sample title',
    text: 'Sample text',
    answerFormat: TextAnswerFormat(maxLines: 5),
);
创建任务
OrderedTask
var task = OrderedTask(steps: steps);
NavigableOrderedTask
task.addNavigationRule(
  forTriggerStepIdentifier: steps[4].id,
  navigationRule: DirectStepNavigationRule(destinationStepStepIdentifier: steps[6].id),
);

task.addNavigationRule(
  forTriggerStepIdentifier: task.steps[6].id,
  navigationRule: ConditionalNavigationRule(resultToStepIdentifierMapper: (input) {
    switch (input) {
      case "Yes":
        return task.steps[0].id;
      case "No":
        return task.steps[7].id;
      default:
        return null;
    }
  }),
);
评估结果
当调查完成时,您会收到一个回调,无论FinishReason是什么,您都会得到所有收集到的结果。
SurveyKit(
    onResult: (SurveyResult result) {
      // 读取finishReason并评估结果
    },
)
导出结果为JSON
您可以将SurveyResult对象转换为JSON格式进行存储或打印。
SurveyKit(
    onResult: (SurveyResult result) {
      final jsonResult = result.toJson();
      debugPrint(jsonEncode(jsonResult));
      yourDbHandler.store(jsonResult);
    },
)
样式
可以通过Flutter的主题系统调整样式。
启动调查
最后,只需将调查插入小部件树即可开始使用。
Scaffold(
    body: SurveyKit(
         onResult: (SurveyResult result) {
            // 评估结果
          },
          task: OrderedTask(),
          theme: CustomThemeData(),
    )
);
示例代码
以下是一个完整的示例代码,展示了如何从JSON加载并启动一个调查:
import 'dart:convert';

import 'package:flutter/cupertino.dart';
import 'package:flutter/material.dart' hide Step;
import 'package:flutter/services.dart';
import 'package:survey_kit/survey_kit.dart';

void main() {
  SystemChrome.setSystemUIOverlayStyle(const SystemUiOverlayStyle(
    systemNavigationBarColor: Colors.white,
  ));
  runApp(MyApp());
}

class MyApp extends StatefulWidget {
  [@override](/user/override)
  _MyAppState createState() => _MyAppState();
}

class _MyAppState extends State<MyApp> {
  [@override](/user/override)
  Widget build(BuildContext context) {
    return MaterialApp(
      home: Scaffold(
        body: Container(
          color: Colors.white,
          child: Align(
            alignment: Alignment.center,
            child: FutureBuilder<Task>(
              future: getJsonTask(),
              builder: (BuildContext context, AsyncSnapshot<Task> snapshot) {
                if (snapshot.connectionState == ConnectionState.done &&
                    snapshot.hasData &&
                    snapshot.data != null) {
                  final Task task = snapshot.data!;
                  return SurveyKit(
                    onResult: (SurveyResult result) {
                      print(result.finishReason);
                      Navigator.pushNamed(context, '/');
                    },
                    task: task,
                    showProgress: true,
                    localizations: const <String, String>{
                      'cancel': 'Cancel',
                      'next': 'Next',
                    },
                    themeData: Theme.of(context).copyWith(
                      primaryColor: Colors.cyan,
                      appBarTheme: const AppBarTheme(
                        color: Colors.white,
                        iconTheme: IconThemeData(color: Colors.cyan),
                        titleTextStyle: TextStyle(color: Colors.cyan),
                      ),
                      iconTheme: const IconThemeData(color: Colors.cyan),
                      textSelectionTheme: const TextSelectionThemeData(
                        cursorColor: Colors.cyan,
                        selectionColor: Colors.cyan,
                        selectionHandleColor: Colors.cyan,
                      ),
                      cupertinoOverrideTheme: const CupertinoThemeData(
                        primaryColor: Colors.cyan,
                      ),
                      outlinedButtonTheme: OutlinedButtonThemeData(
                        style: ButtonStyle(
                          minimumSize: WidgetStateProperty.all(
                            const Size(150.0, 60.0),
                          ),
                          side: WidgetStateProperty.resolveWith(
                            (Set<WidgetState> state) {
                              if (state.contains(WidgetState.disabled)) {
                                return const BorderSide(color: Colors.grey);
                              }
                              return const BorderSide(color: Colors.cyan);
                            },
                          ),
                          shape: WidgetStateProperty.all(
                            RoundedRectangleBorder(borderRadius: BorderRadius.circular(8.0)),
                          ),
                          textStyle: WidgetStateProperty.resolveWith(
                            (Set<WidgetState> state) {
                              if (state.contains(WidgetState.disabled)) {
                                return Theme.of(context).textTheme.labelLarge?.copyWith(color: Colors.grey);
                              }
                              return Theme.of(context).textTheme.labelLarge?.copyWith(color: Colors.cyan);
                            },
                          ),
                        ),
                      ),
                      textButtonTheme: TextButtonThemeData(
                        style: ButtonStyle(
                          textStyle: WidgetStateProperty.all(
                            Theme.of(context).textTheme.labelLarge?.copyWith(color: Colors.cyan),
                          ),
                        ),
                      ),
                      textTheme: const TextTheme(
                        displayMedium: TextStyle(fontSize: 28.0, color: Colors.black),
                        headlineSmall: TextStyle(fontSize: 24.0, color: Colors.black),
                        bodyMedium: TextStyle(fontSize: 18.0, color: Colors.black),
                        bodySmall: TextStyle(fontSize: 14.0, color: Colors.black),
                        titleMedium: TextStyle(fontSize: 18.0, color: Colors.black),
                      ),
                      inputDecorationTheme: const InputDecorationTheme(labelStyle: TextStyle(color: Colors.black)),
                      colorScheme: ColorScheme.fromSwatch(primarySwatch: Colors.cyan).copyWith(onPrimary: Colors.white).copyWith(surface: Colors.white),
                    ),
                    surveyProgressbarConfiguration: SurveyProgressConfiguration(backgroundColor: Colors.white),
                  );
                }
                return const CircularProgressIndicator.adaptive();
              },
            ),
          ),
        ),
      ),
    );
  }

  Future<Task> getJsonTask() async {
    try {
      final String taskJson = await rootBundle.loadString('assets/example_json.json');
      final Map<String, dynamic> taskMap = json.decode(taskJson);

      return Task.fromJson(taskMap);
    } catch (e) {
      rethrow;
    }
  }
}
更多关于Flutter问卷调查插件survey_kit的使用的实战教程也可以访问 https://www.itying.com/category-92-b0.html
更多关于Flutter问卷调查插件survey_kit的使用的实战系列教程也可以访问 https://www.itying.com/category-92-b0.html
当然,以下是一个关于如何在Flutter项目中使用survey_kit插件的详细示例。这个插件可以帮助你轻松地在应用中集成问卷调查功能。
步骤 1: 添加依赖
首先,你需要在pubspec.yaml文件中添加survey_kit的依赖。
dependencies:
  flutter:
    sdk: flutter
  survey_kit: ^x.y.z  # 请替换为最新版本号
然后运行flutter pub get来安装依赖。
步骤 2: 配置Android和iOS项目
Android
你通常不需要为Android进行额外的配置,但确保你的AndroidManifest.xml中有必要的权限(如果需要)。
iOS
在iOS项目中,你可能需要添加一些权限或使用Swift代码进行某些配置。然而,对于survey_kit,通常不需要特殊的iOS配置。
步骤 3: 使用SurveyKit
以下是一个完整的示例,展示了如何在Flutter应用中集成和使用survey_kit。
import 'package:flutter/material.dart';
import 'package:survey_kit/survey_kit.dart';

void main() {
  runApp(MyApp());
}

class MyApp extends StatelessWidget {
  @override
  Widget build(BuildContext context) {
    return MaterialApp(
      title: 'SurveyKit Demo',
      theme: ThemeData(
        primarySwatch: Colors.blue,
      ),
      home: SurveyScreen(),
    );
  }
}

class SurveyScreen extends StatefulWidget {
  @override
  _SurveyScreenState createState() => _SurveyScreenState();
}

class _SurveyScreenState extends State<SurveyScreen> {
  @override
  void initState() {
    super.initState();
    // 初始化SurveyKit
    _initializeSurveyKit();
  }

  Future<void> _initializeSurveyKit() async {
    // 创建一个简单的问卷调查
    final survey = SurveyModel(
      identifier: "example_survey",
      title: "Example Survey",
      steps: [
        StepModel(
          identifier: "step_1",
          title: "Step 1",
          question: "What is your favorite color?",
          answerFormat: AnswerFormat.singleChoice(
            options: [
              SingleChoiceOptionModel(text: "Red"),
              SingleChoiceOptionModel(text: "Blue"),
              SingleChoiceOptionModel(text: "Green"),
            ],
          ),
        ),
        StepModel(
          identifier: "step_2",
          title: "Step 2",
          question: "How old are you?",
          answerFormat: AnswerFormat.number(
            minValue: 0,
            maxValue: 100,
            stepValue: 1,
          ),
        ),
        // 可以添加更多的步骤...
      ],
      completionHandler: (result) {
        // 处理问卷完成的结果
        print("Survey completed with result: $result");
      },
    );

    // 启动问卷调查
    await SurveyKit.startSurvey(survey);
  }

  @override
  Widget build(BuildContext context) {
    return Scaffold(
      appBar: AppBar(
        title: Text("SurveyKit Demo"),
      ),
      body: Center(
        child: Text("Survey will start automatically..."),
      ),
    );
  }
}
解释
- 依赖项:在
pubspec.yaml中添加了survey_kit依赖。 - 初始化:在
initState方法中调用_initializeSurveyKit函数来初始化问卷调查。 - 创建问卷:使用
SurveyModel和StepModel来构建问卷的结构。 - 启动问卷:使用
SurveyKit.startSurvey方法来启动问卷调查。 - 处理结果:通过
completionHandler来处理用户完成问卷后的结果。
这个示例展示了如何创建一个简单的两步问卷调查,你可以根据需要添加更多的步骤和复杂的逻辑。确保查看survey_kit的官方文档以获取更多功能和配置选项。


