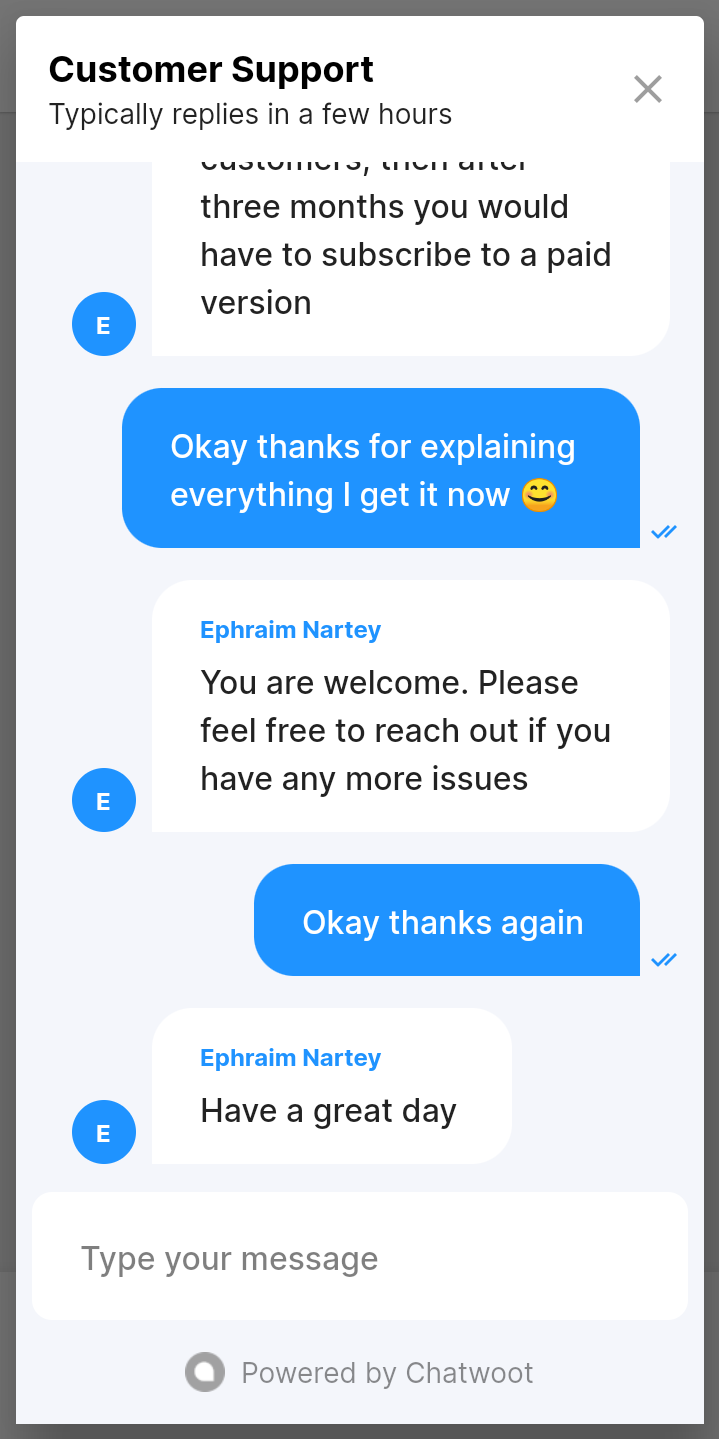
Flutter聊天集成插件chatwoot_sdk的使用
Flutter聊天集成插件chatwoot_sdk的使用
在本指南中,我们将介绍如何在您的Flutter应用程序中集成Chatwoot。Chatwoot可以帮助您与访客进行实时聊天并提供卓越的支持。

1. 在Chatwoot中创建一个API收件箱
请参阅创建API通道文档。
2. 将包添加到您的项目
在终端运行以下命令:
flutter pub add chatwoot_sdk
或者
在项目的pubspec.yaml文件中添加以下行(您可以在这里检查最新版本):
dependencies:
  chatwoot_sdk: <<version>>
此库使用Hive进行本地存储,并使用Flutter Chat UI来构建用户界面。
3. 如何使用
将baseUrl和inboxIdentifier替换为适当的值。有关如何获取baseUrl和inboxIdentifier的信息,请参阅此处。
a. 使用ChatwootChatDialog
通过调用ChatwootChatDialog.show方法来显示聊天对话框。要关闭对话框,请使用Navigator.pop(context)。
// 示例
ChatwootChatDialog.show(
  context,
  baseUrl: "<<your-chatwoot-base-url-here>>",
  inboxIdentifier: "<<your-inbox-identifier-here>>",
  title: "Chatwoot支持",
  user: ChatwootUser(
    identifier: "john@gmail.com",
    name: "John Samuel",
    email: "john@gmail.com",
  ),
);
可用参数
| 参数名称 | 默认值 | 类型 | 描述 |
|---|---|---|---|
| context | - | BuildContext | 当前BuildContext |
| baseUrl | - | String | Chatwoot安装地址 |
| inboxIdentifier | - | String | 目标Chatwoot收件箱标识符 |
| enablePersistance | true | bool | 启用聊天客户端实例的联系人、对话和消息的持久化存储。 true - 持久化聊天客户端实例的数据(联系人、对话和消息)到磁盘。要清除持久化数据,请调用 ChatwootClient.clearData或ChatwootClient.clearAllData。false - 将聊天客户端实例的数据保存在内存中,并在聊天客户端实例被释放时清除。 设置 |
| title | - | String | 对话框标题 |
| user | null | ChatwootUser | 附加到Chatwoot联系人的自定义用户详细信息 |
| primaryColor | Color(0xff1f93ff) | Color | ChatwootChatTheme的主要颜色 |
| secondaryColor | Colors.white | Color | ChatwootChatTheme的次要颜色 |
| backgroundColor | Color(0xfff4f6fb) | Color | ChatwootChatTheme的背景色 |
| l10n | ChatwootL10n() | ChatwootL10n | ChatwootChat小部件的本地化字符串 |
| timeFormat | DateFormat.Hm() | DateFormat | 聊天日期格式 |
| dateFormat | DateFormat(“EEEE MMMM d”) | DateFormat | 聊天时间格式 |
b. 使用ChatwootChat小部件
要在应用程序的一部分嵌入ChatwootChat小部件,请使用ChatwootChat小部件。通过传递带有自定义主题颜色等的ChatwootChatTheme来自定义聊天UI主题。
import 'package:chatwoot_sdk/chatwoot_sdk.dart';
import 'package:flutter/material.dart';

void main() {
  runApp(MyApp());
}

class MyApp extends StatelessWidget {
  // 这个小部件是你的应用的根。
  @override
  Widget build(BuildContext context) {
    return MaterialApp(
      title: 'Flutter Demo',
      theme: ThemeData(
        primarySwatch: Colors.blue,
      ),
      home: MyHomePage(title: 'Flutter Demo Home Page'),
    );
  }
}

class MyHomePage extends StatefulWidget {
  MyHomePage({Key key, this.title}) : super(key: key);

  final String title;

  @override
  _MyHomePageState createState() => _MyHomePageState();
}

class _MyHomePageState extends State<MyHomePage> {
  @override
  Widget build(BuildContext context) {
    return ChatwootChat(
      baseUrl: "<<your-chatwoot-base-url-here>>",
      inboxIdentifier: "<<your-inbox-identifier-here>>",
      user: ChatwootUser(
        identifier: "john@gmail.com",
        name: "John Samuel",
        email: "john@gmail.com",
      ),
      appBar: AppBar(
        title: Text(
          "Chatwoot",
          style: TextStyle(
            color: Colors.black,
            fontWeight: FontWeight.bold
          ),
        ),
        backgroundColor: Colors.white,
      ),
      onWelcome: () {
        print("欢迎事件收到");
      },
      onPing: () {
        print("Ping事件收到");
      },
      onConfirmedSubscription: () {
        print("确认事件收到");
      },
      onMessageDelivered: (_) {
        print("消息已送达事件收到");
      },
      onMessageSent: (_) {
        print("消息已发送事件收到");
      },
      onConversationIsOffline: () {
        print("对话离线事件收到");
      },
      onConversationIsOnline: () {
        print("对话在线事件收到");
      },
      onConversationStoppedTyping: () {
        print("对话停止输入事件收到");
      },
      onConversationStartedTyping: () {
        print("对话开始输入事件收到");
      },
    );
  }
}
Horray!您已经完成了。
您也可以在此处找到一个示例实现:这里。
可用参数
| 参数名称 | 默认值 | 类型 | 描述 |
|---|---|---|---|
| appBar | null | PreferredSizeWidget | 如果小部件作为独立页面使用,则指定AppBar |
| baseUrl | - | String | Chatwoot安装地址 |
| inboxIdentifier | - | String | 目标Chatwoot收件箱标识符 |
| enablePersistance | true | bool | 启用聊天客户端实例的联系人、对话和消息的持久化存储。 true - 持久化聊天客户端实例的数据(联系人、对话和消息)到磁盘。要清除持久化数据,请调用 ChatwootClient.clearData或ChatwootClient.clearAllData。false - 将聊天客户端实例的数据保存在内存中,并在聊天客户端实例被释放时清除。 设置 |
| user | null | ChatwootUser | 附加到Chatwoot联系人的自定义用户详细信息 |
| l10n | ChatwootL10n() | ChatwootL10n | ChatwootChat小部件的本地化字符串 |
| timeFormat | DateFormat.Hm() | DateFormat | 聊天日期格式 |
| dateFormat | DateFormat(“EEEE MMMM d”) | DateFormat | 聊天时间格式 |
| showAvatars | true | bool | 显示接收到的消息的头像 |
| showUserNames | true | bool | 显示接收到的消息的用户名 |
c. 使用Chatwoot客户端
您还可以创建自定义聊天UI,并使用ChatwootClient加载和发送消息。当创建客户端实例时,传递的ChatwootCallback将触发消息事件,如onMessageSent和onMessageReceived。
final chatwootCallbacks = ChatwootCallbacks(
      onWelcome: () {
        print("on welcome");
      },
      onPing: () {
        print("on ping");
      },
      onConfirmedSubscription: () {
        print("on confirmed subscription");
      },
      onConversationStartedTyping: () {
        print("on conversation started typing");
      },
      onConversationStoppedTyping: () {
        print("on conversation stopped typing");
      },
      onPersistedMessagesRetrieved: (persistedMessages) {
        print("persisted messages retrieved");
      },
      onMessagesRetrieved: (messages) {
        print("messages retrieved");
      },
      onMessageReceived: (chatwootMessage) {
        print("message received");
      },
      onMessageDelivered: (chatwootMessage, echoId) {
        print("message delivered");
      },
      onMessageSent: (chatwootMessage, echoId) {
        print("message sent");
      },
      onError: (error) {
        print("Ooops! Something went wrong. Error Cause: ${error.cause}");
      },
    );

    ChatwootClient.create(
        baseUrl: widget.baseUrl,
        inboxIdentifier: widget.inboxIdentifier,
        user: widget.user,
        enablePersistence: widget.enablePersistence,
        callbacks: chatwootCallbacks
    ).then((client) {
        client.loadMessages();
    }).onError((error, stackTrace) {
      print("chatwoot client creation failed with error $error: $stackTrace");
    });
更多关于Flutter聊天集成插件chatwoot_sdk的使用的实战教程也可以访问 https://www.itying.com/category-92-b0.html
1 回复


