


Flutter应用更新通知插件update_notification的使用
Flutter应用更新通知插件update_notification的使用
update_notification
- 这个 Flutter 插件会提醒用户更新应用程序。
- 通过弹出窗口的帮助,用户可以轻松导航到相应的商店(App Store 或 Play Store)来更新应用程序。
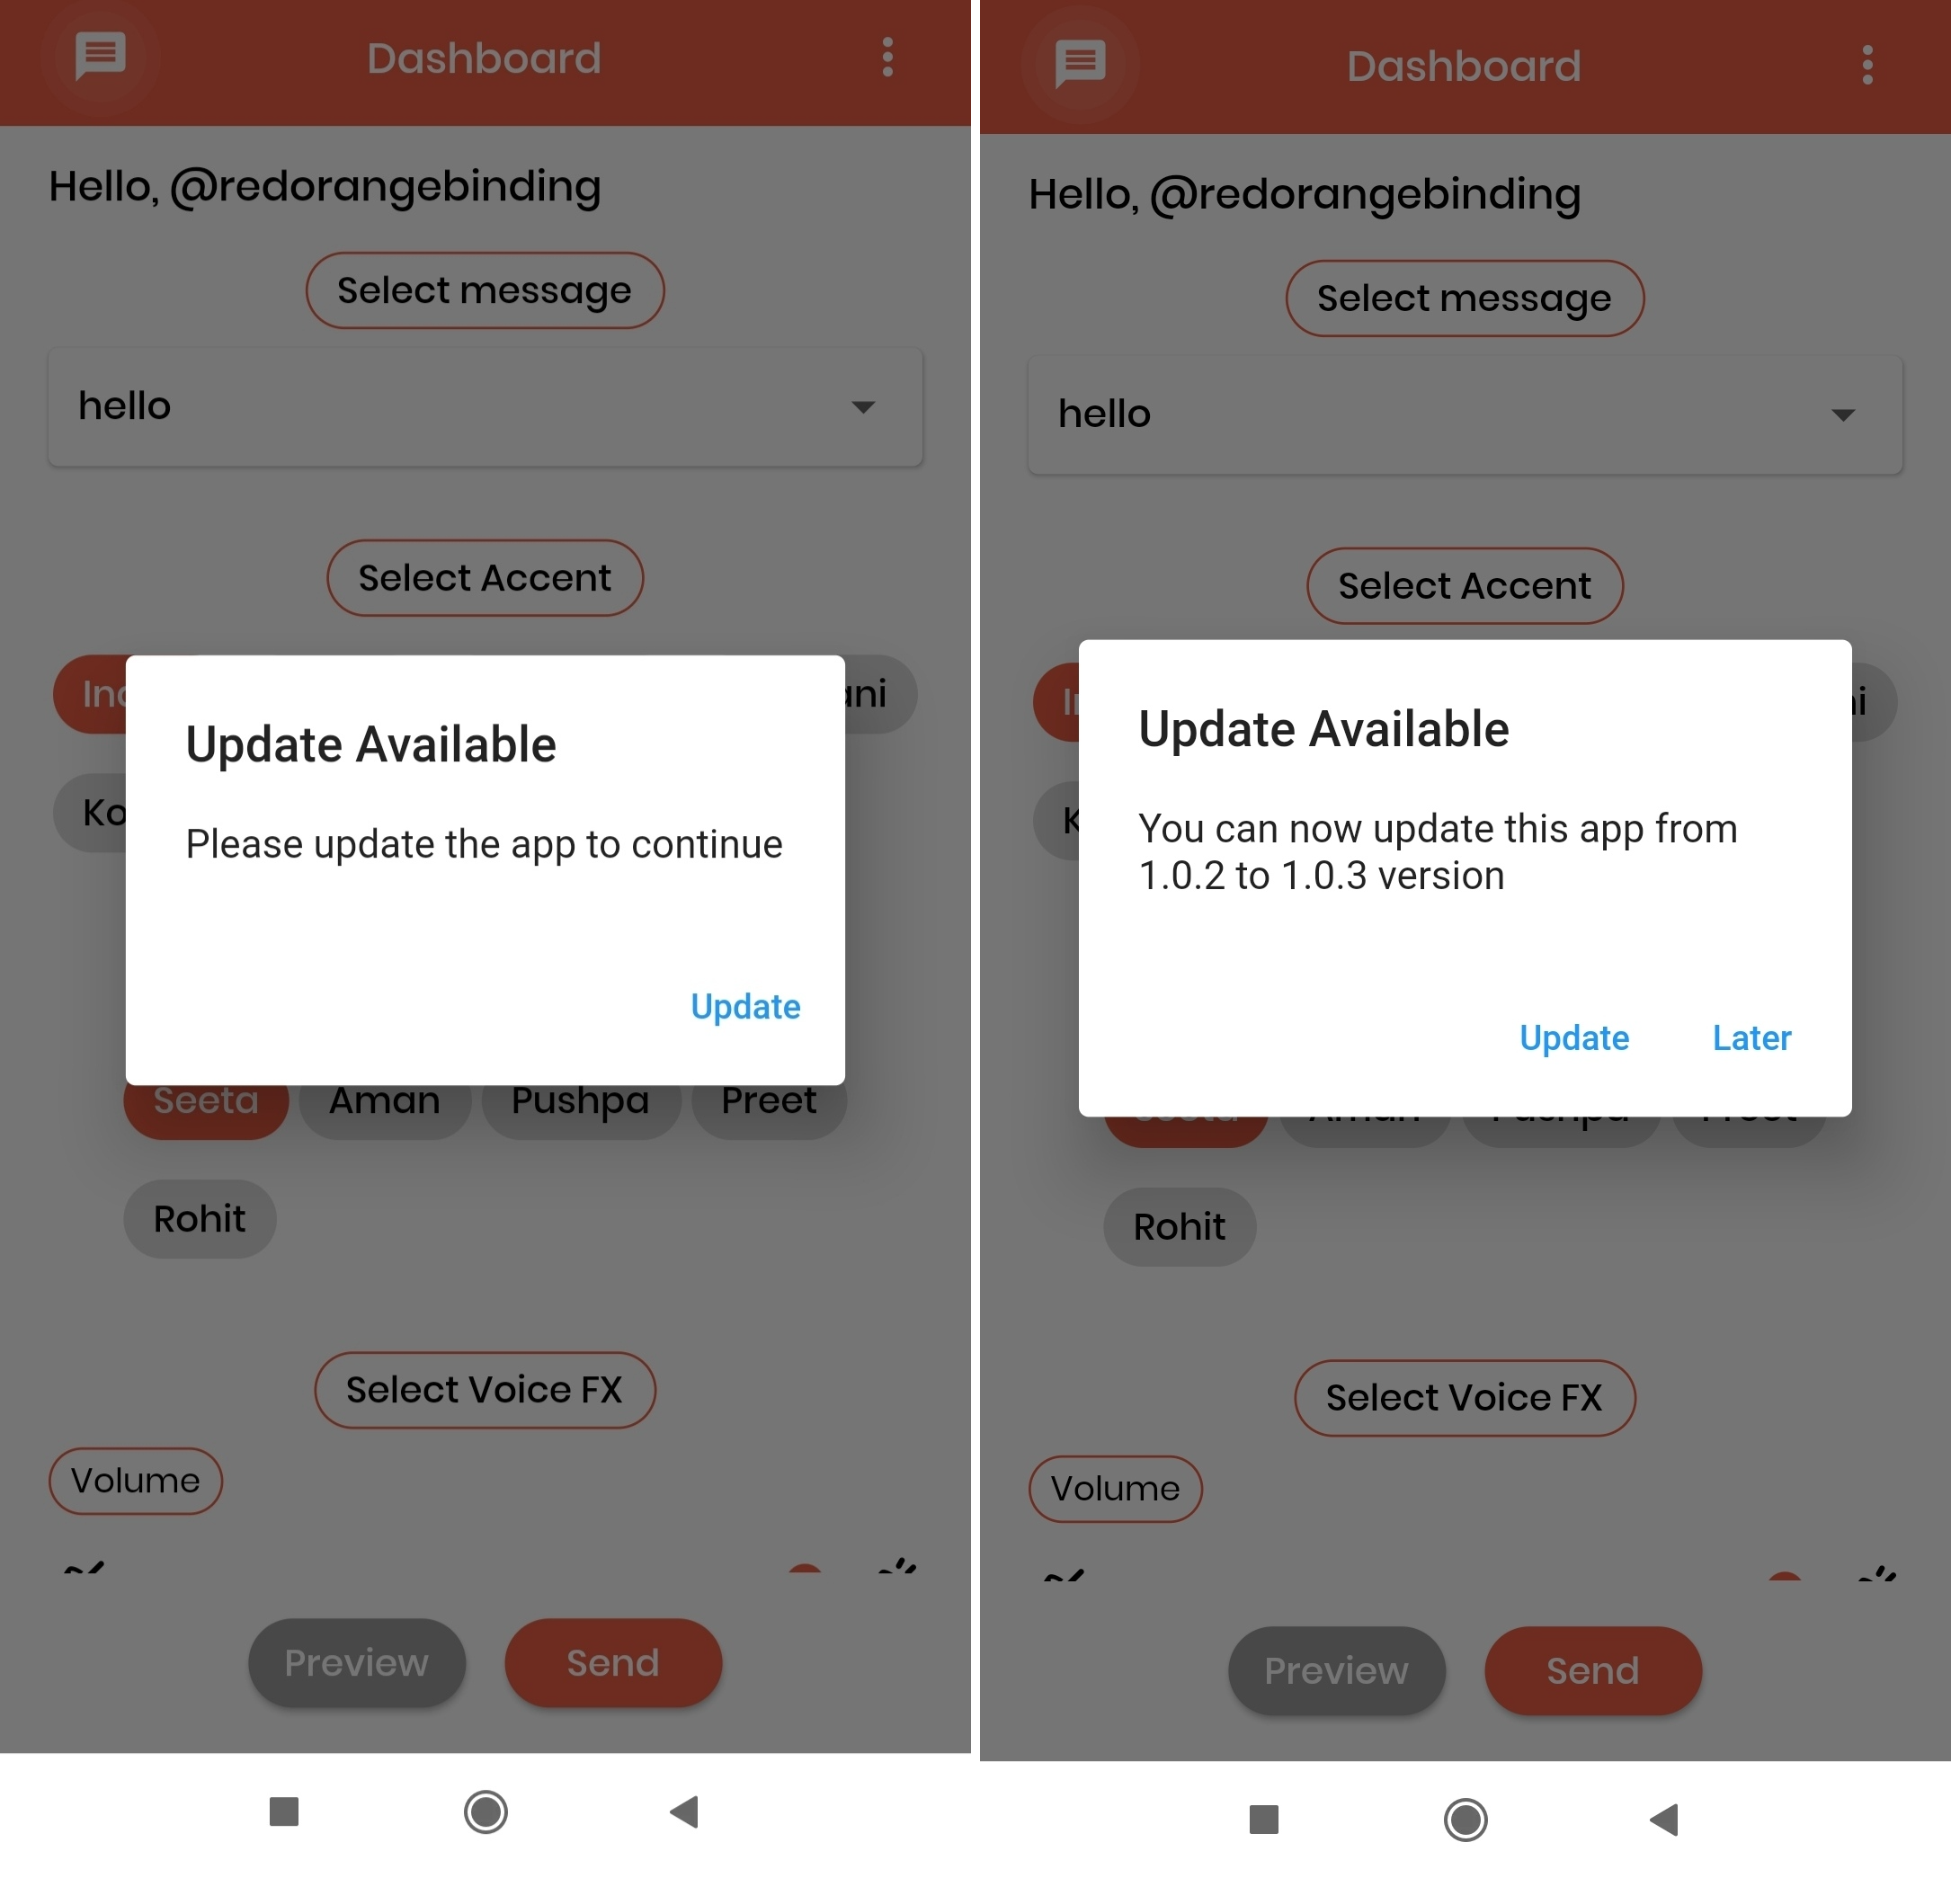
UI
弹出窗口的界面是一个简单的卡片。
安装
在 pubspec.yaml 文件中添加 update_notification 作为依赖项。
dependencies:
  update_notification: ^1.0.1
使用
-
在
main.dart(或其他文件)中,在initState()方法中创建一个UpdateNotification类的实例。final UpdateNotification updateNotification = UpdateNotification(); -
在构造函数中传递应用程序的包名,包括
iOSAppId和androidAppId。 -
传递应用程序的最小版本值给
minimumVersion参数。此参数用于强制用户更新应用程序,任何版本低于指定版本的用户将被强制更新应用程序。 -
调用
showAlertDialog方法:updateNotification.showAlertDialog(context: context); -
如果商店里有更新版本的应用程序,应用程序将在启动时弹出一个提示框,并提供更新选项。点击更新按钮后,用户将被引导到相应的商店(App Store 或 Play Store)。
示例
import 'package:flutter/cupertino.dart';
import 'package:flutter/material.dart';
import '/update_notification.dart'; // 确保路径正确

class Example extends StatefulWidget {
  const Example({Key? key}) : super(key: key);

  [@override](/user/override)
  _ExampleState createState() => _ExampleState();
}

class _ExampleState extends State<Example> {
  [@override](/user/override)
  void initState() {
    super.initState();

    final UpdateNotification updateNotification =
        UpdateNotification(
            iOSAppId: 'com.google.myride', // iOS 应用程序包名
            androidAppId: 'com.google.rever', // Android 应用程序包名
            minimumVersion: '1.0.0'); // 最小版本号

    showDialog(updateNotification);
  }

  void showDialog(UpdateNotification updateVersion) {
    updateVersion.showAlertDialog(context: context);
  }

  [@override](/user/override)
  Widget build(BuildContext context) {
    return Scaffold(
      body: Container(), // 您可以根据需要替换为其他内容
    );
  }
}
更多关于Flutter应用更新通知插件update_notification的使用的实战教程也可以访问 https://www.itying.com/category-92-b0.html

更多关于Flutter应用更新通知插件update_notification的使用的实战系列教程也可以访问 https://www.itying.com/category-92-b0.html
当然,关于如何在Flutter应用中使用update_notification插件来处理应用更新通知,下面是一个基本的代码示例。这个示例将展示如何集成update_notification插件,并在应用检测到新版本时显示更新通知。
首先,确保你的Flutter项目中已经添加了update_notification插件。你可以在pubspec.yaml文件中添加以下依赖:
dependencies:
  flutter:
    sdk: flutter
  update_notification: ^latest_version_here  # 请替换为最新版本号
然后,运行flutter pub get来安装依赖。
接下来,在你的Flutter应用中,你可以按照以下步骤使用update_notification插件:
- 初始化插件:
在你的main.dart文件中,或者任何合适的位置初始化插件。
import 'package:flutter/material.dart';
import 'package:update_notification/update_notification.dart';

void main() {
  runApp(MyApp());
}

class MyApp extends StatelessWidget {
  @override
  Widget build(BuildContext context) {
    return MaterialApp(
      title: 'Flutter Demo',
      theme: ThemeData(
        primarySwatch: Colors.blue,
      ),
      home: MyHomePage(),
    );
  }
}

class MyHomePage extends StatefulWidget {
  @override
  _MyHomePageState createState() => _MyHomePageState();
}

class _MyHomePageState extends State<MyHomePage> {
  @override
  void initState() {
    super.initState();
    _initializeUpdateNotification();
  }

  void _initializeUpdateNotification() async {
    // 配置UpdateNotification
    UpdateNotification().initialize(
      // 设置检查更新的URL(这里应该是一个返回版本信息的API端点)
      checkUrl: "https://your-api-endpoint.com/check-update",
      // 配置更新通知的相关参数
      mandatoryUpdate: false, // 是否强制更新
      autoDownload: false,    // 是否自动下载更新包
      notificationTitle: "应用更新",
      notificationMessage: "发现新版本,请更新以获得最佳体验!",
      notificationPositiveButtonText: "更新",
      notificationNegativeButtonText: "稍后",
      // 设置更新下载的监听器
      onDownloadProgress: (int received, int total) {
        print("${(received / total * 100).toStringAsFixed(2)}%");
      },
      // 设置更新完成的监听器
      onUpdateCompleted: () {
        // 这里可以处理更新完成后的逻辑,比如重启应用
        print("更新完成!");
      },
      // 设置用户点击更新按钮后的处理逻辑
      onPositiveButtonClicked: () async {
        // 这里可以触发下载更新的逻辑
        await UpdateNotification().downloadUpdate();
      },
      // 设置用户点击稍后按钮后的处理逻辑
      onNegativeButtonClicked: () {
        // 用户选择稍后更新,可以在这里处理相关逻辑
        print("用户选择稍后更新");
      },
    );

    // 手动触发一次版本检查(通常你会在合适的时机调用这个方法,比如应用启动时)
    await UpdateNotification().checkForUpdates();
  }

  @override
  Widget build(BuildContext context) {
    return Scaffold(
      appBar: AppBar(
        title: Text('Flutter Demo Home Page'),
      ),
      body: Center(
        child: Text('检查应用更新示例'),
      ),
    );
  }
}
- 后端API设置:
确保你的后端API能够返回正确的版本信息。一个基本的JSON响应可能看起来像这样:
{
  "current_version": "1.0.0",
  "latest_version": "1.0.1",
  "update_url": "https://your-update-server.com/path/to/your/update/package",
  "release_notes": "修复了一些bug并优化了性能。"
}
update_notification插件会根据这个响应来决定是否需要显示更新通知。
请注意,上述代码是一个简化的示例,实际应用中你可能需要根据具体需求进行调整,比如处理网络错误、用户权限请求等。同时,确保你遵循了所有相关的隐私政策和用户协议。