


Flutter设计工具插件designflow的使用
Flutter设计工具插件designflow的使用


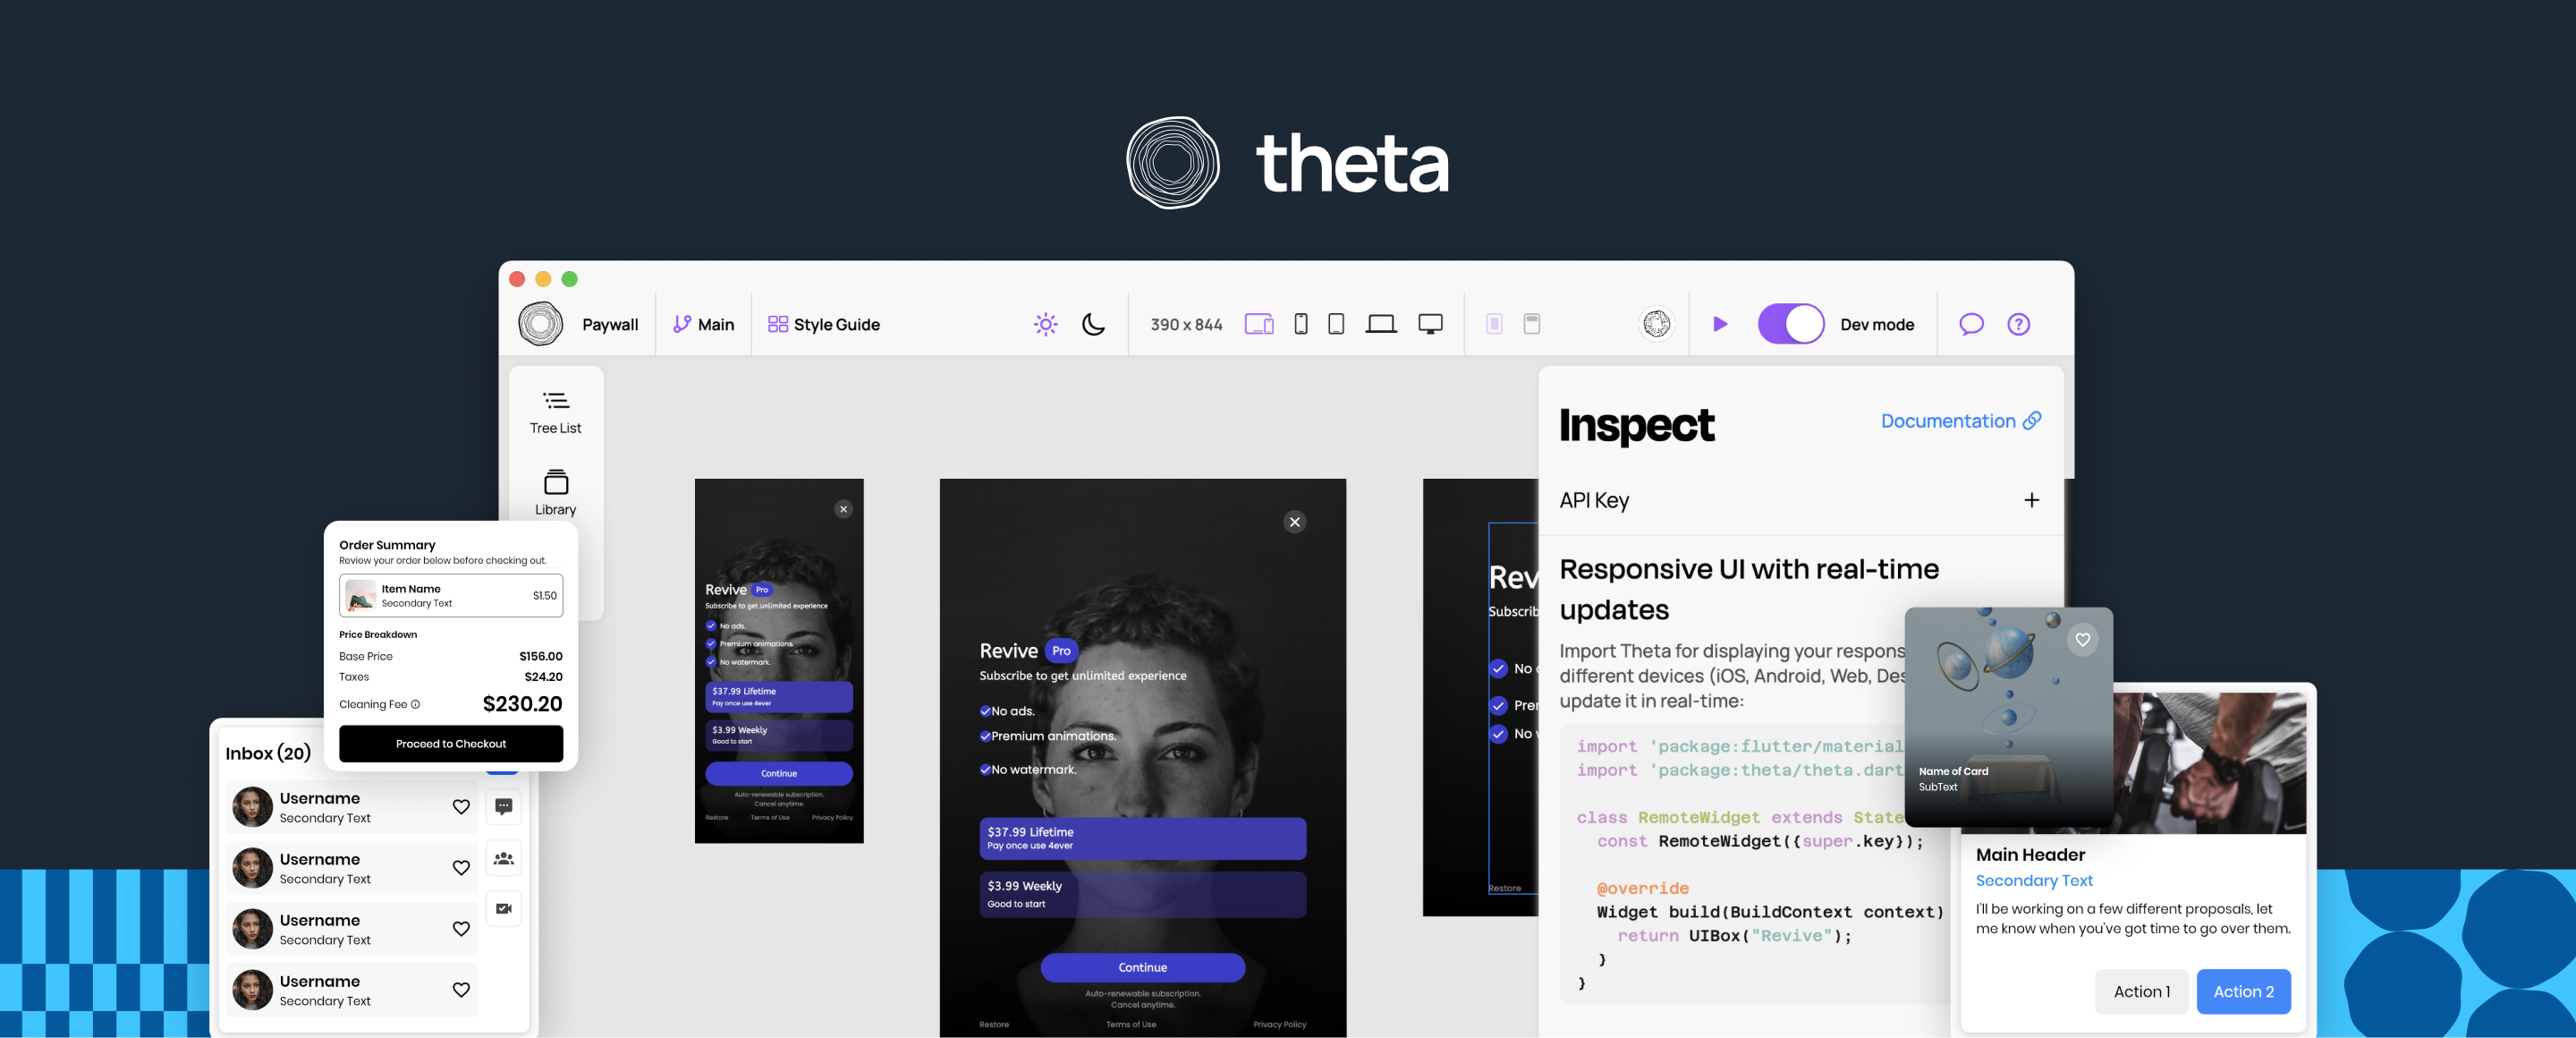
Theta #
设计到Flutter只需一步。
- 🦄 为什么? 手动编码整个UI可能耗时且成本高昂。通过一个命令即可将设计转换为Flutter。
- 👥 谁? 单个开发者和团队希望更快更直观地开发UI。
🧙 设计到Flutter #
三步:
- 使用Theta构建您的UI。
- 🔗 网站
- 导航到Flutter项目,并打开终端:
安装Theta CLI。
$ dart pub global activate designflow_cli
通过密钥链接项目。
$ theta link -k <anon key>
通过运行以下命令生成文件:
$ theta gen
- 使用生成的UI小部件:
Theta将生成以下文件
- /assets
- /theta_assets
- theta_preload.json
- ... 所有媒体文件
- /lib
- theta_ui_assets.g.dart
- theta_ui_widgets.g.dart
您可以像使用普通小部件一样使用它们:
PaywallWidget(
    initialTheme: ThemeMode.light,
)
黄色警告: 在运行应用之前:
- 初始化ThetaClient实例。在应用的根目录下写入:
await initializeThetaClient();
- 在pubspec.yaml文件中添加theta_assets文件夹路径,以访问小部件数据:
assets:
    - assets/theta_assets/
恭喜,您现在拥有自己的UI 🥳 #
🔴 实时小部件 #
有一种选项可以在运行时从后端获取小部件。
通过设置 isLive: true 可以轻松激活它。
PaywallWidget(
    initialTheme: ThemeMode.light,
    isLive: true,
)
通过将其设置为实时,您可以从Theta编辑器进行A/B测试或实时更新其内容。
贡献 #
详情请参阅 CONTRIBUTING.md。
许可证 #
Theta在Apache License 2.0下授权。详情请参阅 LICENSE。
示例代码
import 'package:designflow/designflow.dart';
import 'package:example/designflow_ui_widgets.g.dart';
import 'package:flutter/material.dart';
import 'package:flutter_bloc/flutter_bloc.dart';
import 'package:go_router/go_router.dart';
import 'package:designflow_google_maps_addon/designflow_google_maps_addon.dart';
import 'package:designflow_material_addon/designflow_material_addon.dart';

final router = GoRouter(
  initialLocation: '/places',
  routes: [
    GoRoute(
      path: '/booking',
      builder: (_, __) => const Scaffold(body: BookingConnectorWidget()),
    ),
    GoRoute(
      path: '/places',
      builder: (_, __) => const Scaffold(body: BookingFindPlaceDialogWidget()),
    ),
  ],
);

Future<void> main() async {
  WidgetsFlutterBinding.ensureInitialized();

  runApp(const MyApp());
}

class MyApp extends StatefulWidget {
  const MyApp({super.key});

  [@override](/user/override)
  State<MyApp> createState() => _MyAppState();
}

class _MyAppState extends State<MyApp> {
  final GlobalKey appKey = GlobalKey();

  [@override](/user/override)
  void initState() {
    super.initState();
    load();
  }

  void load() {
    Future.delayed(const Duration(seconds: 2)).then((value) {
      print(appKey.currentContext?.read<AppCubit>().state);
    });
  }

  [@override](/user/override)
  Widget build(BuildContext context) {
    return DesignFlowApp(
      token: 'eyJhbGciOiJIUzI1NiIsInR5cCI6IkpXVCJ9.eyJyZWYiOiJhNWYwZDA3ZS04ZWY2LTQ3MzctYTJjNC1iMTdmOGQ5ODQyNDEiLCJhbm9uX2tleSI6ImI5M2M4MDFhLTBmYjItNDQzYi1iYTdlLWQ4MjdmNDczZmFjMCIsImlhdCI6MTcwNzQ3NDc1OCwiZXhwIjoxNzM5MDMyMzU4LCJpc3MiOiJodHRwczovL2J1aWxkd2l0aHRoZXRhLmNvbSJ9.BYo5pb6ox3nRcKZiWwC3cratB2EkzqG50NcJC4_jrdA',
      components: designFlowComponentEntries,
      mapComponentsIDToName: const {},
      appKey: appKey,
      dependenciesInitializers: [
        () => DesignFlowWidgetsMaterial.initializeDependencies(),
        () => DesignFlowWidgetsGoogleMaps.initializeDependencies(),
      ],
      router: router,
    );
  }
}
更多关于Flutter设计工具插件designflow的使用的实战教程也可以访问 https://www.itying.com/category-92-b0.html

更多关于Flutter设计工具插件designflow的使用的实战系列教程也可以访问 https://www.itying.com/category-92-b0.html
当然,关于Flutter设计工具插件Designflow的使用,这里提供一个基本的代码案例来展示如何在Flutter项目中集成和使用Designflow插件。Designflow插件通常用于设计预览和原型制作,可以极大地提高UI/UX设计效率。不过,请注意,具体插件的API和功能可能会随着版本的更新而变化,因此以下代码只是一个示例,具体实现可能需要参考最新的官方文档。
首先,确保你已经在pubspec.yaml文件中添加了Designflow插件的依赖:
dependencies:
  flutter:
    sdk: flutter
  designflow: ^最新版本号  # 请替换为实际可用的最新版本号
然后,运行flutter pub get来安装依赖。
接下来,你可以在你的Flutter应用中开始使用Designflow插件。以下是一个简单的示例,展示如何使用Designflow来创建一个设计预览页面:
import 'package:flutter/material.dart';
import 'package:designflow/designflow.dart'; // 导入Designflow包

void main() {
  runApp(MyApp());
}

class MyApp extends StatelessWidget {
  @override
  Widget build(BuildContext context) {
    return MaterialApp(
      title: 'Designflow Example',
      theme: ThemeData(
        primarySwatch: Colors.blue,
      ),
      home: DesignflowExamplePage(),
    );
  }
}

class DesignflowExamplePage extends StatefulWidget {
  @override
  _DesignflowExamplePageState createState() => _DesignflowExamplePageState();
}

class _DesignflowExamplePageState extends State<DesignflowExamplePage> {
  @override
  Widget build(BuildContext context) {
    return Scaffold(
      appBar: AppBar(
        title: Text('Designflow Example'),
      ),
      body: Padding(
        padding: const EdgeInsets.all(16.0),
        child: Column(
          crossAxisAlignment: CrossAxisAlignment.start,
          children: [
            Text(
              '使用Designflow创建的设计预览',
              style: TextStyle(fontSize: 24),
            ),
            SizedBox(height: 20),
            Expanded(
              child: DesignflowWidget(
                // 这里配置DesignflowWidget的属性,例如数据源、样式等
                // 由于Designflow的具体API可能有所不同,以下仅为示例代码
                // 请参考Designflow的官方文档以获取正确的属性配置
                data: [
                  // 示例数据,可能包含页面、组件等信息
                  {
                    'type': 'page',
                    'title': '首页',
                    'components': [
                      {
                        'type': 'text',
                        'text': '欢迎来到Designflow示例',
                        'style': {
                          'fontSize': 20,
                          'color': '#000000',
                        },
                      },
                      // 其他组件...
                    ],
                  },
                  // 更多页面...
                ],
                style: DesignflowStyle(
                  // 配置样式,例如背景色、间距等
                  backgroundColor: Colors.white,
                ),
              ),
            ),
          ],
        ),
      ),
    );
  }
}

// 假设Designflow有一个名为DesignflowWidget的widget和DesignflowStyle的样式类
// 由于实际API可能不同,这里仅为示意
class DesignflowStyle {
  final Color backgroundColor;

  DesignflowStyle({required this.backgroundColor});
}

class DesignflowWidget extends StatelessWidget {
  final List data;
  final DesignflowStyle style;

  DesignflowWidget({required this.data, required this.style});

  @override
  Widget build(BuildContext context) {
    // 这里应该根据data和style来构建实际的UI
    // 但由于Designflow的实际API未知,这里仅返回一个占位容器
    return Container(
      decoration: BoxDecoration(color: style.backgroundColor),
      child: Center(child: Text('Designflow预览内容')), // 占位文本
    );
  }
}
注意:
- 上述代码中的
DesignflowWidget和DesignflowStyle类是基于假设创建的,因为实际的Designflow插件可能有不同的API和组件。 - 插件的具体使用方法和属性应该参考Designflow的官方文档。
- 如果Designflow插件提供了命令行工具或图形界面工具来生成Flutter代码,那么你可能需要使用这些工具来生成设计预览代码,而不是手动编写。
希望这个示例能帮助你开始使用Designflow插件。如果有更多具体问题或需要进一步的帮助,请查阅最新的Designflow文档或联系插件的开发者。