


Flutter定位插件onelocate的使用
Flutter定位插件onelocate的使用
<kbd>![]() </kbd> onelocate
</kbd> onelocate
介绍我们的创新地理定位检测插件OneLocate,这是一个强大的工具,允许您在不使用GPS的情况下检查当前的位置坐标,只需要互联网访问即可。
特性
- 不需要GRS
- 只需要互联网
开始使用
要使用此包,请在pubspec.yaml文件中添加onelocate作为依赖项。
在pubspec.yaml中添加依赖
onelocate: ^0.0.3
导入Dart包
import 'package:onelocate/onelocate.dart';
实现OneLocate
// 初始化插件对象
final _onelocatePlugin = Onelocate();

// 方法将返回位置信息作为动态映射值。
// 这是一组可以访问的属性,

{
"country": "",
"countryCode": "",
"city": "",
"zip": "",
"lat": "",
"lon": "",
}

var platformRootStatus = await _onelocatePlugin.getLocation();

// 方法将返回操作系统版本。
String platformVersion = await _onelocatePlugin.getPlatformVersion();
平台配置
| Android - AndroidManifest | IOS - info.plist |
|---|---|
| ↑ 空行! | ↑ 空行! |
xml |xml |
|
| <manifest xmlns:android=“http://schemas.android.com/apk/res/android” package=“com.akurupela.onelocate”> | |
| <uses-permission android:name=“android.permission.INTERNET” /> | |
| </manifest> | |
| ↓ 空行! | ↓ 空行! |
| |
|
| ↓ 空行! | ↓ 空行! |
xml |xml |
|
| <?xml version=“1.0” encoding=“UTF-8”?> | |
| <!DOCTYPE plist PUBLIC “-//Apple//DTD PLIST 1.0//EN” “http://www.apple.com/DTDs/PropertyList-1.0.dtd”> | |
| <plist version=“1.0”> | |
| <dict> | |
| <key>NSAllowsArbitraryLoads</key> | |
| <true/> | |
| </dict> | |
| </plist> | |
| ↓ 空行! | ↓ 空行! |
| One Locate - Android | One Locate - IOS |
|---|---|
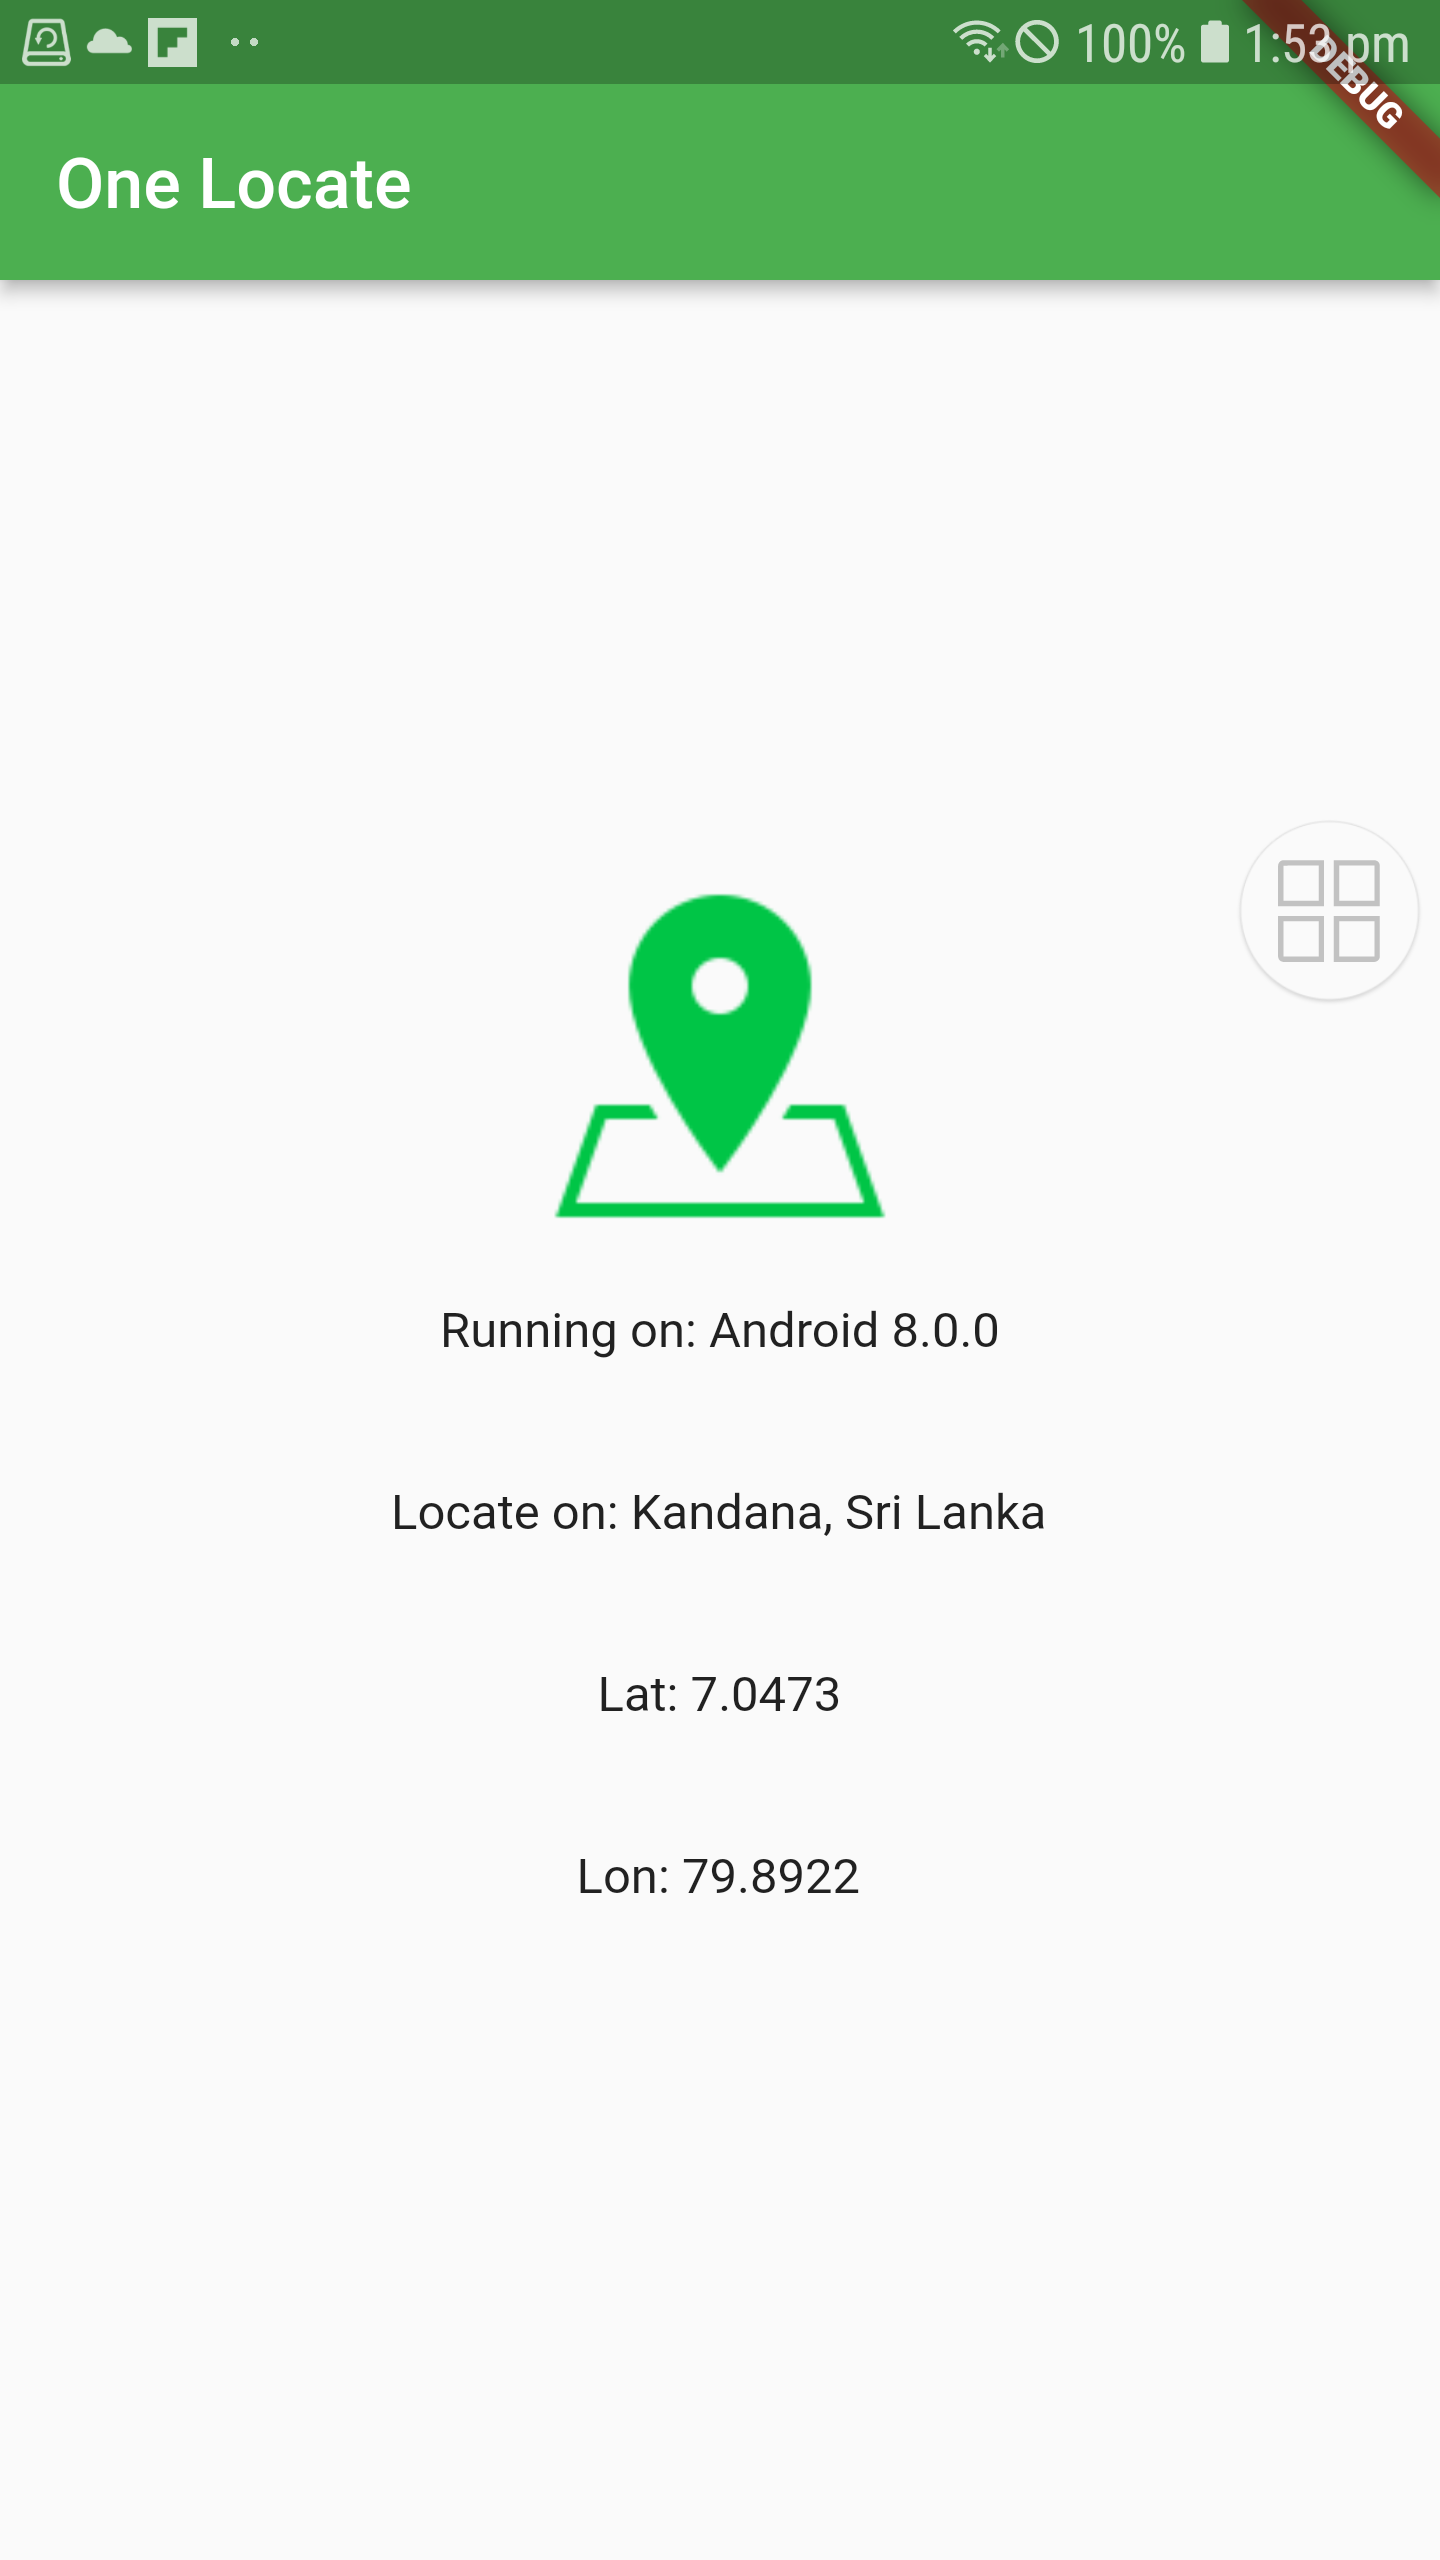 |
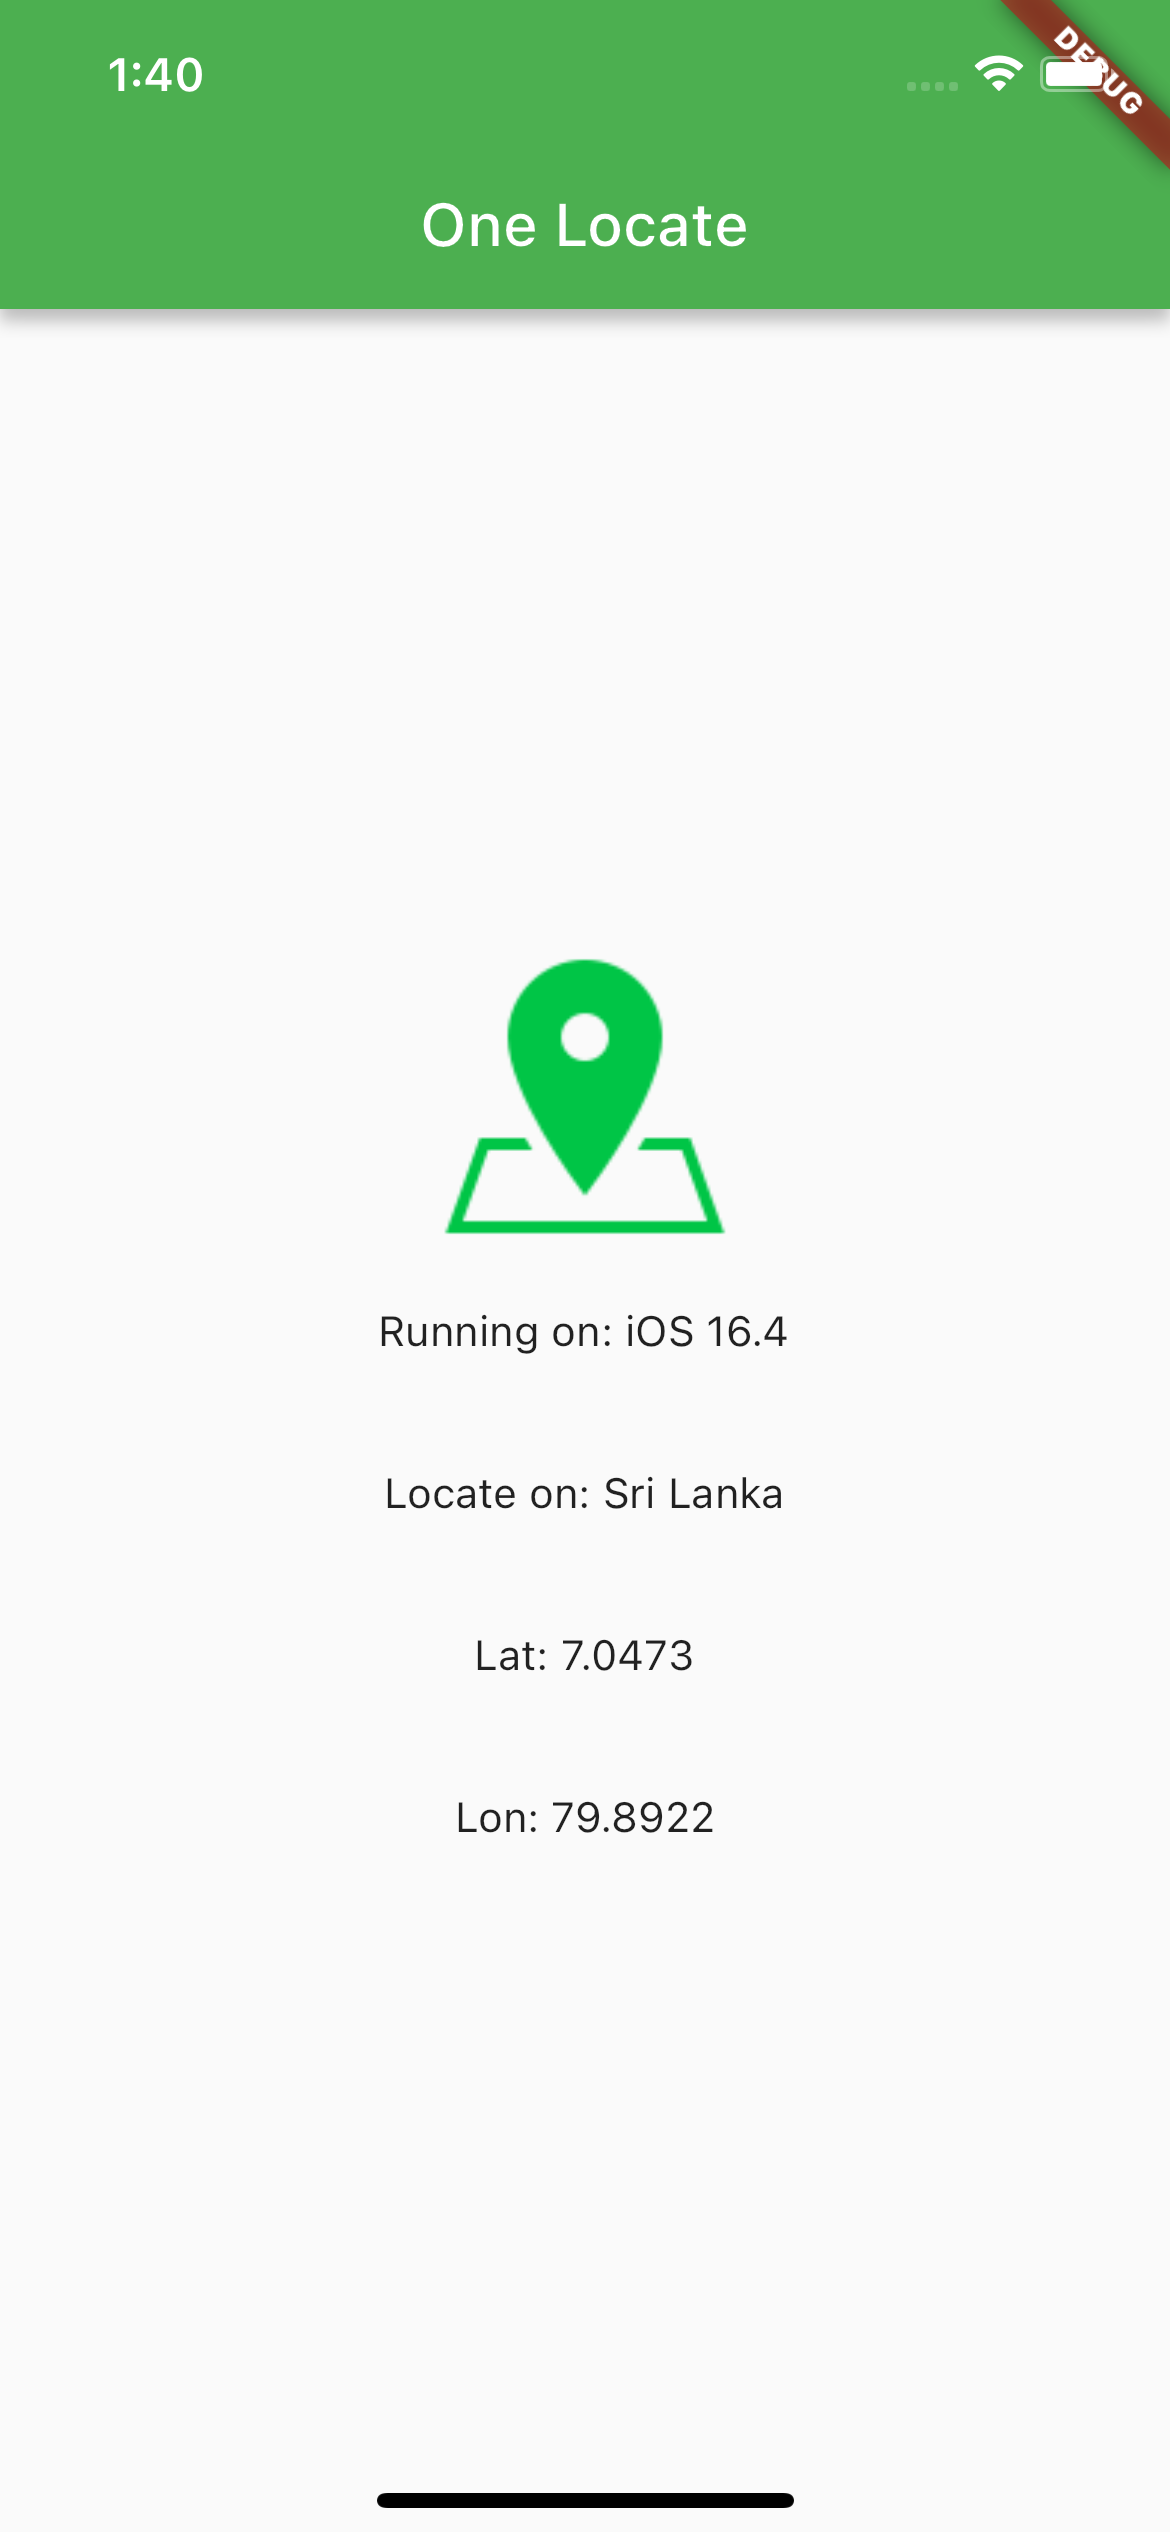 |
示例代码
import 'package:flutter/material.dart';
import 'dart:async';

import 'package:flutter/services.dart';
import 'package:onelocate/onelocate.dart';

void main() {
  runApp(const MyApp());
}

class MyApp extends StatefulWidget {
  const MyApp({super.key});

  [@override](/user/override)
  State<MyApp> createState() => _MyAppState();
}

class _MyAppState extends State<MyApp> {
  String _platformVersion = 'Unknown';
  String _platformLocation = 'Unknown';
  String _platformLat = 'Unknown';
  String _platformLon = 'Unknown';
  final _onelocatePlugin = Onelocate();

  [@override](/user/override)
  void initState() {
    super.initState();
    initPlatformState();
  }

  Future<void> initPlatformState() async {
    String platformVersion;
    try {
      platformVersion = await _onelocatePlugin.getPlatformVersion() ?? 'Unknown platform version';
    } on PlatformException {
      platformVersion = 'Failed to get platform version.';
    }

    try {
      await _onelocatePlugin.getLocation().then((value) {
        _platformLocation = value!['city'].toString();
        _platformLocation = "$_platformLocation, ${value['country']}";
        _platformLat = value['lat'].toString();
        _platformLon = value['lon'].toString();
      });
    } on PlatformException {
      platformVersion = 'Failed to get location.';
    }
    if (!mounted) return;
    setState(() {
      _platformVersion = platformVersion;
    });
  }

  [@override](/user/override)
  Widget build(BuildContext context) {
    return MaterialApp(
      title: 'One Locate',
      theme: ThemeData(
        primarySwatch: Colors.green,
        primaryColor: Colors.green,
      ),
      home: Scaffold(
        appBar: AppBar(
          title: const Text('One Locate'),
        ),
        body: Center(
          child: Column(
            mainAxisAlignment: MainAxisAlignment.center,
            crossAxisAlignment: CrossAxisAlignment.center,
            children: [
              Image.asset("assets/marker.png"),
              const SizedBox(
                height: 20,
              ),
              Text('运行于: $_platformVersion\n'),
              const SizedBox(
                height: 20,
              ),
              Text('位置: $_platformLocation\n'),
              const SizedBox(
                height: 20,
              ),
              Text('纬度: $_platformLat\n'),
              const SizedBox(
                height: 20,
              ),
              Text('经度: $_platformLon\n'),
            ],
          ),
        ),
      ),
    );
  }
}
更多关于Flutter定位插件onelocate的使用的实战教程也可以访问 https://www.itying.com/category-92-b0.html
1 回复

更多关于Flutter定位插件onelocate的使用的实战系列教程也可以访问 https://www.itying.com/category-92-b0.html
当然,以下是一个关于如何在Flutter项目中使用onelocate插件来实现定位功能的代码示例。onelocate插件是一个用于快速获取设备当前位置的Flutter插件,它封装了原生平台的定位功能。
首先,你需要在你的pubspec.yaml文件中添加onelocate依赖:
dependencies:
  flutter:
    sdk: flutter
  onelocate: ^最新版本号 # 请替换为当前最新的版本号
然后运行flutter pub get来安装依赖。
接下来,在你的Flutter项目中,你可以按照以下步骤使用onelocate插件:
- 导入插件:
在你的Dart文件中导入onelocate插件:
import 'package:onelocate/onelocate.dart';
- 请求权限并获取位置:
你可以使用Onelocate类来获取设备的位置。下面是一个完整的示例,展示了如何请求权限、监听位置变化以及获取单次位置。
import 'package:flutter/material.dart';
import 'package:onelocate/onelocate.dart';

void main() {
  runApp(MyApp());
}

class MyApp extends StatefulWidget {
  @override
  _MyAppState createState() => _MyAppState();
}

class _MyAppState extends State<MyApp> {
  Onelocate? _onelocate;
  bool _isLocating = false;
  Position? _currentPosition;

  @override
  void initState() {
    super.initState();
    // 初始化Onelocate实例
    _onelocate = Onelocate();

    // 请求定位权限
    _onelocate!.requestPermission().then((permissionStatus) {
      if (permissionStatus == PermissionStatus.granted) {
        // 权限已授予,开始定位
        startLocating();
      } else {
        // 处理权限被拒绝的情况
        print('定位权限被拒绝');
      }
    });
  }

  void startLocating() {
    setState(() {
      _isLocating = true;
    });

    // 监听位置变化
    _onelocate!.onLocationChanged().listen((position) {
      setState(() {
        _currentPosition = position;
      });
    });

    // 获取单次位置(可选)
    _onelocate!.getCurrentLocation().then((position) {
      setState(() {
        _currentPosition = position;
      });
      stopLocating();
    }).catchError((error) {
      print('获取位置失败: $error');
      stopLocating();
    });
  }

  void stopLocating() {
    setState(() {
      _isLocating = false;
    });
    // 停止监听位置变化(如果需要)
    _onelocate!.stopLocationUpdates();
  }

  @override
  Widget build(BuildContext context) {
    return MaterialApp(
      home: Scaffold(
        appBar: AppBar(
          title: Text('Onelocate 示例'),
        ),
        body: Center(
          child: _isLocating
              ? CircularProgressIndicator()
              : _currentPosition != null
                  ? Column(
                      mainAxisAlignment: MainAxisAlignment.center,
                      children: <Widget>[
                        Text('纬度: ${_currentPosition!.latitude}'),
                        Text('经度: ${_currentPosition!.longitude}'),
                      ],
                    )
                  : Text('正在请求定位权限...'),
        ),
      ),
    );
  }
}
在这个示例中:
- 我们首先初始化了
Onelocate实例。 - 然后请求定位权限,如果权限被授予,则开始定位。
- 使用
onLocationChanged方法来监听位置变化,并在UI中更新当前位置。 - 使用
getCurrentLocation方法来获取单次位置,并在获取到位置后停止定位(这是一个可选步骤,你可以根据需求决定是否要获取单次位置)。
请注意,实际项目中你可能需要更复杂的权限处理逻辑(例如,向用户解释为什么需要定位权限),以及更健壮的错误处理机制。这个示例主要是为了展示如何使用onelocate插件进行基本定位。