


Flutter底部导航栏上滑切换插件bottom_nav_swipe_up的使用
Flutter底部导航栏上滑切换插件bottom_nav_swipe_up的使用
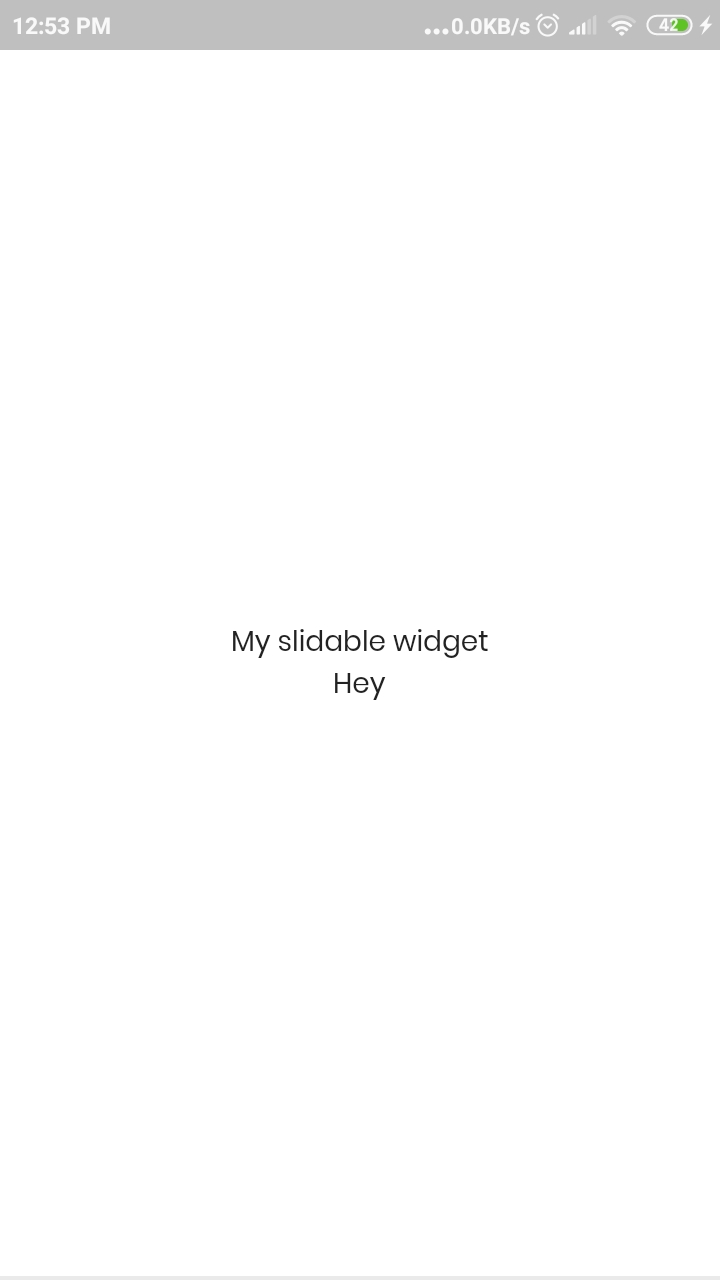
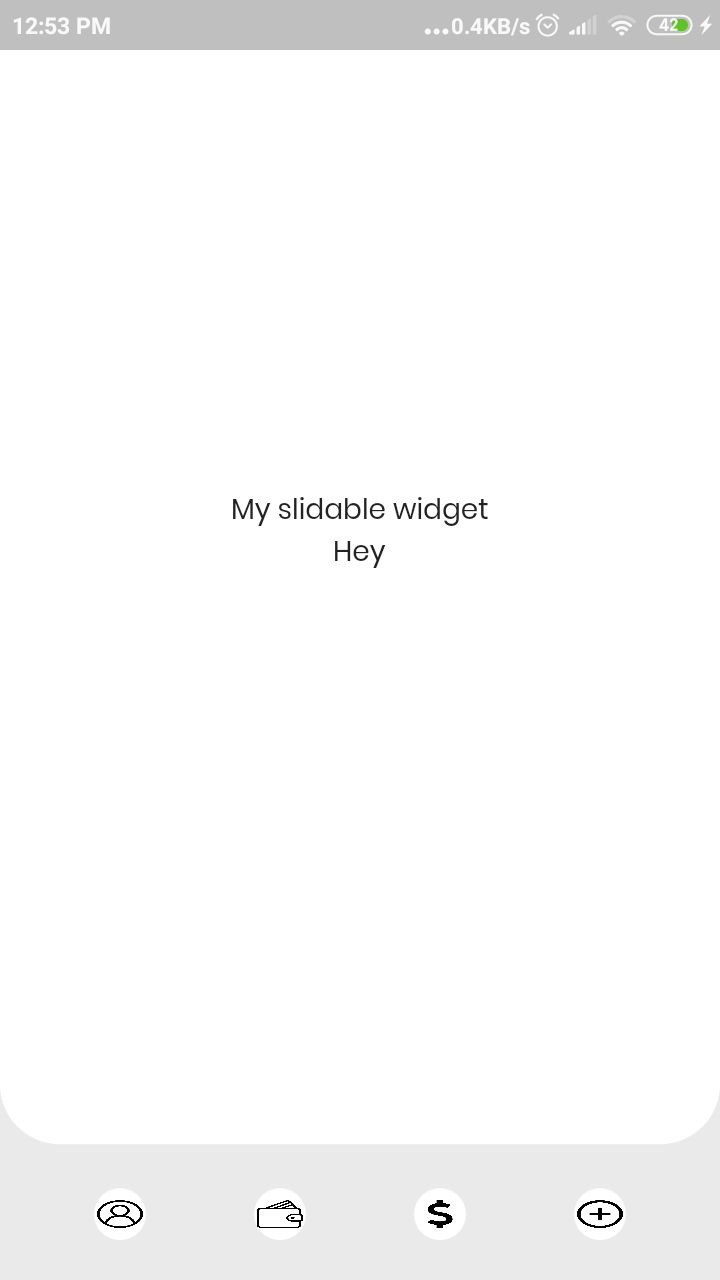
Bottom Nav Swipe Up 是一个 Flutter 包,用于在向上滑动时显示底部导航栏,并在向下滑动时隐藏它。

目录
开始使用
- 在你的
pubspec.yaml文件中添加以下依赖:
dependencies:
  bottom_nav_swipe_up: ^0.0.9
- 从 Pub 获取包:
flutter packages get
- 在你的文件中导入该包:
import 'package:bottom_nav_swipe_up/bottom_nav_swipe_up.dart';
使用方法
Bottom Nav Swipe Up 只需要滑动屏幕和底部导航栏小部件。这为开发者提供了灵活性,可以设计自己的UI。
// 定义底部导航栏小部件
bottomNavigationBarWidget = Row(
  mainAxisAlignment: MainAxisAlignment.spaceAround,
  crossAxisAlignment: CrossAxisAlignment.center,
  children: [
    GestureDetector(
      onTap: () {
        // Todo: 添加点击事件
      },
      child: Container(
        width: 35,
        height: 35,
        decoration: BoxDecoration(shape: BoxShape.circle, color: Colors.white),
        child: Padding(
          padding: const EdgeInsets.all(6.0),
          child: Container(
            width: 25,
            height: 25,
            decoration: BoxDecoration(shape: BoxShape.circle, color: Colors.white),
            child: Image.asset("assets/images/user.png", fit: BoxFit.fill),
          ),
        ),
      ),
    ),
    GestureDetector(
      onTap: () {
        // Todo: 添加点击事件
      },
      child: Container(
        width: 35,
        height: 35,
        decoration: BoxDecoration(shape: BoxShape.circle, color: Colors.white),
        child: Padding(
          padding: const EdgeInsets.all(6.0),
          child: Container(
            width: 25,
            height: 25,
            decoration: BoxDecoration(shape: BoxShape.circle, color: Colors.white),
            child: Image.asset("assets/images/wallet.png", fit: BoxFit.fill),
          ),
        ),
      ),
    ),
    GestureDetector(
      onTap: () {
        // Todo: 添加点击事件
      },
      child: Container(
        width: 35,
        height: 35,
        decoration: BoxDecoration(shape: BoxShape.circle, color: Colors.white),
        child: Padding(
          padding: const EdgeInsets.all(6.0),
          child: Container(
            width: 25,
            height: 25,
            decoration: BoxDecoration(shape: BoxShape.circle, color: Colors.white),
            child: Image.asset("assets/images/dollar.png", fit: BoxFit.fill),
          ),
        ),
      ),
    ),
    GestureDetector(
      onTap: () {
        // Todo: 添加点击事件
      },
      child: Container(
        width: 35,
        height: 35,
        decoration: BoxDecoration(shape: BoxShape.circle, color: Colors.white),
        child: Padding(
          padding: const EdgeInsets.all(6.0),
          child: Container(
            width: 25,
            height: 25,
            decoration: BoxDecoration(shape: BoxShape.circle, color: Colors.white),
            child: Image.asset("assets/images/add.png", fit: BoxFit.fill),
          ),
        ),
      ),
    ),
  ],
);

// 定义滑动屏幕小部件
slidableWidget = Column(
  mainAxisAlignment: MainAxisAlignment.center,
  crossAxisAlignment: CrossAxisAlignment.center,
  children: [
    Text("My slidable widget"),
    Text("Hey"),
  ],
);
现在只需将这些小部件传递给 SlidableScreen 小部件:
[@override](/user/override)
Widget build(BuildContext context) {
  return MaterialApp(
    home: SlidableScreen(
      scaffoldBackgroundColor: Colors.white,
      backgroundColor: Colors.grey,
      slidableWidgetBackgroundColor: Colors.white,
      bottomNavigationBarBackgroundColor: Colors.grey,
      bottomNavigationBarWidget: bottomNavigationBarWidget,
      slidableWidget: slidableWidget,
    ),
  );
}
更多关于Flutter底部导航栏上滑切换插件bottom_nav_swipe_up的使用的实战教程也可以访问 https://www.itying.com/category-92-b0.html

更多关于Flutter底部导航栏上滑切换插件bottom_nav_swipe_up的使用的实战系列教程也可以访问 https://www.itying.com/category-92-b0.html
在Flutter中实现底部导航栏上滑切换功能,可以使用bottom_nav_swipe_up这个插件。这个插件允许你在用户上滑手势时切换底部导航栏的页面。以下是如何在你的Flutter项目中使用bottom_nav_swipe_up插件的一个示例代码案例。
首先,确保你已经在pubspec.yaml文件中添加了bottom_nav_swipe_up依赖:
dependencies:
  flutter:
    sdk: flutter
  bottom_nav_swipe_up: ^最新版本号  # 请替换为最新的版本号
然后,运行flutter pub get来安装依赖。
接下来,你可以在你的主文件中使用BottomNavSwipeUp组件来实现这个功能。以下是一个完整的示例代码:
import 'package:flutter/material.dart';
import 'package:bottom_nav_swipe_up/bottom_nav_swipe_up.dart';

void main() {
  runApp(MyApp());
}

class MyApp extends StatelessWidget {
  @override
  Widget build(BuildContext context) {
    return MaterialApp(
      title: 'Flutter Demo',
      theme: ThemeData(
        primarySwatch: Colors.blue,
      ),
      home: BottomNavSwipeUpExample(),
    );
  }
}

class BottomNavSwipeUpExample extends StatefulWidget {
  @override
  _BottomNavSwipeUpExampleState createState() => _BottomNavSwipeUpExampleState();
}

class _BottomNavSwipeUpExampleState extends State<BottomNavSwipeUpExample> {
  int _selectedIndex = 0;

  final List<Widget> _widgetOptions = <Widget>[
    Center(child: Text('Home Page')),
    Center(child: Text('Search Page')),
    Center(child: Text('Profile Page')),
  ];

  void _onItemTapped(int index) {
    setState(() {
      _selectedIndex = index;
    });
  }

  @override
  Widget build(BuildContext context) {
    return BottomNavSwipeUp(
      child: Scaffold(
        appBar: AppBar(
          title: Text('BottomNavSwipeUp Demo'),
        ),
        body: Center(
          child: _widgetOptions.elementAt(_selectedIndex),
        ),
        bottomNavigationBar: BottomNavigationBar(
          items: <BottomNavigationBarItem>[
            BottomNavigationBarItem(
              icon: Icon(Icons.home),
              label: 'Home',
            ),
            BottomNavigationBarItem(
              icon: Icon(Icons.search),
              label: 'Search',
            ),
            BottomNavigationBarItem(
              icon: Icon(Icons.person),
              label: 'Profile',
            ),
          ],
          currentIndex: _selectedIndex,
          onTap: _onItemTapped,
        ),
      ),
      onSwipeUp: () {
        // 这里可以添加你希望在上滑时执行的逻辑,例如切换到特定页面
        setState(() {
          // 例如,我们可以切换到第一个页面
          _selectedIndex = 0;
        });
      },
    );
  }
}
在这个示例中,我们创建了一个包含三个页面的底部导航栏应用。当用户点击底部导航栏的项时,页面会相应切换。此外,当用户执行上滑手势时(由BottomNavSwipeUp组件捕获),我们可以在onSwipeUp回调中执行特定的逻辑,例如切换到首页。
注意,BottomNavSwipeUp组件封装了Scaffold,并添加了上滑手势检测。你可以根据需要在onSwipeUp回调中添加更多的逻辑来处理上滑事件。
这个示例提供了一个基本的使用bottom_nav_swipe_up插件的方法,你可以根据自己的需求进行进一步的定制和扩展。