


Flutter支付处理插件sbp_payments的使用
Flutter支付处理插件sbp_payments的使用
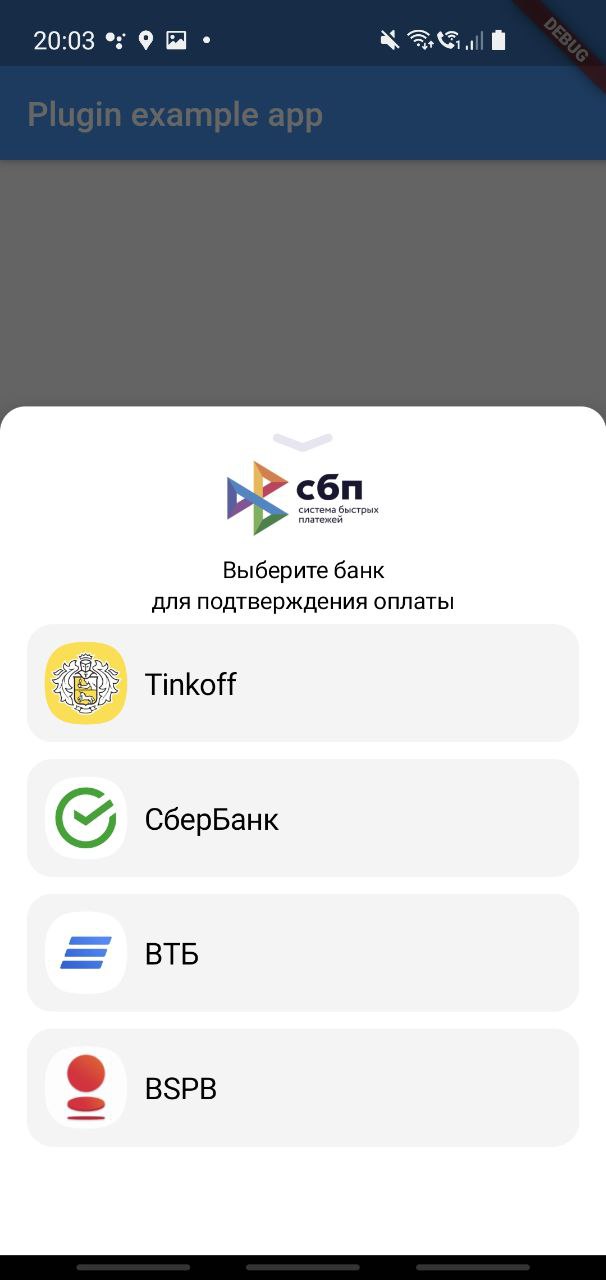
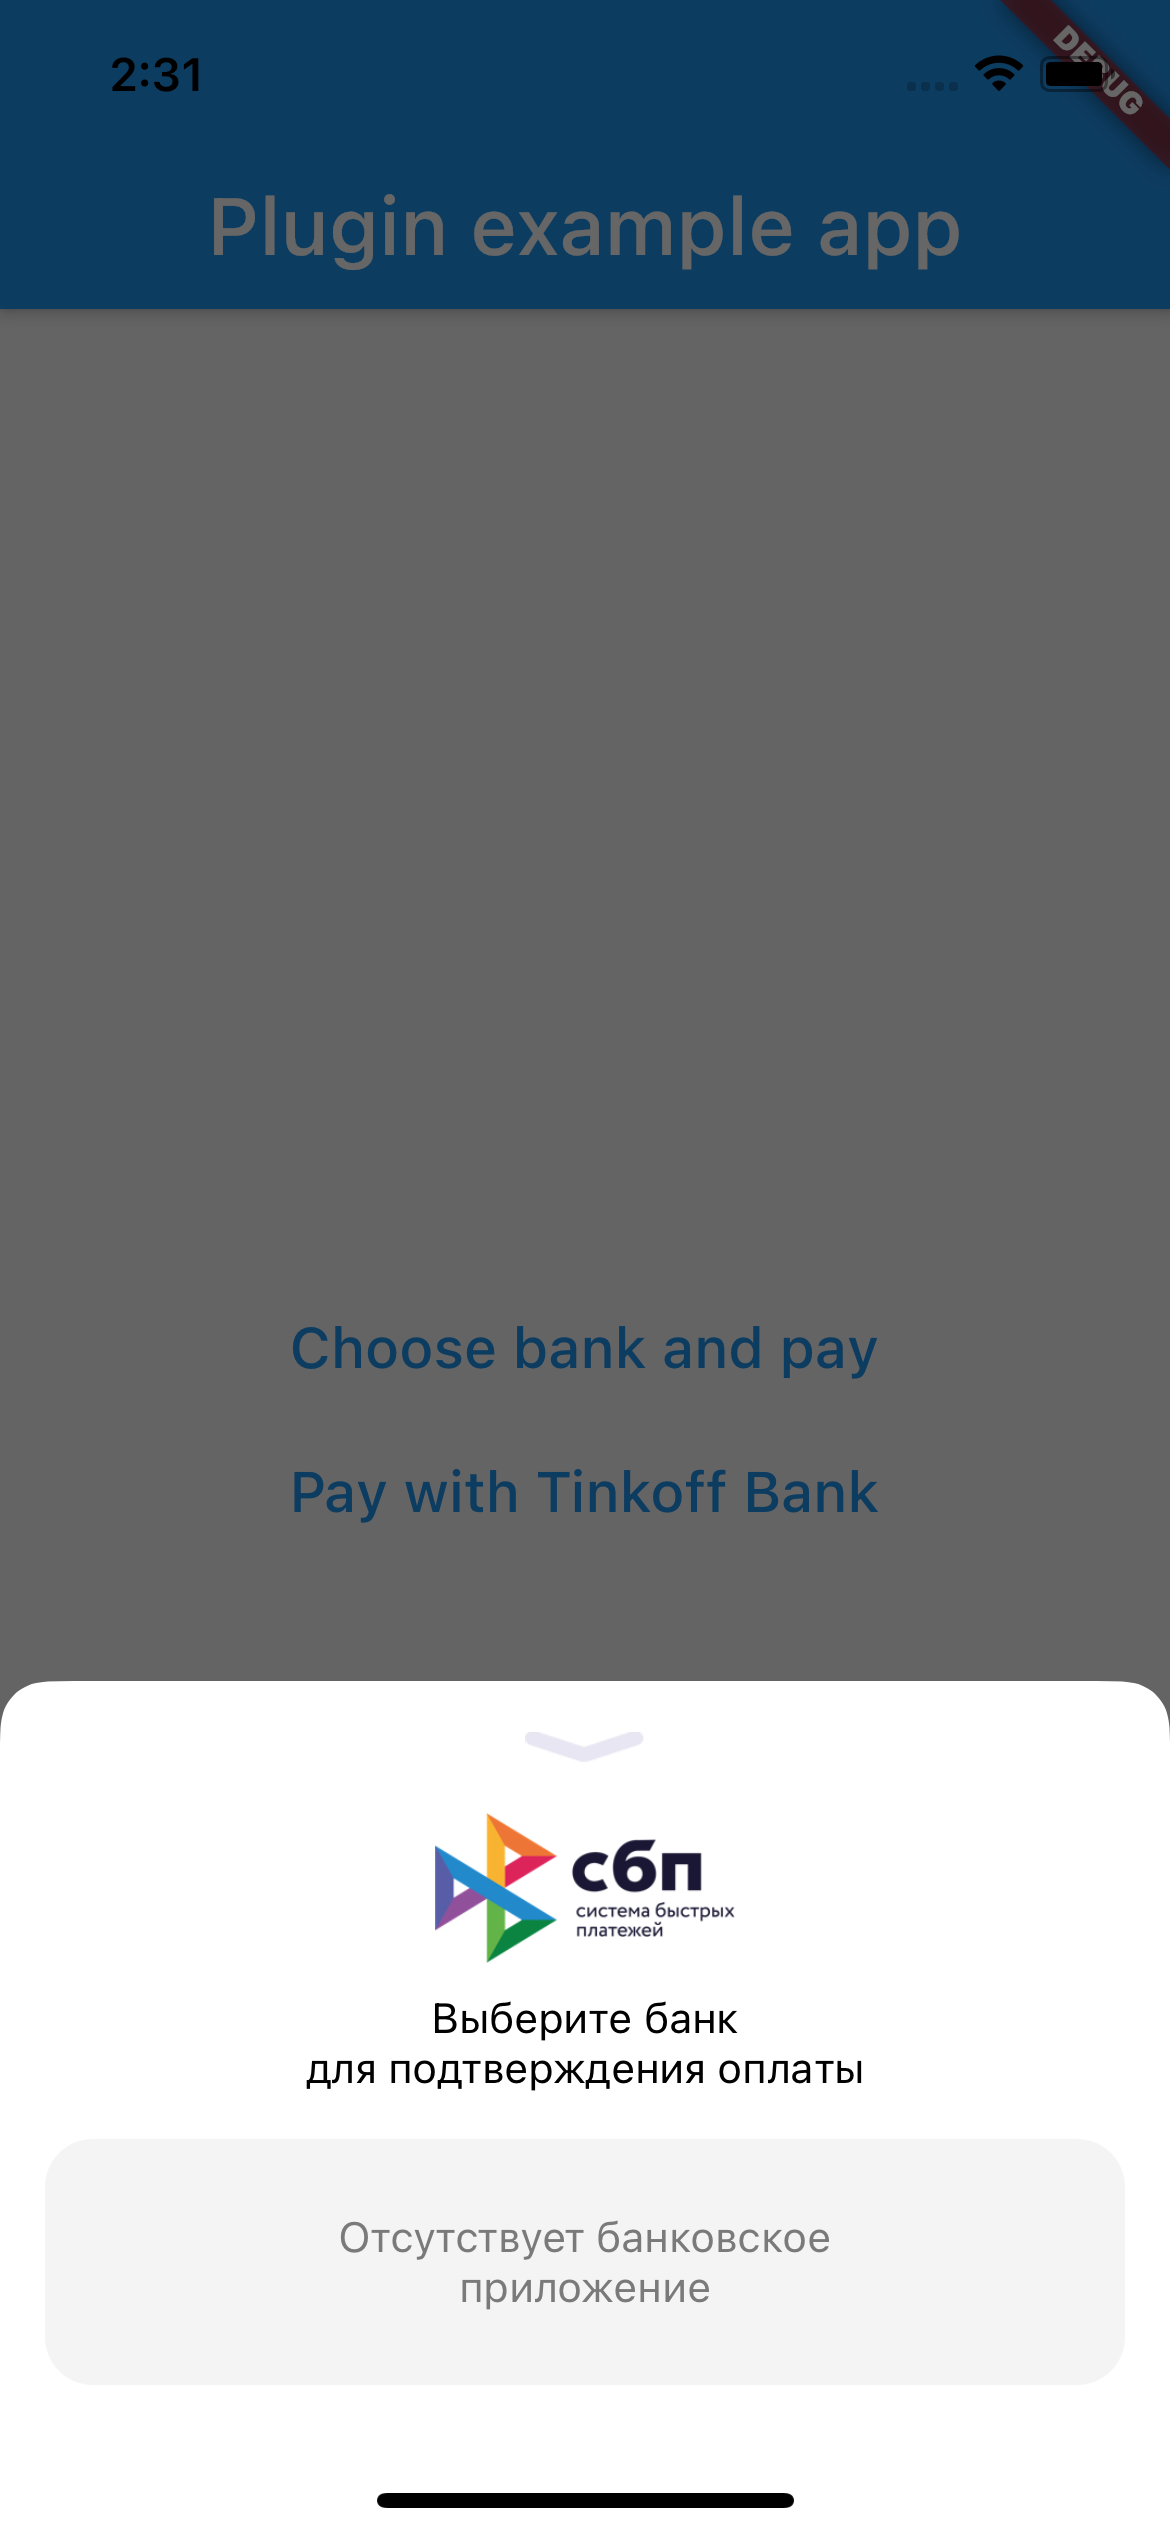
sbp_payments 是一个帮助处理SBP支付链接并使用特定银行应用打开这些链接的Flutter插件。该插件支持iOS和Android平台。
使用
要使用此插件,在你的 pubspec.yaml 文件中添加 sbp_payments 作为依赖项。
安装
iOS
在你的 Info.plist 文件中添加以下条目以设置 LSApplicationQueriesSchemes:
<key>LSApplicationQueriesSchemes</key>
<array>
  <string>bank100000000000</string>
  <string>bank100000000001</string>
  ...
  <string>bank100000000999</string>
  <string>bank100000001000</string>
</array>
这一步是为了确保 UIApplication.shared.canOpenURL 方法可以正常工作。你可以直接复制粘贴所有行,从 示例文件 中获取。
更多信息可参见 Apple文档。
示例
以下是完整的示例代码,展示了如何使用 sbp_payments 插件来处理SBP支付链接。
import 'dart:async';
import 'dart:io';

import 'package:flutter/material.dart';
import 'package:flutter/services.dart';
import 'package:sbp_payments/sbp_payments.dart';

void main() {
  runApp(MyApp());
}

class MyApp extends StatefulWidget {
  [@override](/user/override)
  _MyAppState createState() => _MyAppState();
}

class _MyAppState extends State<MyApp> {
  final _sbpLinkExample =
      'https://qr.nspk.ru/AS100001ORTF4GAF80KPJ53K186D9A3G?type=01&bank=100000000007&crc=0C8A';
  final _tinkoffSbpSchemeIOS = 'bank100000000004';
  final _tinkoffSbpSchemeAndroid = 'com.idamob.tinkoff.android';

  Future<void> chooseBankForPayment() async {
    bool? res;
    // 平台消息可能会失败,因此我们使用try/catch来捕获PlatformException。
    try {
      res = await SbpPayments.showBanks(_sbpLinkExample);
      print('chooseBankForPayment: 状态 $res');
    } on PlatformException catch (e) {
      print('打开SBP小部件失败。$e');
    }
  }

  Future<void> chooseBankForPaymentCustom() async {
    bool? res;
    // 平台消息可能会失败,因此我们使用try/catch来捕获PlatformException。
    try {
      res = await SbpPayments.showBanksCustom(_sbpLinkExample,
          backgroundColorCode: 0xFF291970, textColorCode: 0xFFFFFFFF);
      print('chooseBankForPayment: 状态 $res');
    } on PlatformException catch (e) {
      print('打开SBP小部件失败。$e');
    }
  }

  Future<void> openPaymentWithBank() async {
    bool? res;
    // 平台消息可能会失败,因此我们使用try/catch来捕获PlatformException。
    try {
      var scheme;
      if (Platform.isIOS) {
        scheme = _tinkoffSbpSchemeIOS;
      } else if (Platform.isAndroid) {
        scheme = _tinkoffSbpSchemeAndroid;
      } else {
        scheme = 'https://www.tinkoff.ru/';
      }
      res = await SbpPayments.openWithBank(scheme, _sbpLinkExample);
      print('openPaymentWithBank: 状态 $res');
    } on PlatformException catch (e) {
      print('打开银行失败。$e');
    }
  }

  [@override](/user/override)
  Widget build(BuildContext context) {
    return MaterialApp(
      home: Scaffold(
        appBar: AppBar(
          title: const Text('插件示例应用'),
        ),
        body: Column(
          mainAxisAlignment: MainAxisAlignment.center,
          crossAxisAlignment: CrossAxisAlignment.stretch,
          children: [
            TextButton(
                onPressed: () async {
                  await chooseBankForPayment();
                },
                child: Text('选择银行并付款')),
            TextButton(
                onPressed: () async {
                  await chooseBankForPaymentCustom();
                },
                child: Text('选择银行并自定义设置付款')),
            TextButton(
                onPressed: () async {
                  await openPaymentWithBank();
                },
                child: Text('通过Tinkoff银行付款'))
          ],
        ),
      ),
    );
  }
}
更多关于Flutter支付处理插件sbp_payments的使用的实战教程也可以访问 https://www.itying.com/category-92-b0.html

更多关于Flutter支付处理插件sbp_payments的使用的实战系列教程也可以访问 https://www.itying.com/category-92-b0.html
当然,下面是一个关于如何在Flutter项目中使用sbp_payments插件进行支付处理的示例代码。这个插件通常用于集成Standard Bank的支付网关。请确保你已经按照插件的官方文档完成了依赖项的安装和配置。
1. 添加依赖项
首先,在你的pubspec.yaml文件中添加sbp_payments依赖项:
dependencies:
  flutter:
    sdk: flutter
  sbp_payments: ^最新版本号  # 请替换为实际的最新版本号
然后运行flutter pub get来安装依赖项。
2. 配置Android和iOS
按照sbp_payments插件的官方文档,你可能需要在AndroidManifest.xml和Info.plist文件中添加一些配置。这里假设你已经完成了这些配置。
3. 使用sbp_payments插件
下面是一个简单的Flutter应用示例,展示了如何使用sbp_payments插件进行支付:
import 'package:flutter/material.dart';
import 'package:sbp_payments/sbp_payments.dart';

void main() {
  runApp(MyApp());
}

class MyApp extends StatelessWidget {
  @override
  Widget build(BuildContext context) {
    return MaterialApp(
      title: 'Flutter SBP Payments Demo',
      theme: ThemeData(
        primarySwatch: Colors.blue,
      ),
      home: Scaffold(
        appBar: AppBar(
          title: Text('Flutter SBP Payments Demo'),
        ),
        body: Center(
          child: PaymentButton(),
        ),
      ),
    );
  }
}

class PaymentButton extends StatefulWidget {
  @override
  _PaymentButtonState createState() => _PaymentButtonState();
}

class _PaymentButtonState extends State<PaymentButton> {
  Future<void> _initiatePayment() async {
    try {
      // 配置支付参数
      final paymentConfig = SBPPaymentConfig(
        merchantId: '你的商户ID',
        returnUrl: 'https://你的返回URL',
        notifyUrl: 'https://你的通知URL',
        amount: 100.0, // 支付金额
        currency: 'ZAR', // 货币代码
        description: '商品描述',
        // 其他可选参数
      );

      // 发起支付
      final result = await SBPPayments.startPayment(paymentConfig);

      if (result != null && result.success) {
        // 支付成功处理
        print('支付成功: ${result.responseData}');
      } else {
        // 支付失败处理
        print('支付失败: ${result?.error?.message ?? '未知错误'}');
      }
    } catch (e) {
      // 错误处理
      print('发生错误: $e');
    }
  }

  @override
  Widget build(BuildContext context) {
    return ElevatedButton(
      onPressed: _initiatePayment,
      child: Text('发起支付'),
    );
  }
}
注意事项
- 商户ID和URL:确保你替换了
merchantId、returnUrl和notifyUrl为实际的商户ID和URL。 - 金额和货币:
amount和currency需要根据你的实际需求进行设置。 - 错误处理:在实际应用中,你应该添加更详细的错误处理逻辑,以提高用户体验。
- 支付回调:
notifyUrl用于接收支付结果的回调通知,你需要在服务器端处理这些通知。
这个示例提供了一个基本的框架,你可以根据具体需求进行扩展和定制。希望这对你有所帮助!