


Flutter内置键盘管理插件built_in_keyboard的使用
Flutter内置键盘管理插件built_in_keyboard的使用
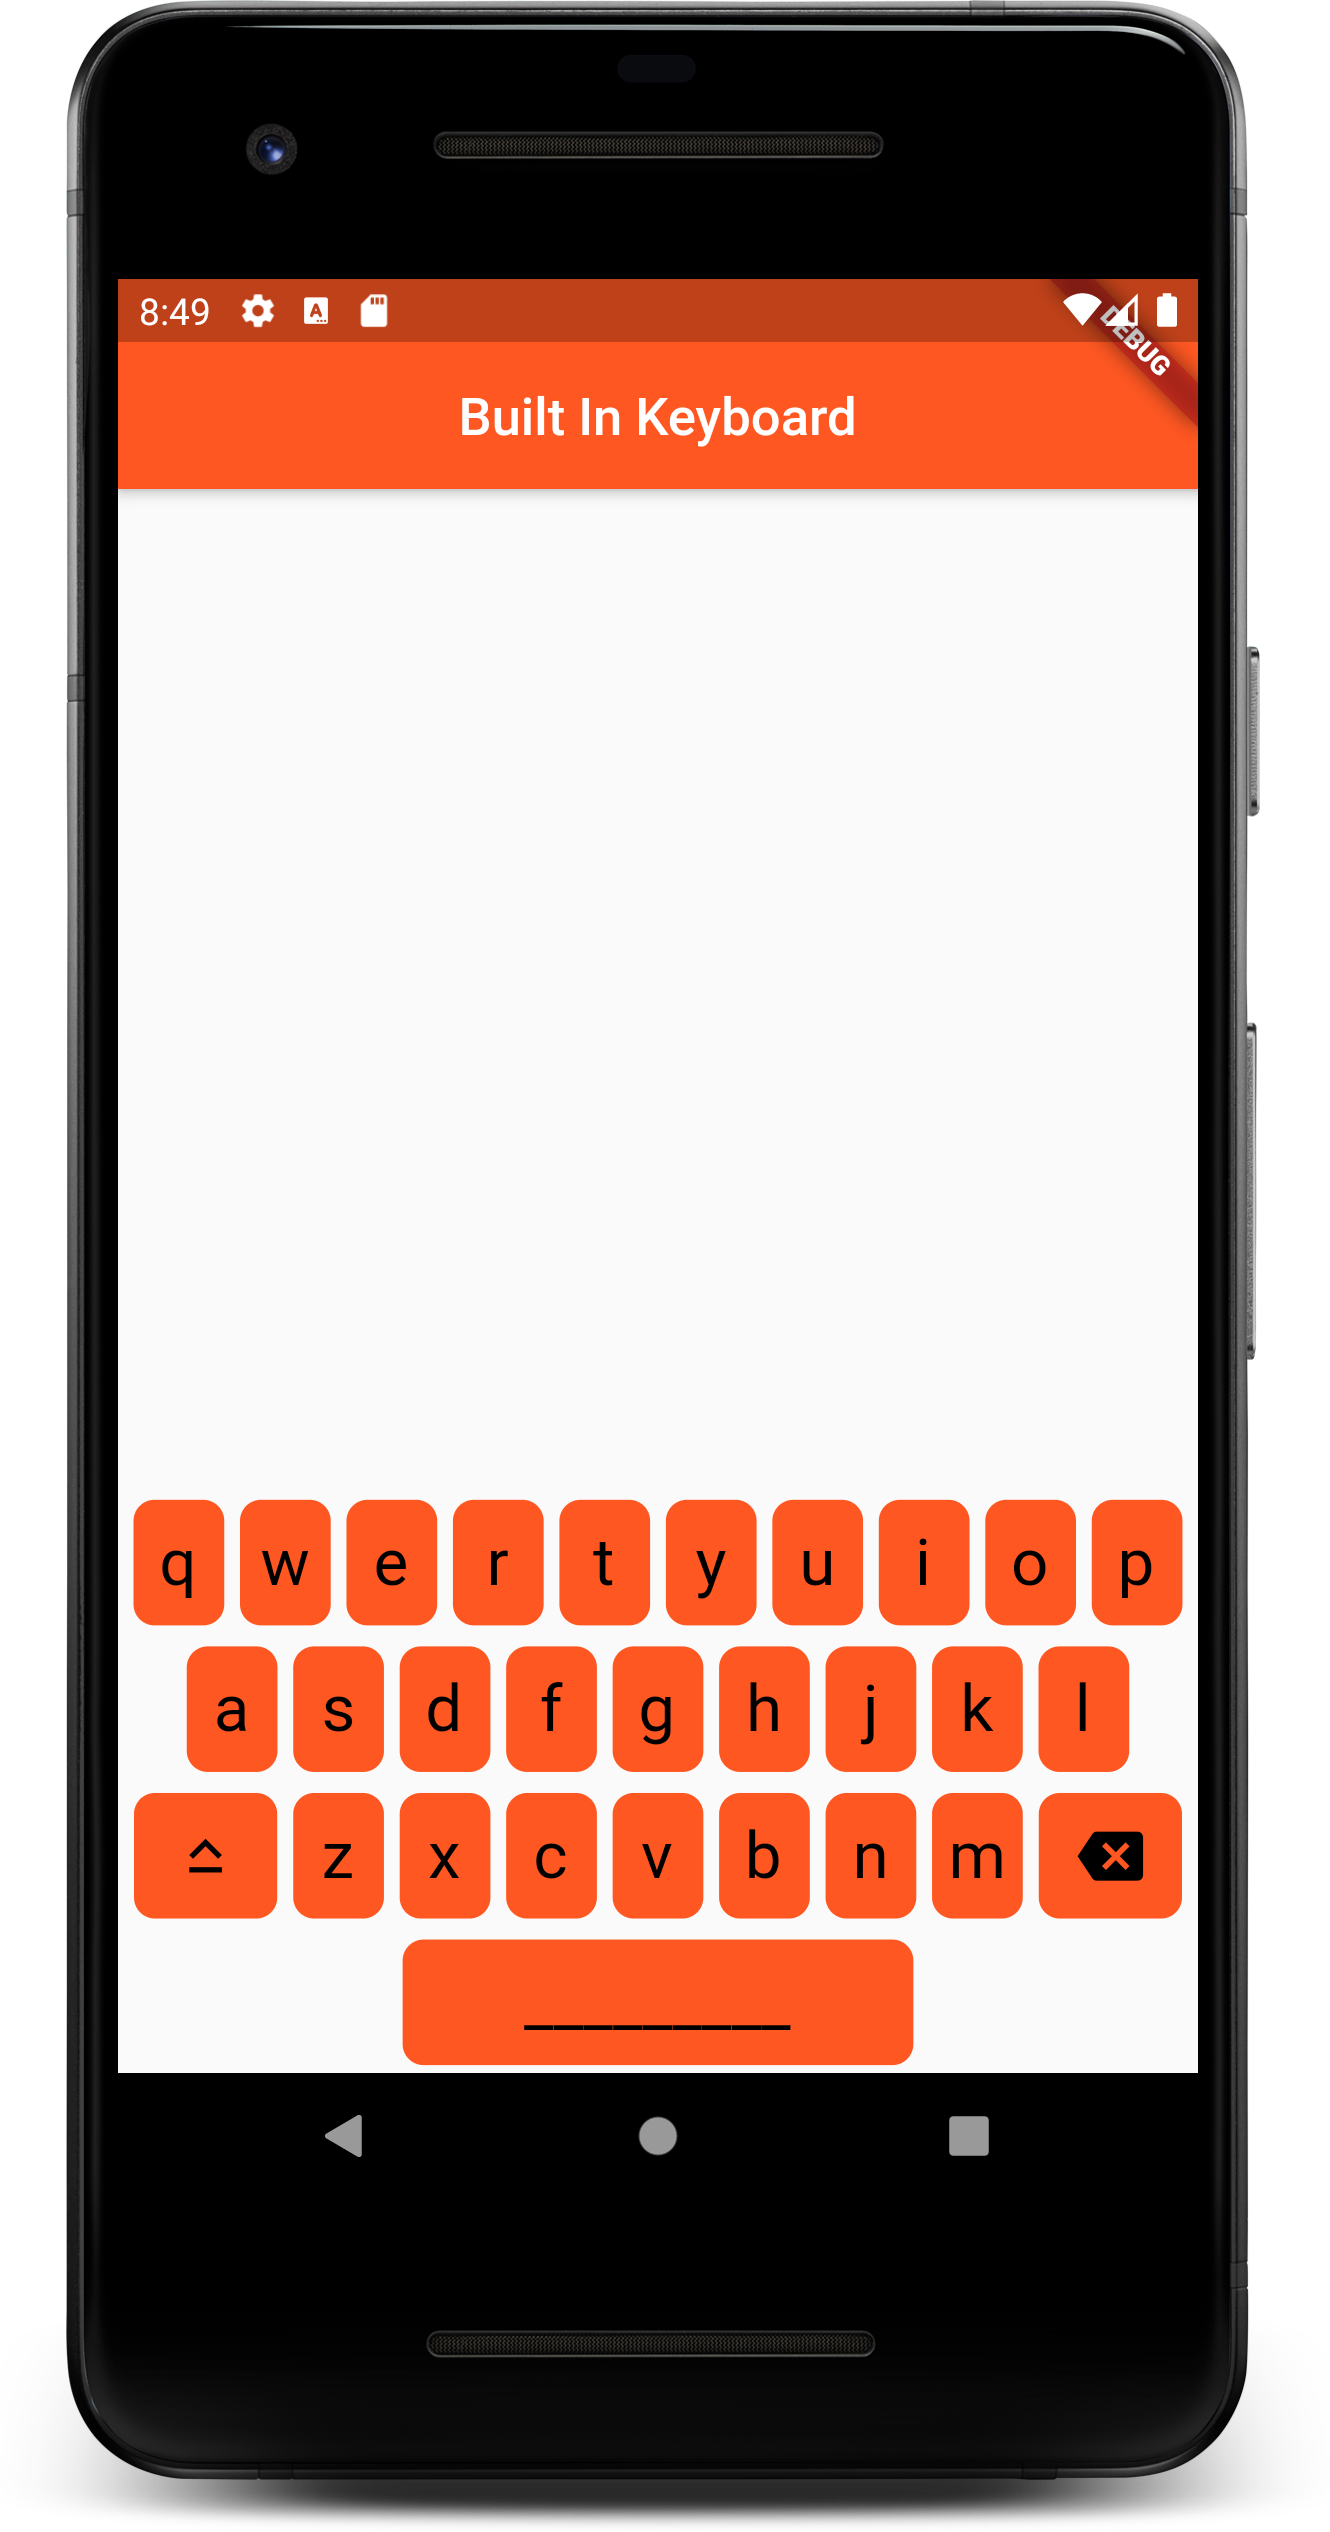
built_in_keyboard 是一个用于在 Flutter 应用中添加内置键盘而不是系统键盘的包。该实现依赖于 textInputField 并通过 TextEditingController 进行交互。
使用
首先,在您的项目中添加该包,并运行 flutter pub get。
dependencies:
  built_in_keyboard:
    git:
      url: https://github.com/Open-pi/builtinkeyboard.git
      ref: main
使用 BuiltInKeyboard 小部件,您可以轻松更改键盘布局、按键外观等。
以下是一些可更改的属性。请记住,控制器是必需的,以使键盘正常工作。
BuiltInKeyboard(
  controller: this.textController, // 必须
  language: Language.DE, // 可选
  layout: Layout.QWERTZ, // 可选,但如果您修改了语言,则必须检查!
  enableSpaceBar: true, // 可选,添加空格键
  enableBackSpace: true, // 可选,添加退格按钮
  enableCapsLock: true, // 可选,添加大写锁定按钮
  borderRadius: BorderRadius.circular(8.0), // 更改键的边框半径
  letterStyle: TextStyle(fontSize: 25, color: Colors.black) // 更改键内文字样式
)
额外选项和标志
| 选项 | 必需 | 默认值 | 描述 |
|---|---|---|---|
| controller | 是 | - | TextEditingController |
| language | 否 | Language.EN | 键盘的语言 |
| layout | 否 | Layout.QWERTY | 键盘的布局 |
| height | 否 | - | 键的高度 |
| width | 否 | - | 键的宽度 |
| spacing | 否 | 8.0 | 每行之间的间距 |
| borderRadius | 否 | - | 键的圆角半径 |
| letterStyle | 否 | fontSize: 25, color: black | 键内文字样式 |
| color | 否 | deepOrange | 键的颜色(键盘颜色) |
| enableSpacebar | 否 | false | 添加空格键 |
| enableBackSpace | 否 | true | 添加退格按钮 |
| enableCapsLock | 否 | false | 添加大写锁定按钮 |
| enableAllUppercase | 否 | false | 使键盘全大写 |
| enableLongPressUppercase | 否 | false | 长按按键时输入大写字母 |
| highlightColor | 否 | - | 按下时的颜色 |
| splashColor | 否 | - | 按下时的颜色(材质风格) |
示例代码
以下是完整的示例代码:
import 'package:built_in_keyboard/language.dart';
import 'package:flutter/material.dart';
import 'package:built_in_keyboard/built_in_keyboard.dart';

void main() {
  runApp(const MyApp());
}

class MyApp extends StatelessWidget {
  const MyApp({Key? key}) : super(key: key);

  [@override](/user/override)
  Widget build(BuildContext context) {
    return MaterialApp(
      title: '内置键盘测试',
      theme: ThemeData(
        primarySwatch: Colors.blue,
      ),
      home: const MyHomePage(title: '内置键盘测试首页'),
    );
  }
}

class MyHomePage extends StatefulWidget {
  const MyHomePage({Key? key, required this.title}) : super(key: key);

  final String title;

  [@override](/user/override)
  State<MyHomePage> createState() => _MyHomePageState();
}

class _MyHomePageState extends State<MyHomePage> {
  int _counter = 0;

  void _incrementCounter() {
    setState(() {
      _counter++;
    });
  }

  [@override](/user/override)
  Widget build(BuildContext context) {
    TextEditingController textController = TextEditingController();
    return Scaffold(
      appBar: AppBar(
        title: Text('内置键盘'),
        centerTitle: true,
        backgroundColor: Colors.deepOrange,
      ),
      body: Column(
        mainAxisAlignment: MainAxisAlignment.center,
        children: [
          Spacer(),
          Padding(
            padding: const EdgeInsets.fromLTRB(10.0, 10.0, 10.0, 0.0),
            child: TextFormField(
              controller: textController,
              readOnly: true,
              keyboardType: TextInputType.name,
              style: TextStyle(
                fontWeight: FontWeight.bold,
                color: Colors.indigo[900],
                fontSize: 22.0,
              ),
              decoration: InputDecoration(
                contentPadding: EdgeInsets.fromLTRB(21.0, 0.0, 0.0, 0.0),
                filled: true,
                enabledBorder: OutlineInputBorder(
                  borderRadius: BorderRadius.circular(25.0),
                  borderSide: BorderSide(width: 3.0, color: Colors.deepOrange),
                ),
                focusedBorder: OutlineInputBorder(
                  borderRadius: BorderRadius.circular(25.0),
                  borderSide: BorderSide(width: 3.0, color: Colors.deepOrange),
                ),
                hintText: '尝试一下...',
                hintStyle: TextStyle(fontSize: 20, fontWeight: FontWeight.w700),
                floatingLabelBehavior: FloatingLabelBehavior.always,
              ),
            ),
          ),
          Spacer(),
          Padding(
            padding: EdgeInsets.only(bottom: 3),
            child: BuiltInKeyboard(
              language: Language.EN,
              layout: Layout.QWERTY,
              borderRadius: BorderRadius.circular(8),
              controller: textController,
              enableLongPressUppercase: true,
              enableSpaceBar: true,
              enableBackSpace: true,
              enableCapsLock: true,
            ),
          ),
        ],
      ),
    );
  }
}
更多关于Flutter内置键盘管理插件built_in_keyboard的使用的实战教程也可以访问 https://www.itying.com/category-92-b0.html

更多关于Flutter内置键盘管理插件built_in_keyboard的使用的实战系列教程也可以访问 https://www.itying.com/category-92-b0.html
在Flutter中,虽然built_in_keyboard并不是一个官方或广泛认知的插件,但我们可以讨论如何使用Flutter内置的键盘管理功能。Flutter 提供了一些内置的功能和插件来处理键盘事件,比如RawKeyboardListener和FocusNode。
下面是一个使用RawKeyboardListener和FocusNode来管理键盘事件的示例代码:
import 'package:flutter/material.dart';
import 'package:flutter/services.dart';

void main() {
  runApp(MyApp());
}

class MyApp extends StatelessWidget {
  @override
  Widget build(BuildContext context) {
    return MaterialApp(
      title: 'Flutter Keyboard Management',
      theme: ThemeData(
        primarySwatch: Colors.blue,
      ),
      home: Scaffold(
        appBar: AppBar(
          title: Text('Flutter Keyboard Management'),
        ),
        body: MyHomePage(),
      ),
    );
  }
}

class MyHomePage extends StatefulWidget {
  @override
  _MyHomePageState createState() => _MyHomePageState();
}

class _MyHomePageState extends State<MyHomePage> {
  final FocusNode focusNode = FocusNode();
  bool isKeyboardVisible = false;

  @override
  void dispose() {
    focusNode.dispose();
    super.dispose();
  }

  void _handleKeyboardVisibilityChanged() {
    // This function is triggered when the keyboard visibility changes.
    // In a real-world scenario, you might want to listen to this event using a
    // KeyboardVisibilityController from the keyboard_visibility package.
    setState(() {
      isKeyboardVisible = MediaQuery.of(context).viewInsets.bottom != 0.0;
    });
  }

  @override
  Widget build(BuildContext context) {
    return RawKeyboardListener(
      focusNode: focusNode,
      onKey: (RawKeyEvent event) {
        // Handle specific key events if needed
        if (event.runtimeType == RawKeyDownEvent && event.logicalKey == LogicalKeyboardKey.enter) {
          print('Enter key pressed');
        }
      },
      child: LayoutBuilder(
        builder: (BuildContext context, BoxConstraints constraints) {
          _handleKeyboardVisibilityChanged();
          return Column(
            children: [
              TextField(
                focusNode: focusNode,
                decoration: InputDecoration(labelText: 'Type something'),
              ),
              SizedBox(height: 20),
              Text(
                'Is Keyboard Visible: $isKeyboardVisible',
                style: TextStyle(fontSize: 18),
              ),
            ],
          );
        },
      ),
    );
  }
}
在这个示例中,我们做了以下几件事:
-
FocusNode:用于管理TextField的焦点。当TextField获得或失去焦点时,
FocusNode可以触发相关的事件。 -
RawKeyboardListener:监听全局键盘事件。在这个例子中,我们监听了键盘的按键事件,并在控制台中打印了按下Enter键的信息。
-
键盘可见性检测:通过
MediaQuery.of(context).viewInsets.bottom != 0.0来检测键盘是否可见。这通常用于动态调整布局以适应键盘的弹出。
注意:对于更精确和跨平台的键盘可见性检测,你可能需要使用keyboard_visibility这样的第三方插件。
虽然这个示例没有直接使用一个名为built_in_keyboard的插件,但它展示了如何使用Flutter内置的功能来管理键盘事件和焦点。如果你确实在寻找一个特定的插件,建议检查Flutter的官方插件仓库或Pub.dev,以获取更多信息。