Flutter广告配置插件firebase_admob_config的使用

Flutter广告配置插件firebase_admob_config的使用

pub package pub package pub package

许多flutter项目通过Google Admob赚钱,并且使用firebase进行分析。此插件可以帮助你通过Firebase远程配置和A/B测试来配置AdMob广告。

特性

  • 开启/关闭广告
  • 配置广告单元ID
  • A/B测试广告位置
  • 设置横幅广告的宽度和高度
  • 继续…

开始使用

该插件依赖于:

  • google_mobile_ads
  • firebase_remote_config

如果还没有安装这些依赖,请根据以下教程进行设置:

使用方法

首先,设置Firebase远程配置并使用你想要使用的键。例如:

横幅广告配置

{
  "enable": true,
  "ad_unit_id_android": "ca-app-pub-3940256099942544/6300978111",
  "ad_unit_id_ios": "ca-app-pub-3940256099942544/2934735716",
  "position": null,
  "distance": null,
  "width": null,
  "height": null
}

插屏广告配置

{
  "enable": true,
  "ad_unit_id_android": "ca-app-pub-3940256099942544/1033173712",
  "ad_unit_id_ios": "ca-app-pub-3940256099942544/4411468910",
  "request_time_to_show": 10,
  "fail_time_to_stop": 3,
  "init_request_time": 0
}

示例配置

在你的应用中添加广告组件,例如:

//
// 插屏广告从Firebase远程配置
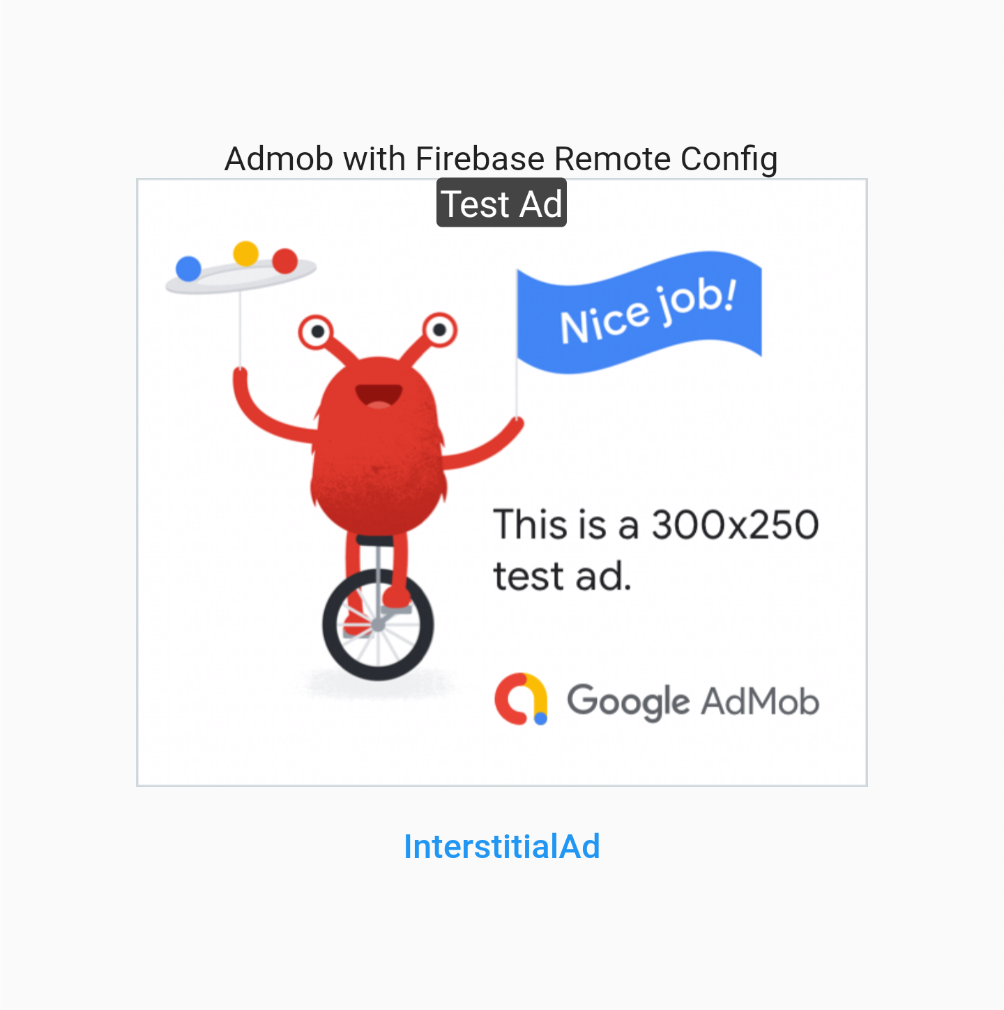
final interstitialAd = AppInterstitialAd.fromKey(
  keyConfig: 'interstitial_ad',
);

// 横幅广告从Firebase远程配置
Widget bannerAds() {
  return AppBannerAd.fromKey(configKey: 'banner_ad');
}

// 插屏广告展示按钮
Widget interstitialAd() {
  return TextButton(
    onPressed: () => interstitialAd.run(),
    child: const Text('插屏广告'),
  );
}

示例广告

设置Google Admob

配置Google Admob如下:

  1. 在项目级别的build.gradle文件中,包含Google的Maven仓库和Maven中央仓库:

    buildscript {
        repositories {
            google()
            mavenCentral()
        }
    }
    
    allprojects {
        repositories {
            google()
            mavenCentral()
        }
    }
    
  2. 添加Google Mobile Ads SDK的依赖到模块的app-level Gradle文件(通常是app/build.gradle):

    dependencies {
        implementation 'com.google.android.gms:play-services-ads:21.0.0'
    }
    
  3. 将你的AdMob应用ID添加到app的AndroidManifest.xml文件中:

    <manifest>
        <application>
            <!-- 示例AdMob应用ID: ca-app-pub-3940256099942544~3347511713 -->
            <meta-data android:name="com.google.android.gms.ads.APPLICATION_ID"
                android:value="ca-app-pub-xxxxxxxxxxxxxxxx~yyyyyyyyyy" />
        </application>
    </manifest>
    

更多关于Flutter广告配置插件firebase_admob_config的使用的实战教程也可以访问 https://www.itying.com/category-92-b0.html

1 回复

更多关于Flutter广告配置插件firebase_admob_config的使用的实战系列教程也可以访问 https://www.itying.com/category-92-b0.html


在Flutter项目中,使用firebase_admob_config插件可以帮助你更方便地管理和配置Firebase AdMob广告。以下是一个关于如何集成和使用firebase_admob_config插件的示例代码案例。

1. 添加依赖

首先,在你的pubspec.yaml文件中添加firebase_admobfirebase_admob_config依赖:

dependencies:
  flutter:
    sdk: flutter
  firebase_admob: ^x.y.z  # 请替换为最新版本号
  firebase_admob_config: ^a.b.c  # 请替换为最新版本号

然后运行flutter pub get来安装依赖。

2. 配置Firebase

确保你已经在Firebase控制台中创建了一个项目,并添加了AdMob应用。下载google-services.json文件并将其放置在android/app/目录下。对于iOS,你需要将GoogleService-Info.plist文件放置在ios/Runner/目录下。

3. 初始化Firebase AdMob

在你的Flutter应用的主文件中(通常是main.dart),进行Firebase和AdMob的初始化。这里假设你已经设置好了Firebase应用。

import 'package:flutter/material.dart';
import 'package:firebase_core/firebase_core.dart';
import 'package:firebase_admob/firebase_admob.dart';
import 'package:firebase_admob_config/firebase_admob_config.dart';

void main() async {
  WidgetsFlutterBinding.ensureInitialized();
  await Firebase.initializeApp();

  // 初始化AdMob配置
  await FirebaseAdMobConfig.instance.init(
    banner: BannerAdConfiguration(
      adUnitId: 'ca-app-pub-xxxxxxxxxxxxxxxx/xxxxxxxxxx', // 替换为你的AdUnitId
      size: AdSize.banner,
    ),
    interstitial: InterstitialAdConfiguration(
      adUnitId: 'ca-app-pub-xxxxxxxxxxxxxxxx/xxxxxxxxxx', // 替换为你的AdUnitId
    ),
    rewardVideo: RewardVideoAdConfiguration(
      adUnitId: 'ca-app-pub-xxxxxxxxxxxxxxxx/xxxxxxxxxx', // 替换为你的AdUnitId
    ),
  );

  runApp(MyApp());
}

class MyApp extends StatelessWidget {
  @override
  Widget build(BuildContext context) {
    return MaterialApp(
      home: Scaffold(
        appBar: AppBar(
          title: Text('Firebase AdMob Config Example'),
        ),
        body: AdMobExamplePage(),
      ),
    );
  }
}

4. 使用广告

在你的页面中使用广告组件。以下是如何展示一个Banner广告和加载一个Interstitial广告的示例:

import 'package:flutter/material.dart';
import 'package:firebase_admob_config/firebase_admob_config.dart';

class AdMobExamplePage extends StatefulWidget {
  @override
  _AdMobExamplePageState createState() => _AdMobExamplePageState();
}

class _AdMobExamplePageState extends State<AdMobExamplePage> {
  BannerAd? _bannerAd;
  InterstitialAd? _interstitialAd;

  @override
  void initState() {
    super.initState();

    // 创建Banner广告
    _bannerAd = BannerAd.create(
      adSlot: AdSlot.banner,
      adUnitId: FirebaseAdMobConfig.instance.banner!.adUnitId,
      request: AdRequest(),
    )..load()..show(
        anchorType: AnchorType.bottom,
      );

    // 创建Interstitial广告
    _interstitialAd = InterstitialAd.create(
      adUnitId: FirebaseAdMobConfig.instance.interstitial!.adUnitId,
      request: AdRequest(),
    );

    // 加载Interstitial广告
    _interstitialAd!.load().then((_) {
      // 可以在合适的时机展示广告,比如用户完成某个任务后
      // _interstitialAd!.show();
    });
  }

  @override
  void dispose() {
    _bannerAd?.dispose();
    _interstitialAd?.dispose();
    super.dispose();
  }

  @override
  Widget build(BuildContext context) {
    return Center(
      child: Column(
        mainAxisAlignment: MainAxisAlignment.center,
        children: <Widget>[
          Text('Scroll down to see the banner ad.'),
          SizedBox(height: 20),
          ElevatedButton(
            onPressed: () {
              // 展示Interstitial广告(在实际应用中,应该在一个合适的时机调用)
              _interstitialAd?.show();
              // 重新加载Interstitial广告以便下次使用
              _interstitialAd?.load();
            },
            child: Text('Show Interstitial Ad'),
          ),
        ],
      ),
    );
  }
}

注意事项

  1. 广告单元ID:确保你使用的是从Firebase AdMob控制台获取的正确的广告单元ID。
  2. 测试广告:在开发过程中,使用测试广告以避免违反AdMob政策。你可以在AdMob控制台找到测试广告单元ID。
  3. 权限:确保你的AndroidManifest.xmlInfo.plist文件中包含了必要的权限和配置。

通过上述步骤,你可以在Flutter应用中集成并使用firebase_admob_config插件来配置和管理Firebase AdMob广告。

回到顶部