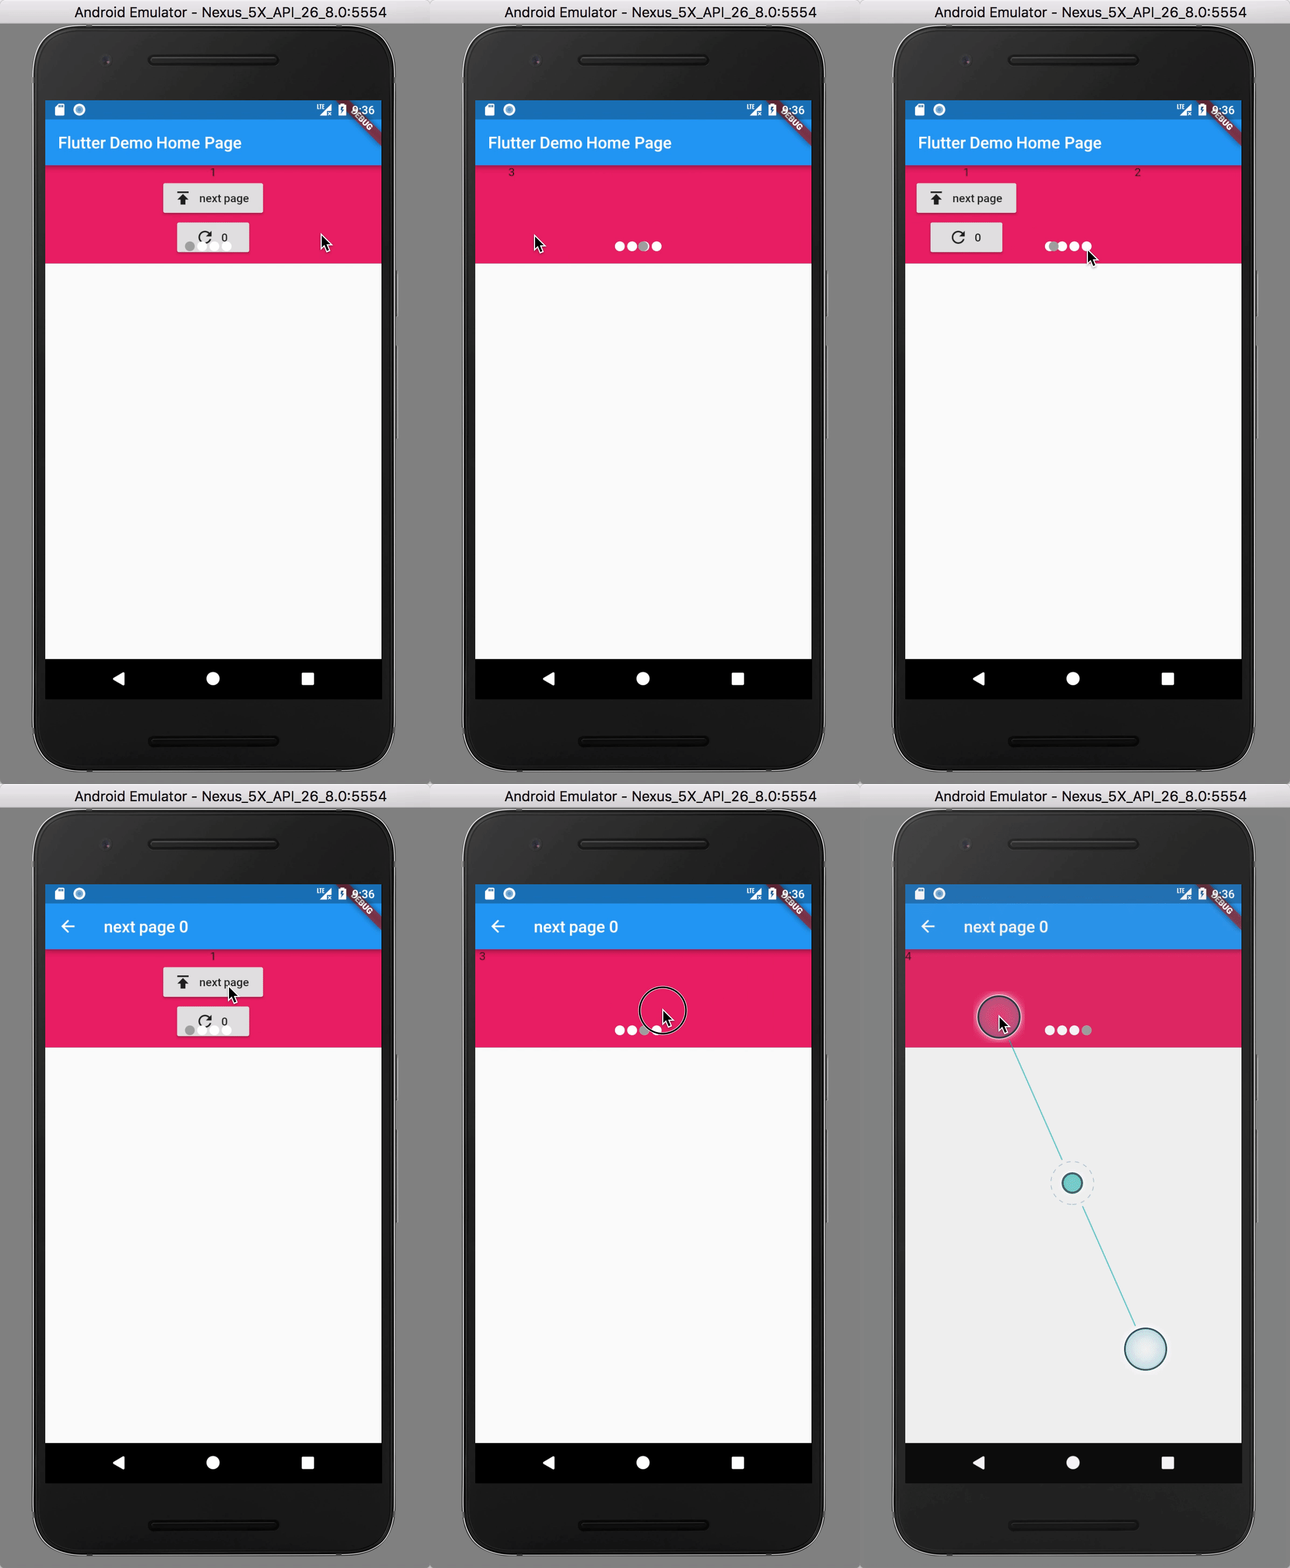
Flutter页面指示器插件page_indicator的使用
Flutter页面指示器插件page_indicator的使用
page_indicator
预览


安装
- 添加依赖到你的
pubspec.yaml文件中:
dependencies:
  page_indicator: ^0.3.0
- 安装依赖
你可以通过命令行来安装包:
使用Flutter:
flutter packages get
或者,你所使用的编辑器可能支持flutter packages get。查阅你的编辑器文档了解更多信息。
- 导入包
在你的Dart代码中导入:
import 'package:page_indicator/page_indicator.dart';
使用
或
PageIndicatorContainer(
  child: PageView(
    children: <Widget>[
      Text("1"),
      Text('2'),
      Text('3'),
      Text('4'),
    ],
    controller: controller,
  ),
  align: IndicatorAlign.bottom,
  length: 4,
  indicatorSpace: 20.0,
  padding: const EdgeInsets.all(10),
  indicatorColor: Colors.white,
  indicatorSelectorColor: Colors.blue,
  shape: IndicatorShape.circle(size: 12),
  // shape: IndicatorShape.roundRectangleShape(size: Size.square(12),cornerSize: Size.square(3)),
  // shape: IndicatorShape.oval(size: Size(12, 8)),
}
强制刷新状态
final key = GlobalKey<PageContainerState>();
PageIndicatorContainer(
  key: key,
  // 其他参数...
);

// 强制刷新
key.currentState?.forceRefreshState();
迁移指南
从0.1.x版本迁移到0.2.x版本
PageIndicatorContainer(
  ...
--  size: 12.0,
++  shape: IndicatorShape.circle(size: 12),
)
示例代码
import 'package:flutter/material.dart';
import 'package:page_indicator/page_indicator.dart';

void main() => runApp(MyApp());

class MyApp extends StatelessWidget {
  // 这个widget是你的应用的根
  [@override](/user/override)
  Widget build(BuildContext context) {
    return MaterialApp(
      title: 'Flutter Demo',
      theme: ThemeData(
        primarySwatch: Colors.blue,
      ),
      home: MyHomePage(title: 'Flutter Demo Home Page'),
    );
  }
}

class MyHomePage extends StatefulWidget {
  MyHomePage({Key? key, required this.title}) : super(key: key);
  final String title;

  [@override](/user/override)
  _MyHomePageState createState() => _MyHomePageState();
}

class _MyHomePageState extends State<MyHomePage> {
  late PageController controller;

  GlobalKey<PageContainerState> key = GlobalKey();

  [@override](/user/override)
  void initState() {
    super.initState();
    controller = PageController();
  }

  [@override](/user/override)
  void dispose() {
    controller.dispose();
    super.dispose();
  }

  int counter = 0;

  [@override](/user/override)
  Widget build(BuildContext context) {
    return Scaffold(
      appBar: AppBar(
        title: Text(widget.title),
      ),
      body: Container(
        color: Colors.pink,
        child: Container(
          height: 120.0,
          child: PageIndicatorContainer(
            key: key,
            child: PageView(
              children: <Widget>[
                Text('1'),
                Text('2'),
                Text('3'),
                Text('4'),
              ],
              controller: controller,
              reverse: true,
            ),
            align: IndicatorAlign.bottom,
            length: 4,
            indicatorSpace: 10.0,
          ),
        ),
      ),
      floatingActionButton: FloatingActionButton(
        child: Icon(Icons.refresh),
        tooltip: "强制刷新指示器",
        onPressed: () {
          key.currentState?.forceRefreshState();
        },
      ),
    );
  }
}
更多关于Flutter页面指示器插件page_indicator的使用的实战教程也可以访问 https://www.itying.com/category-92-b0.html
更多关于Flutter页面指示器插件page_indicator的使用的实战系列教程也可以访问 https://www.itying.com/category-92-b0.html
当然,page_indicator 是 Flutter 中用于页面指示器的一个流行插件,它提供了多种样式的指示器,如圆点指示器、数字指示器等。以下是如何在 Flutter 中使用 page_indicator 插件的一个示例代码。
首先,你需要在你的 pubspec.yaml 文件中添加 page_indicator 依赖:
dependencies:
  flutter:
    sdk: flutter
  page_indicator: ^0.x.x  # 请替换为最新版本号
然后运行 flutter pub get 来获取依赖。
下面是一个使用 page_indicator 的完整示例,包括一个包含几个页面的 PageView 和一个圆点指示器:
import 'package:flutter/material.dart';
import 'package:page_indicator/page_indicator.dart';

void main() {
  runApp(MyApp());
}

class MyApp extends StatelessWidget {
  @override
  Widget build(BuildContext context) {
    return MaterialApp(
      title: 'Page Indicator Example',
      theme: ThemeData(
        primarySwatch: Colors.blue,
      ),
      home: PageIndicatorExample(),
    );
  }
}

class PageIndicatorExample extends StatefulWidget {
  @override
  _PageIndicatorExampleState createState() => _PageIndicatorExampleState();
}

class _PageIndicatorExampleState extends State<PageIndicatorExample> {
  final List<String> _pages = ['Page 1', 'Page 2', 'Page 3'];
  int _currentPage = 0;

  @override
  Widget build(BuildContext context) {
    return Scaffold(
      appBar: AppBar(
        title: Text('Page Indicator Example'),
      ),
      body: Column(
        children: <Widget>[
          Expanded(
            child: PageView.builder(
              itemCount: _pages.length,
              itemBuilder: (context, index) {
                return Center(
                  child: Text(_pages[index]),
                );
              },
              controller: PageController(
                initialPage: _currentPage,
                viewportFraction: 1.0,
              )..addListener(() {
                setState(() {
                  _currentPage = _pageController.page!.round();
                });
              }),
              onPageChanged: (int page) {
                setState(() {
                  _currentPage = page;
                });
              },
            ),
          ),
          DotsIndicator(
            length: _pages.length,
            currentIndex: _currentPage,
            decorator: DotsDecorator(
              color: Colors.grey,
              activeColor: Colors.blue,
              size: 8.0,
              activeSize: 12.0,
              spacing: 4.0,
            ),
          ),
        ],
      ),
    );
  }
}
在这个示例中,我们做了以下几件事:
- 依赖管理:在
pubspec.yaml中添加了page_indicator依赖。 - UI结构:创建了一个包含
AppBar和Column的Scaffold。 - 页面视图:使用
PageView.builder创建了一个包含多个页面的视图,每个页面显示一个文本。 - 页面控制器:使用
PageController来管理页面的滚动,并在页面改变时更新_currentPage的值。 - 指示器:使用
DotsIndicator来显示页面指示器,并配置了一些样式参数,如点的颜色、大小和间距。
这样,你就可以在 Flutter 应用中使用 page_indicator 插件来显示页面指示器了。根据需求,你还可以选择其他类型的指示器,比如 NumberedPageIndicator 或 WavyPageIndicator,并调整它们的样式。


