


Flutter电商界面UI插件estore_ui的使用
Flutter电商界面UI插件estore_ui的使用
简介
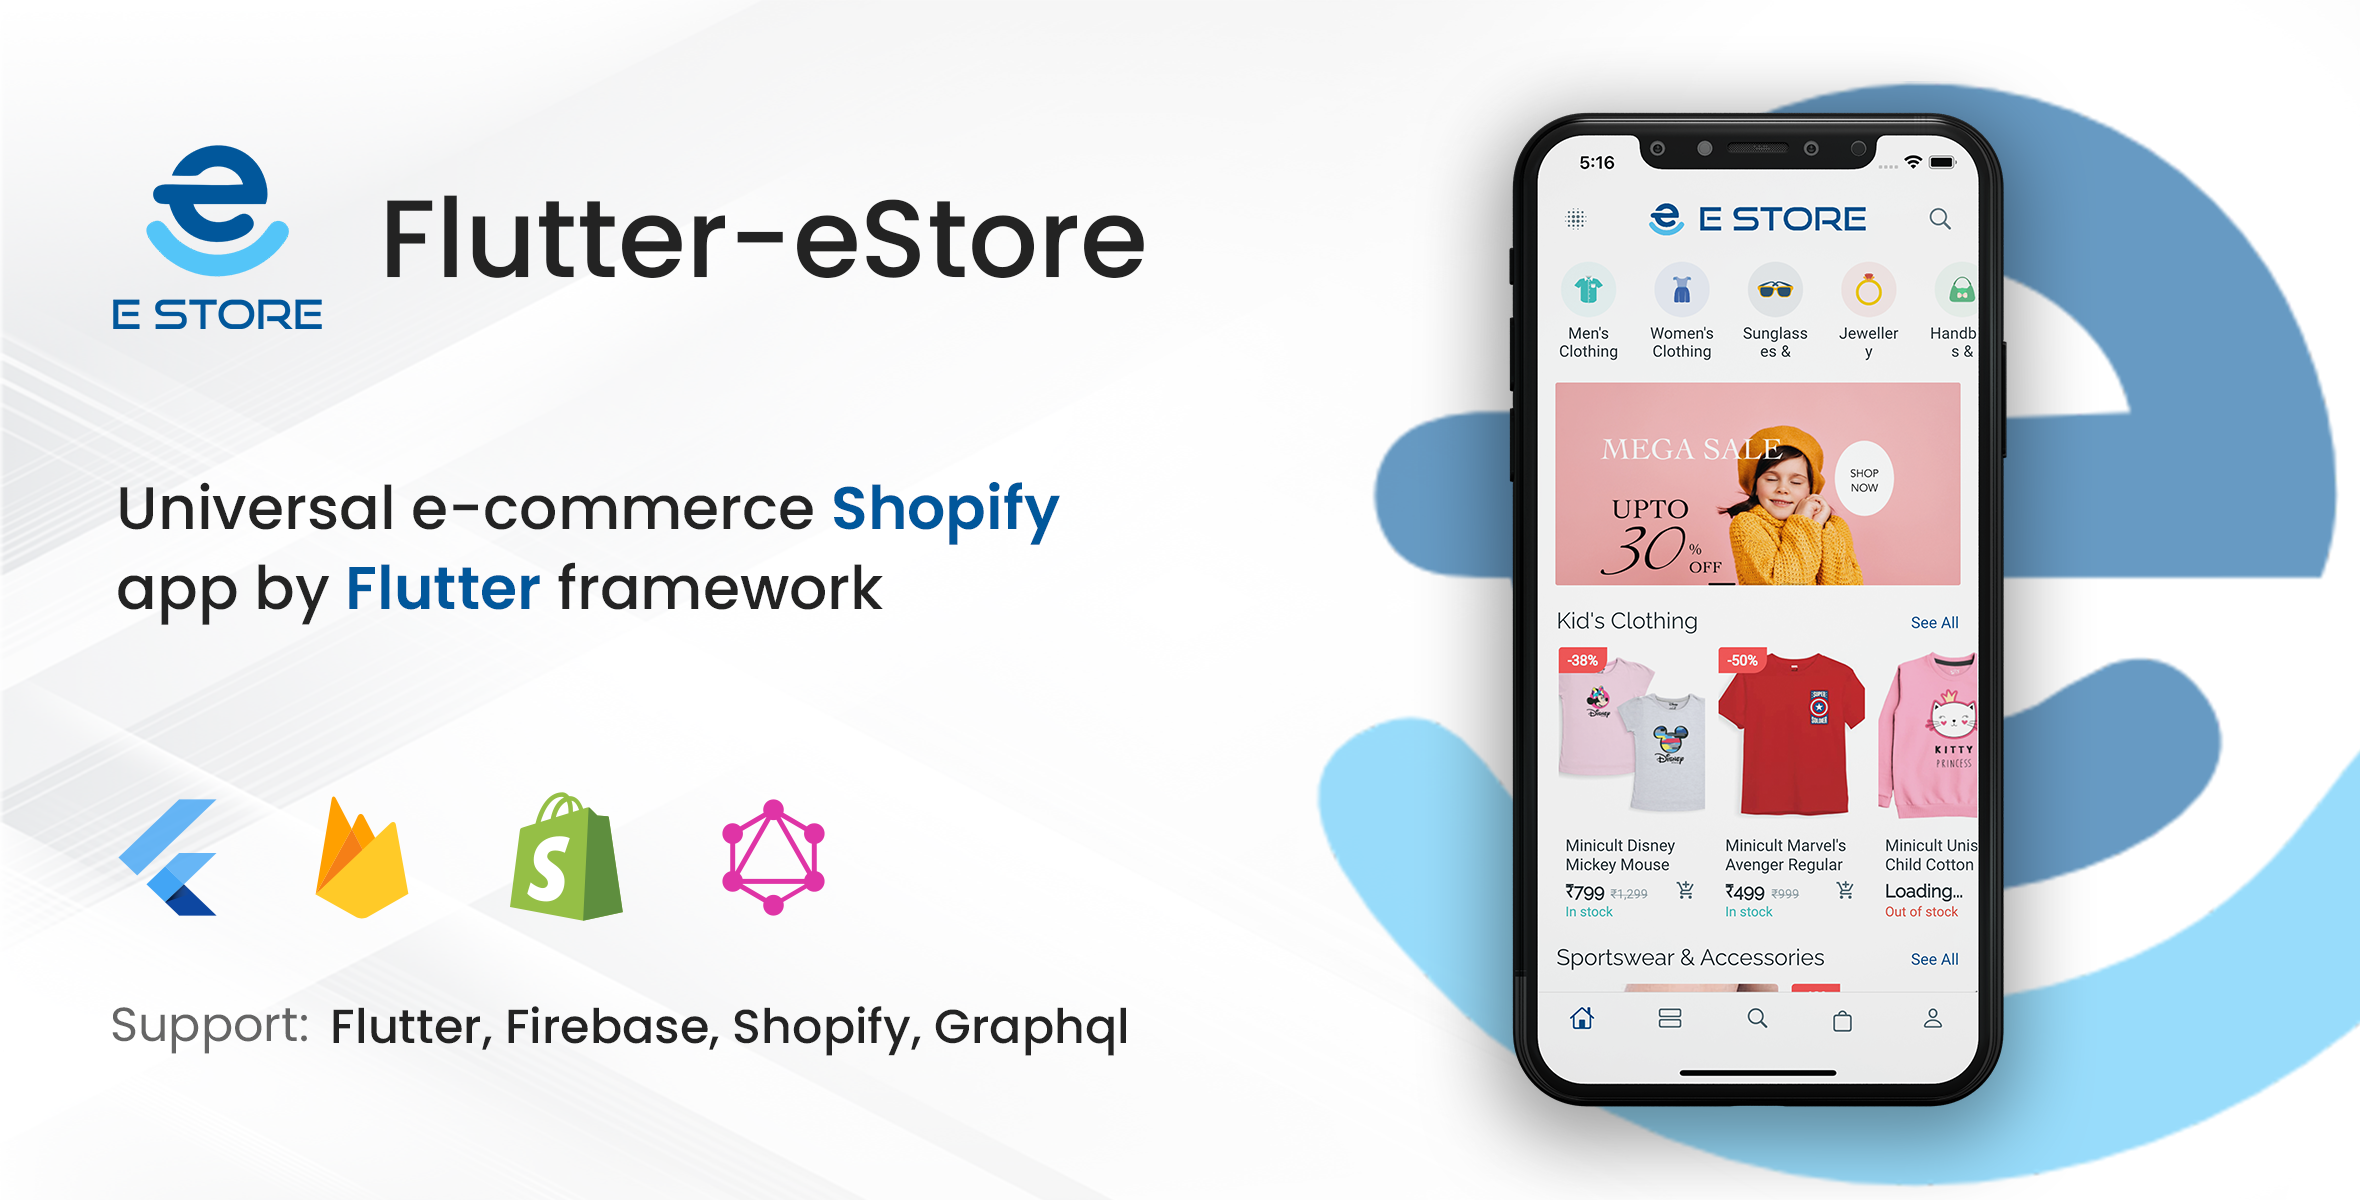
Flutter-eStore 是一个由Codeklips公司开发的通用电商应用库。它利用Google的Flutter框架构建,旨在减少企业在设计、开发和测试移动应用时花费的数千小时,从而提高生产力和成本效率。
安装
首先,你需要在你的pubspec.yaml文件中添加estore_ui依赖项:
dependencies:
  estore_ui: ^1.0.0
然后运行以下命令来获取依赖项:
flutter pub get
使用示例
接下来,我们通过一个简单的例子展示如何使用estore_ui来创建一个电商应用的基本界面。
import 'package:flutter/material.dart';
import 'package:estore_ui/estore_ui.dart';

void main() {
  runApp(MyApp());
}

class MyApp extends StatelessWidget {
  [@override](/user/override)
  Widget build(BuildContext context) {
    return MaterialApp(
      title: 'eStore UI Demo',
      theme: ThemeData(
        primarySwatch: Colors.blue,
      ),
      home: EstoreHomePage(),
    );
  }
}

class EstoreHomePage extends StatefulWidget {
  [@override](/user/override)
  _EstoreHomePageState createState() => _EstoreHomePageState();
}

class _EstoreHomePageState extends State<EstoreHomePage> {
  [@override](/user/override)
  Widget build(BuildContext context) {
    return Scaffold(
      appBar: AppBar(
        title: Text('eStore UI Demo'),
      ),
      body: Center(
        child: Column(
          mainAxisAlignment: MainAxisAlignment.center,
          children: <Widget>[
            // 使用estore_ui中的产品卡片组件
            EstoreProductCard(
              productName: 'iPhone 13 Pro Max',
              productImage: 'assets/images/iphone_13_pro_max.jpg',
              productPrice: '\$1099',
            ),
            SizedBox(height: 20),
            // 使用estore_ui中的按钮组件
            EstoreButton(
              text: 'Add to Cart',
              onPressed: () {
                print('Add to cart button pressed');
              },
            ),
          ],
        ),
      ),
    );
  }
}
更多关于Flutter电商界面UI插件estore_ui的使用的实战教程也可以访问 https://www.itying.com/category-92-b0.html
1 回复

更多关于Flutter电商界面UI插件estore_ui的使用的实战系列教程也可以访问 https://www.itying.com/category-92-b0.html
当然,下面是一个关于如何在Flutter项目中使用estore_ui插件来构建电商界面的代码案例。estore_ui是一个专门为Flutter设计的电商UI插件,它提供了多种预构建的组件,可以帮助开发者快速构建电商应用界面。
首先,你需要在你的pubspec.yaml文件中添加estore_ui依赖:
dependencies:
  flutter:
    sdk: flutter
  estore_ui: ^最新版本号  # 请替换为实际可用的最新版本号
然后运行flutter pub get来安装依赖。
以下是一个简单的代码示例,展示了如何使用estore_ui中的组件来构建一个基本的电商界面:
import 'package:flutter/material.dart';
import 'package:estore_ui/estore_ui.dart';

void main() {
  runApp(MyApp());
}

class MyApp extends StatelessWidget {
  @override
  Widget build(BuildContext context) {
    return MaterialApp(
      title: 'Flutter E-Store UI Demo',
      theme: ThemeData(
        primarySwatch: Colors.blue,
      ),
      home: EStoreHomePage(),
    );
  }
}

class EStoreHomePage extends StatelessWidget {
  @override
  Widget build(BuildContext context) {
    return Scaffold(
      appBar: AppBar(
        title: Text('E-Store UI Demo'),
      ),
      body: SingleChildScrollView(
        child: Column(
          children: [
            // 使用EStoreBanner组件显示轮播图
            EStoreBanner(
              images: [
                'https://example.com/image1.jpg',
                'https://example.com/image2.jpg',
              ],
              height: 200,
              autoPlay: true,
              interval: 3000,
            ),

            // 使用EStoreProductGrid组件显示产品网格
            Padding(
              padding: const EdgeInsets.all(16.0),
              child: EStoreProductGrid(
                products: [
                  EStoreProductData(
                    title: 'Product 1',
                    price: '\$19.99',
                    imageUrl: 'https://example.com/product1.jpg',
                  ),
                  EStoreProductData(
                    title: 'Product 2',
                    price: '\$29.99',
                    imageUrl: 'https://example.com/product2.jpg',
                  ),
                  // 更多产品数据...
                ],
                onProductPressed: (product) {
                  // 处理产品点击事件
                  print('Product clicked: ${product.title}');
                },
              ),
            ),

            // 使用EStoreCategorySection组件显示类别部分
            EStoreCategorySection(
              categories: [
                EStoreCategoryData(
                  title: 'Category 1',
                  imageUrl: 'https://example.com/category1.jpg',
                ),
                EStoreCategoryData(
                  title: 'Category 2',
                  imageUrl: 'https://example.com/category2.jpg',
                ),
                // 更多类别数据...
              ],
              onCategoryPressed: (category) {
                // 处理类别点击事件
                print('Category clicked: ${category.title}');
              },
            ),

            // 使用EStoreFooter组件显示底部导航栏
            EStoreFooter(
              items: [
                EStoreFooterItem(
                  title: 'Home',
                  icon: Icons.home,
                ),
                EStoreFooterItem(
                  title: 'Shop',
                  icon: Icons.shopping_cart,
                ),
                EStoreFooterItem(
                  title: 'Contact',
                  icon: Icons.contact_phone,
                ),
                // 更多底部导航项...
              ],
              onItemPressed: (index) {
                // 处理底部导航项点击事件
                print('Footer item clicked: $index');
              },
            ),
          ],
        ),
      ),
    );
  }
}

// 示例产品数据类(如果需要自定义)
class EStoreProductData {
  String title;
  String price;
  String imageUrl;

  EStoreProductData({required this.title, required this.price, required this.imageUrl});
}

// 示例类别数据类(如果需要自定义)
class EStoreCategoryData {
  String title;
  String imageUrl;

  EStoreCategoryData({required this.title, required this.imageUrl});
}
在这个示例中,我们使用了estore_ui提供的几个主要组件:
EStoreBanner:用于显示轮播图。EStoreProductGrid:用于显示产品网格。EStoreCategorySection:用于显示类别部分。EStoreFooter:用于显示底部导航栏。
这些组件都可以很容易地集成到你的Flutter应用中,并且你可以根据需要自定义它们的数据和交互行为。请确保你替换了示例中的图片URL和产品数据为实际的数据。