Flutter自定义图片编辑插件custom_image_editor的使用
Flutter自定义图片编辑插件custom_image_editor的使用
custom_image_editor 是一个基于 Flutter 的强大图片编辑插件,支持裁剪、绘画、添加文本和旋转图片等功能。
特性
- 裁剪
- 添加文本,可选择加粗文本和选择文本颜色
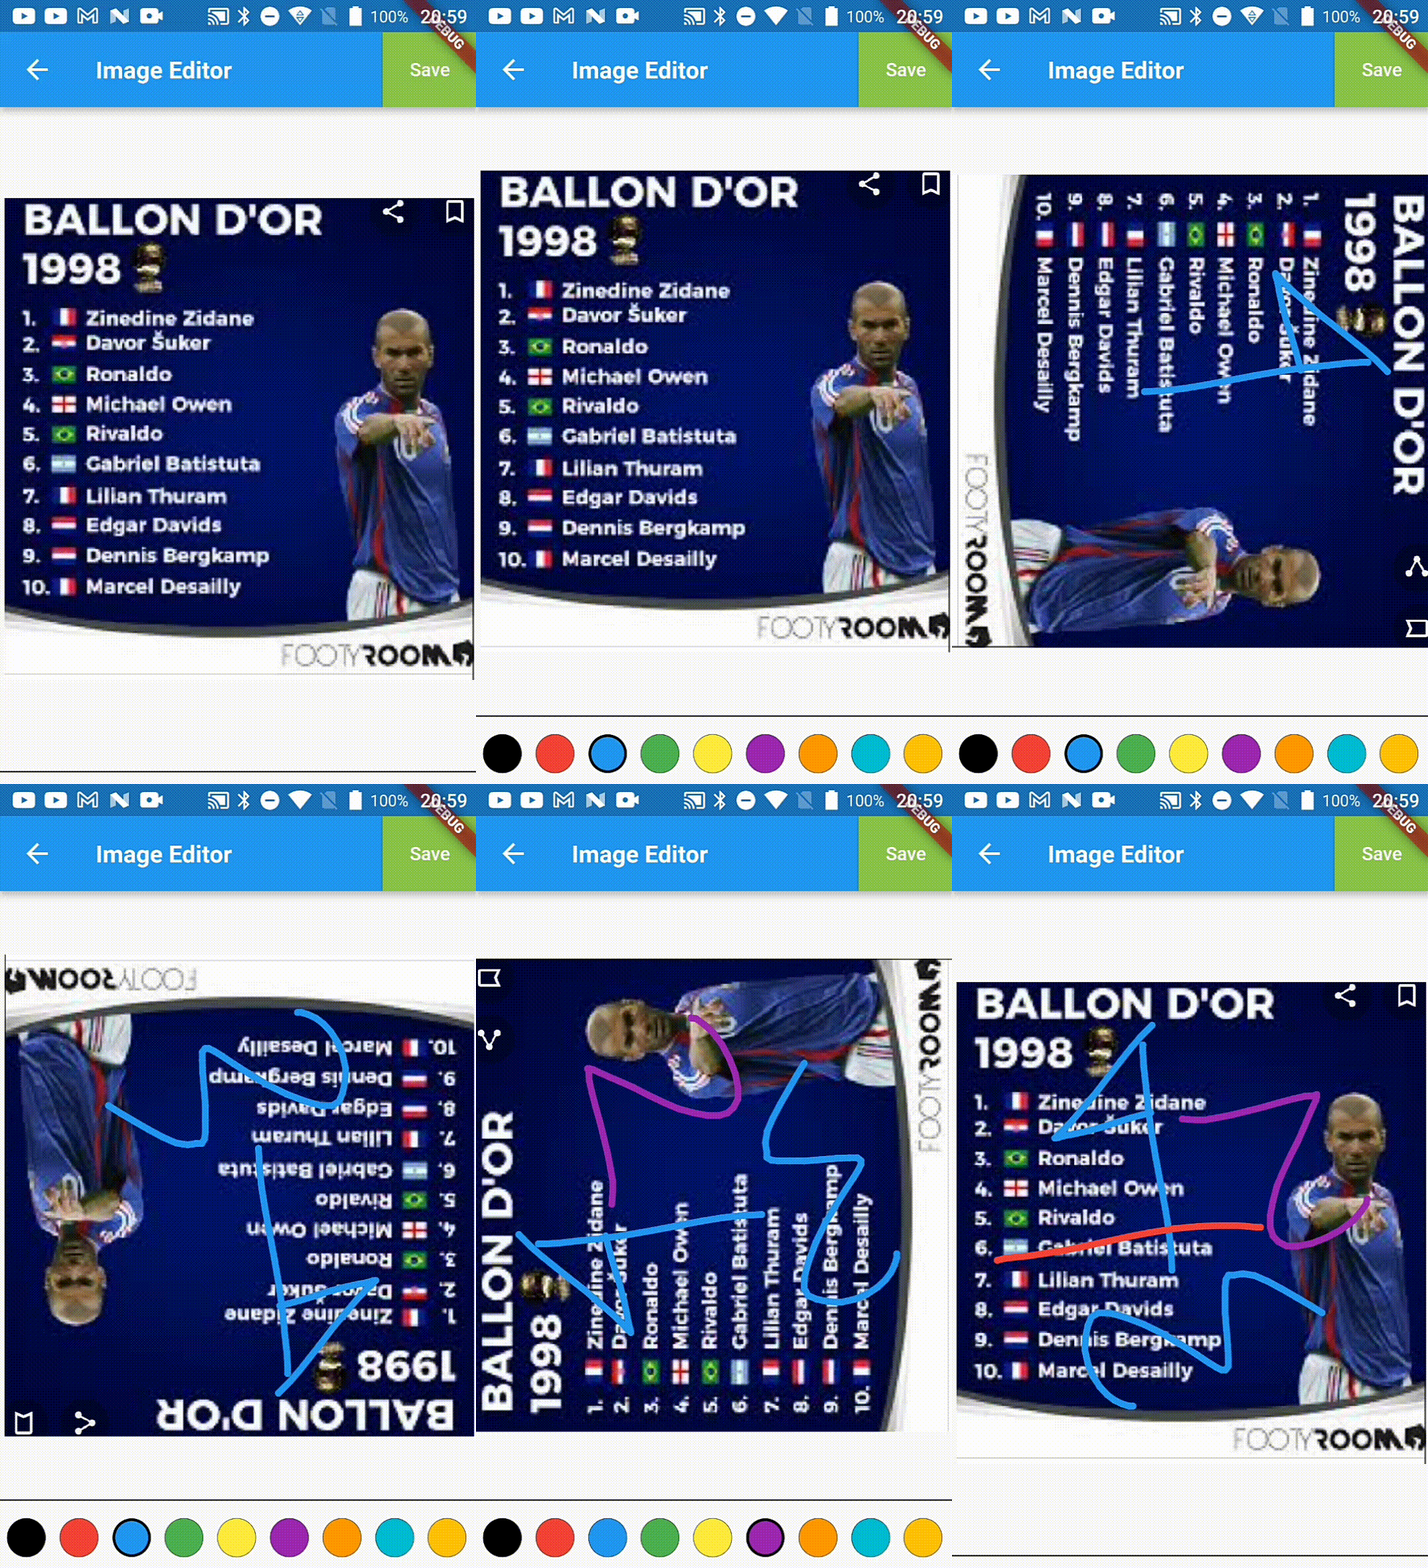
- 绘画,可选择线条的颜色
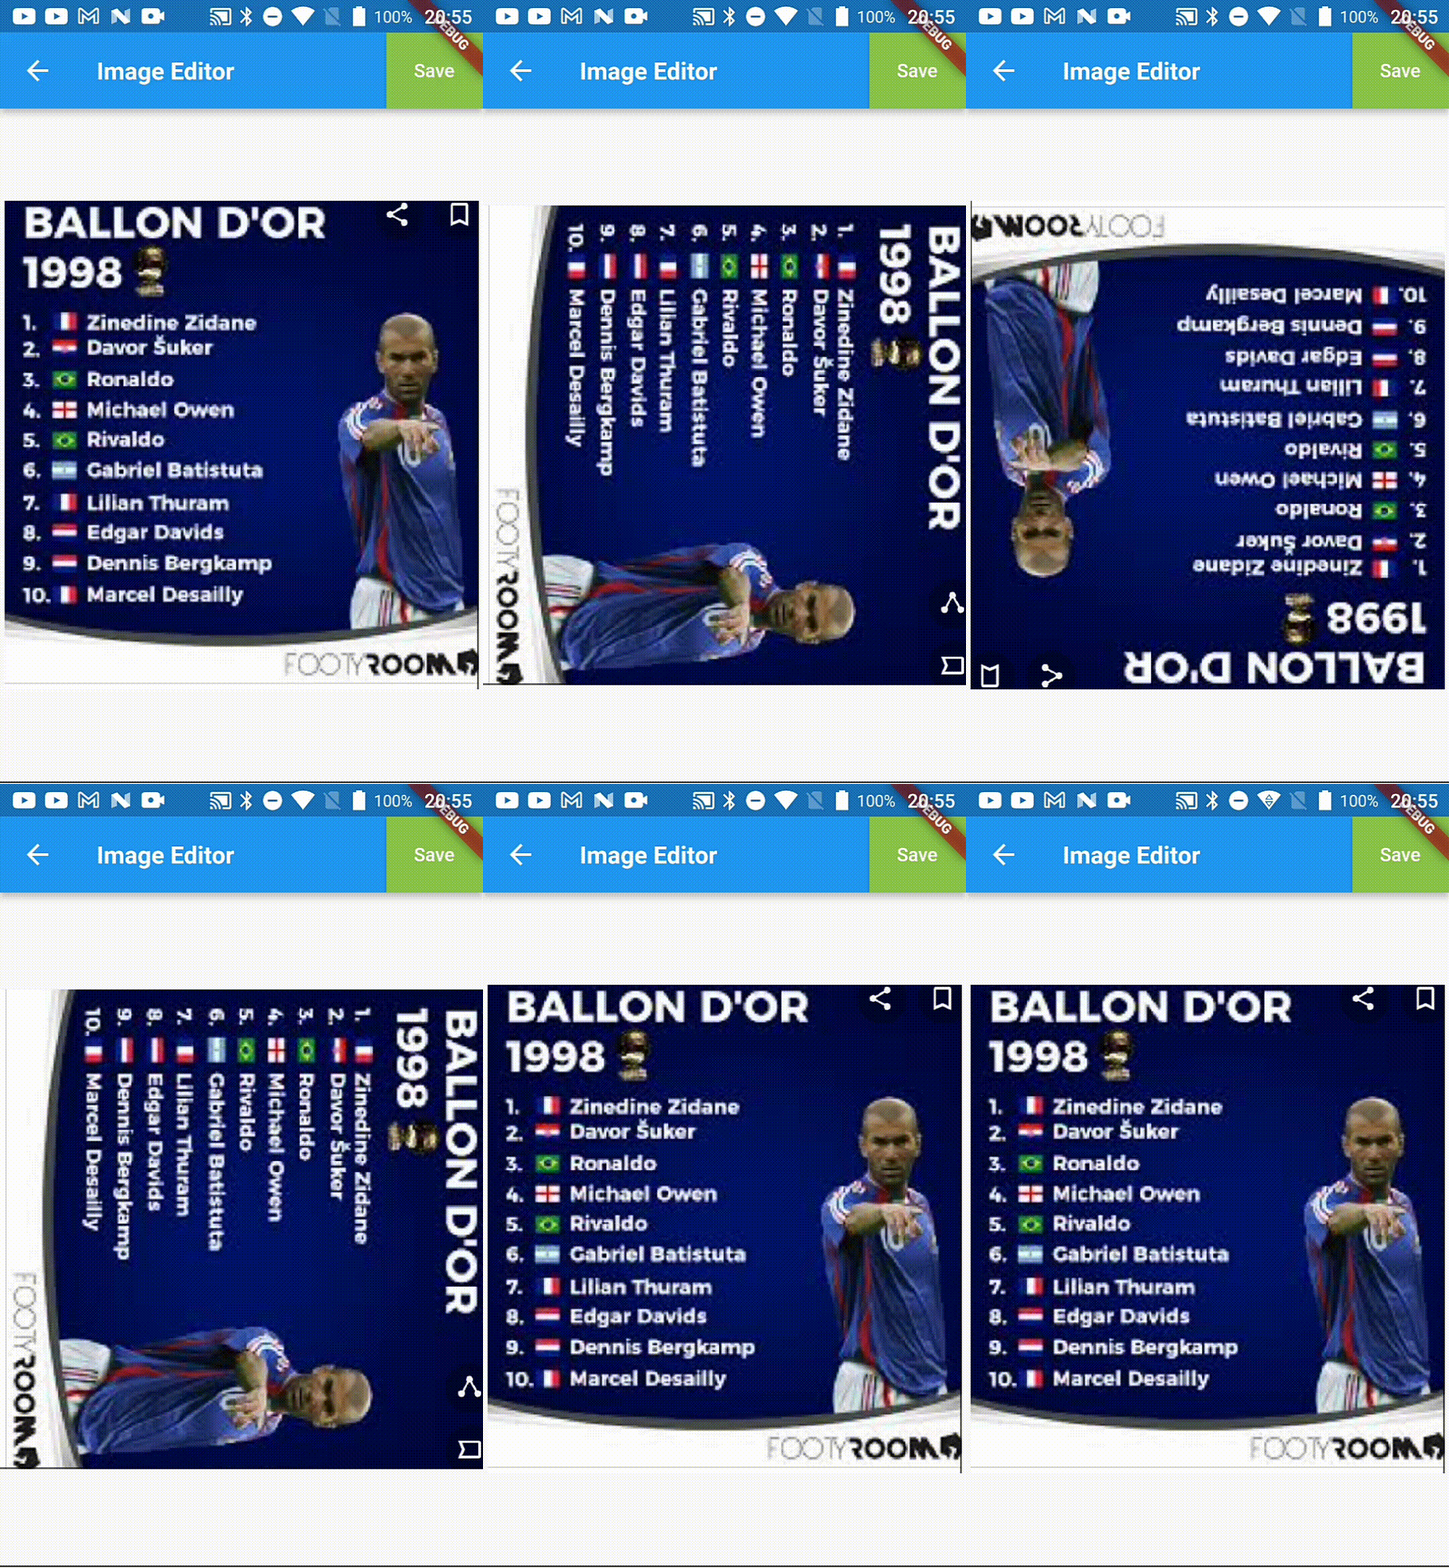
- 旋转,每次旋转90度顺时针
自定义图片编辑器展示
裁剪

旋转

绘画

添加文本

如何使用此插件
为了开始编辑图片,可以使用以下代码:
Future<void> editImage(File imageFile) async {
    // 导航到图片编辑器
    final fileResult = await Navigator.push(context, MaterialPageRoute(builder: (context) {
        return EditImageComponent(imageFile: imageFile);
    }));
    if (fileResult != null && fileResult is FinishedImageData) {
        String file = fileResult.file.path; // 新更新图片的文件路径
        imageLink.value = file;
        // 获取新更新图片的大小
        width.value = fileResult.size.width;
        height.value = fileResult.size.height;
    }
}
完整示例Demo
import 'dart:io';
import 'package:custom_image_editor/EditImage.dart';
import 'package:flutter/material.dart';
import 'package:image_picker/image_picker.dart';

void main() {
  runApp(const MyApp());
}

class MyApp extends StatelessWidget {
  const MyApp({super.key});

  [@override](/user/override)
  Widget build(BuildContext context) {
    return MaterialApp(
      title: 'Flutter Demo',
      theme: ThemeData(
        primarySwatch: Colors.blue,
      ),
      home: const MyHomePage(title: 'Flutter Demo Home Page'),
    );
  }
}

class MyHomePage extends StatefulWidget {
  const MyHomePage({super.key, required this.title});

  final String title;

  [@override](/user/override)
  State<MyHomePage> createState() => _MyHomePageState();
}

class _MyHomePageState extends State<MyHomePage> {
  ValueNotifier<String> imageLink = ValueNotifier('');
  ImagePicker _picker = ImagePicker();
  ValueNotifier<double> width = ValueNotifier(200);
  ValueNotifier<double> height = ValueNotifier(350);

  Future<void> pickImage() async {
    try {
      if (imageLink.value.isEmpty) {
        final XFile? pickedFile = await _picker.pickImage(
          source: ImageSource.gallery,
          imageQuality: 100,
          maxWidth: 1000,
          maxHeight: 1000,
        );
        if (pickedFile != null) {
          String imageUri = pickedFile.path;
          imageLink.value = imageUri;
        }
      }
    } catch (e) {}
  }

  Future<void> editImage(File imageFile) async {
    final fileResult = await Navigator.push(context, MaterialPageRoute(builder: (context) {
      return EditImageComponent(imageFile: imageFile);
    }));
    if (fileResult != null && fileResult is FinishedImageData) {
      String file = fileResult.file.path;
      imageLink.value = file;
      // 获取新更新图片的大小
      width.value = fileResult.size.width;
      height.value = fileResult.size.height;
    }
  }

  [@override](/user/override)
  Widget build(BuildContext context) {
    return Scaffold(
      appBar: AppBar(
        title: Text(widget.title),
      ),
      body: Center(
        child: Column(
          mainAxisAlignment: MainAxisAlignment.center,
          children: [
            ValueListenableBuilder<String>(
              valueListenable: imageLink,
              builder: (BuildContext context, String imageLinkStr, Widget? child) {
                return imageLinkStr.isEmpty
                    ? ElevatedButton(
                        onPressed: () => pickImage(),
                        child: Text('Pick Image'))
                    : Stack(
                        children: [
                          ValueListenableBuilder<double>(
                            valueListenable: width,
                            builder: (BuildContext context, double width, Widget? child) {
                              return ValueListenableBuilder<double>(
                                valueListenable: height,
                                builder: (BuildContext context, double height, Widget? child) {
                                  return Image.file(File(imageLinkStr), fit: BoxFit.cover, width: width, height: height);
                                },
                              );
                            },
                          ),
                          Positioned(
                            top: 5,
                            right: 0.03 * getScreenWidth(),
                            child: Container(
                              width: 0.075 * getScreenWidth(),
                              height: 0.075 * getScreenWidth(),
                              decoration: BoxDecoration(
                                color: Colors.black,
                                shape: BoxShape.circle,
                              ),
                              child: GestureDetector(
                                onTap: () {
                                  imageLink.value = '';
                                  width.value = 200;
                                  height.value = 350;
                                },
                                child: Icon(Icons.delete, size: 25, color: Colors.white),
                              ),
                            ),
                          ),
                          Positioned(
                            top: 5,
                            right: 0.13 * getScreenWidth(),
                            child: Container(
                              width: 0.075 * getScreenWidth(),
                              height: 0.075 * getScreenWidth(),
                              decoration: BoxDecoration(
                                color: Colors.black,
                                shape: BoxShape.circle,
                              ),
                              child: GestureDetector(
                                onTap: () => editImage(File(imageLinkStr)),
                                child: Icon(Icons.edit, size: 25, color: Colors.white),
                              ),
                            ),
                          ),
                        ],
                      ),
                  ];
              },
            ),
          ],
        ),
      ),
    );
  }
}
更多关于Flutter自定义图片编辑插件custom_image_editor的使用的实战教程也可以访问 https://www.itying.com/category-92-b0.html
更多关于Flutter自定义图片编辑插件custom_image_editor的使用的实战系列教程也可以访问 https://www.itying.com/category-92-b0.html
当然,下面是一个关于如何在Flutter中使用custom_image_editor插件来实现自定义图片编辑功能的代码示例。custom_image_editor是一个功能强大的Flutter插件,它允许用户对图片进行各种编辑操作,如裁剪、旋转、添加滤镜等。
首先,确保你已经在pubspec.yaml文件中添加了custom_image_editor依赖:
dependencies:
  flutter:
    sdk: flutter
  custom_image_editor: ^版本号 # 请替换为实际的最新版本号
然后,运行flutter pub get来安装依赖。
接下来,在你的Flutter应用中,你可以按照以下步骤使用custom_image_editor:
- 导入必要的包:
import 'package:flutter/material.dart';
import 'package:custom_image_editor/custom_image_editor.dart';
- 创建一个页面来展示和编辑图片:
class ImageEditorPage extends StatefulWidget {
  final String imagePath; // 图片的路径

  ImageEditorPage({required this.imagePath});

  @override
  _ImageEditorPageState createState() => _ImageEditorPageState();
}

class _ImageEditorPageState extends State<ImageEditorPage> {
  late CustomImageEditorController _controller;

  @override
  void initState() {
    super.initState();
    // 初始化控制器
    _controller = CustomImageEditorController(
      imageProvider: FileImage(File(widget.imagePath)),
    );
  }

  @override
  void dispose() {
    _controller.dispose();
    super.dispose();
  }

  @override
  Widget build(BuildContext context) {
    return Scaffold(
      appBar: AppBar(
        title: Text('Image Editor'),
      ),
      body: Padding(
        padding: const EdgeInsets.all(16.0),
        child: Column(
          children: [
            Expanded(
              child: CustomImageEditor(
                controller: _controller,
                // 添加工具栏,这里只展示一个简单示例,可以根据需要自定义
                toolBarOptions: ToolBarOptions(
                  crop: true,
                  rotate: true,
                  flip: true,
                  filters: [
                    FilterOption(name: 'Sepia', value: ImageFilter.sepia(0.8)),
                    FilterOption(name: 'Grayscale', value: ImageFilter.grayscale(1.0)),
                    // 可以添加更多滤镜
                  ],
                ),
              ),
            ),
            ElevatedButton(
              onPressed: () async {
                // 获取编辑后的图片
                Uint8List? editedImageBytes = await _controller.getImageBytes();
                if (editedImageBytes != null) {
                  // 这里可以保存图片或进行其他操作
                  // 例如,保存到本地
                  final directory = (await getApplicationDocumentsDirectory()).path;
                  final filePath = '$directory/edited_image.png';
                  File(filePath).writeAsBytesSync(editedImageBytes);
                  // 或者显示图片预览
                  Navigator.push(
                    context,
                    MaterialPageRoute(
                      builder: (context) => ImagePreviewPage(imageBytes: editedImageBytes),
                    ),
                  );
                }
              },
              child: Text('Save/Preview'),
            ),
          ],
        ),
      ),
    );
  }
}

// 预览编辑后的图片的页面
class ImagePreviewPage extends StatelessWidget {
  final Uint8List imageBytes;

  ImagePreviewPage({required this.imageBytes});

  @override
  Widget build(BuildContext context) {
    return Scaffold(
      appBar: AppBar(
        title: Text('Image Preview'),
      ),
      body: Center(
        child: Image.memory(imageBytes),
      ),
    );
  }
}
在这个示例中,我们创建了一个ImageEditorPage页面,它使用CustomImageEditor小部件来展示和编辑图片。我们初始化了一个CustomImageEditorController来控制图片的编辑操作,并提供了基本的工具栏选项,如裁剪、旋转、翻转和滤镜。用户完成编辑后,可以点击“Save/Preview”按钮来获取编辑后的图片,并进行保存或预览。
请注意,这只是一个基本的示例,custom_image_editor插件提供了更多高级功能和自定义选项,你可以根据项目的需求进行进一步的定制和扩展。


