


Flutter尼泊尔历法插件clean_nepali_calendar的使用
Flutter尼泊尔历法插件clean_nepali_calendar的使用
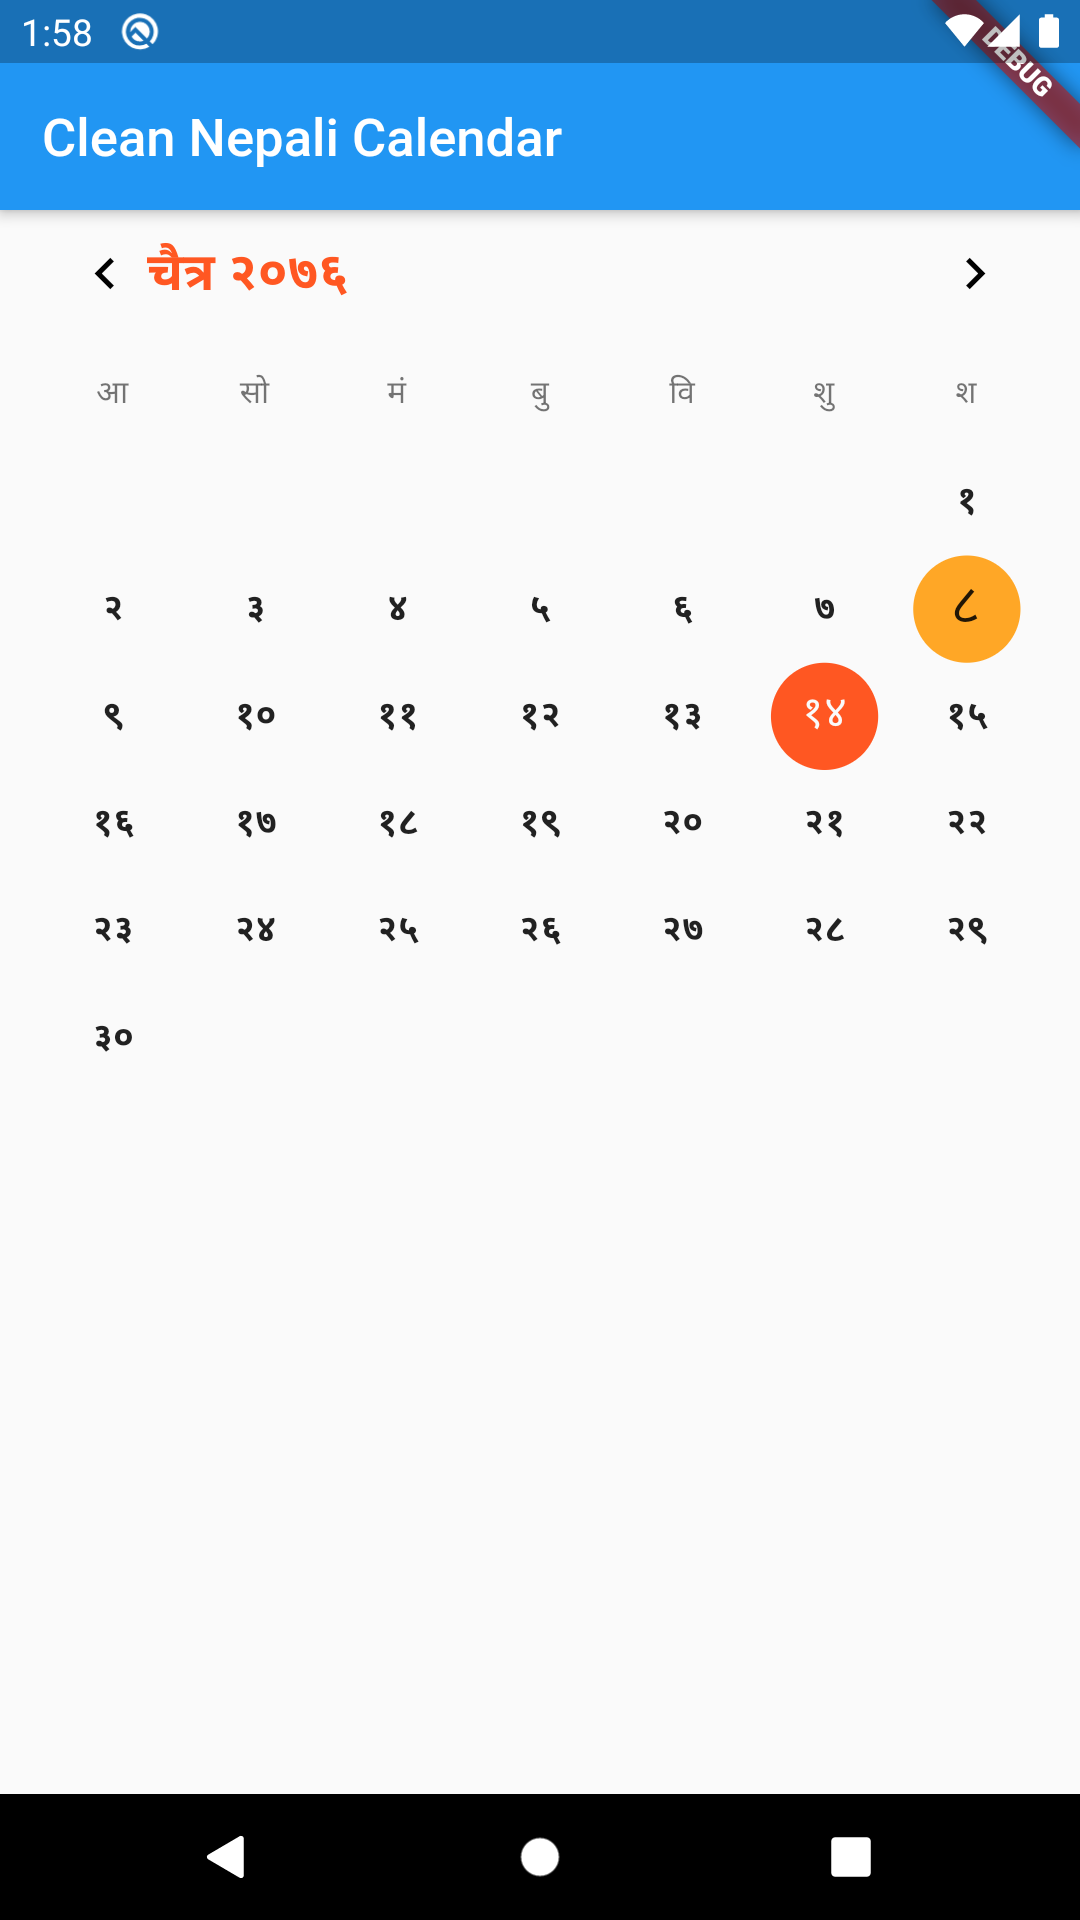
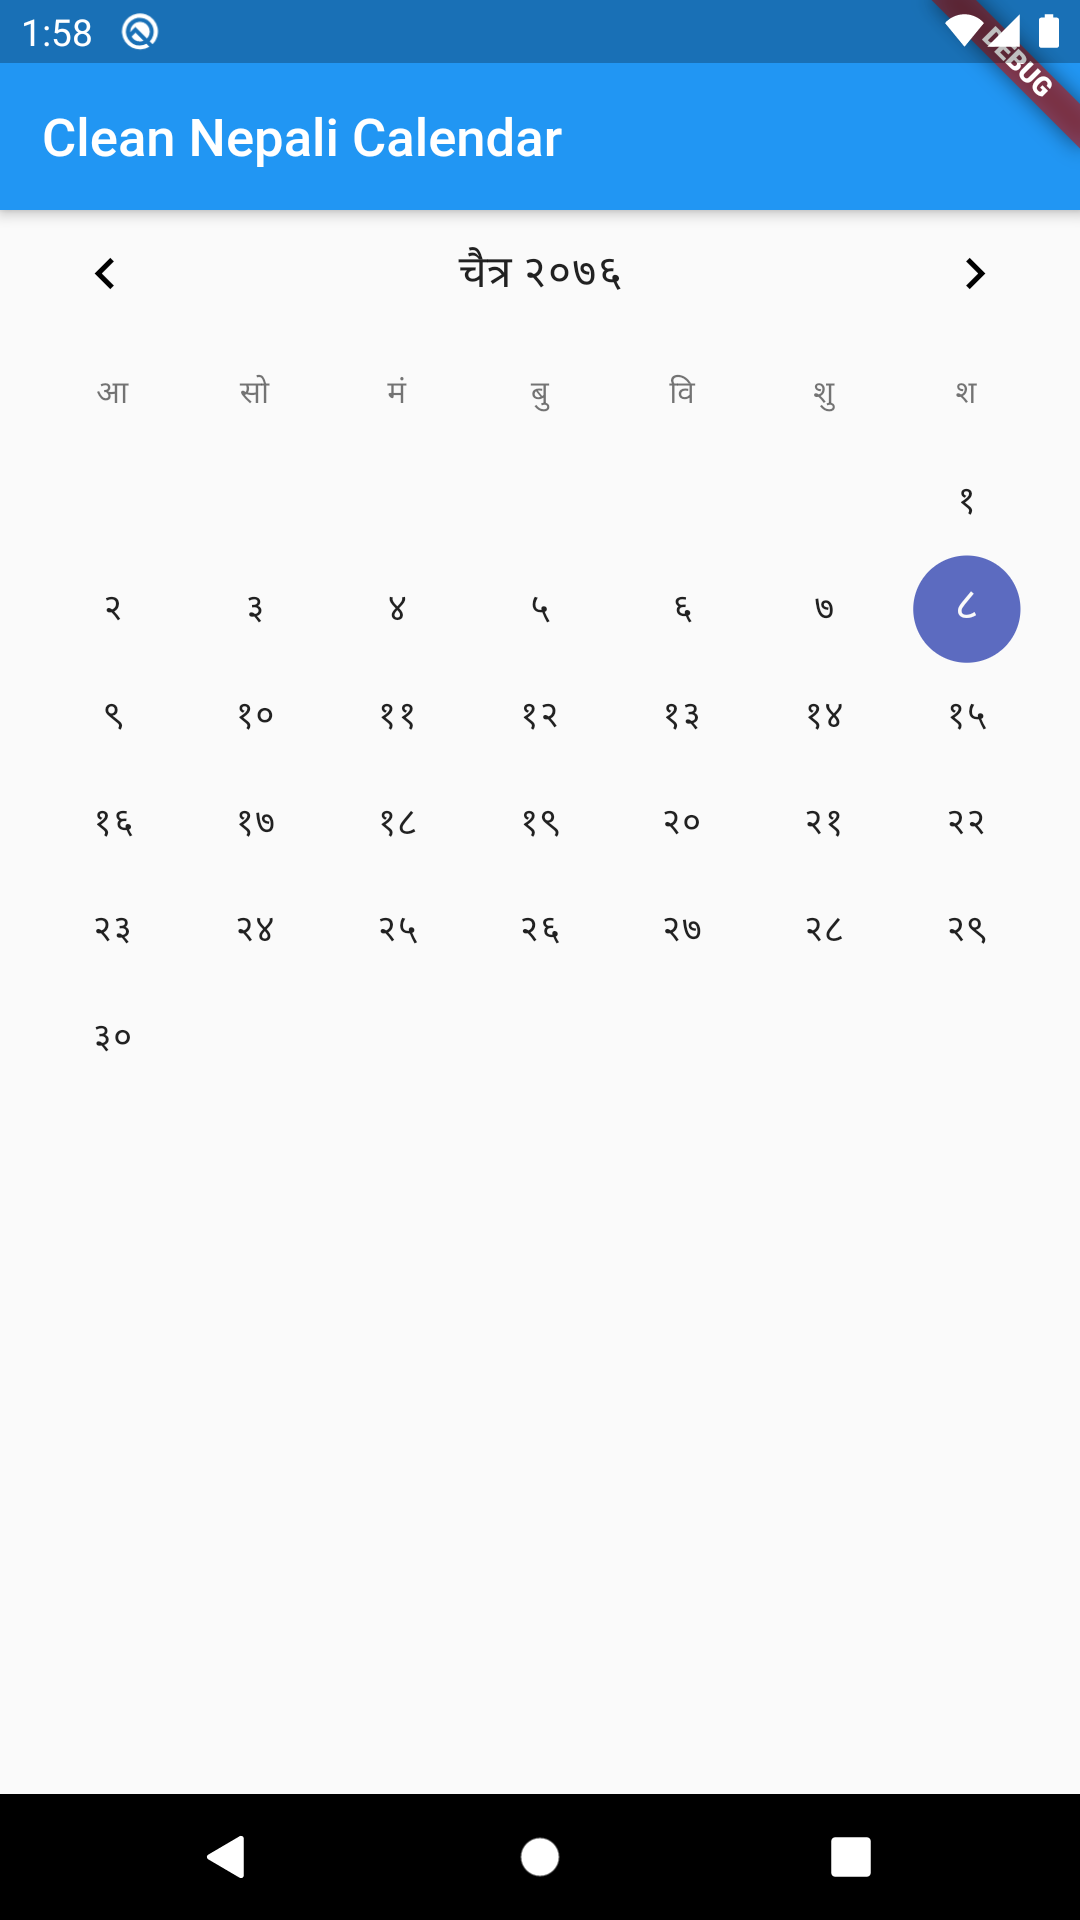
Flutter包用于显示尼泊尔日历。灵感来自nepali_date_picker 和table_calendar。

![]()
高度可定制的、功能丰富的Flutter尼泊尔日历包。
 |
 |
 |
|---|
特性
- 广泛且易于使用的API
- 可以选择使用Unicode尼泊尔文或罗马文字
- 手势处理
- 指定可用日期范围
- 高度可定制
使用方法
安装
在pubspec.yaml文件中添加:
dependencies:
  clean_nepali_calendar: latest
然后导入到你的项目中:
import 'package:clean_nepali_calendar/clean_nepali_calendar.dart';
创建并使用NepaliCalendarController实例化CleanNepaliCalendar小部件。这将直接工作:
[@override](/user/override)
void initState() {
  super.initState();
  _calendarController = NepaliCalendarController();
}

[@override](/user/override)
Widget build(BuildContext context) {
  return CleanNepaliCalendar(
    controller: _calendarController,
    onDaySelected: (day){
        print(day.toString());
    },
  );
}
查看示例项目获取更详细的信息。
示例代码
以下是完整的示例代码,展示了如何使用clean_nepali_calendar插件:
import 'package:clean_nepali_calendar/clean_nepali_calendar.dart';
import 'package:flutter/material.dart';

void main() => runApp(MyApp());

class MyApp extends StatelessWidget {
  [@override](/user/override)
  Widget build(BuildContext context) {
    return MaterialApp(
      title: 'Clean Nepali Calendar Demo',
      theme: ThemeData(
        primarySwatch: Colors.blue,
      ),
      home: HomePage(),
    );
  }
}

class HomePage extends StatelessWidget {
  final NepaliCalendarController _nepaliCalendarController = NepaliCalendarController();

  [@override](/user/override)
  Widget build(BuildContext context) {
    final NepaliDateTime first = NepaliDateTime(2075, 5); // 设置起始日期
    final NepaliDateTime last = NepaliDateTime(2079, 3); // 设置结束日期
    return Scaffold(
      appBar: AppBar(
        title: Text('Clean Nepali Calendar'),
      ),
      body: SingleChildScrollView(
        child: Column(
          crossAxisAlignment: CrossAxisAlignment.start,
          children: <Widget>[
            CleanNepaliCalendar(
              headerDayBuilder: (_, index) {
                return Align(
                    alignment: Alignment.topCenter,
                    child: Padding(
                      padding: const EdgeInsets.only(top: 5.0),
                      child: Text(
                        '_',
                        style: TextStyle(color: (index == 6) ? Colors.red : null),
                      ),
                    ));
              },
              headerDayType: HeaderDayType.fullName,
              controller: _nepaliCalendarController,
              onHeaderLongPressed: (date) {
                print("header long pressed $date");
              },
              onHeaderTapped: (date) {
                print("header tapped $date");
              },
              calendarStyle: CalendarStyle(
                selectedColor: Colors.deepOrange,
                dayStyle: TextStyle(fontWeight: FontWeight.bold),
                todayStyle: TextStyle(fontSize: 20.0),
                todayColor: Colors.orange.shade400,
                renderDaysOfWeek: true,
                highlightToday: true,
              ),
              headerStyle: HeaderStyle(
                enableFadeTransition: false,
                centerHeaderTitle: false,
                titleTextStyle: TextStyle(
                    fontWeight: FontWeight.bold,
                    color: Colors.deepOrange,
                    fontSize: 20.0),
              ),
              initialDate: NepaliDateTime.now(),
              firstDate: first,
              lastDate: last,
              language: Language.nepali,
              onDaySelected: (day) {
                print(day.toString());
              },
              dateCellBuilder: cellBuilder,
            ),
          ],
        ),
      ),
    );
  }

  Widget cellBuilder(isToday, isSelected, isDisabled, nepaliDate, label, text, calendarStyle, isWeekend) {
    Decoration _buildCellDecoration() {
      if (isSelected && isToday) {
        return BoxDecoration(
            borderRadius: BorderRadius.circular(5),
            color: Colors.blue,
            border: Border.all(color: calendarStyle.selectedColor));
      }
      if (isSelected) {
        return BoxDecoration(
            borderRadius: BorderRadius.circular(5),
            border: Border.all(color: calendarStyle.selectedColor));
      } else if (isToday && calendarStyle.highlightToday) {
        return BoxDecoration(
          borderRadius: BorderRadius.circular(5),
          border: Border.all(color: Colors.transparent),
          color: Colors.blue,
        );
      } else {
        return BoxDecoration(
          borderRadius: BorderRadius.circular(5),
          border: Border.all(color: Colors.transparent),
        );
      }
    }

    return AnimatedContainer(
      padding: EdgeInsets.all(3),
      duration: Duration(milliseconds: 2000),
      decoration: _buildCellDecoration(),
      child: Center(
        child: Column(
          children: [
            Text(text, style: TextStyle(fontSize: 20, color: isWeekend ? Colors.red : null)),
            Align(
                alignment: Alignment.bottomCenter,
                child: CircleAvatar(radius: 1)),
            Align(
              alignment: Alignment.bottomRight,
              child: Text(nepaliDate.toDateTime().day.toString(), style: TextStyle(fontSize: 8, color: isWeekend ? Colors.red : null)),
            ),
          ],
        ),
      ),
    );
  }
}
更多关于Flutter尼泊尔历法插件clean_nepali_calendar的使用的实战教程也可以访问 https://www.itying.com/category-92-b0.html

更多关于Flutter尼泊尔历法插件clean_nepali_calendar的使用的实战系列教程也可以访问 https://www.itying.com/category-92-b0.html
当然,下面是一个关于如何在Flutter项目中使用clean_nepali_calendar插件的示例代码。这个插件用于显示和操作尼泊尔历法。
首先,确保你已经在pubspec.yaml文件中添加了clean_nepali_calendar依赖:
dependencies:
  flutter:
    sdk: flutter
  clean_nepali_calendar: ^最新版本号  # 请替换为最新版本号
然后运行flutter pub get来安装依赖。
接下来,下面是一个简单的示例代码,展示了如何使用clean_nepali_calendar插件来显示尼泊尔历法:
import 'package:flutter/material.dart';
import 'package:clean_nepali_calendar/clean_nepali_calendar.dart';

void main() {
  runApp(MyApp());
}

class MyApp extends StatelessWidget {
  @override
  Widget build(BuildContext context) {
    return MaterialApp(
      title: 'Flutter Nepali Calendar Demo',
      theme: ThemeData(
        primarySwatch: Colors.blue,
      ),
      home: NepaliCalendarScreen(),
    );
  }
}

class NepaliCalendarScreen extends StatefulWidget {
  @override
  _NepaliCalendarScreenState createState() => _NepaliCalendarScreenState();
}

class _NepaliCalendarScreenState extends State<NepaliCalendarScreen> {
  NepaliDateTime? selectedDate;

  @override
  Widget build(BuildContext context) {
    return Scaffold(
      appBar: AppBar(
        title: Text('Nepali Calendar Demo'),
      ),
      body: Center(
        child: Column(
          mainAxisAlignment: MainAxisAlignment.center,
          children: <Widget>[
            if (selectedDate != null)
              Text(
                'Selected Date: ${selectedDate!.toReadableString()}',
                style: TextStyle(fontSize: 20),
              ),
            SizedBox(height: 20),
            Expanded(
              child: NepaliCalendar(
                onDateSelected: (NepaliDateTime date) {
                  setState(() {
                    selectedDate = date;
                  });
                },
                initialSelectedDate: selectedDate ?? NepaliDateTime.now(),
              ),
            ),
          ],
        ),
      ),
    );
  }
}
在这个示例中,我们创建了一个简单的Flutter应用,其中包含一个尼泊尔日历。当用户选择日期时,日期会显示在日历下方的文本中。
关键部分解释:
- 依赖引入:在
pubspec.yaml文件中添加clean_nepali_calendar依赖。 - 主应用结构:
MyApp类作为应用的入口,设置了主题和主页NepaliCalendarScreen。 - 日历页面:
NepaliCalendarScreen是一个有状态的组件,它包含一个NepaliCalendar小部件。 - 日期选择:通过
onDateSelected回调函数处理用户选择的日期,并使用setState更新UI。 - 显示选中日期:使用
Text小部件显示用户选中的日期。
请确保在实际项目中替换^最新版本号为clean_nepali_calendar插件的最新版本号。你可以通过访问pub.dev网站来获取最新版本信息。
这个示例提供了一个基础框架,你可以根据需要进一步自定义和扩展功能。