


Flutter调试辅助插件debug_friend的使用
Flutter调试辅助插件debug_friend的使用
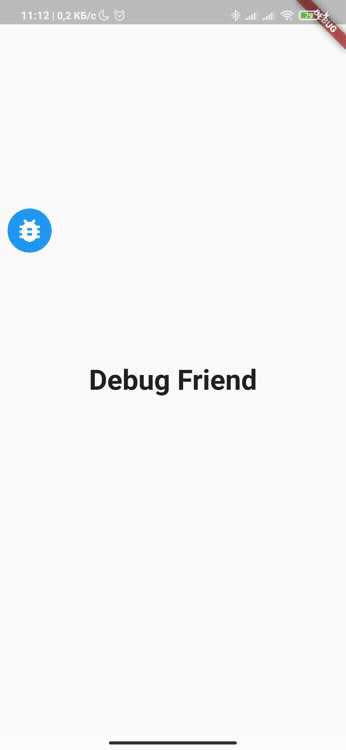
Debug Friend
Flutter调试助手小部件,具有通用和自定义操作
这有助于减少新功能的开发和测试时间。
显示一些❤️并给仓库点个星以支持该项目!
 |
 |
 |
 |
 |
|---|
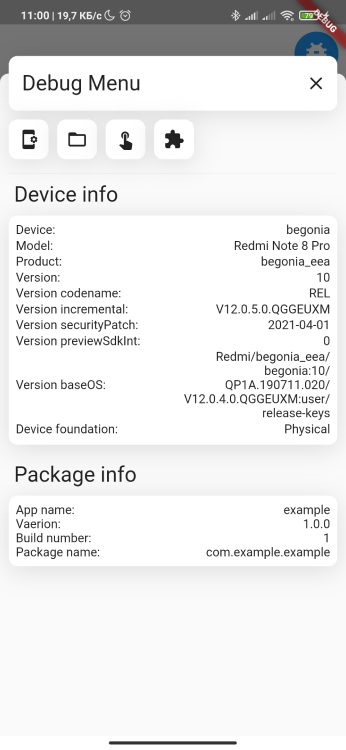
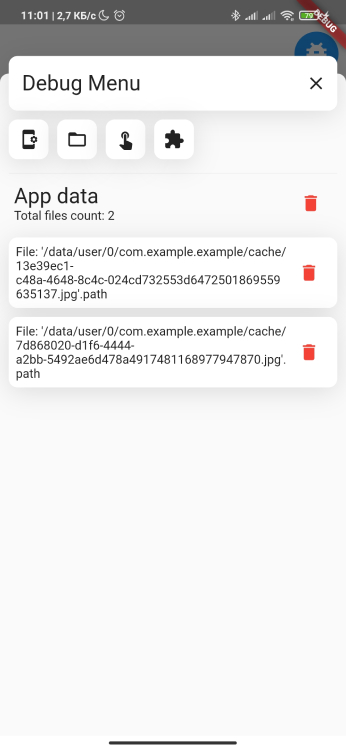
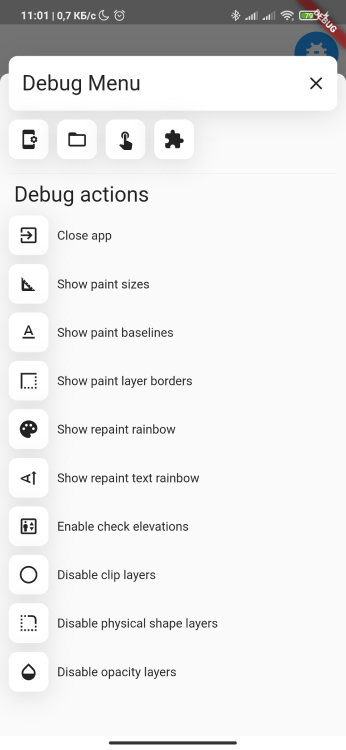
主要特性 #
- 检查设备信息和包信息
- 查看和管理应用程序缓存
- Flutter Inspector功能
- 测试您的自定义操作
快速开始 #
将您的MaterialApp的home或builder小部件包装在DebugFriend中。
import 'package:debug_friend/debug_friend.dart';
import 'package:flutter/material.dart';

void main() {
  runApp(
    MaterialApp(
      home: DebugFriendView(
        builder: (context) {
          return const Scaffold(
            body: Text('您的应用主小部件'),
          );
        },
      ),
    ),
  );
}
完整示例
以下是一个完整的示例,展示了如何使用DebugFriend插件:
import 'package:debug_friend/debug_friend.dart';
import 'package:flutter/material.dart';

void main() {
  runApp(const MyApp());
}

class MyApp extends StatelessWidget {
  const MyApp();

  @override
  Widget build(BuildContext context) {
    return MaterialApp(
      title: 'DebugFriend',
      theme: ThemeData(primaryColor: Colors.black),
      home: DebugFriendView(
        // 自定义图标
        icon: const SizedBox(
          width: 50,
          height: 50,
          child: Icon(
            Icons.bug_report,
            color: Colors.white,
            size: 34,
          ),
        ),
        // 调试主题
        theme: const DebugFriendTheme(),
        // 构建器函数
        builder: (context) => const SafeArea(
          child: Scaffold(
            body: Center(
              child: Text('DebugFriend'),
            ),
          ),
        ),
      ),
    );
  }
}
代码解释
-
导入依赖:
import 'package:debug_friend/debug_friend.dart'; import 'package:flutter/material.dart'; -
主入口函数:
void main() { runApp(const MyApp()); } -
创建MaterialApp:
class MyApp extends StatelessWidget {
  const MyApp();

  @override
  Widget build(BuildContext context) {
    return MaterialApp(
      title: 'DebugFriend',
      theme: ThemeData(primaryColor: Colors.black),
      home: DebugFriendView(
        // 自定义图标
        icon: const SizedBox(
          width: 50,
          height: 50,
          child: Icon(
            Icons.bug_report,
            color: Colors.white,
            size: 34,
          ),
        ),
        // 调试主题
        theme: const DebugFriendTheme(),
        // 构建器函数
        builder: (context) => const SafeArea(
          child: Scaffold(
            body: Center(
              child: Text('DebugFriend'),
            ),
          ),
        ),
      ),
    );
  }
}
更多关于Flutter调试辅助插件debug_friend的使用的实战教程也可以访问 https://www.itying.com/category-92-b0.html
