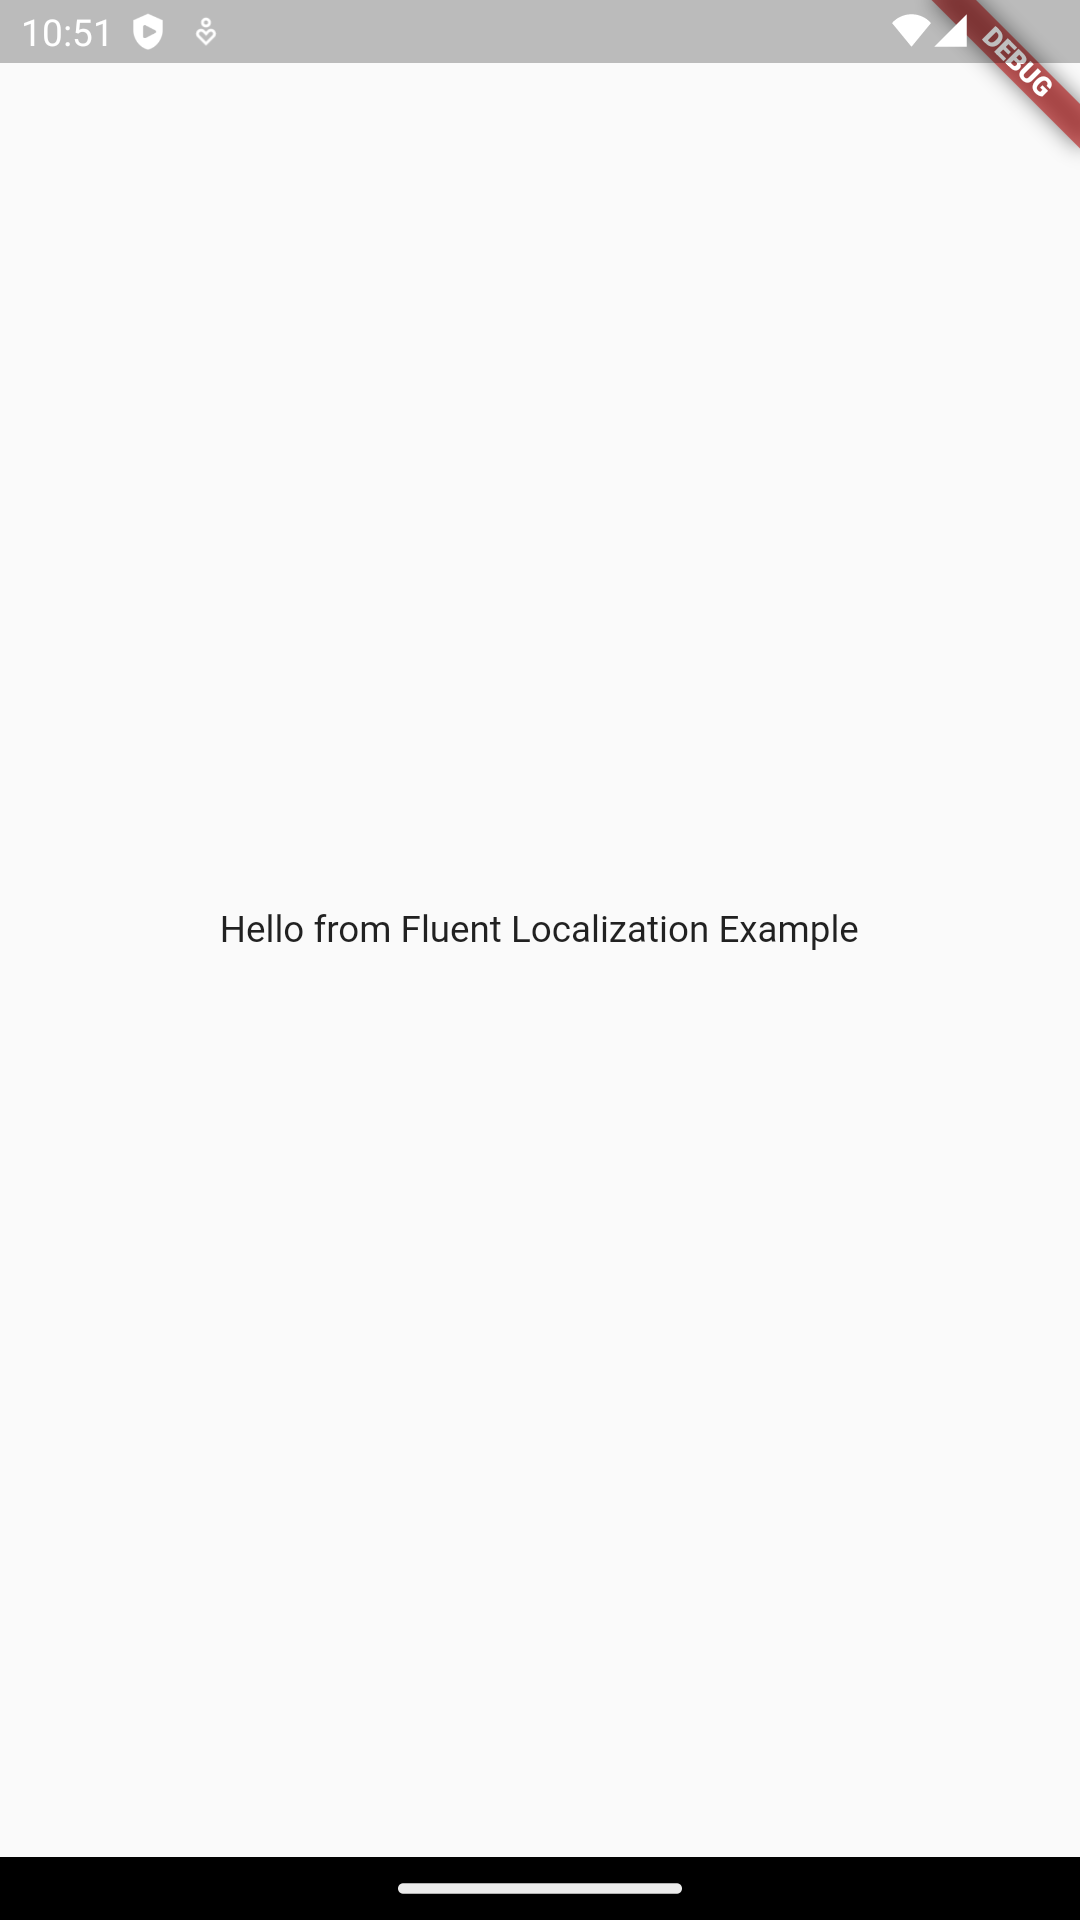
Flutter本地化管理插件fluent_localization的使用
Flutter本地化管理插件fluent_localization的使用
fluent_localization
fluent_localization 是一个允许你轻松快速地设置和使用翻译的插件。
获取开始
添加依赖项
在 pubspec.yaml 文件中添加以下依赖项:
dependencies:
  flutter:
    sdk: flutter
  fluent_localization: ^1.1.1
将语言文件夹添加到Flutter资源
在 pubspec.yaml 文件中添加以下配置:
flutter:
    assets:
        - "assets/languages/"
创建资源文件
在 assets/languages/ 目录下创建包含不同语言的 JSON 文件。例如:
assets/
    languages/
        en.json
        es.json
构建模块
在主函数中构建模块:
void main() async {
  await Fluent.build([
    LocalizationModule(),
  ]);
  runApp(App());
}
使用它
创建一个应用并使用本地化功能:
class App extends StatelessWidget {
    const App({super.key});

    [@override](/user/override)
    Widget build(BuildContext context) {
        // 定义支持的语言
        final locales = [
            Locale("es"),
            Locale("en"),
        ];
        // 获取本地化代理
        final delegates = Fluent.get<LocalizationApi>().getDelegates(locales);

        return MaterialApp(
            title: 'Fluent Localization Demo',
            localizationsDelegates: delegates,
            supportedLocales: locales,
            home: Scaffold(
                body: Builder(
                    builder: (context) {
                        // 获取翻译文本
                        final hello = context.tl('hello');
                        return Center(
                            child: Text(hello),
                        );
                    },
                ),
            ),
        );
    }
}
示例

示例代码
import 'package:fluent_localization/fluent_localization.dart';
import 'package:flutter/material.dart';

void main() async {
  await Fluent.build([
    LocalizationModule(),
  ]);
  runApp(MainApp(
    localizationApi: Fluent.get(),
  ));
}

class MainApp extends StatelessWidget {
  const MainApp({
    super.key,
    required this.localizationApi,
  });

  final LocalizationApi localizationApi;

  [@override](/user/override)
  Widget build(BuildContext context) {
    // 定义支持的语言
    final locales = [
      const Locale("es"),
      const Locale("en"),
    ];
    // 获取本地化代理
    final localizationDelegates = localizationApi.getDelegates(locales);

    return MaterialApp(
      localizationsDelegates: localizationDelegates,
      supportedLocales: locales,
      home: Scaffold(
        body: Builder(
          builder: (context) {
            // 获取翻译文本,并传入参数
            final hello = context.tl('hello', args: {
              "greetings": "Hi",
              "name": "Developer",
            });
            return Center(
              child: Text(hello),
            );
          },
        ),
      ),
    );
  }
}
更多关于Flutter本地化管理插件fluent_localization的使用的实战教程也可以访问 https://www.itying.com/category-92-b0.html
更多关于Flutter本地化管理插件fluent_localization的使用的实战系列教程也可以访问 https://www.itying.com/category-92-b0.html
当然,下面是一个关于如何在Flutter项目中使用fluent_localization插件进行本地化管理的代码示例。这个插件允许你通过.ftl(Fluent)文件来管理应用程序的本地化内容。
1. 添加依赖
首先,你需要在pubspec.yaml文件中添加fluent_localization的依赖:
dependencies:
  flutter:
    sdk: flutter
  fluent_localization: ^x.y.z  # 请使用最新版本号
然后运行flutter pub get来安装依赖。
2. 配置Fluent文件
创建一个assets/locales文件夹,并在其中添加你的.ftl文件。例如,创建两个文件:messages.en-US.ftl和messages.zh-CN.ftl。
messages.en-US.ftl
welcome-message = Welcome to our app!
goodbye-message = Goodbye!
messages.zh-CN.ftl
welcome-message = 欢迎来到我们的应用!
goodbye-message = 再见!
3. 设置Flutter项目
在你的Flutter项目的lib文件夹中,创建一个localization文件夹,并在其中创建一个fluent_localization_service.dart文件。
fluent_localization_service.dart
import 'package:flutter/material.dart';
import 'package:fluent_localization/fluent_localization.dart';

class FluentLocalizationService {
  static late FluentLocalization fluentLocalization;

  static Future<void> configure(BuildContext context) async {
    fluentLocalization = FluentLocalization(
      context: context,
      assetBundle: DefaultAssetBundle(Bundle()),
      fallbackLocale: Locale('en', 'US'),
      supportedLocales: [
        Locale('en', 'US'),
        Locale('zh', 'CN'),
      ],
      defaultLocale: Locale('en', 'US'),
    );

    // 监听语言变化
    fluentLocalization.addLocaleChangedListener((locale) {
      // 在这里处理语言变化后的逻辑,比如更新UI
      print("Locale changed to: ${locale.languageCode}-${locale.countryCode}");
    });

    await fluentLocalization.loadLocale(Locale('en', 'US'));
  }

  static String translate(String key) {
    return fluentLocalization.translate(key);
  }
}
4. 使用本地化服务
在你的主应用程序文件(例如main.dart)中,配置并使用FluentLocalizationService。
main.dart
import 'package:flutter/material.dart';
import 'package:your_app/localization/fluent_localization_service.dart';

void main() {
  runApp(MyApp());
}

class MyApp extends StatelessWidget {
  @override
  Widget build(BuildContext context) {
    return FutureBuilder<void>(
      future: FluentLocalizationService.configure(context),
      builder: (context, snapshot) {
        if (snapshot.connectionState == ConnectionState.waiting) {
          return Center(child: CircularProgressIndicator());
        }

        return MaterialApp(
          title: 'Flutter Demo',
          theme: ThemeData(
            primarySwatch: Colors.blue,
          ),
          locale: FluentLocalizationService.fluentLocalization.currentLocale,
          supportedLocales: FluentLocalizationService.fluentLocalization.supportedLocales,
          localizationsDelegates: [
            FluentLocalizationService.fluentLocalization.delegate,
            GlobalMaterialLocalizations.delegate,
            GlobalWidgetsLocalizations.delegate,
          ],
          home: MyHomePage(),
        );
      },
    );
  }
}

class MyHomePage extends StatelessWidget {
  @override
  Widget build(BuildContext context) {
    return Scaffold(
      appBar: AppBar(
        title: Text(FluentLocalizationService.translate('welcome-message')),
      ),
      body: Center(
        child: Column(
          mainAxisAlignment: MainAxisAlignment.center,
          children: <Widget>[
            Text(
              FluentLocalizationService.translate('welcome-message'),
              style: TextStyle(fontSize: 24),
            ),
            SizedBox(height: 20),
            ElevatedButton(
              onPressed: () {
                // 切换语言示例
                var currentLocale = Localizations.localeOf(context);
                var newLocale = currentLocale.languageCode == 'en'
                    ? Locale('zh', 'CN')
                    : Locale('en', 'US');
                FluentLocalizationService.fluentLocalization.loadLocale(newLocale);
              },
              child: Text(FluentLocalizationService.translate('goodbye-message')),
            ),
          ],
        ),
      ),
    );
  }
}
5. 运行项目
现在你可以运行你的Flutter项目,并通过点击按钮来切换语言,查看本地化内容的变化。
这个示例展示了如何使用fluent_localization插件进行基本的本地化管理和切换。你可以根据项目的需求进一步扩展和自定义。


