


Flutter浮动对话框插件floating_dialog的使用
Flutter浮动对话框插件floating_dialog的使用
请给这个仓库点一个星 ⭐ 如果你觉得这个脚本有用。
一个用于创建可拖动对话框的Flutter包,允许用户轻松地在屏幕上移动和与内容进行交互。
特性
- 简单且精简,你可以在几行代码内创建一个可拖动的对话框。
- 可自定义的对话框内容:用户可以向对话框添加任何类型的widget,以满足各种用例。
- 简单的API:该包提供了易于使用的API来创建和控制可拖动的对话框。
- 动画透明度:在拖动过程中,对话框的透明度可以通过动画形式变化,从而为用户提供视觉反馈。
安装
要使用此包,请在你的pubspec.yaml文件中添加floating_dialog作为依赖项。
dependencies:
  floating_dialog: <最新版本>
然后,在终端中运行flutter packages get。
使用
将包导入到你的Dart文件中:
import 'package:floating_dialog/floating_dialog.dart';
你可以将其放在Stack组件内部,并通过标志来显示或隐藏它,或者在showDialog()方法中使用它。
示例1:在Stack组件中创建Floating组件并使用布尔变量显示/隐藏
bool _showDialog = false;

[@override](/user/override)
Widget build(BuildContext context) {
  return Scaffold(
    appBar: AppBar(
      centerTitle: true,
      title: Text(widget.title),
    ),
    body: Stack(
      children: [
        Center(
          child: ElevatedButton(
            onPressed: () {
              setState(() {
                _showDialog = true;
              });
            },
            child: const Text('Show Dialog'),
          ),
        ),
        if (_showDialog)
          FloatingDialog(
            onDrag: (x, y) {
              print('x: $x, y: $y');
            },
            onClose: () {
              setState(() {
                _showDialog = false;
              });
            },
            child: const SizedBox(
              height: 200,
              width: 300,
              child: Align(
                alignment: Alignment.topCenter,
                child: Text('Dialog Title'),
              ),
            ),
          ),
      ],
    ),
  );
}
示例2:在showDialog()方法中创建Floating组件
[@override](/user/override)
Widget build(BuildContext context) {
return Scaffold(
appBar: AppBar(
centerTitle: true,
title: Text(widget.title),
),
body: Stack(
children: [
Center(
child: Row(
mainAxisAlignment: MainAxisAlignment.center,
children: [
ElevatedButton(
onPressed: () {
setState(() {
_showDialog = true;
});
},
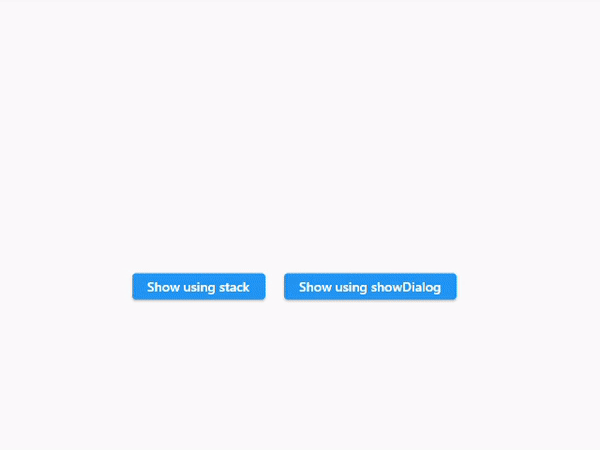
child: const Text('Show using stack'),
),
const SizedBox(width: 20),
ElevatedButton(
onPressed: () {
showDialog(
context: context,
builder: (context) {
return FloatingDialog(
onDrag: (x, y) {
if (kDebugMode) {
print('x: $x, y: $y');
}
},
onClose: () {
Navigator.of(context).pop();
},
child: const SizedBox(
height: 200,
width: 300,
child: Align(
alignment: Alignment.topCenter,
child: Text('Dialog Title'),
),
),
);
},
);
},
child: const Text('Show using showDialog'),
),
],
),
),
if (_showDialog)
FloatingDialog(
onDrag: (x, y) {
if (kDebugMode) {
print('x: $x, y: $y');
}
},
onClose: () {
setState(() {
_showDialog = false;
});
},
child: const SizedBox(
height: 200,
width: 300,
child: Align(
alignment: Alignment.topCenter,
child: Text('Dialog Title'),
),
),
),
],
),
);
}
更多关于Flutter浮动对话框插件floating_dialog的使用的实战教程也可以访问 https://www.itying.com/category-92-b0.html
1 回复

更多关于Flutter浮动对话框插件floating_dialog的使用的实战系列教程也可以访问 https://www.itying.com/category-92-b0.html
floating_dialog 是 Flutter 中的一个插件,用于创建浮动对话框。它可以用来显示一些临时的信息、提示或者用户交互的对话框。虽然 floating_dialog 并不是 Flutter 官方提供的插件,但它可以通过第三方库实现类似的功能。
以下是一个使用 floating_dialog 的简单示例,展示了如何创建一个浮动对话框并显示在屏幕上。
1. 添加依赖
首先,你需要在 pubspec.yaml 文件中添加 floating_dialog 插件的依赖:
dependencies:
  flutter:
    sdk: flutter
  floating_dialog: ^1.0.0  # 请确保使用最新版本
然后运行 flutter pub get 来安装依赖。
2. 使用 floating_dialog 插件
import 'package:flutter/material.dart';
import 'package:floating_dialog/floating_dialog.dart';

void main() {
  runApp(MyApp());
}

class MyApp extends StatelessWidget {
  [@override](/user/override)
  Widget build(BuildContext context) {
    return MaterialApp(
      home: FloatingDialogExample(),
    );
  }
}

class FloatingDialogExample extends StatelessWidget {
  void _showFloatingDialog(BuildContext context) {
    showDialog(
      context: context,
      builder: (BuildContext context) {
        return FloatingDialog(
          child: Container(
            padding: EdgeInsets.all(20),
            decoration: BoxDecoration(
              color: Colors.white,
              borderRadius: BorderRadius.circular(10),
            ),
            child: Column(
              mainAxisSize: MainAxisSize.min,
              children: [
                Text(
                  'This is a Floating Dialog',
                  style: TextStyle(fontSize: 18, fontWeight: FontWeight.bold),
                ),
                SizedBox(height: 20),
                Text('You can add any content here.'),
                SizedBox(height: 20),
                ElevatedButton(
                  onPressed: () {
                    Navigator.of(context).pop(); // 关闭对话框
                  },
                  child: Text('Close'),
                ),
              ],
            ),
          ),
        );
      },
    );
  }

  [@override](/user/override)
  Widget build(BuildContext context) {
    return Scaffold(
      appBar: AppBar(
        title: Text('Floating Dialog Example'),
      ),
      body: Center(
        child: ElevatedButton(
          onPressed: () => _showFloatingDialog(context),
          child: Text('Show Floating Dialog'),
        ),
      ),
    );
  }
}