


Flutter对话框插件a_dialog的使用
Flutter对话框插件a_dialog的使用
开始使用
首先,在你的项目中添加该库作为依赖项。
dependencies:
  a_dialog: <最新版本>
运行以下命令以获取依赖项:
$ flutter pub get
在 Dart 代码中导入它,你可以使用:
import 'package:a_dialog/enums/enums.dart';
import 'package:a_dialog/utils/a_dialog_controller.dart';
要显示警告对话框,请使用 ADialog.show() 并定义对话框的类型。
视频展示
以下是 <strong>ADialog</strong> 对话框的一些截图。
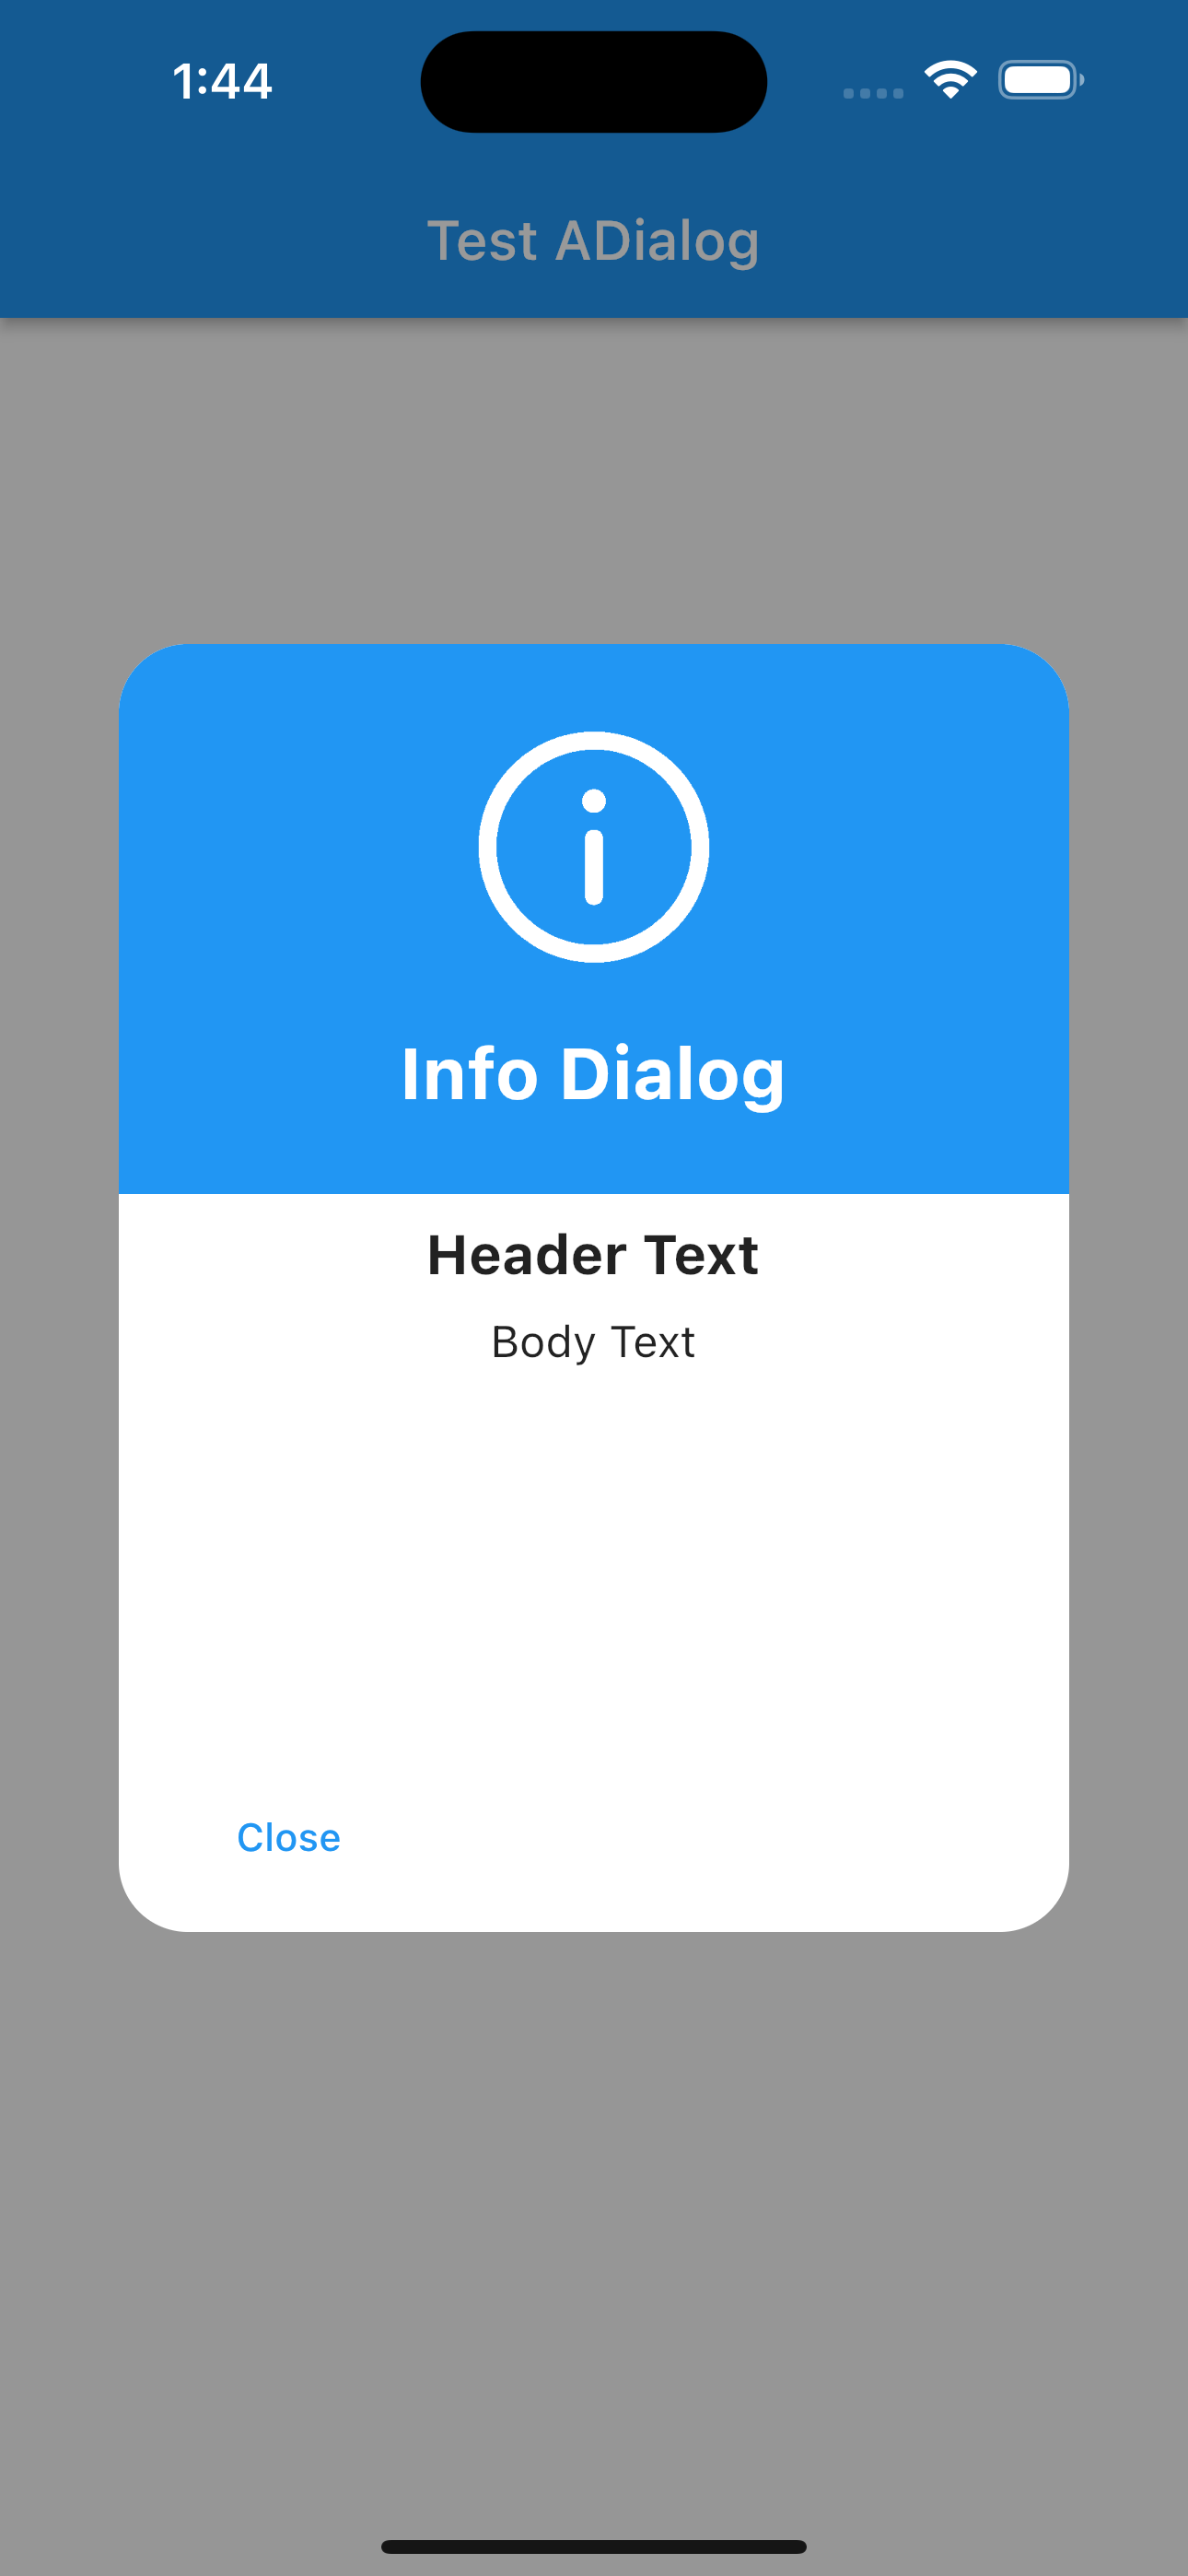
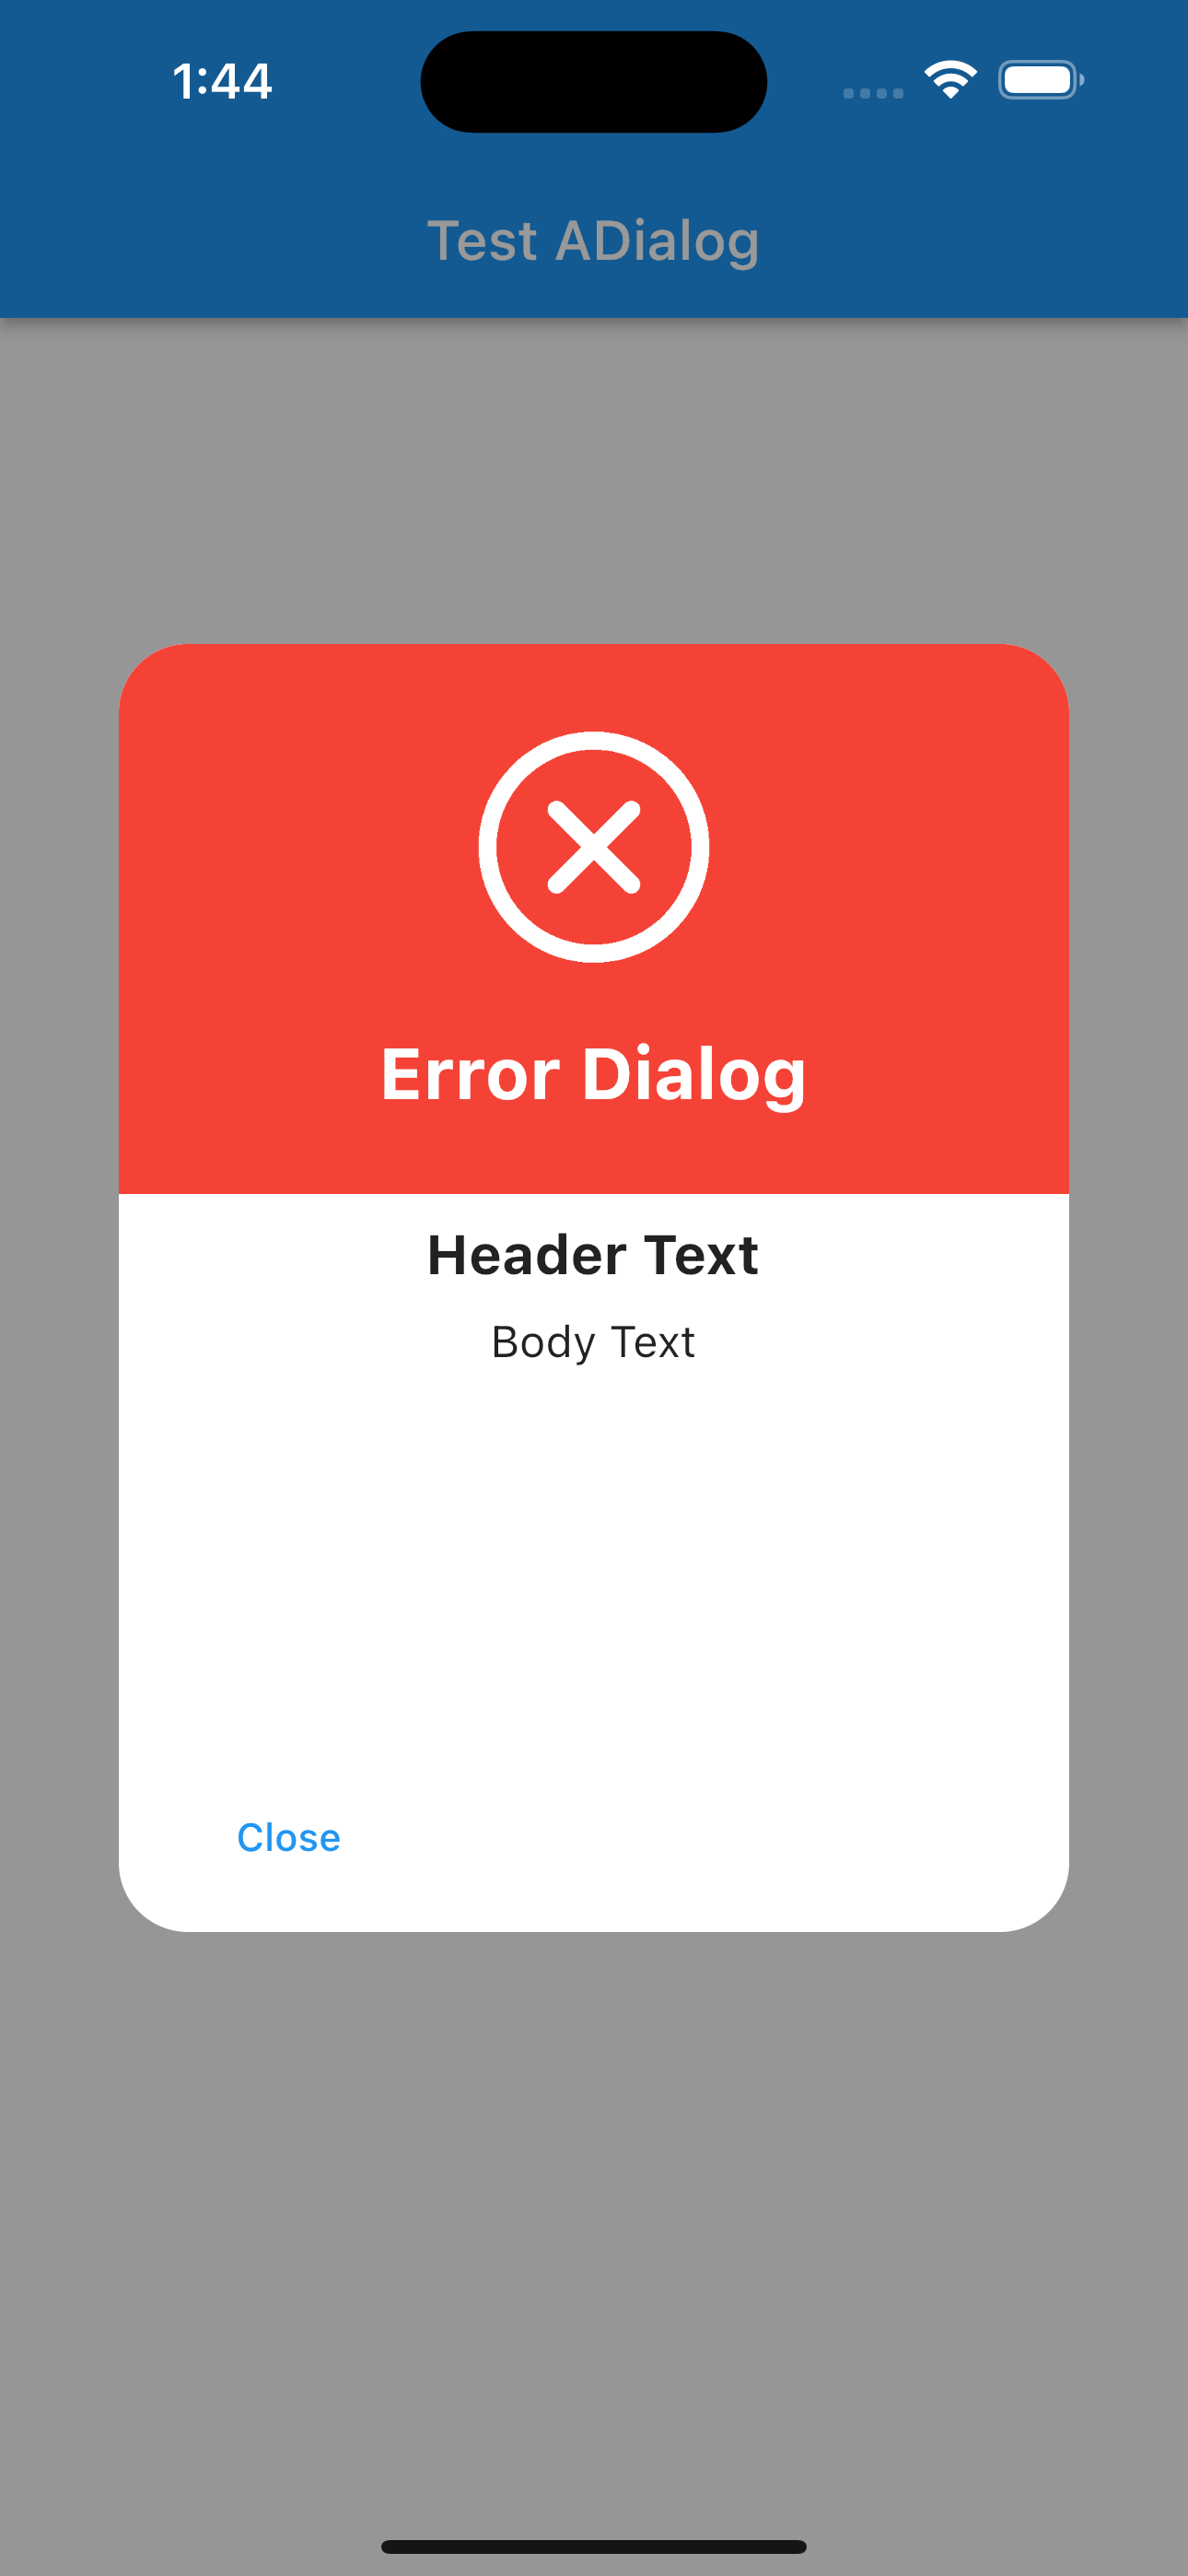


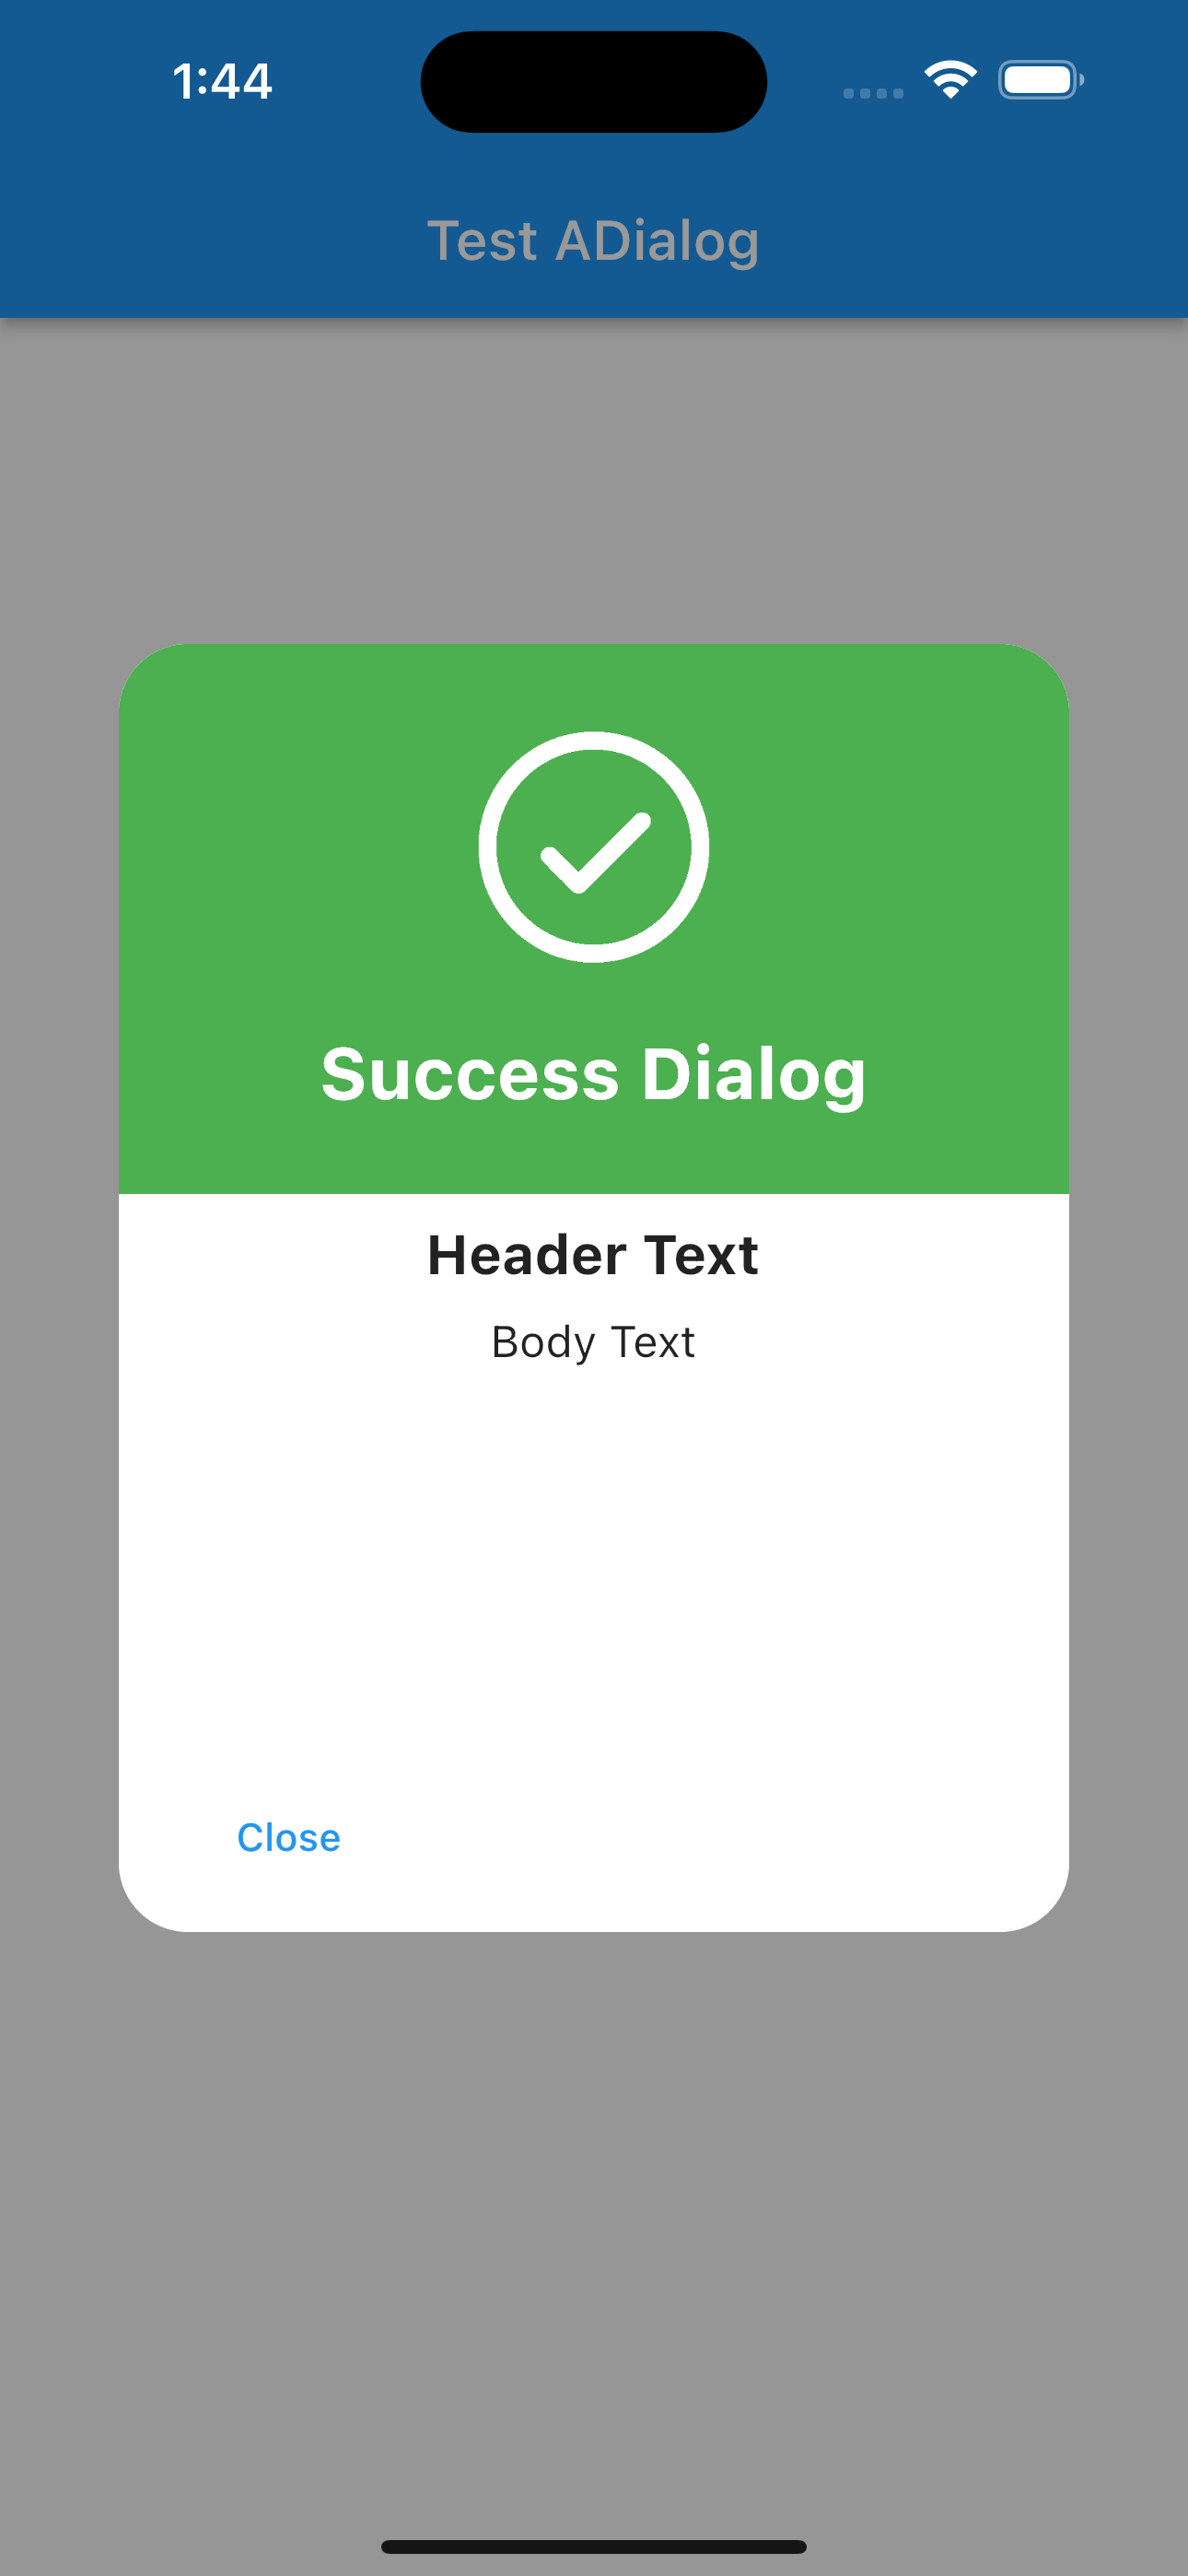
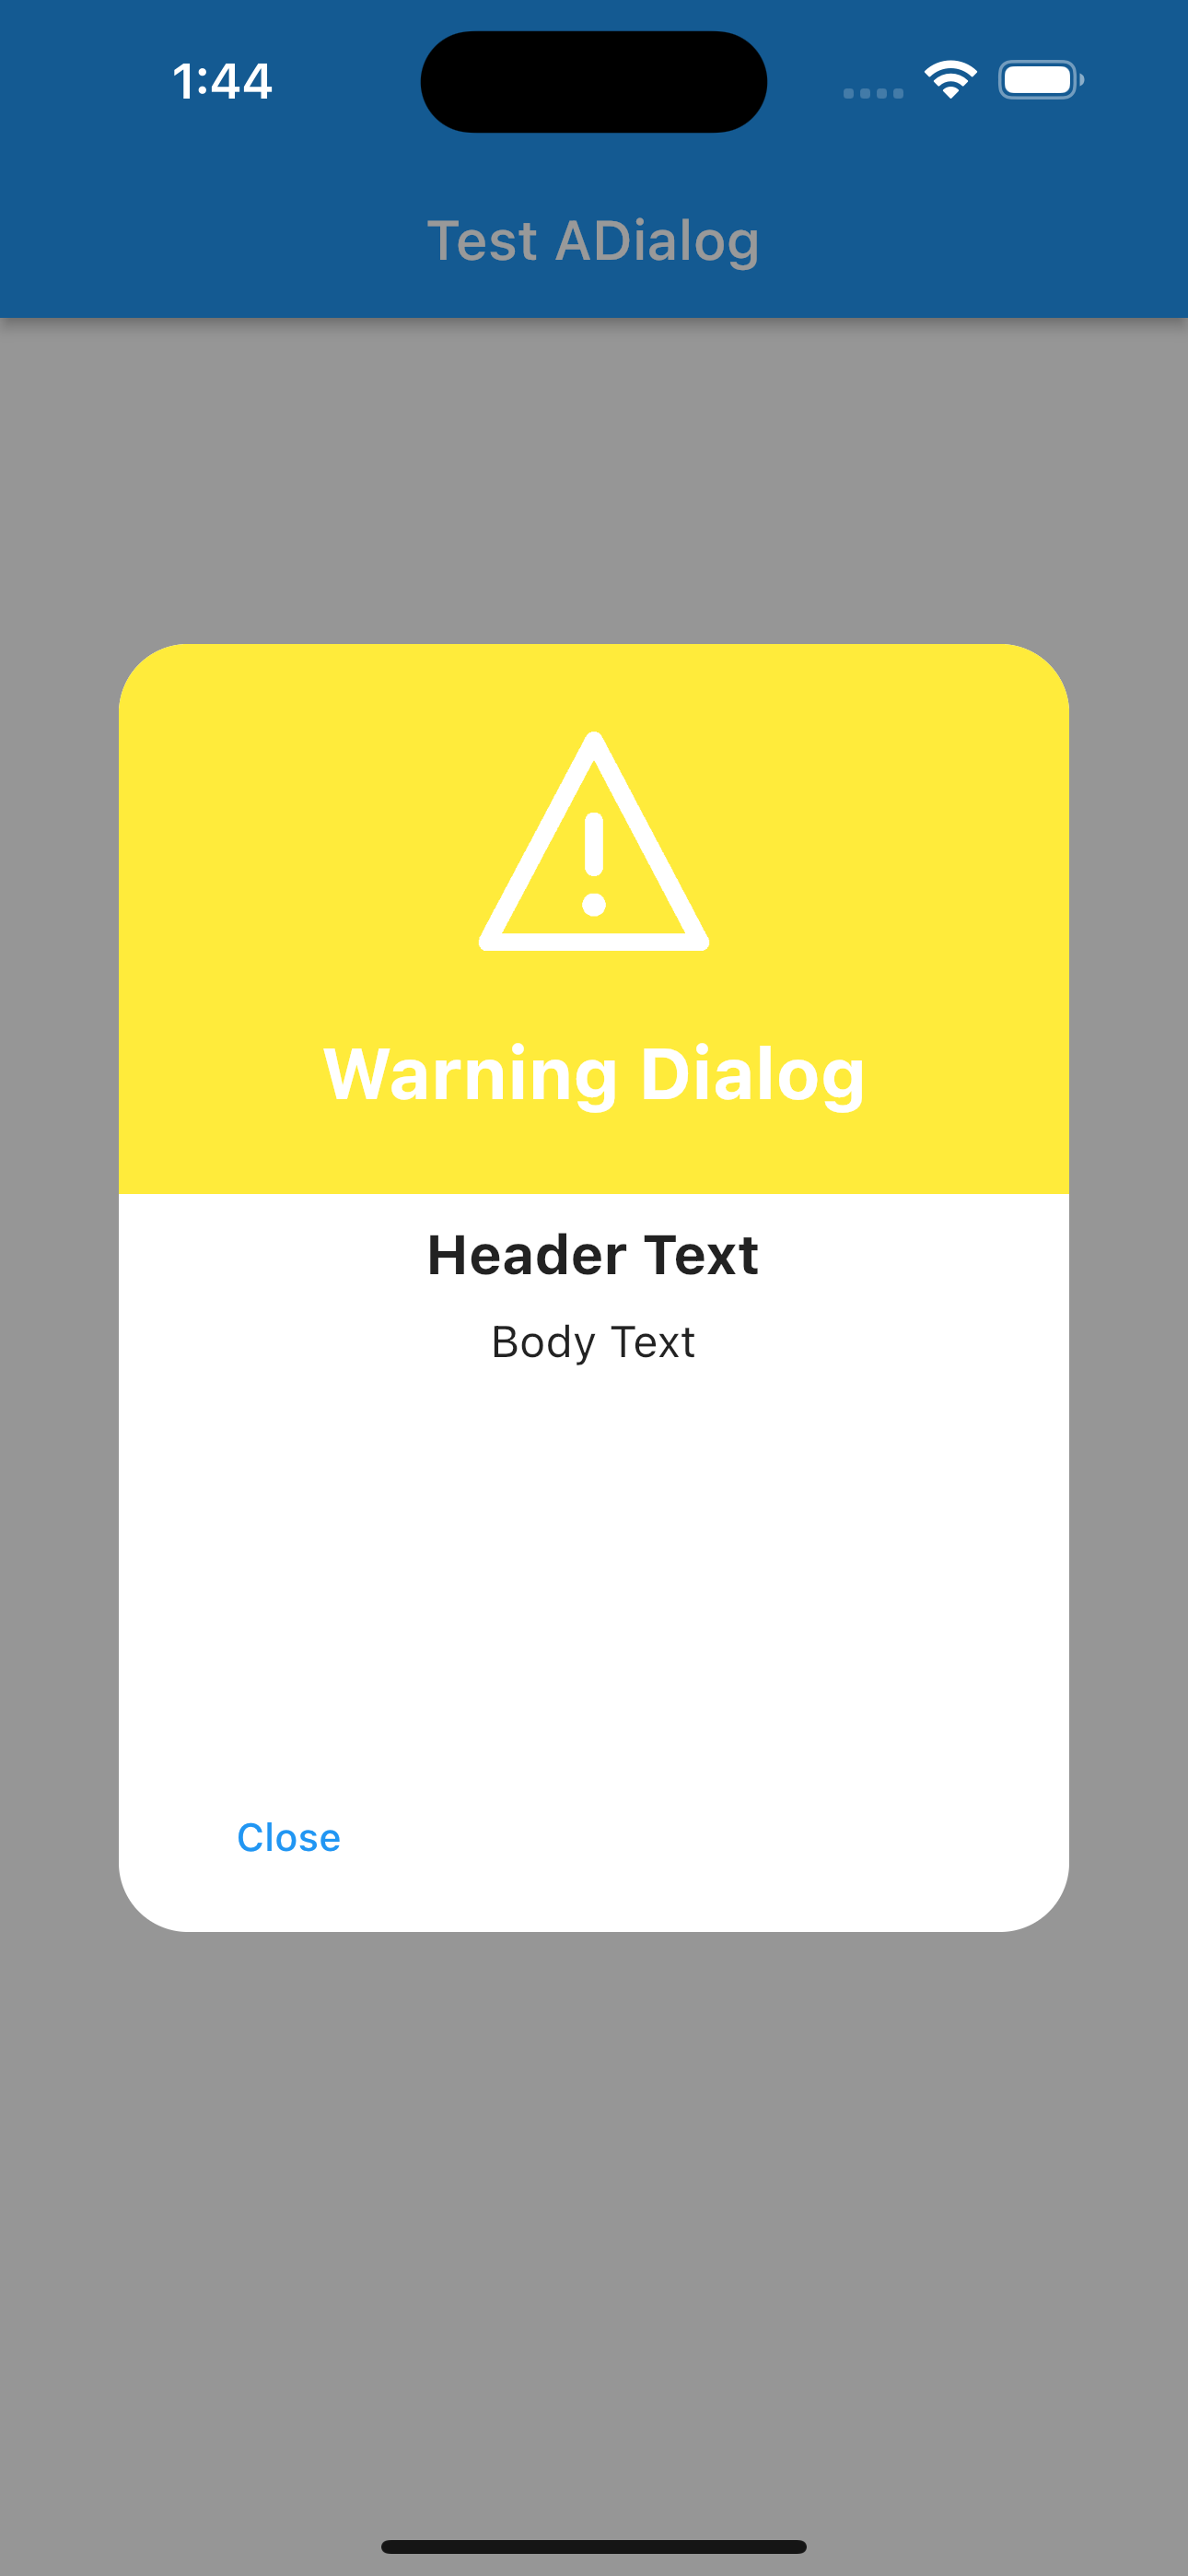
<em>ADialog</em> 是一个即时可用且功能齐全的警报库,适用于任何平台上的 Flutter 开发。它可以让你快速完成项目并部署。使用 <strong>ADialog</strong>,你可以显示动画警报对话框,如成功、错误、警告、通知、加载或自定义对话框。
关键特性
易于使用
说明:这些警报非常灵活且可以轻松定制。在 ADialog 中,ADialog.show() 方法会触发警报,用于告知用户需要确认的情况。
预定义的漂亮警报样式
说明:利用预定义的警报,它们非常美观且可以轻松定制。在 ADialog 中有 6 种不同类型的警报,分别是成功、错误、警告、信息、通知和加载。
预定义的标题和动作
说明:在 ADialog 中,所有 6 种不同类型的警报都有预定义的标题和动作,这些匹配警报类型。你也可以根据需要编辑和自定义它们。
超级可定制
说明:使用 ADialog 的力量,你可以用 Flutter 小部件构建自定义警报。
更改动画
说明:通过选择从缩放、旋转、上到下、下到上、左到右、右到左中的一种动画来设置你喜欢的动画。
设置覆盖层点击以关闭
说明:通过设置 barrierDismissible 为 true 或 false 来控制警报的屏障可取消属性。
更多功能…
ADialog Demo
ADialog.show(
    context,
    DialogType.success,
    animationType: AnimationType.rotate,
); // 这就是显示警报的方法,使用其他属性进行自定义。
示例
在 <code>example</code> 文件夹中有一个详细的示例项目。你可以直接运行并玩一玩。下面是示例项目中的代码片段。
成功
ADialog.show(
      context,
      DialogType.success,
      animationType: AnimationType.rotate,
);
错误
ADialog.show(
      context,
      DialogType.error,
      animationType: AnimationType.rightToLeft,
);
警告
ADialog.show(
      context,
      DialogType.warning,
      animationType: AnimationType.downToUp,
);
信息
ADialog.show(
      context,
      DialogType.info,
      animationType: AnimationType.leftToRight,
);
通知
ADialog.show(
      context,
      DialogType.notify,
      animationType: AnimationType.upToDown,
);
加载
ADialog.show(
      context,
      DialogType.loading,
      animationType: AnimationType.scale,
);
自定义
ADialog.show(
      context,
      DialogType.custom,
      animationType: AnimationType.leftToRight,
      customDialog: const Center(
      child: Text('Hi I am a custom Dialog'),
      ),
);
完整示例代码
以下是完整的示例代码,展示了如何在应用中使用 ADialog 插件。
import 'package:a_dialog/enums/enums.dart';
import 'package:a_dialog/utils/a_dialog_controller.dart';
import 'package:flutter/material.dart';

void main() {
  runApp(MyApp());
}

class MyApp extends StatelessWidget {
  [@override](/user/override)
  Widget build(BuildContext context) {
    return MaterialApp(
      debugShowCheckedModeBanner: false,
      title: "Test",
      home: TestPage(),
    );
  }
}

class TestPage extends StatelessWidget {
  const TestPage({Key? key}) : super(key: key);

  [@override](/user/override)
  Widget build(BuildContext context) {
    return Scaffold(
      appBar: AppBar(title: const Text("Test ADialog")),
      body: Column(
        mainAxisAlignment: MainAxisAlignment.center,
        children: [
          Center(
            child: ElevatedButton(
              onPressed: () {
                ADialog.show(
                  context,
                  DialogType.loading,
                  animationType: AnimationType.scale,
                );
              },
              child: const Text("Loading Dialog"),
            ),
          ),
          Center(
            child: ElevatedButton(
              onPressed: () {
                ADialog.show(
                  context,
                  DialogType.success,
                  animationType: AnimationType.rotate,
                );
              },
              child: const Text("Success Dialog"),
            ),
          ),
          Center(
            child: ElevatedButton(
              onPressed: () {
                ADialog.show(
                  context,
                  DialogType.notify,
                  animationType: AnimationType.upToDown,
                );
              },
              child: const Text("Notify Dialog"),
            ),
          ),
          Center(
            child: ElevatedButton(
              onPressed: () {
                ADialog.show(
                  context,
                  DialogType.warning,
                  animationType: AnimationType.downToUp,
                );
              },
              child: const Text("Warning Dialog"),
            ),
          ),
          Center(
            child: ElevatedButton(
              onPressed: () {
                ADialog.show(
                  context,
                  DialogType.info,
                  animationType: AnimationType.leftToRight,
                );
              },
              child: const Text("Info Dialog"),
            ),
          ),
          Center(
            child: ElevatedButton(
              onPressed: () {
                ADialog.show(
                  context,
                  DialogType.error,
                  animationType: AnimationType.rightToLeft,
                );
              },
              child: const Text("Error Dialog"),
            ),
          ),
          Center(
            child: ElevatedButton(
              onPressed: () {
                ADialog.show(
                  context,
                  DialogType.custom,
                  animationType: AnimationType.leftToRight,
                  customDialog: const Center(
                    child: Text('Hi I am a custom Dialog'),
                  ),
                );
              },
              child: const Text("Custom Dialog"),
            ),
          ),
        ],
      ),
    );
  }
}
更多关于Flutter对话框插件a_dialog的使用的实战教程也可以访问 https://www.itying.com/category-92-b0.html

更多关于Flutter对话框插件a_dialog的使用的实战系列教程也可以访问 https://www.itying.com/category-92-b0.html
a_dialog 是一个用于简化 Flutter 中对话框管理的插件。它提供了一个简单易用的 API,帮助开发者快速创建和显示不同类型的对话框。以下是如何使用 a_dialog 插件的基本步骤:
1. 添加依赖
首先,你需要在 pubspec.yaml 文件中添加 a_dialog 插件的依赖:
dependencies:
  flutter:
    sdk: flutter
  a_dialog: ^1.0.0  # 请检查最新版本
然后运行 flutter pub get 来安装依赖。
2. 导入包
在你的 Dart 文件中导入 a_dialog 包:
import 'package:a_dialog/a_dialog.dart';
3. 使用 ADialog 类
ADialog 类提供了多种方法来显示不同类型的对话框。以下是一些常见的用法示例:
显示一个简单的 AlertDialog
ADialog().showAlertDialog(
  context: context,
  title: '提示',
  content: '这是一个简单的提示框',
);
显示一个带有确定和取消按钮的 AlertDialog
ADialog().showConfirmDialog(
  context: context,
  title: '确认',
  content: '你确定要执行此操作吗?',
  onConfirm: () {
    print('确定');
  },
  onCancel: () {
    print('取消');
  },
);
显示一个带输入框的对话框
ADialog().showInputDialog(
  context: context,
  title: '输入',
  hint: '请输入内容',
  onConfirm: (input) {
    print('输入的内容: $input');
  },
);
显示一个底部对话框
ADialog().showBottomDialog(
  context: context,
  child: Container(
    height: 300,
    child: Center(
      child: Text('这是一个底部对话框'),
    ),
  ),
);
显示一个带有自定义内容的对话框
ADialog().showCustomDialog(
  context: context,
  child: Container(
    width: 200,
    height: 200,
    color: Colors.white,
    child: Center(
      child: Text('自定义对话框内容'),
    ),
  ),
);
4. 自定义对话框样式
a_dialog 允许你通过传递自定义的 Widget 来完全控制对话框的外观和布局。
5. 其他功能
a_dialog 还提供了其他一些功能,例如:
showLoadingDialog: 显示一个加载中的对话框。dismissAll: 关闭所有当前显示的对话框。
示例代码
以下是一个完整的示例,展示如何使用 a_dialog 插件:
import 'package:flutter/material.dart';
import 'package:a_dialog/a_dialog.dart';

void main() => runApp(MyApp());

class MyApp extends StatelessWidget {
  [@override](/user/override)
  Widget build(BuildContext context) {
    return MaterialApp(
      home: HomePage(),
    );
  }
}

class HomePage extends StatelessWidget {
  [@override](/user/override)
  Widget build(BuildContext context) {
    return Scaffold(
      appBar: AppBar(
        title: Text('a_dialog 示例'),
      ),
      body: Center(
        child: Column(
          mainAxisAlignment: MainAxisAlignment.center,
          children: <Widget>[
            ElevatedButton(
              onPressed: () {
                ADialog().showAlertDialog(
                  context: context,
                  title: '提示',
                  content: '这是一个简单的提示框',
                );
              },
              child: Text('显示提示框'),
            ),
            ElevatedButton(
              onPressed: () {
                ADialog().showConfirmDialog(
                  context: context,
                  title: '确认',
                  content: '你确定要执行此操作吗?',
                  onConfirm: () {
                    print('确定');
                  },
                  onCancel: () {
                    print('取消');
                  },
                );
              },
              child: Text('显示确认框'),
            ),
            ElevatedButton(
              onPressed: () {
                ADialog().showInputDialog(
                  context: context,
                  title: '输入',
                  hint: '请输入内容',
                  onConfirm: (input) {
                    print('输入的内容: $input');
                  },
                );
              },
              child: Text('显示输入框'),
            ),
          ],
        ),
      ),
    );
  }
}