


Flutter快速编码辅助插件fast_code的使用
Flutter快速编码辅助插件fast_code的使用
快速预览

快速开始
要使用fast_code包,请遵循以下步骤:
1. 安装依赖项
在pubspec.yaml文件中添加以下依赖项:
dependencies:
  fast_code: latest_version
  flutter_easyloading: latest_version
2. 导入必要的库
在你的Dart文件中导入以下库:
import 'package:fast_code/fast_code.dart';
import 'package:flutter/cupertino.dart';
import 'package:flutter/material.dart';
import 'dart:async';
import 'package:flutter_easyloading/flutter_easyloading.dart';
3. 初始化EasyLoading
在应用启动时初始化EasyLoading:
void main() {
  runApp(MaterialApp(
    home: MyApp(),
    builder: EasyLoading.init(),
  ));
}
功能介绍
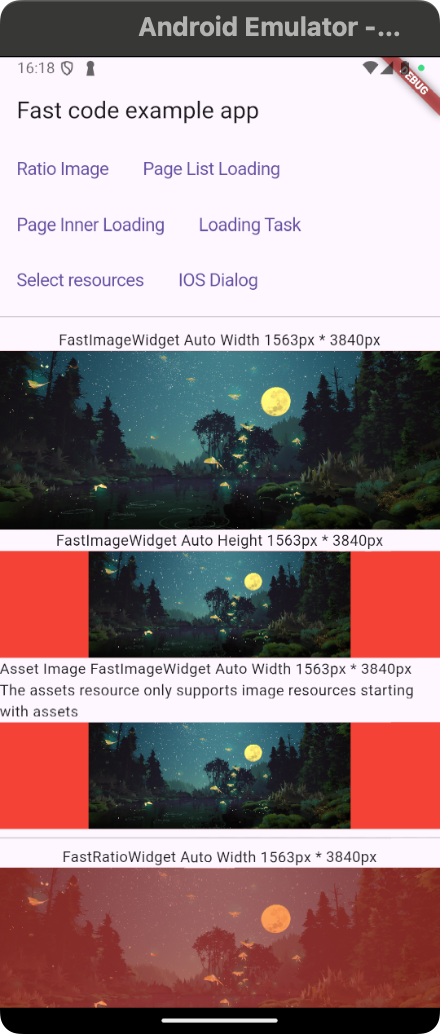
1. 比例图像显示
你可以使用FastImageWidget和FastRatioWidget轻松显示基于比例的图像。这些小部件会根据提供的宽高比自动调整图像尺寸。
使用方法:
FastImageWidget(
  imageUrl: 'https://qifenpro.github.io/test1.jpg',
  width: MediaQuery.of(context).size.width,
  ratio: 3840 / 1563,
)
或者:
FastRatioWidget(
  child: Image.network('https://qifenpro.github.io/test1.jpg'),
  width: MediaQuery.of(context).size.width,
  ratio: 3840 / 1563,
)
2. 加载页面和任务
你可以使用fast_code显示加载状态,无论是针对某个任务还是整个页面列表。
示例:加载任务
CupertinoButton(
  child: Text('Loading Task'),
  onPressed: () async {
    var result = await FastUi.loadingTask(
      task: () async {
        await Future.delayed(Duration(seconds: 2));
        return 'Task completed!';
      },
    );
    fastPrint('result: $result');
  },
)
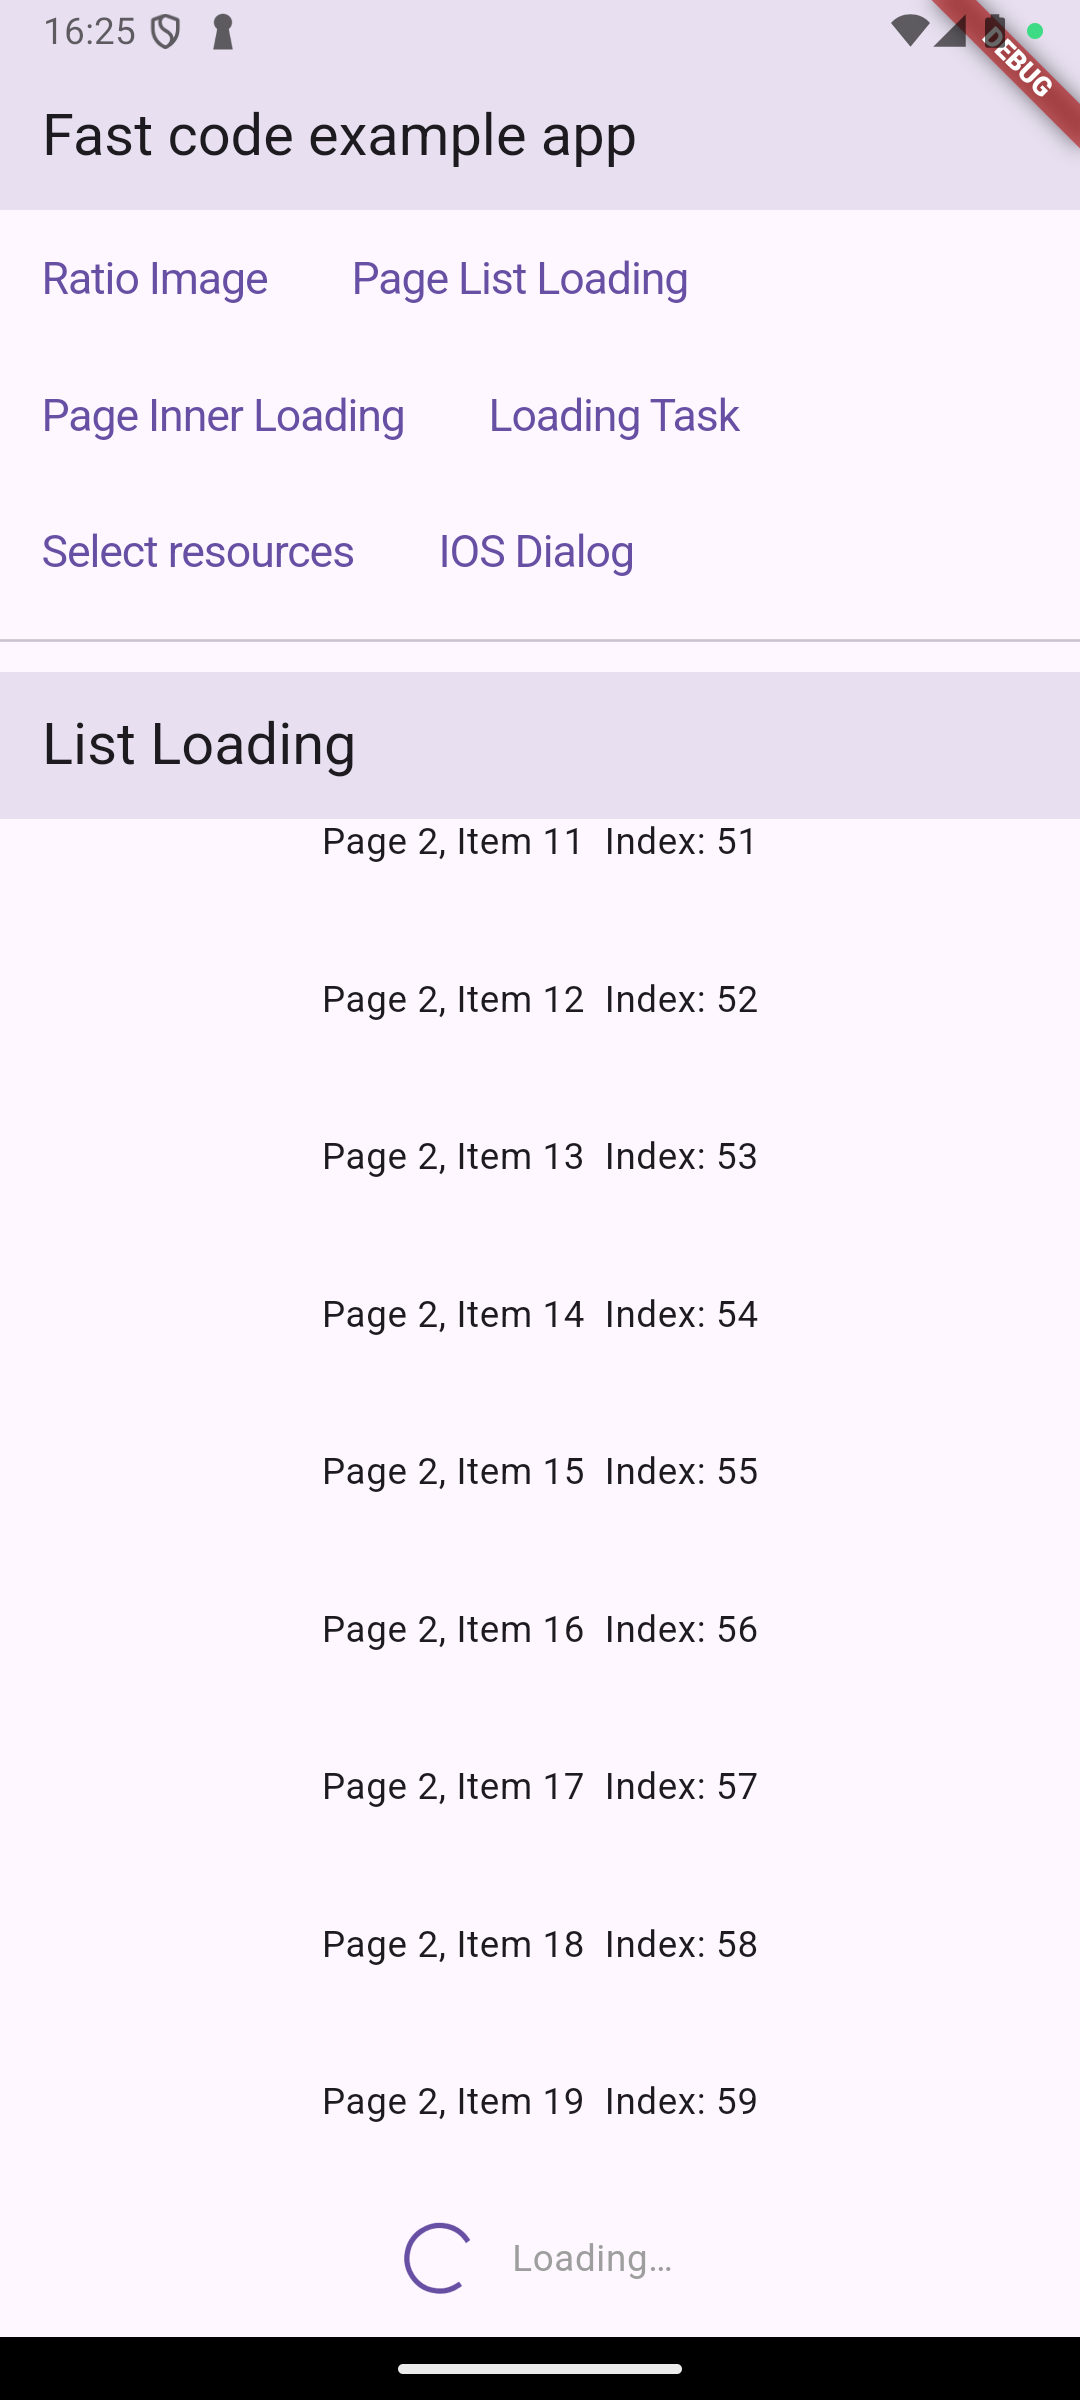
3. 页面列表加载
对于正在加载数据时显示带有加载指示器的列表,可以使用FastPageMixin和FastRefreshWidget。
示例:
FastRefreshWidget(
  onRefresh: refresh,
  child: isNormal
      ? ListView.builder(
          itemCount: data.length,
          itemBuilder: (context, index) {
            return Container(
              alignment: Alignment.center,
              child: Text('${data[index]}  Index: $index'),
              height: 60,
            );
          },
        )
      : otherWidget,
)
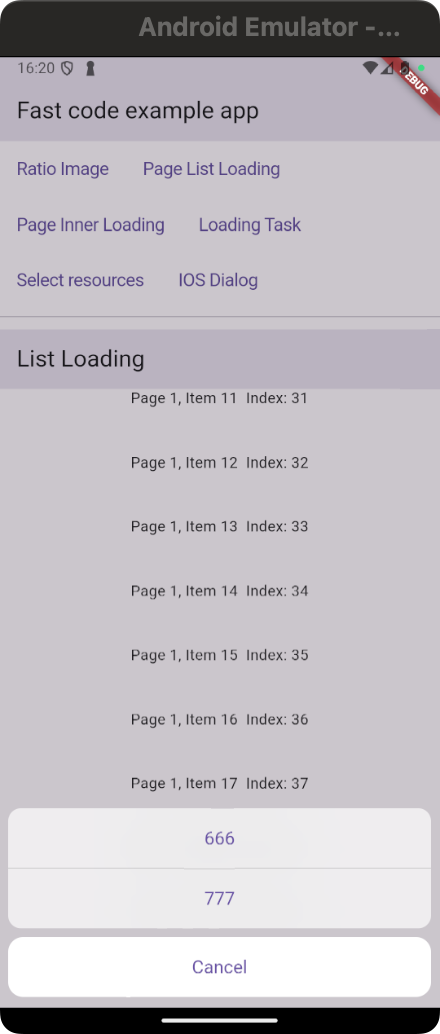
4. iOS风格对话框
你可以使用FastUi.showIosDialog函数来显示具有自定义按钮和动作的iOS风格对话框。
示例:
CupertinoButton(
  child: Text('IOS Dialog'),
  onPressed: () async {
    var result = await FastUi.showIosDialog<String>(
      context,
      textClick: [
        TextClick(
          text: 'Option 1',
          tap: () async {
            await fastPrint('Option 1 clicked');
            return 'Option 1';
          },
        ),
        TextClick(
          text: 'Option 2',
          tap: () async {
            await fastPrint('Option 2 clicked');
            return 'Option 2';
          },
        ),
      ],
    );
    fastPrint('result: $result');
  },
)
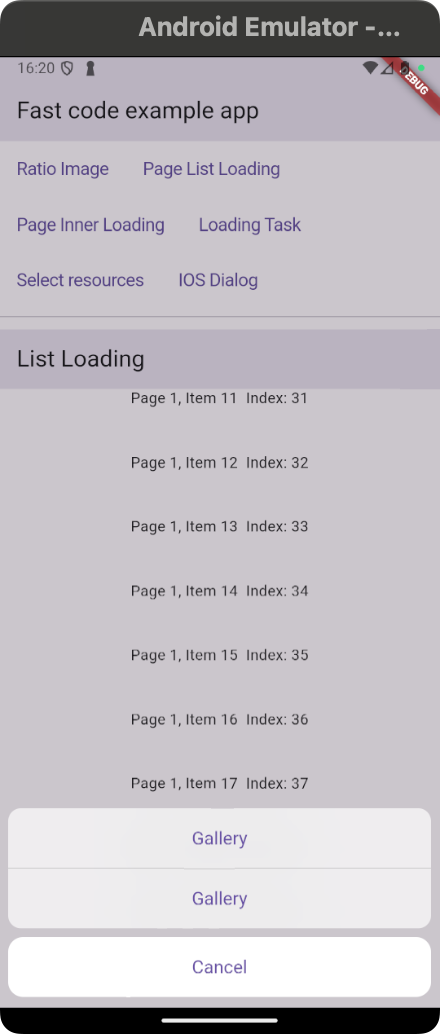
5. 选择媒体资源
你可以允许用户从设备图库中选择图片或视频。你可以使用FastUtils.pickMedias函数。
示例:
CupertinoButton(
  child: Text('Select resources'),
  onPressed: () async {
    var result = await FastUtils.pickMedias(
      context: context,
      maxImages: 9,
      from: MediaFrom.gallery,
    );
    fastPrint('result: ${result.length}');
  },
)
结论
本应用提供了使用fast_code包创建高性能、响应式和可定制UI元素的各种示例。有关更多详细信息和高级用法,请参阅官方包文档。
其他资源
示例代码
import 'package:fast_code/fast_code.dart';
import 'package:flutter/cupertino.dart';
import 'package:flutter/material.dart';
import 'dart:async';
import 'package:flutter_easyloading/flutter_easyloading.dart';
void main() {
try {
FastCode().init(FastConfig(
emptyWidget: Text('data111'),
));
} catch (e) {
print('$e');
}
runApp(MaterialApp(
home: MyApp(),
builder: EasyLoading.init(),
));
}
class MyApp extends StatefulWidget {
const MyApp({super.key});
[@override](/user/override)
State<MyApp> createState() => _MyAppState();
}
enum ClickType {
pageLoading,
loadingPage,
image,
}
class _MyAppState extends State<MyApp> {
[@override](/user/override)
void initState() {
super.initState();
}
ClickType type = ClickType.image;
[@override](/user/override)
Widget build(BuildContext context) {
return Scaffold(
appBar: AppBar(
title: const Text('Fast code example app'),
),
body: Column(
children: [
Wrap(
children: [
SizedBox(
height: 20,
),
CupertinoButton(
child: Text('Ratio Image'),
onPressed: () {
setState(() {
type = ClickType.image;
});
},
),
SizedBox(
height: 20,
),
CupertinoButton(
child: Text('Page List Loading'),
onPressed: () {
setState(() {
type = ClickType.pageLoading;
});
},
),
SizedBox(
height: 20,
),
CupertinoButton(
child: Text('Page Inner Loading'),
onPressed: () {
setState(() {
type = ClickType.loadingPage;
});
},
),
SizedBox(
height: 20,
),
CupertinoButton(
child: Text('Loading Task'),
onPressed: () async {
var result = await FastUi.loadingTask(
task: () async {
await Future.delayed(Duration(seconds: 2));
return 'Task completed!';
},
);
fastPrint('result: $result');
},
),
SizedBox(
height: 20,
),
CupertinoButton(
child: Text('Select resources'),
onPressed: () async {
var result = await FastUtils.pickMedias(
context: context,
maxImages: 9,
// from: MediaFrom.gallery,
);
fastPrint('result: ${result.length}');
},
),
SizedBox(
height: 20,
),
CupertinoButton(
child: Text('IOS Dialog'),
onPressed: () async {
var result =
await FastUi.showIosDialog<String>(context, textClick: [
TextClick(
text: '666',
tap: () async {
Future.delayed(Duration(seconds: 2));
await fastPrint('666 clicked');
return '666';
},
),
TextClick(
text: '777',
tap: () async {
Future.delayed(Duration(seconds: 2));
await fastPrint('777 clicked');
return '777';
},
),
]);
fastPrint('result: ${result}');
},
),
Divider(),
SizedBox(
height: 20,
),
],
),
Expanded(
child: type == ClickType.loadingPage
? LoadingPage()
: type == ClickType.pageLoading
? PageListLoadingPage()
: _image(),
)
],
),
);
}
_image() {
return SingleChildScrollView(
child: Column(
mainAxisSize: MainAxisSize.min,
children: [
Text('FastImageWidget Auto Width 1563px * 3840px'),
Container(
color: Colors.red,
width: MediaQuery.of(context).size.width,
child: FastImageWidget(
imageUrl: 'https://qifenpro.github.io/test1.jpg',
width: MediaQuery.of(context).size.width,
ratio: 3840 / 1563,
stackBuilder: (width, height) {
return Stack(
children: [
Container(
width: width / 2,
height: height / 2,
color: Colors.green,
),
],
);
},
),
),
Text('FastImageWidget Auto Height 1563px * 3840px'),
Container(
color: Colors.red,
width: MediaQuery.of(context).size.width,
height: 100,
child: FastImageWidget(
imageUrl: 'https://qifenpro.github.io/test1.jpg',
height: 100,
ratio: 1563 / 3840,
),
),
Text(
'Asset Image FastImageWidget Auto Width 1563px * 3840px\nThe assets resource only supports image resources starting with assets'),
Container(
color: Colors.red,
width: MediaQuery.of(context).size.width,
height: 100,
child: FastImageWidget(
imageUrl: 'assets/test1.jpg',
height: 100,
ratio: 1563 / 3840,
),
),
Divider(),
Text('FastRatioWidget Auto Width 1563px * 3840px'),
Container(
color: Colors.red,
width: MediaQuery.of(context).size.width,
child: FastRatioWidget(
child: Opacity(
opacity: 0.5,
child: Image.network('https://qifenpro.github.io/test1.jpg')),
width: MediaQuery.of(context).size.width,
ratio: 3840 / 1563,
),
),
Text('FastRatioWidget Auto Height 1563px * 3840px'),
Container(
color: Colors.red,
width: MediaQuery.of(context).size.width,
height: 100,
child: FastRatioWidget(
child: Opacity(
opacity: 0.5,
child: Image.network('https://qifenpro.github.io/test1.jpg')),
height: 100,
ratio: 1563 / 3840,
),
),
],
),
);
}
}
class LoadingPage extends StatefulWidget {
const LoadingPage({super.key});
[@override](/user/override)
State<LoadingPage> createState() => _LoadingPageState();
}
class _LoadingPageState extends State<LoadingPage> with FastStatusMixin {
[@override](/user/override)
Widget build(BuildContext context) {
return Scaffold(
appBar: AppBar(
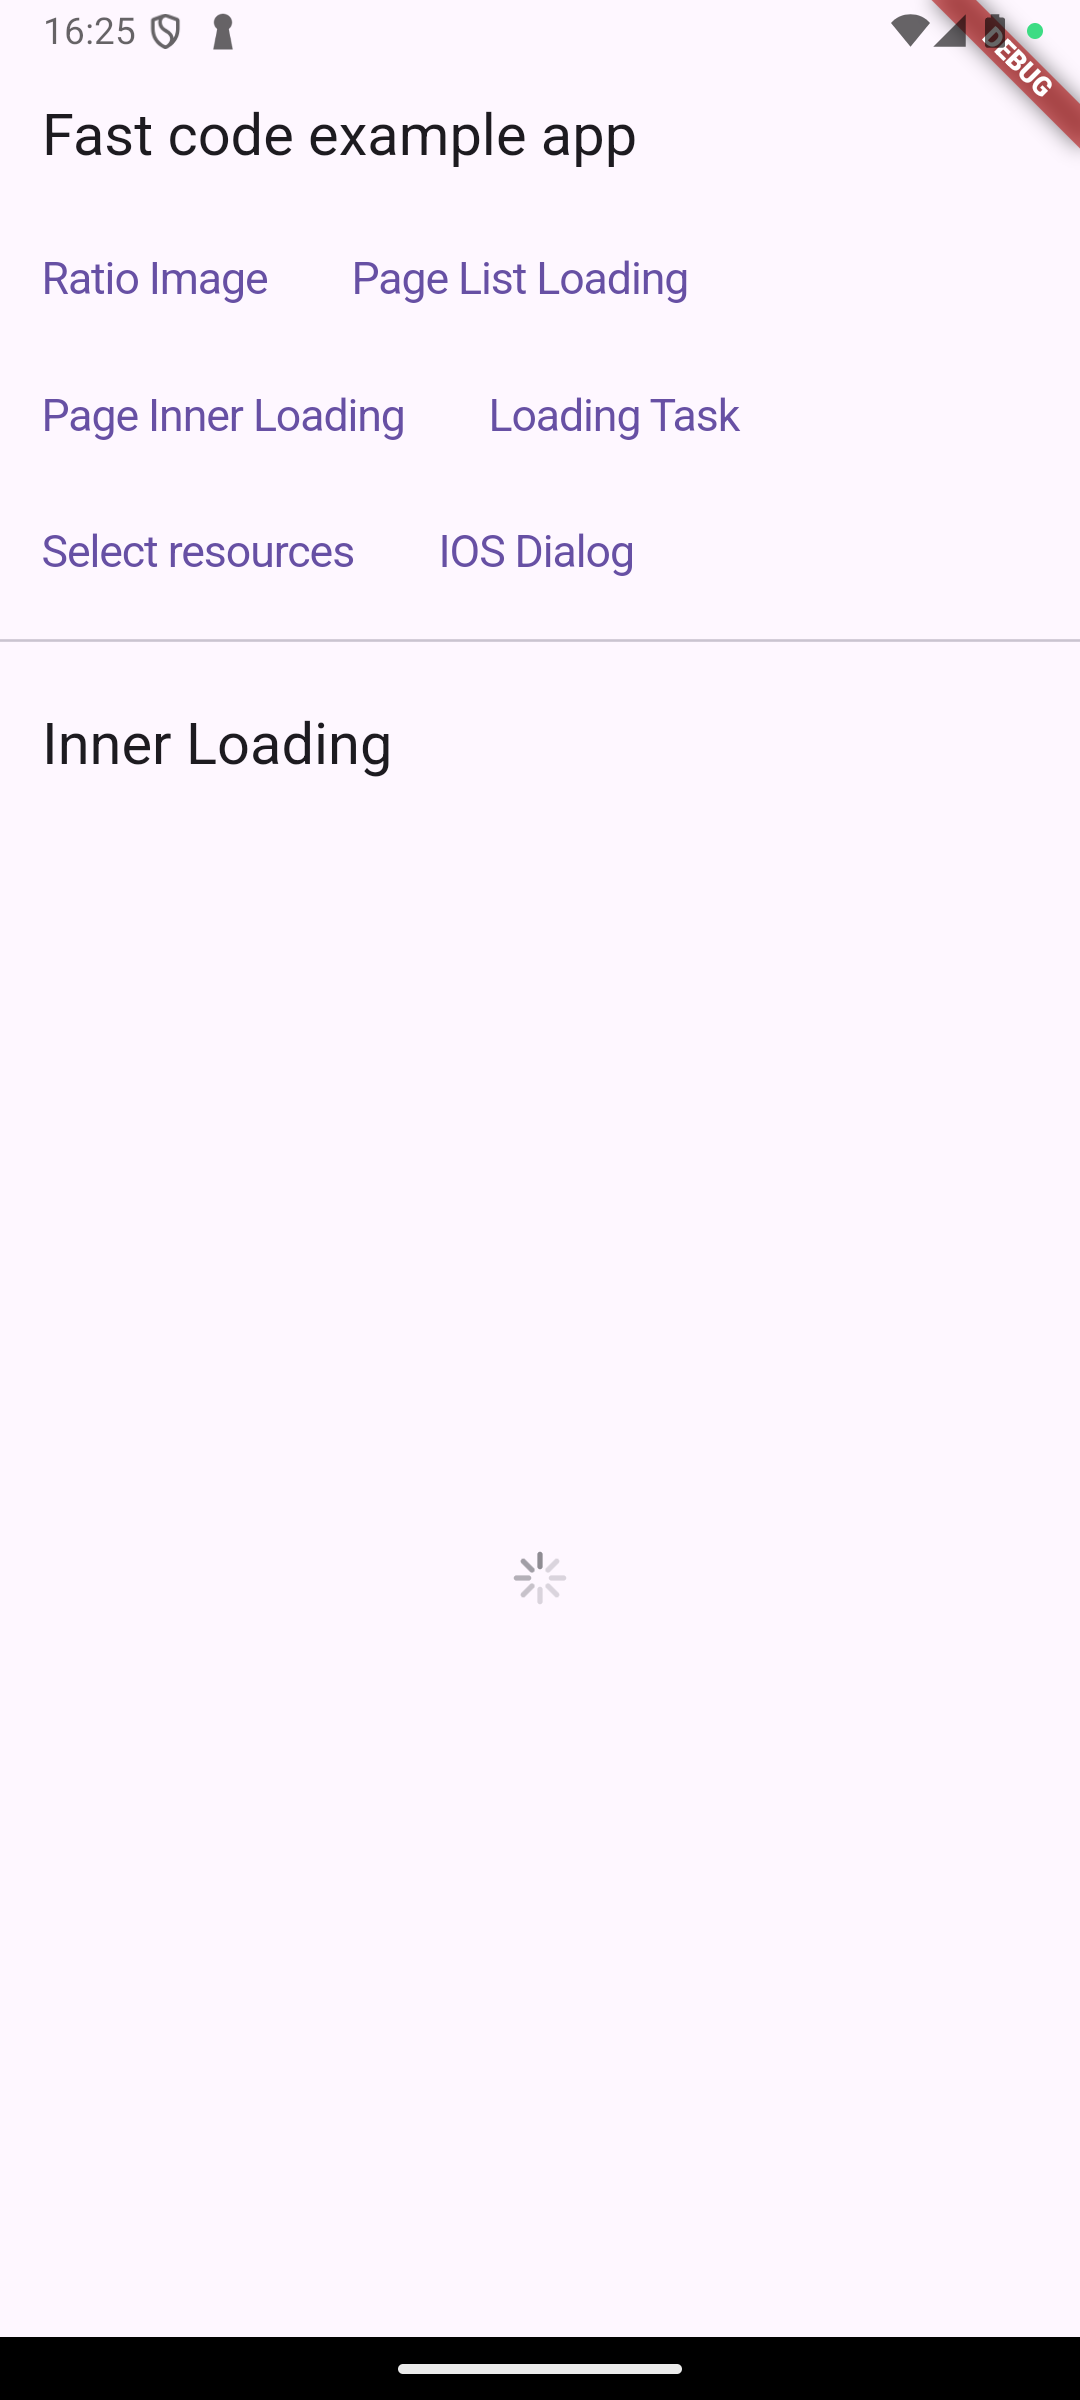
title: Text('Inner Loading'),
),
body: FastRefreshWidget(
onRefresh: refresh,
child: isNormal
? Center(child: const Text('loading success'))
: otherWidget,
),
);
}
[@override](/user/override)
bool get empty => false;
[@override](/user/override)
Future loadData() async {
await Future.delayed(const Duration(seconds: 2));
}
}
class PageListLoadingPage extends StatefulWidget {
const PageListLoadingPage({super.key});
[@override](/user/override)
State<PageListLoadingPage> createState() => _PageListLoadingPageState();
}
class _PageListLoadingPageState extends State<PageListLoadingPage>
with FastPageMixin<String, PageListLoadingPage> {
[@override](/user/override)
Widget build(BuildContext context) {
return Scaffold(
appBar: AppBar(
title: Text('List Loading'),
),
body: FastRefreshWidget(
onLoad:
loadMore, //If the bottom loading is abnormal, you can continue to pull down the bottom
// onLoad: noMore
// ? null
// : loadMore, //The bottom loading is abnormal and you cannot continue to pull down the bottom
onRefresh: refresh,
child: isNormal
? ListView.builder(
itemCount: data.length,
itemBuilder: (context, index) {
return Container(
alignment: Alignment.center,
child: Text('${data[index]} Index: $index'),
height: 60,
);
},
)
: otherWidget,
),
);
}
[@override](/user/override)
int get initializePage => 0;
[@override](/user/override)
Future<List<String>> loadData(int page) async {
if (page == initializePage) {
//other init loading
await Future.delayed(Duration(seconds: 1));
// Simulation error
// throw 'error loading';
}
fastPrint('page $page');
await Future.delayed(Duration(seconds: 1));
// Simulation error
if (page == 5) throw 'error loading';
return page >= 9
? []
: List.generate(pageCount, (index) => 'Page $page, Item $index');
}
}
更多关于Flutter快速编码辅助插件fast_code的使用的实战教程也可以访问 https://www.itying.com/category-92-b0.html

更多关于Flutter快速编码辅助插件fast_code的使用的实战系列教程也可以访问 https://www.itying.com/category-92-b0.html
fast_code 是一个 Flutter 的快速编码辅助插件,旨在帮助开发者更快地生成常见代码模板,如 Widget、Page、Provider 等。它通过提供代码片段和模板,减少重复性工作,提高开发效率。
以下是关于如何使用 fast_code 插件的详细指南:
1. 安装 fast_code 插件
首先,你需要在你的 IDE 中安装 fast_code 插件。以下是 VS Code 中的安装步骤:
- 打开 VS Code。
- 进入 Extensions 市场(快捷键:
Ctrl+Shift+X)。 - 搜索
fast_code。 - 找到
fast_code插件并点击安装。
2. 使用 fast_code 插件
安装完成后,你可以通过以下方式使用 fast_code 插件:
2.1 生成 Widget 模板
- 在 Dart 文件中,输入
fcwidget然后按下Tab键。 fast_code会自动生成一个基本的StatelessWidget模板。
class MyWidget extends StatelessWidget {
  const MyWidget({Key? key}) : super(key: key);

  @override
  Widget build(BuildContext context) {
    return Container();
  }
}
2.2 生成 Page 模板
- 在 Dart 文件中,输入
fcpage然后按下Tab键。 fast_code会自动生成一个包含Scaffold的StatelessWidget模板。
class MyPage extends StatelessWidget {
  const MyPage({Key? key}) : super(key: key);

  @override
  Widget build(BuildContext context) {
    return Scaffold(
      appBar: AppBar(
        title: Text('My Page'),
      ),
      body: Center(
        child: Text('Hello, World!'),
      ),
    );
  }
}
2.3 生成 Provider 模板
- 在 Dart 文件中,输入
fcprovider然后按下Tab键。 fast_code会自动生成一个基本的ChangeNotifier模板。
class MyProvider extends ChangeNotifier {
  // Add your state and methods here

  void updateState() {
    notifyListeners();
  }
}
2.4 生成 Bloc 模板
- 在 Dart 文件中,输入
fcbloc然后按下Tab键。 fast_code会自动生成一个基本的Bloc模板。
class MyBloc extends Bloc<MyEvent, MyState> {
  MyBloc() : super(MyInitialState());

  @override
  Stream<MyState> mapEventToState(MyEvent event) async* {
    // TODO: implement mapEventToState
  }
}
3. 自定义模板
fast_code 允许你自定义代码模板,以满足特定项目的需求。
- 打开 VS Code 的设置(快捷键:
Ctrl+,)。 - 搜索
fast_code。 - 在
Fast Code: Custom Templates中添加或修改自定义模板。
例如,你可以添加一个自定义的 StatelessWidget 模板:
"fast_code.customTemplates": {
  "fcwidget": {
    "prefix": "fcwidget",
    "body": [
      "class ${1:MyWidget} extends StatelessWidget {",
      "  const ${1:MyWidget}({Key? key}) : super(key: key);",
      "",
      "  @override",
      "  Widget build(BuildContext context) {",
      "    return Container();",
      "  }",
      "}"
    ],
    "description": "Create a StatelessWidget"
  }
}