Flutter环形布局插件ring_layout的使用
Flutter环形布局插件ring_layout的使用
特性
ring_layout 是一个帮助你构建环形布局的UI组件。它支持Android和iOS平台。

开始使用
首先,你需要在你的项目中添加ring_layout依赖。打开你的pubspec.yaml文件,并添加以下内容:
dependencies:
  ring_layout: ^1.0.1
然后运行以下命令来安装依赖:
$ flutter pub get
或者你可以通过IDE的工具直接安装依赖。
使用示例
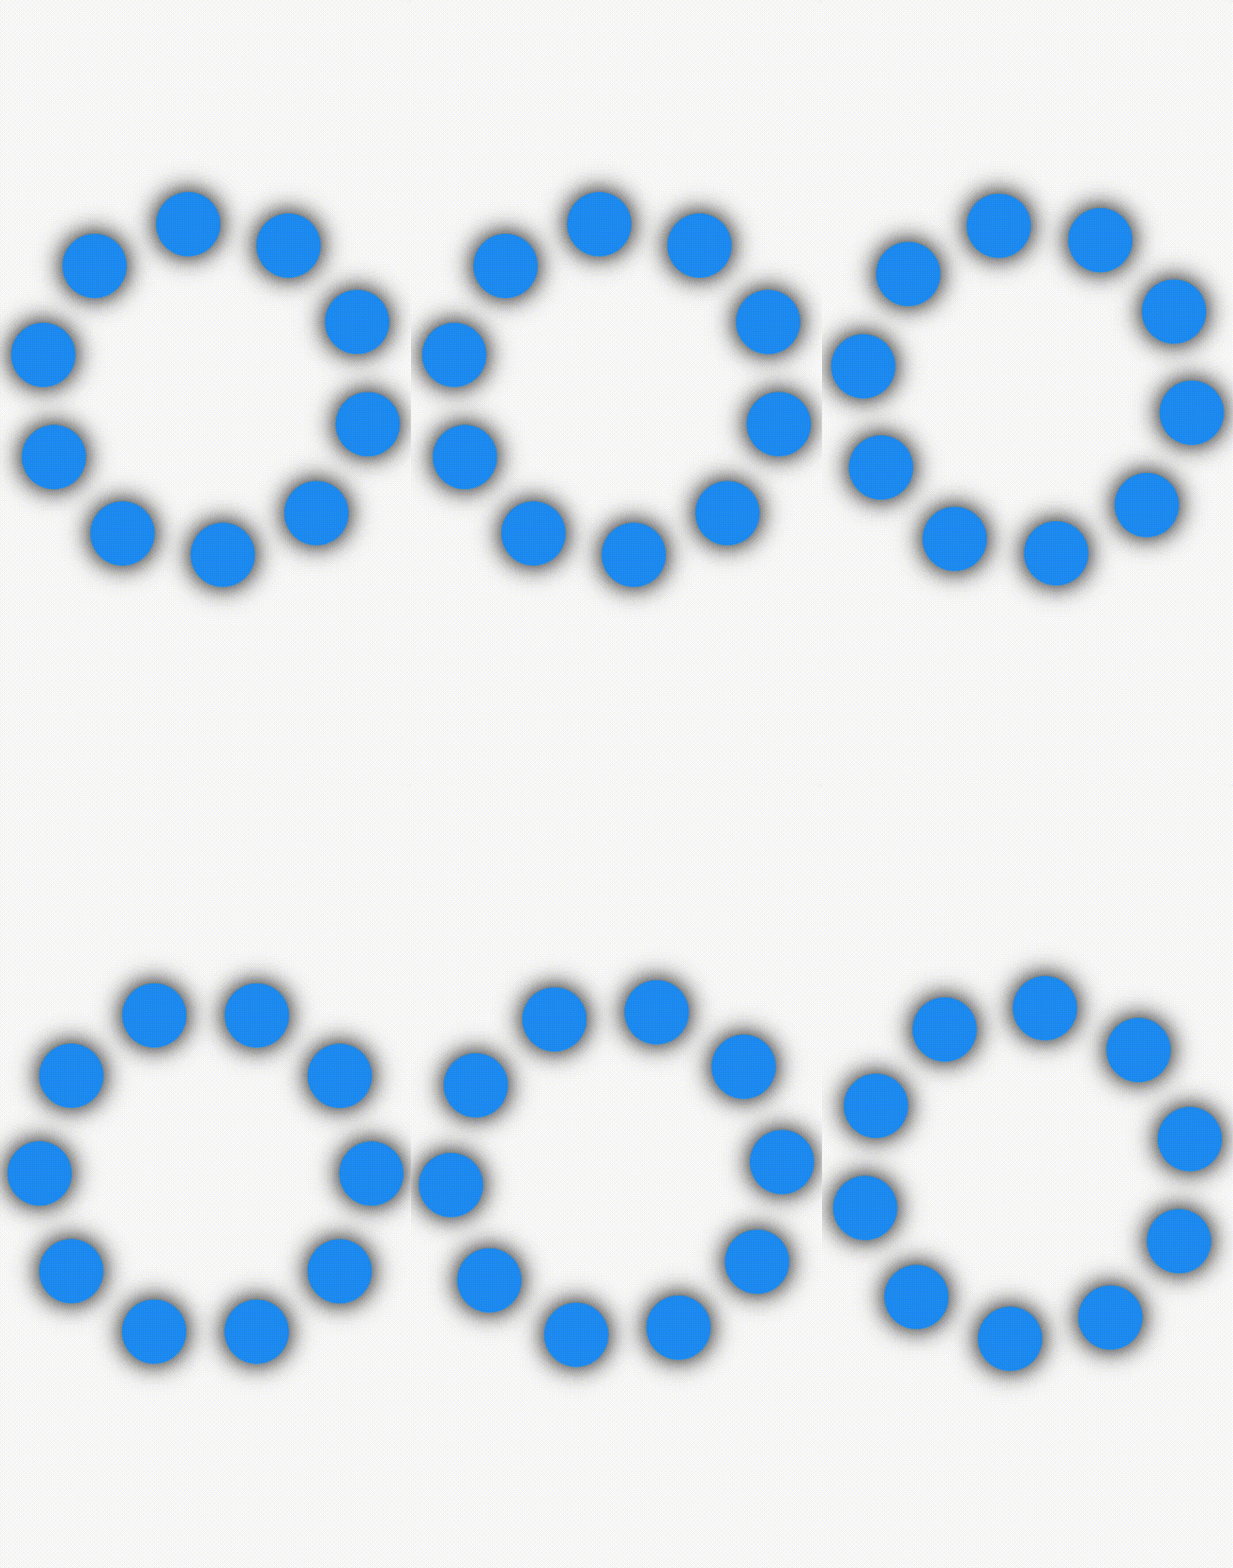
下面是一个完整的示例代码,展示了如何使用ring_layout插件创建一个环形布局。
import 'package:flutter/material.dart';
import 'package:ring_layout/ring_layout.dart';

void main() {
  runApp(const MyApp());
}

class MyApp extends StatefulWidget {
  const MyApp({Key? key}) : super(key: key);

  [@override](/user/override)
  _MyAppState createState() => _MyAppState();
}

class _MyAppState extends State<MyApp> with SingleTickerProviderStateMixin {
  late AnimationController _controller;

  // 初始化动画控制器
  [@override](/user/override)
  void initState() {
    _controller = AnimationController(
      lowerBound: 0.0,
      upperBound: 1.0,
      vsync: this,
      duration: const Duration(seconds: 3),
    );
    _controller.repeat(reverse: false);
    super.initState();
  }

  // 构建一个点的容器
  Widget buildPoint({
    Color color = Colors.blue,
    double width = 50,
    double height = 50,
    BoxShape shape = BoxShape.circle,
  }) {
    return Container(
      margin: const EdgeInsets.all(2),
      alignment: Alignment.center,
      width: width,
      height: height,
      decoration: BoxDecoration(
        boxShadow: const [BoxShadow(blurRadius: 20, color: Colors.black)],
        color: color,
        shape: shape,
      ),
    );
  }

  // 构建整个应用界面
  [@override](/user/override)
  Widget build(BuildContext context) {
    return MaterialApp(
      home: Scaffold(
        body: Center(
          child: Container(
            padding: const EdgeInsets.all(8),
            width: 400,
            height: 400,
            child: AnimatedBuilder(
              animation: _controller,
              builder: (_, __) {
                return RingLayout(
                  initAngle: _controller.value * 360,
                  children: List.generate(
                    10,
                    (index) => buildPoint(width: 60, height: 60, color: Colors.blue),
                  ),
                );
              },
            ),
          ),
        ),
      ),
    );
  }

  // 清理资源
  [@override](/user/override)
  void dispose() {
    super.dispose();
    _controller.dispose();
  }
}
更多关于Flutter环形布局插件ring_layout的使用的实战教程也可以访问 https://www.itying.com/category-92-b0.html
1 回复
更多关于Flutter环形布局插件ring_layout的使用的实战系列教程也可以访问 https://www.itying.com/category-92-b0.html
ring_layout 是一个用于 Flutter 的布局插件,它允许你以环形(圆形)的方式排列子组件。这个插件非常适合用来创建圆形菜单、环形进度条、圆形头像等布局。
安装 ring_layout
首先,你需要在 pubspec.yaml 文件中添加 ring_layout 依赖:
dependencies:
  flutter:
    sdk: flutter
  ring_layout: ^0.1.0
然后运行 flutter pub get 来安装依赖。
使用 ring_layout
ring_layout 提供了一个 RingLayout 组件,你可以使用它来创建一个环形布局。以下是一个简单的示例:
import 'package:flutter/material.dart';
import 'package:ring_layout/ring_layout.dart';

void main() {
  runApp(MyApp());
}

class MyApp extends StatelessWidget {
  @override
  Widget build(BuildContext context) {
    return MaterialApp(
      home: Scaffold(
        appBar: AppBar(
          title: Text('Ring Layout Example'),
        ),
        body: Center(
          child: RingLayout(
            radius: 150.0, // 环的半径
            children: [
              Icon(Icons.home, size: 40.0),
              Icon(Icons.search, size: 40.0),
              Icon(Icons.settings, size: 40.0),
              Icon(Icons.person, size: 40.0),
            ],
          ),
        ),
      ),
    );
  }
}
RingLayout 的参数
radius: 环的半径,即子组件距离中心点的距离。children: 要在环上排列的子组件列表。startAngle: 环的起始角度(默认为 0 度)。angleDelta: 每个子组件之间的角度(默认为 360 / 子组件数量)。childAlignment: 子组件的对齐方式(默认为Alignment.center)。
自定义环形布局
你可以通过调整 startAngle 和 angleDelta 来创建一个自定义的环形布局。例如,如果你想让子组件从 90 度开始排列,并且每个组件之间相隔 45 度,可以这样做:
RingLayout(
  radius: 150.0,
  startAngle: 90.0,
  angleDelta: 45.0,
  children: [
    Icon(Icons.home, size: 40.0),
    Icon(Icons.search, size: 40.0),
    Icon(Icons.settings, size: 40.0),
    Icon(Icons.person, size: 40.0),
  ],
)


