


Flutter屏幕保护插件screen_protection的使用
Flutter屏幕保护插件screen_protection的使用
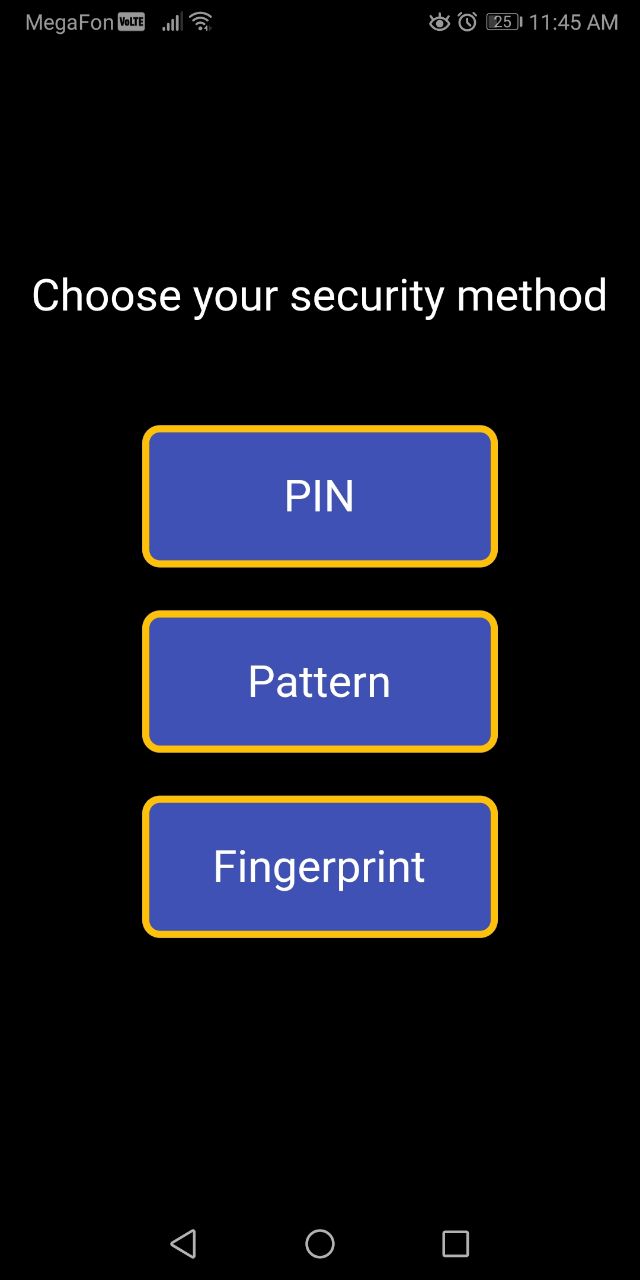
保护屏幕
在我们的应用中,用户存储了敏感信息,因此我们需要增强应用的安全性。为了解决这个问题,我们实现了一个保护屏幕,作为访问应用内容的屏障,要求用户进行身份验证后才能访问。
特性
该插件提供了三种不同的方法来添加保护:
- PIN
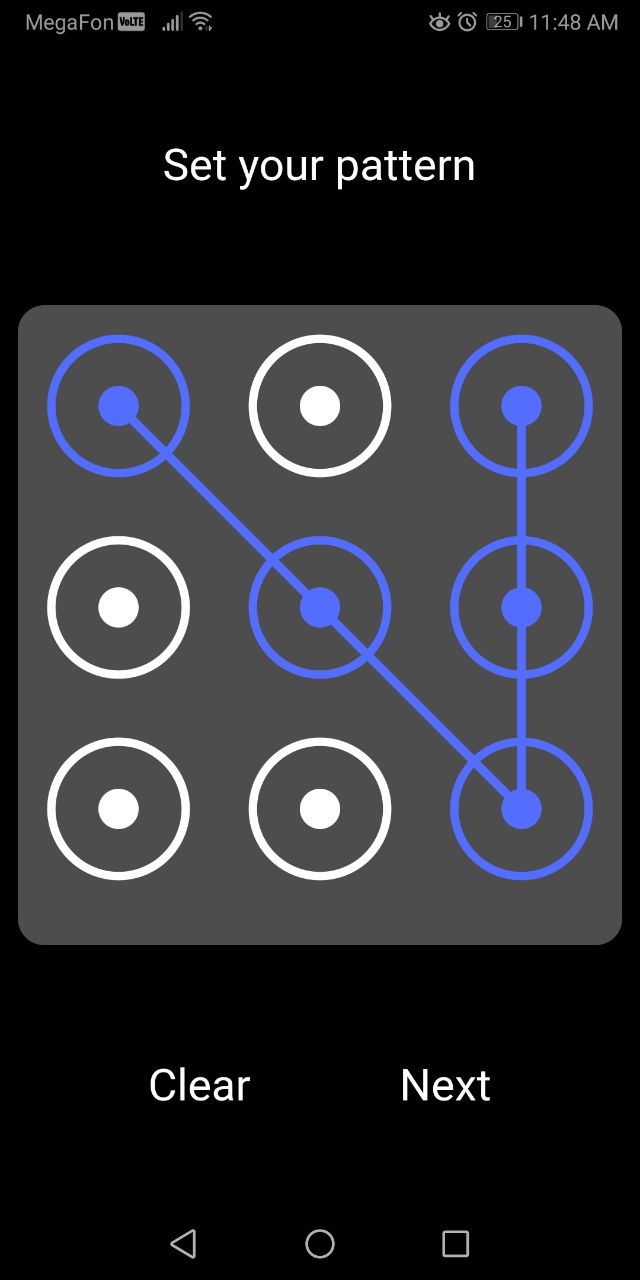
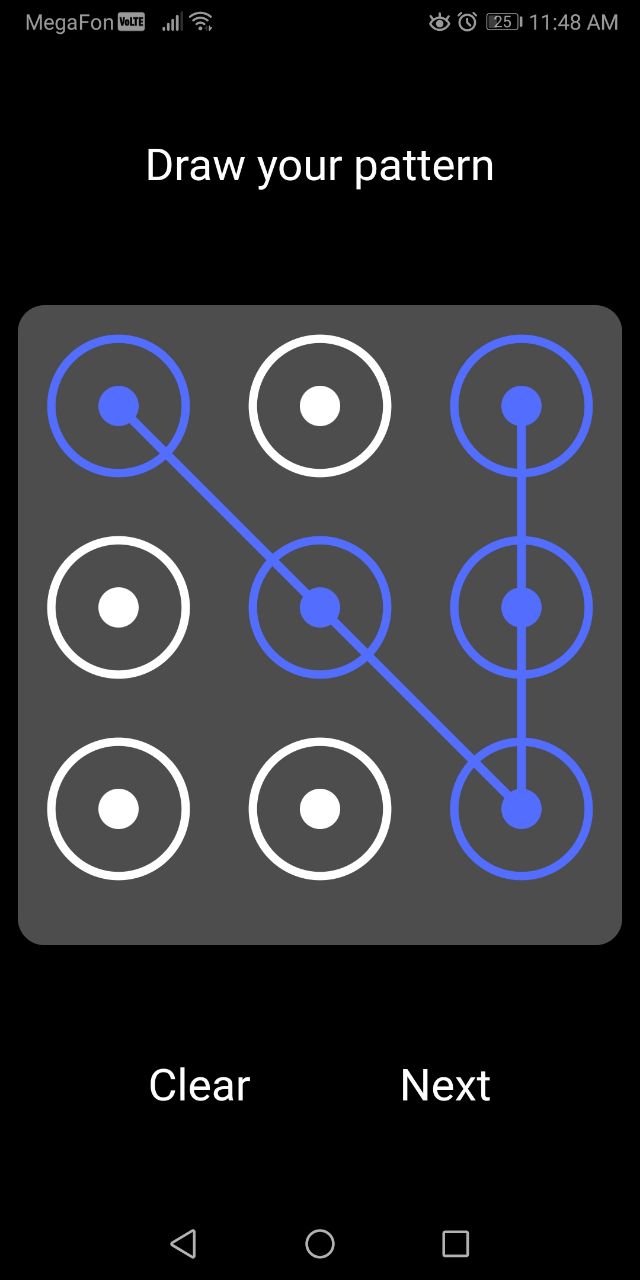
- 图案
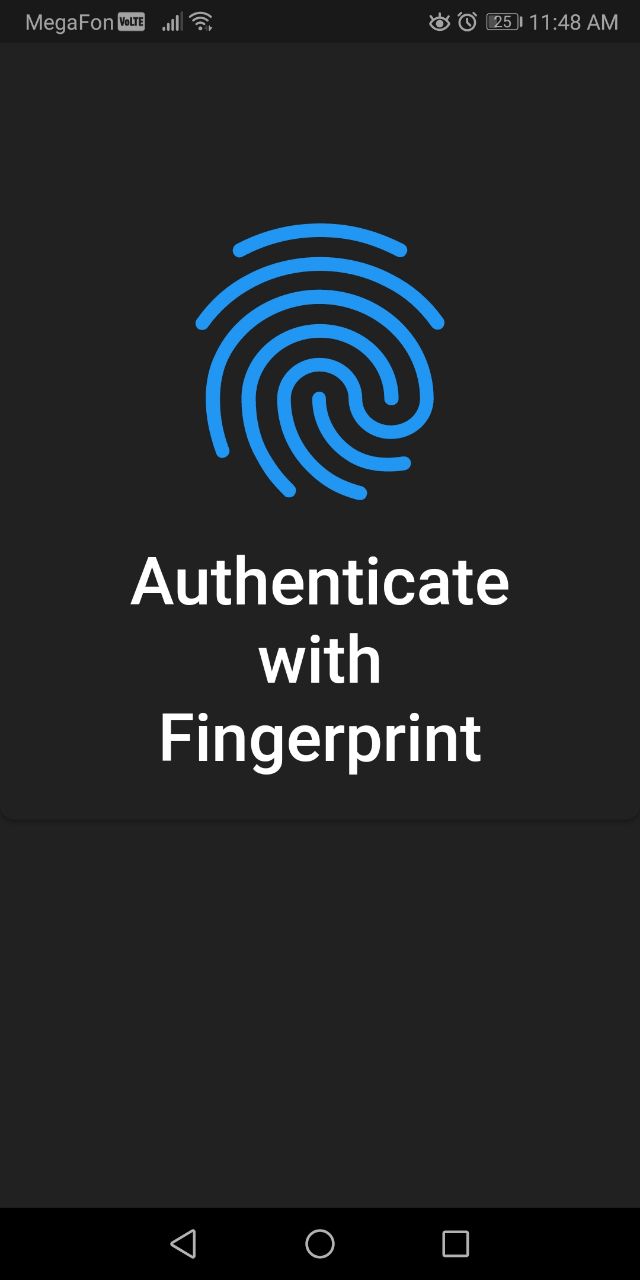
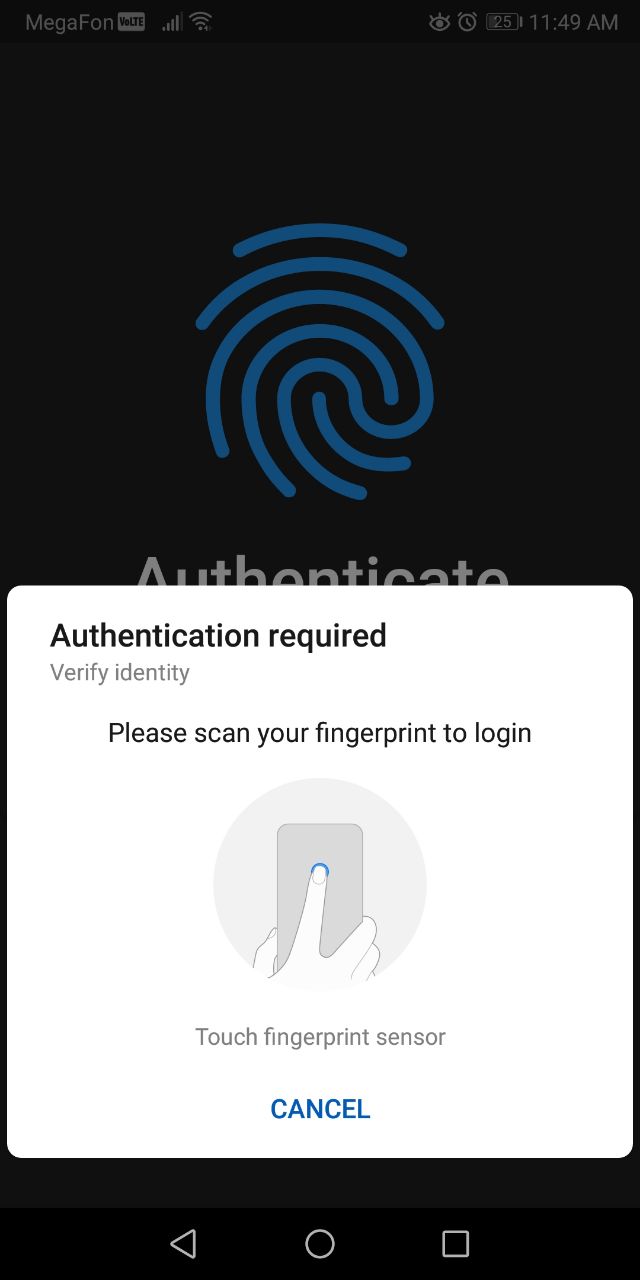
- 指纹
并且这些方法具有高度可定制性。
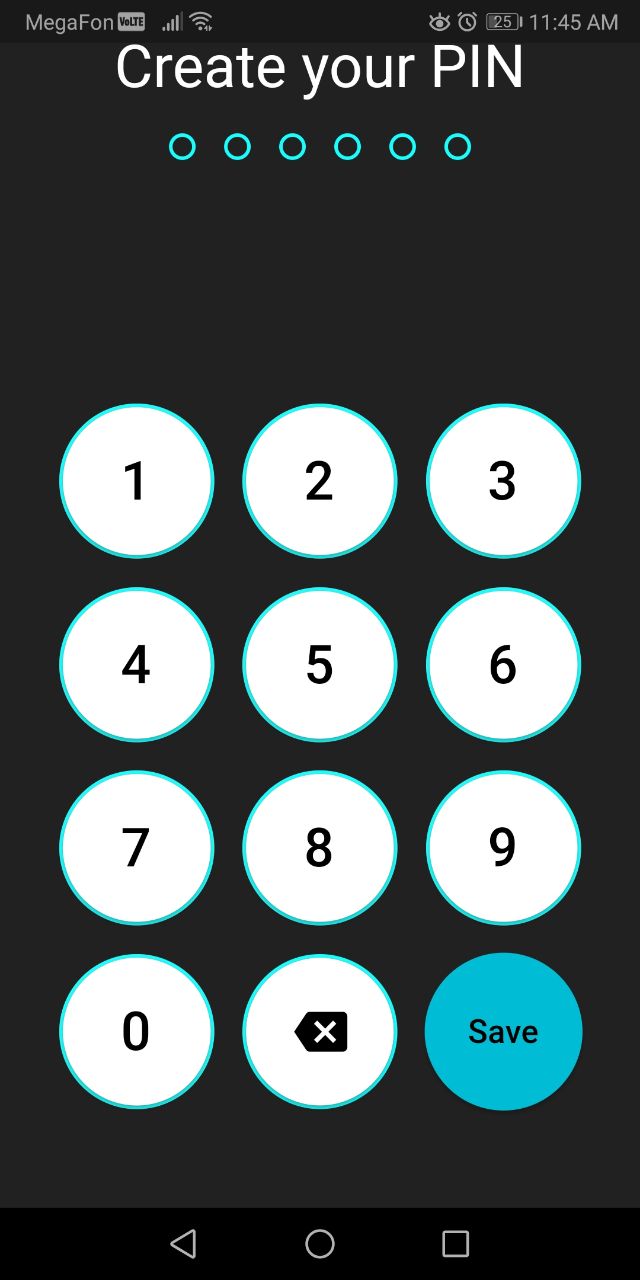
演示
| PIN | 图案 | 指纹 |
|---|---|---|
 |
 |
 |
| 设置PIN | 设置图案 | 设置指纹 |
|---|---|---|
 |
 |
 |
| 验证PIN | 验证图案 | 验证指纹 |
|---|---|---|
 |
 |
 |
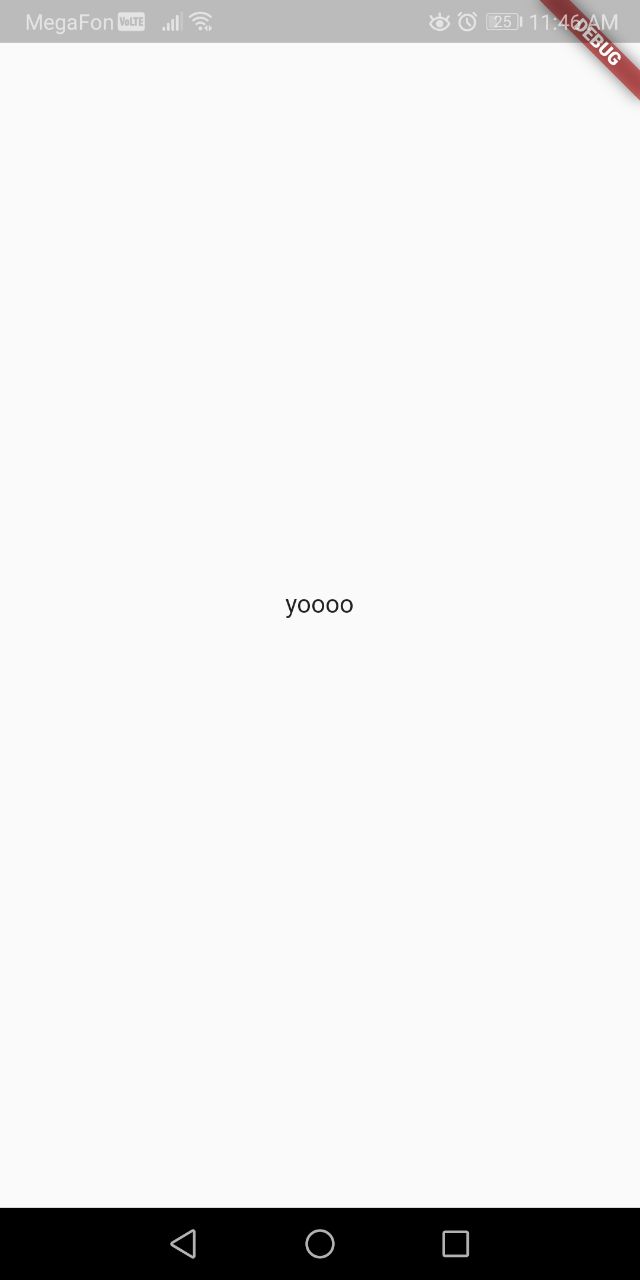
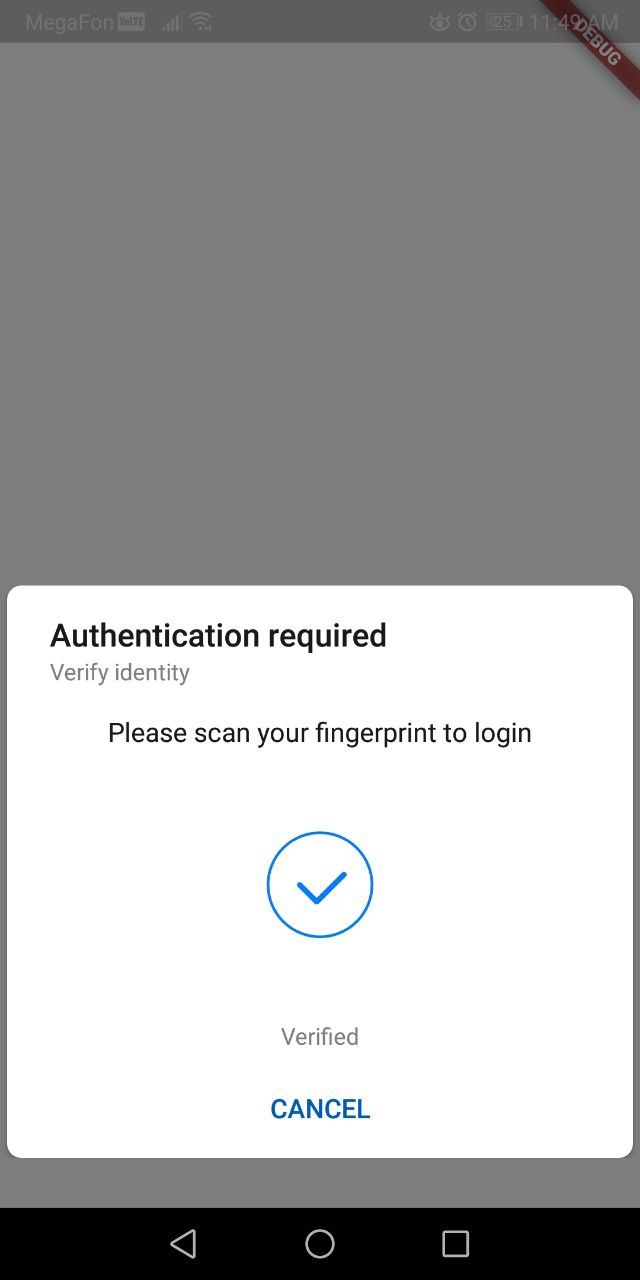
| 成功登录 | 失败登录 |
|---|---|
 |
 |
如何使用
步骤1: 添加权限
打开android/app/src/main/AndroidManifest.xml文件,并添加以下行:
<uses-permission android:name="android.permission.USE_FINGERPRINT"/>
此标签用于声明您的Android应用程序需要访问设备上某些功能或资源所需的权限。
步骤2: 修改MainActivity.kt
打开android/app/src/main/kotlin/MainActivity.kt文件,并替换为以下内容:
package com.example."your_project_name"

import androidx.annotation.NonNull
import io.flutter.embedding.android.FlutterFragmentActivity
import io.flutter.embedding.engine.FlutterEngine
import io.flutter.plugins.GeneratedPluginRegistrant

class MainActivity: FlutterFragmentActivity() {
    override fun configureFlutterEngine(@NonNull flutterEngine: FlutterEngine) {
        GeneratedPluginRegistrant.registerWith(flutterEngine);
    }
}
这一步允许您创建一个混合应用,其中包含本机Android组件和Flutter UI的无缝集成。
确保您的主函数是异步的,并调用初始化函数:
WidgetsFlutterBinding.ensureInitialized();
await initialize();
步骤3: 修改build.gradle文件
打开android/app/build.gradle文件,并在defaultConfig中添加以下两行:
multiDexEnabled true
minSdkVersion 21
在运行runApp时,调用Protector并将其作为子项传递给您的应用入口点。要清除保存的认证数据,请调用clear()函数。
步骤4: 使用示例
以下是使用screen_protection插件的示例代码:
import 'package:flutter/material.dart';
import 'package:screen_protection/data/data.dart';
import 'package:screen_protection/functions/set_method.dart';
import 'package:screen_protection/protection_methods/fingerprint/fprint.dart';
import 'package:screen_protection/protection_methods/pattern/pattern.dart';
import 'package:screen_protection/protection_methods/pin/pin.dart';

void main() async {
  WidgetsFlutterBinding.ensureInitialized();
  await initialize();
  // 清除缓存以进行测试
  Data.myData.put('secured', null);
  runApp(
    Protector(
      realApp: const MaterialApp(
        debugShowCheckedModeBanner: false,
        home: Scaffold(
          body: Center(
            child: Text('yoooo'),
          ),
        ),
      ),
    ),
  );
}

class Protector extends StatelessWidget {
  final Widget realApp;
  final bool pin;
  final bool pattern;
  final bool fingerprint;
  final Text mainTitle;
  final Color backgroundColor;
  final AppBar? appBar;
  final Widget? mainButtonStyle;
  final Color pinBackgroundColor;
  final Color patternBackgroundColor;
  final Color fingerprintBackgroundColor;
  final int patternDimension;

  Protector({
    super.key,
    required this.realApp,
    this.fingerprint = true,
    this.pattern = true,
    this.pin = true,
    this.appBar,
    this.backgroundColor = Colors.black,
    this.mainTitle = const Text(
      'Choose your security method',
      style: TextStyle(
        color: Colors.white,
        fontSize: 25,
      ),
    ),
    this.mainButtonStyle,
    this.fingerprintBackgroundColor = Colors.black,
    this.patternBackgroundColor = Colors.black,
    this.pinBackgroundColor = Colors.black,
    this.patternDimension = 3,
  });

  [@override](/user/override)
  Widget build(BuildContext context) {
    return MaterialApp(
      home: Data.myData.get('secured') == null
          ? StartingPoint(
              backgroundColor: backgroundColor,
              appBar: appBar,
              fingerprint: fingerprint,
              mainTitle: mainTitle,
              pattern: pattern,
              pin: pin,
              mainButtonStyle: mainButtonStyle,
              fingerprintBackgroundColor: fingerprintBackgroundColor,
              patternBackgroundColor: patternBackgroundColor,
              pinBackgroundColor: pinBackgroundColor,
              patternDimension: patternDimension,
              child: realApp,
            )
          : callMethod(realApp),
      debugShowCheckedModeBanner: false,
    );
  }
}

class StartingPoint extends StatefulWidget {
  final Widget child;
  final bool pin;
  final bool pattern;
  final bool fingerprint;
  final Text mainTitle;
  final Color backgroundColor;
  final AppBar? appBar;
  final Widget? mainButtonStyle;
  final Color pinBackgroundColor;
  final Color patternBackgroundColor;
  final Color fingerprintBackgroundColor;
  final int patternDimension;

  StartingPoint({
    super.key,
    required this.child,
    this.fingerprint = true,
    this.pattern = true,
    this.pin = true,
    this.appBar,
    this.backgroundColor = Colors.black,
    this.mainTitle = const Text(
      'Choose your security method',
      style: TextStyle(
        color: Colors.white,
        fontSize: 25,
      ),
    ),
    this.mainButtonStyle,
    this.fingerprintBackgroundColor = Colors.black,
    this.patternBackgroundColor = Colors.black,
    this.pinBackgroundColor = Colors.black,
    this.patternDimension = 3,
  });

  [@override](/user/override)
  State<StartingPoint> createState() => _StartingPointState(
        child: child,
        backgroundColor: backgroundColor,
        favAppBar: appBar,
        fingerprint: fingerprint,
        mainTitle: mainTitle,
        pattern: pattern,
        pin: pin,
        mainButtonStyle: mainButtonStyle,
        fingerprintBackgroundColor: fingerprintBackgroundColor,
        patternBackgroundColor: patternBackgroundColor,
        pinBackgroundColor: pinBackgroundColor,
        patternDimension: patternDimension,
      );
}

class _StartingPointState extends State<StartingPoint> {
  Widget child;
  bool pin;
  bool pattern;
  bool fingerprint;
  Text mainTitle;
  Color backgroundColor;
  AppBar? favAppBar;
  Widget? mainButtonStyle;
  Color pinBackgroundColor;
  Color patternBackgroundColor;
  Color fingerprintBackgroundColor;
  int patternDimension;

  _StartingPointState({
    required this.child,
    this.fingerprint = true,
    this.pattern = true,
    this.pin = true,
    this.favAppBar,
    this.backgroundColor = Colors.black,
    this.mainTitle = const Text(
      'Choose your security method',
      style: TextStyle(
        color: Colors.white,
        fontSize: 25,
      ),
    ),
    this.mainButtonStyle,
    this.fingerprintBackgroundColor = Colors.black,
    this.patternBackgroundColor = Colors.black,
    this.pinBackgroundColor = Colors.black,
    this.patternDimension = 3,
  });

  [@override](/user/override)
  Widget build(BuildContext context) {
    return Scaffold(
      appBar: favAppBar ?? null,
      backgroundColor: backgroundColor,
      body: Center(
        child: Container(
          height: 400,
          child: Column(
            mainAxisAlignment: MainAxisAlignment.spaceAround,
            children: [
              mainTitle,
              SizedBox(
                height: 10,
              ),
              if (pin == true)
                InkWell(
                  onTap: () {
                    Navigator.push(
                      context,
                      MaterialPageRoute(
                        builder: (context) => PinCodeScreen(
                          pinBackgroundColor: pinBackgroundColor,
                          child: child,
                          isFirsttime: true,
                          pinText: 'Create your PIN',
                        ),
                      ),
                    );
                  },
                  child: mainButtonStyle ??
                      Container(
                        alignment: Alignment.center,
                        decoration: BoxDecoration(
                          color: Colors.indigo,
                          borderRadius: BorderRadius.circular(10),
                          border: Border.all(
                            width: 4,
                            color: Colors.amber,
                          ),
                        ),
                        width: 200,
                        height: 80,
                        child: Text(
                          'PIN',
                          style: TextStyle(
                            color: Colors.white,
                            fontSize: 25,
                          ),
                        ),
                      ),
                ),
              if (pattern)
                InkWell(
                  onTap: () {
                    Navigator.push(
                      context,
                      MaterialPageRoute(
                        builder: (context) => Pattern(
                          state: const [1],
                          dimension: patternDimension,
                          patternBackgroundColor: patternBackgroundColor,
                          child: child,
                        ),
                      ),
                    );
                  },
                  child: mainButtonStyle ??
                      Container(
                        alignment: Alignment.center,
                        decoration: BoxDecoration(
                          color: Colors.indigo,
                          borderRadius: BorderRadius.circular(10),
                          border: Border.all(
                            width: 4,
                            color: Colors.amber,
                          ),
                        ),
                        width: 200,
                        height: 80,
                        child: Text(
                          'Pattern',
                          style: TextStyle(
                            color: Colors.white,
                            fontSize: 25,
                          ),
                        ),
                      ),
                ),
              if (fingerprint)
                InkWell(
                  onTap: () {
                    Navigator.push(
                      context,
                      MaterialPageRoute(
                        builder: (context) => FingerPrint(
                          child: child,
                          fingerprintBackgroundColor: fingerprintBackgroundColor,
                        ),
                      ),
                    );
                  },
                  child: mainButtonStyle ??
                      Container(
                        alignment: Alignment.center,
                        decoration: BoxDecoration(
                          color: Colors.indigo,
                          borderRadius: BorderRadius.circular(10),
                          border: Border.all(
                            width: 4,
                            color: Colors.amber,
                          ),
                        ),
                        width: 200,
                        height: 80,
                        child: Text(
                          'Fingerprint',
                          style: TextStyle(
                            color: Colors.white,
                            fontSize: 25,
                          ),
                        ),
                      ),
                ),
            ],
          ),
        ),
      ),
    );
  }
}
更多关于Flutter屏幕保护插件screen_protection的使用的实战教程也可以访问 https://www.itying.com/category-92-b0.html

更多关于Flutter屏幕保护插件screen_protection的使用的实战系列教程也可以访问 https://www.itying.com/category-92-b0.html
screen_protection 是一个 Flutter 插件,用于在应用程序中实现屏幕保护功能。它可以防止用户截屏、录屏,或者在应用进入后台时显示一个安全视图。下面是如何使用 screen_protection 插件的基本步骤:
1. 添加依赖
首先,在 pubspec.yaml 文件中添加 screen_protection 插件的依赖:
dependencies:
  flutter:
    sdk: flutter
  screen_protection: ^latest_version
然后运行 flutter pub get 以安装依赖。
2. 导入插件
在需要使用 screen_protection 的 Dart 文件中导入插件:
import 'package:screen_protection/screen_protection.dart';
3. 启用屏幕保护
你可以使用 ScreenProtection 类的方法来启用屏幕保护功能。以下是一些常见的用法:
防止截屏和录屏
ScreenProtection.enableScreenProtection();
禁用截屏和录屏
ScreenProtection.disableScreenProtection();
在应用进入后台时显示安全视图
ScreenProtection.enableBackgroundProtection();
禁用后台保护
ScreenProtection.disableBackgroundProtection();
4. 监听应用生命周期
你可以使用 Flutter 的 WidgetsBindingObserver 来监听应用的生命周期事件,并在应用进入后台或返回前台时启用或禁用屏幕保护。
class MyApp extends StatefulWidget {
  [@override](/user/override)
  _MyAppState createState() => _MyAppState();
}

class _MyAppState extends State<MyApp> with WidgetsBindingObserver {
  [@override](/user/override)
  void initState() {
    super.initState();
    WidgetsBinding.instance.addObserver(this);
  }

  [@override](/user/override)
  void dispose() {
    WidgetsBinding.instance.removeObserver(this);
    super.dispose();
  }

  [@override](/user/override)
  void didChangeAppLifecycleState(AppLifecycleState state) {
    super.didChangeAppLifecycleState(state);
    if (state == AppLifecycleState.paused) {
      // 应用进入后台
      ScreenProtection.enableBackgroundProtection();
    } else if (state == AppLifecycleState.resumed) {
      // 应用返回前台
      ScreenProtection.disableBackgroundProtection();
    }
  }

  [@override](/user/override)
  Widget build(BuildContext context) {
    return MaterialApp(
      home: Scaffold(
        appBar: AppBar(
          title: Text('Screen Protection Example'),
        ),
        body: Center(
          child: Text('Hello, world!'),
        ),
      ),
    );
  }
}