


Flutter颜色处理插件colorify的使用
Flutter颜色处理插件colorify的使用
colorify 是一个非常简单的 Flutter 包,可以将任意的 dynamic 输入确定性地转换为 Color。这个包主要用于个人项目中,避免在各个项目中重复造轮子。
使用方法
基本示例
import 'package:colorify/colorify.dart' as c;
import 'package:flutter/material.dart';

void main() {
  final input = 'example-seed';
  final color = c.colorify(input);
  print(color); // 输出从 'example-seed' 确定性生成的颜色对象。
}
自定义颜色类型
你可以通过使用 ColorType 枚举来自定义生成的颜色类型:
ColorType.all: 从全光谱生成颜色。ColorType.brights: 生成明亮且鲜艳的颜色。
示例代码:
import 'package:colorify/colorify.dart' as c;
import 'package:flutter/material.dart';

void main() {
  final input = 'example-seed';

  // 从全光谱生成颜色
  final allColors = c.colorify(input, colorType: c.ColorType.all);

  // 生成明亮的颜色
  final brightColor = c.colorify(input, colorType: c.ColorType.brights);
}
完整示例
以下是一个完整的示例代码,展示了如何在 Flutter 应用程序中使用 colorify 插件。
import 'package:flutter/material.dart';
import 'package:uuid/uuid.dart';
import 'package:colorify/colorify.dart';
void main() {
runApp(const MyApp());
}
class MyApp extends StatelessWidget {
const MyApp({super.key});
[@override](/user/override)
Widget build(BuildContext context) {
return const MaterialApp(
title: 'Colorify Example',
debugShowCheckedModeBanner: false,
home: ColorifyDemo(),
);
}
}
class ColorifyDemo extends StatefulWidget {
const ColorifyDemo({super.key});
[@override](/user/override)
ColorifyDemoState createState() => ColorifyDemoState();
}
class ColorifyDemoState extends State<ColorifyDemo> {
final Uuid _uuid = const Uuid();
/// 存储一组随机生成的种子(UUID)。
late List<String> _seeds;
[@override](/user/override)
void initState() {
super.initState();
_generateSeeds();
}
/// 生成 8 个新的 UUID 字符串并更新状态。
void _generateSeeds() {
setState(() {
_seeds = List.generate(8, (_) => _uuid.v4());
});
}
[@override](/user/override)
Widget build(BuildContext context) {
return Scaffold(
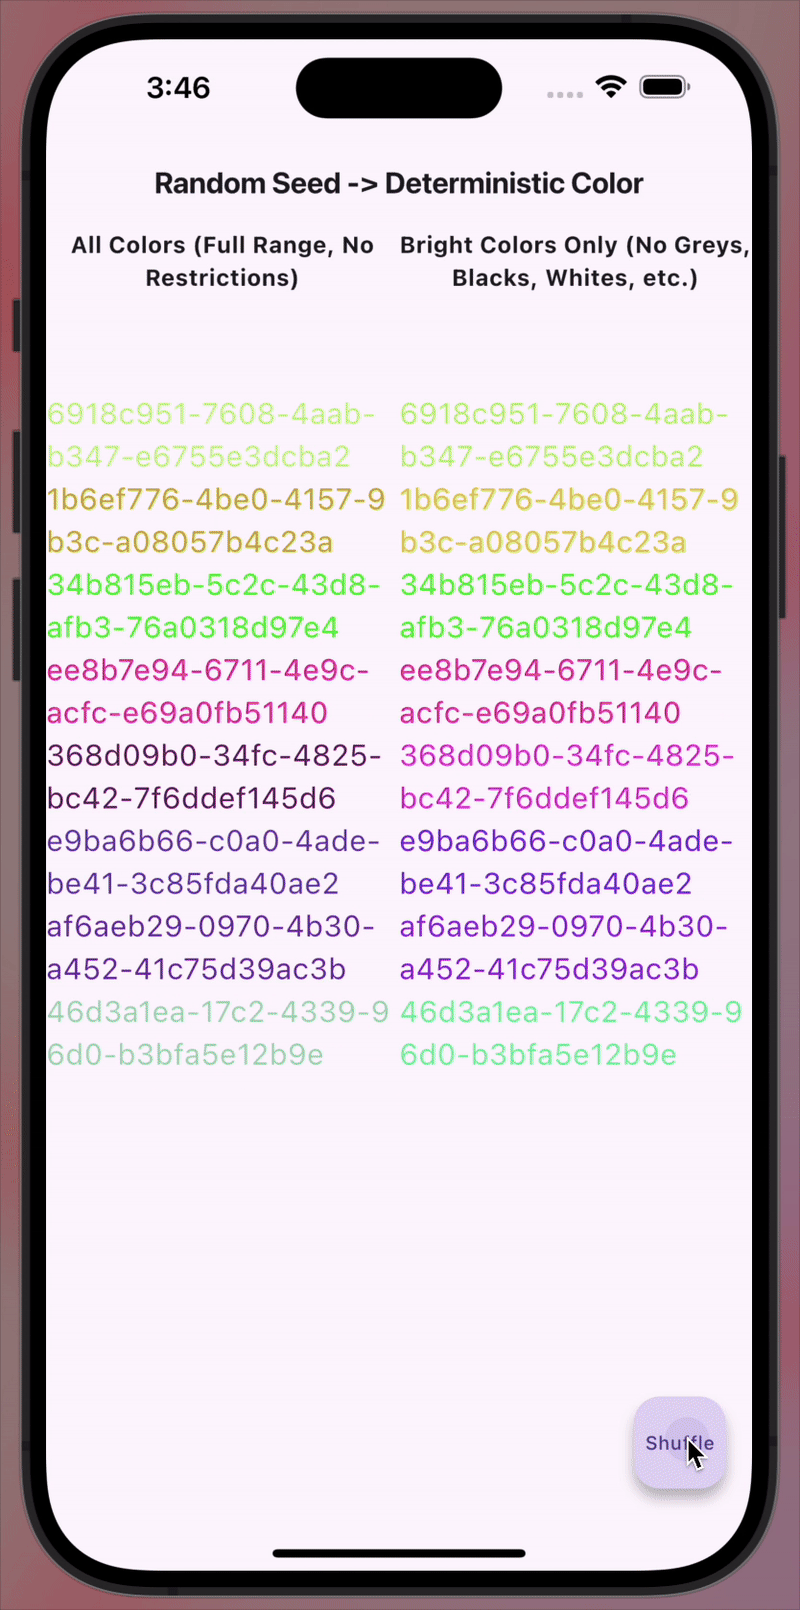
appBar: AppBar(
title: const Text(
'随机种子 -> 确定性颜色',
style: TextStyle(fontSize: 18, fontWeight: FontWeight.bold),
)),
body: IntrinsicHeight(
child: Row(
mainAxisSize: MainAxisSize.max,
crossAxisAlignment: CrossAxisAlignment.center,
children: [
Expanded(
child: Column(
mainAxisAlignment: MainAxisAlignment.start,
crossAxisAlignment: CrossAxisAlignment.center,
children: [
const SizedBox(
height: 100,
child: Text(
'所有颜色 (无限制范围)',
style:
TextStyle(fontSize: 14, fontWeight: FontWeight.bold),
textAlign: TextAlign.center,
),
),
..._seeds.map(
(seed) {
return Text(
seed,
style: TextStyle(
fontSize: 18,
color: colorify(
seed,
colorType: ColorType.all,
),
),
);
},
),
],
),
),
Expanded(
child: Column(
mainAxisAlignment: MainAxisAlignment.start,
crossAxisAlignment: CrossAxisAlignment.center,
children: [
const SizedBox(
height: 100,
child: Text(
'仅亮色 (无灰、黑、白等)',
style:
TextStyle(fontSize: 14, fontWeight: FontWeight.bold),
textAlign: TextAlign.center,
),
),
..._seeds.map(
(seed) {
return Text(
seed,
style: TextStyle(
fontSize: 18,
color: colorify(
seed,
colorType: ColorType.brights,
),
),
);
},
),
],
),
),
],
),
),
floatingActionButton: FloatingActionButton(
onPressed: _generateSeeds,
child: const Text(
'洗牌',
style: TextStyle(fontSize: 12),
textAlign: TextAlign.center,
),
),
);
}
}
更多关于Flutter颜色处理插件colorify的使用的实战教程也可以访问 https://www.itying.com/category-92-b0.html
1 回复

更多关于Flutter颜色处理插件colorify的使用的实战系列教程也可以访问 https://www.itying.com/category-92-b0.html
colorify 是一个用于 Flutter 的颜色处理插件,它可以帮助开发者更方便地处理和操作颜色。使用 colorify,你可以轻松地进行颜色转换、调整亮度、饱和度等操作。
安装 colorify
首先,你需要在 pubspec.yaml 文件中添加 colorify 依赖:
dependencies:
  flutter:
    sdk: flutter
  colorify: ^1.0.0  # 请使用最新版本
然后运行 flutter pub get 来安装依赖。
使用 colorify
安装完成后,你可以在项目中使用 colorify 来处理颜色。以下是一些常见的使用示例:
1. 导入 colorify
import 'package:colorify/colorify.dart';
2. 创建颜色对象
Color myColor = Colorify.fromHex('#FF5733'); // 从十六进制创建颜色
3. 调整颜色亮度
Color lighterColor = Colorify.lighten(myColor, 0.2);  // 增加亮度20%
Color darkerColor = Colorify.darken(myColor, 0.2);    // 减少亮度20%
4. 调整颜色饱和度
Color moreSaturatedColor = Colorify.saturate(myColor, 0.2);  // 增加饱和度20%
Color lessSaturatedColor = Colorify.desaturate(myColor, 0.2);  // 减少饱和度20%
5. 转换颜色格式
String hexColor = Colorify.toHex(myColor);  // 转换为十六进制字符串
Map<String, int> rgbColor = Colorify.toRGB(myColor);  // 转换为RGB格式
Map<String, int> hslColor = Colorify.toHSL(myColor);  // 转换为HSL格式
6. 混合颜色
Color mixedColor = Colorify.mix(myColor, Colors.blue, 0.5); // 混合两种颜色,比例为50%
7. 获取对比色
Color contrastColor = Colorify.contrast(myColor); // 获取与当前颜色对比明显的颜色
示例代码
以下是一个完整的示例,展示如何使用 colorify 来处理颜色:
import 'package:flutter/material.dart';
import 'package:colorify/colorify.dart';

void main() {
  runApp(MyApp());
}

class MyApp extends StatelessWidget {
  [@override](/user/override)
  Widget build(BuildContext context) {
    Color myColor = Colorify.fromHex('#FF5733');  // 创建颜色
    Color lighterColor = Colorify.lighten(myColor, 0.2);  // 增加亮度
    Color darkerColor = Colorify.darken(myColor, 0.2);  // 减少亮度
    String hexColor = Colorify.toHex(myColor);  // 转换为十六进制

    return MaterialApp(
      home: Scaffold(
        appBar: AppBar(
          title: Text('Colorify Example'),
        ),
        body: Center(
          child: Column(
            mainAxisAlignment: MainAxisAlignment.center,
            children: [
              Container(
                width: 100,
                height: 100,
                color: myColor,
                child: Center(child: Text('Original')),
              ),
              SizedBox(height: 20),
              Container(
                width: 100,
                height: 100,
                color: lighterColor,
                child: Center(child: Text('Lighter')),
              ),
              SizedBox(height: 20),
              Container(
                width: 100,
                height: 100,
                color: darkerColor,
                child: Center(child: Text('Darker')),
              ),
              SizedBox(height: 20),
              Text('Hex: $hexColor'),
            ],
          ),
        ),
      ),
    );
  }
}